


In every thriving garden, there’s an unseen world working quietly beneath the surface. While lush leaves and colorful blooms may steal the spotlight, it’s the soil—teeming with life, structure, and chemistry—that truly powers the show.
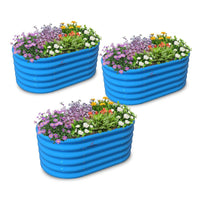
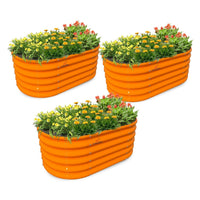
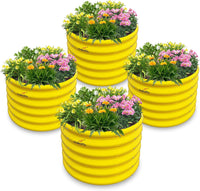
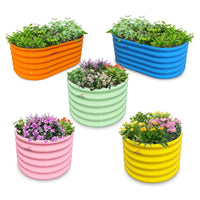
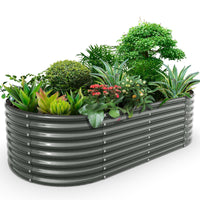
For gardeners using raised garden beds, understanding the science of soil layers is one of the biggest secrets to long-term success. The right layering doesn’t just fill your bed efficiently—it creates a living, breathing ecosystem that feeds your plants naturally, improves drainage, and minimizes maintenance.
Let’s dig in—literally—and explore how to build the perfect nutrient-rich soil system for raised beds, from the bottom layer to the very top.
Why Soil Layers Matter

Soil is more than dirt. It’s a dynamic mix of minerals, organic matter, air, water, and microbes—all of which work together to support plant life.
When you layer your raised garden bed with intention, you mimic nature’s processes of decomposition and renewal. Each layer plays a role: improving aeration, retaining moisture, encouraging root growth, and feeding beneficial organisms.
This multi-layer system also:
Saves money by reducing the volume of high-cost topsoil.
Improves drainage and prevents waterlogging.
Enhances long-term fertility through gradual nutrient release.
Reduces the need for chemical fertilizers.
Think of your raised bed as a living lasagna—each layer adds structure, function, and flavor to your garden’s foundation.
Step 1: Build a Solid Base Layer (Drainage + Bulk)
Depth: Bottom 6–8 inches
Start by laying the groundwork—literally—for your raised bed. The base layer should provide structure, airflow, and drainage.
Materials to Use:
Branches and Twigs: Larger pieces of wood create air pockets and slow decomposition, mimicking forest-floor systems.
Coarse Wood Chips or Small Logs: These act as a “sponge,” absorbing moisture and releasing it gradually.
Straw or Cardboard: A layer of straw or flattened cardboard can help suppress weeds from below while promoting decomposition.
This is often referred to as the hugelkultur-inspired base, a German method that uses woody debris to enhance soil health and moisture retention.
Pro Tip: Avoid using treated lumber, glossy cardboard, or diseased wood. They can introduce toxins or pests into your soil.
Step 2: Add the Organic Matter Layer (Composting in Action)
Depth: 6–10 inches
This is where the magic begins. The organic layer serves as a long-term nutrient reservoir that will feed your plants slowly over time.
Materials to Use:
Compost: Well-decomposed compost provides a balanced mix of nitrogen, phosphorus, and potassium.
Aged Manure: Adds fertility, but make sure it’s fully composted to prevent burning roots.
Grass Clippings, Leaves, and Kitchen Scraps: Layer thinly and mix to encourage even decomposition.
This layer becomes an active microbial zone—teeming with fungi, bacteria, and beneficial insects that transform organic matter into plant-available nutrients.
Science in action: As this layer breaks down, it releases carbon dioxide that stimulates root growth and helps maintain ideal soil pH for most vegetables.
Step 3: The Transition Layer (Blending for Balance)
Depth: 4–6 inches
This middle layer bridges the gap between raw organic matter and the fine-textured topsoil above.
Materials to Use:
Mixture of Compost + Topsoil (50/50 ratio)
Coconut Coir or Peat Moss (optional): Improves water retention and lightens texture.
Sand or Perlite (optional): Helps with aeration, especially in heavy clay soils.
The goal here is texture balance—rich enough for nutrients, light enough for air, and structured enough for water flow.
Think of this as the “transition zone” where roots begin to spread deeply, adjusting to changing conditions as they move downward.
Step 4: The Top Layer (Root Zone + Growth Medium)
Depth: 8–12 inches
This is where your plants live, breathe, and grow. It needs to be soft, nutrient-dense, and full of microbial activity.
Ideal Mix:
40% Topsoil – The mineral base for structure.
40% Compost – The organic engine that fuels growth.
20% Aeration Material – Perlite, pumice, or coarse sand to keep the mix loose and breathable.
If you’re growing heavy feeders like tomatoes, squash, or peppers, add a handful of organic slow-release fertilizer (bone meal or kelp meal) before planting.
Finish with a 2–3 inch mulch layer (straw, shredded leaves, or wood chips). Mulch moderates soil temperature, reduces evaporation, and supports microbial life.
Step 5: Feed the Soil, Not Just the Plants
The most successful raised bed gardeners follow a simple rule: Healthy soil grows healthy plants.
Instead of constantly adding fertilizers, focus on feeding the soil ecosystem that supports your plants.
Maintenance Tips:
Top-Dress Annually: Add 1–2 inches of compost each season.
Mulch Year-Round: Maintain a living cover to protect soil from erosion and heat.
Rotate Crops: Different plants draw different nutrients; rotation prevents depletion.
Plant Cover Crops: Clover, rye, or buckwheat replenish nitrogen and improve structure.
Avoid Over-Tilling: Disturbing soil layers disrupts the beneficial fungal networks.
By nurturing the invisible world below, you ensure stronger plants above—naturally.
The Science Behind Success

Each soil layer serves a distinct biological purpose.
Base Layer (Aeration & Drainage): Oxygen flow prevents root rot and encourages deep root systems.
Organic Layer (Decomposition & Fertility): Microorganisms break down matter, creating humus—the dark, nutrient-rich substance that sustains plant life.
Transition Layer (Nutrient Exchange): Provides the physical and chemical bridge between raw materials and root-ready soil.
Top Layer (Root Habitat): Supports rapid root development, efficient nutrient uptake, and moisture balance.
Together, these layers form a self-sustaining cycle—organic material decomposes, microbes flourish, roots feed, and soil regenerates naturally.
Over time, the lower layers compact and transform, continuously enriching your raised bed garden layout ecosystem.
The Sustainable Advantage

Raised garden beds layered in this way are not only productive but also environmentally sound.
They:
Reduce food waste by recycling organic materials.
Improve carbon sequestration through soil building.
Minimize runoff and water waste.
Create pollinator-friendly environments through healthy plant systems.
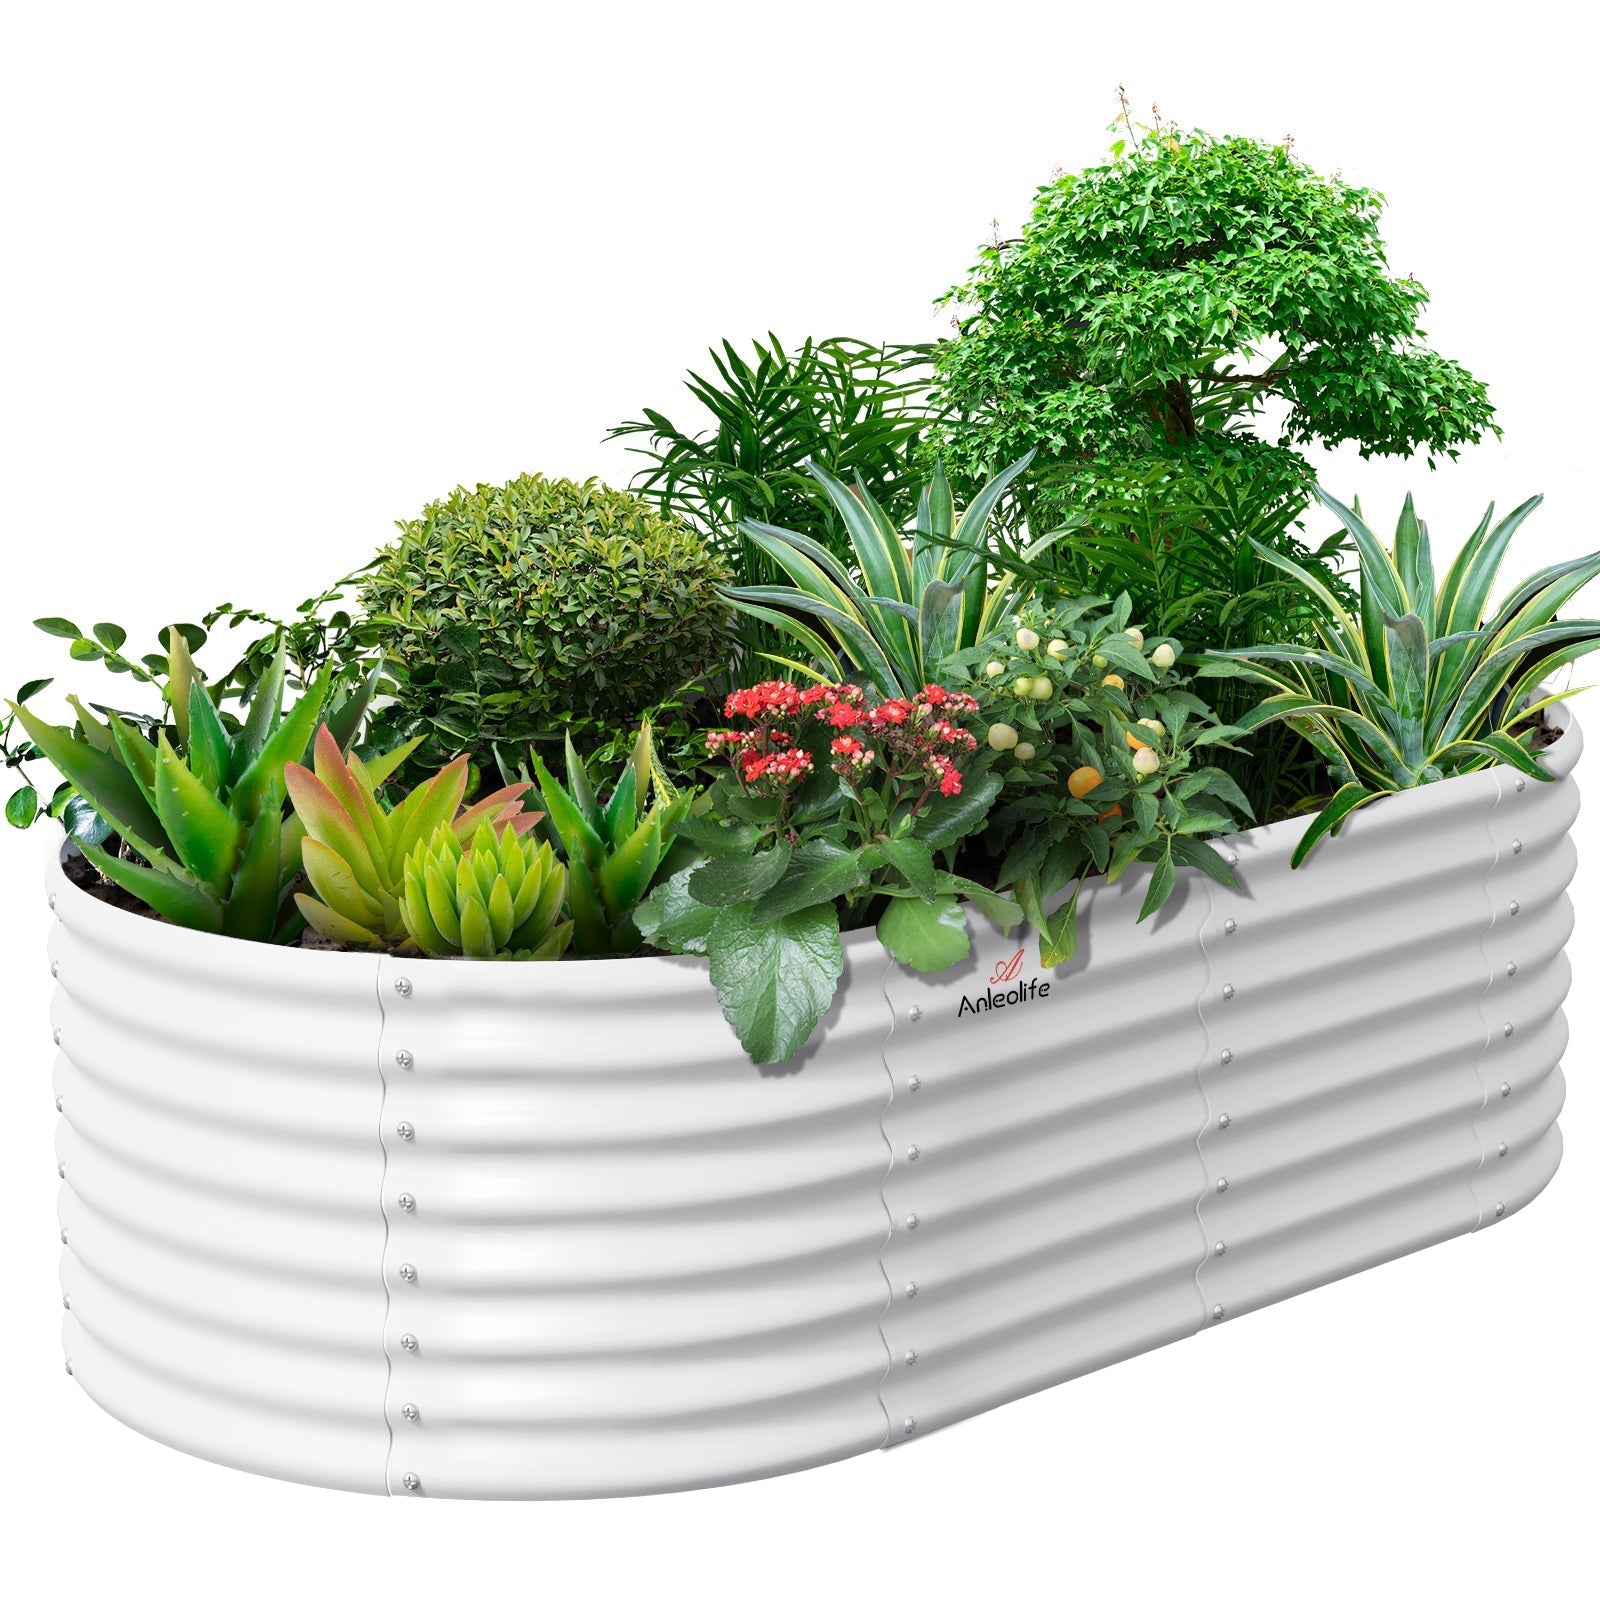
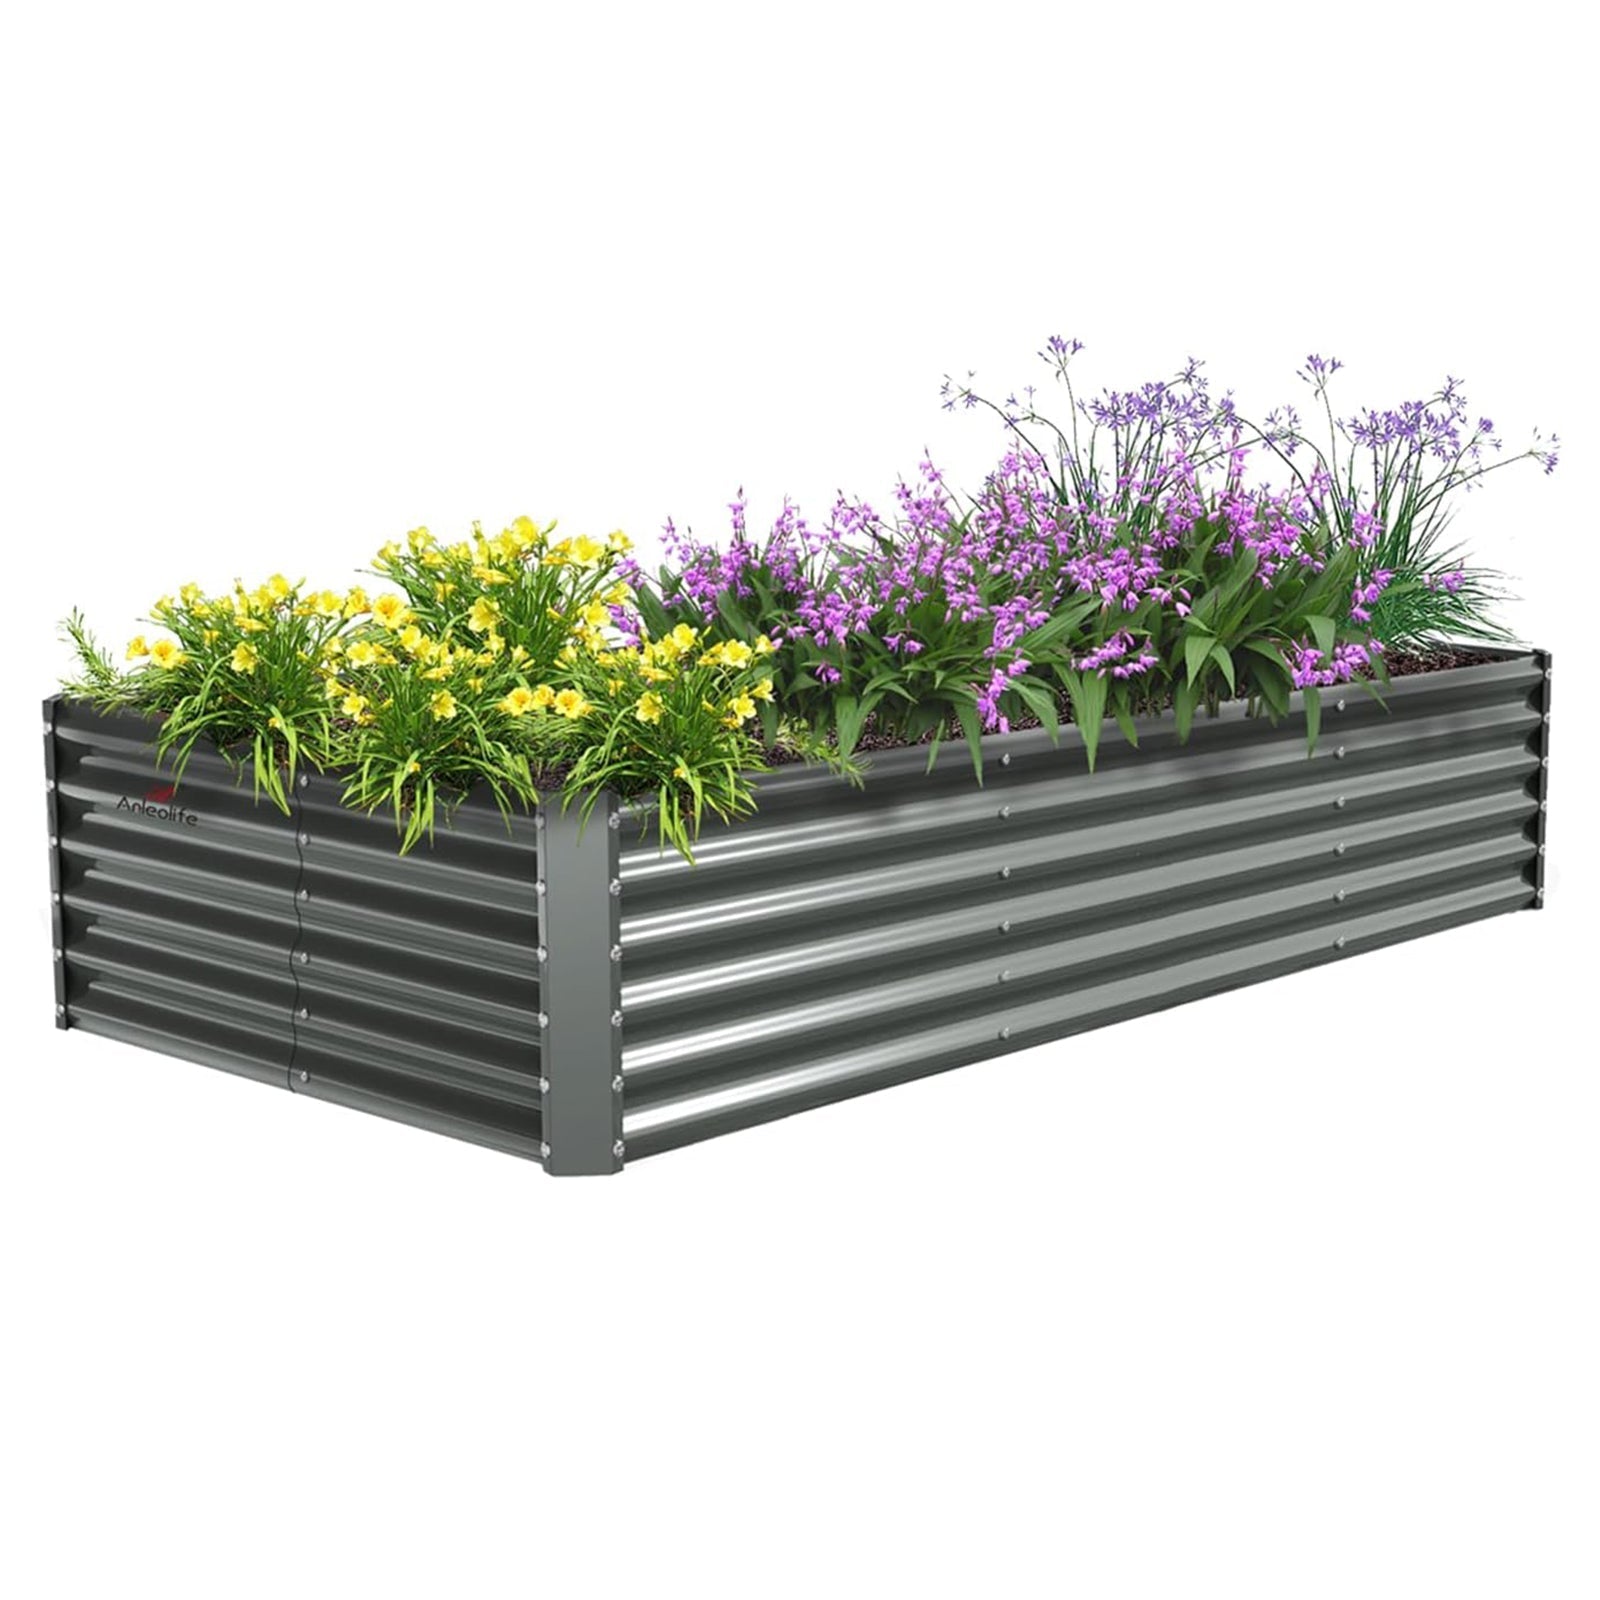
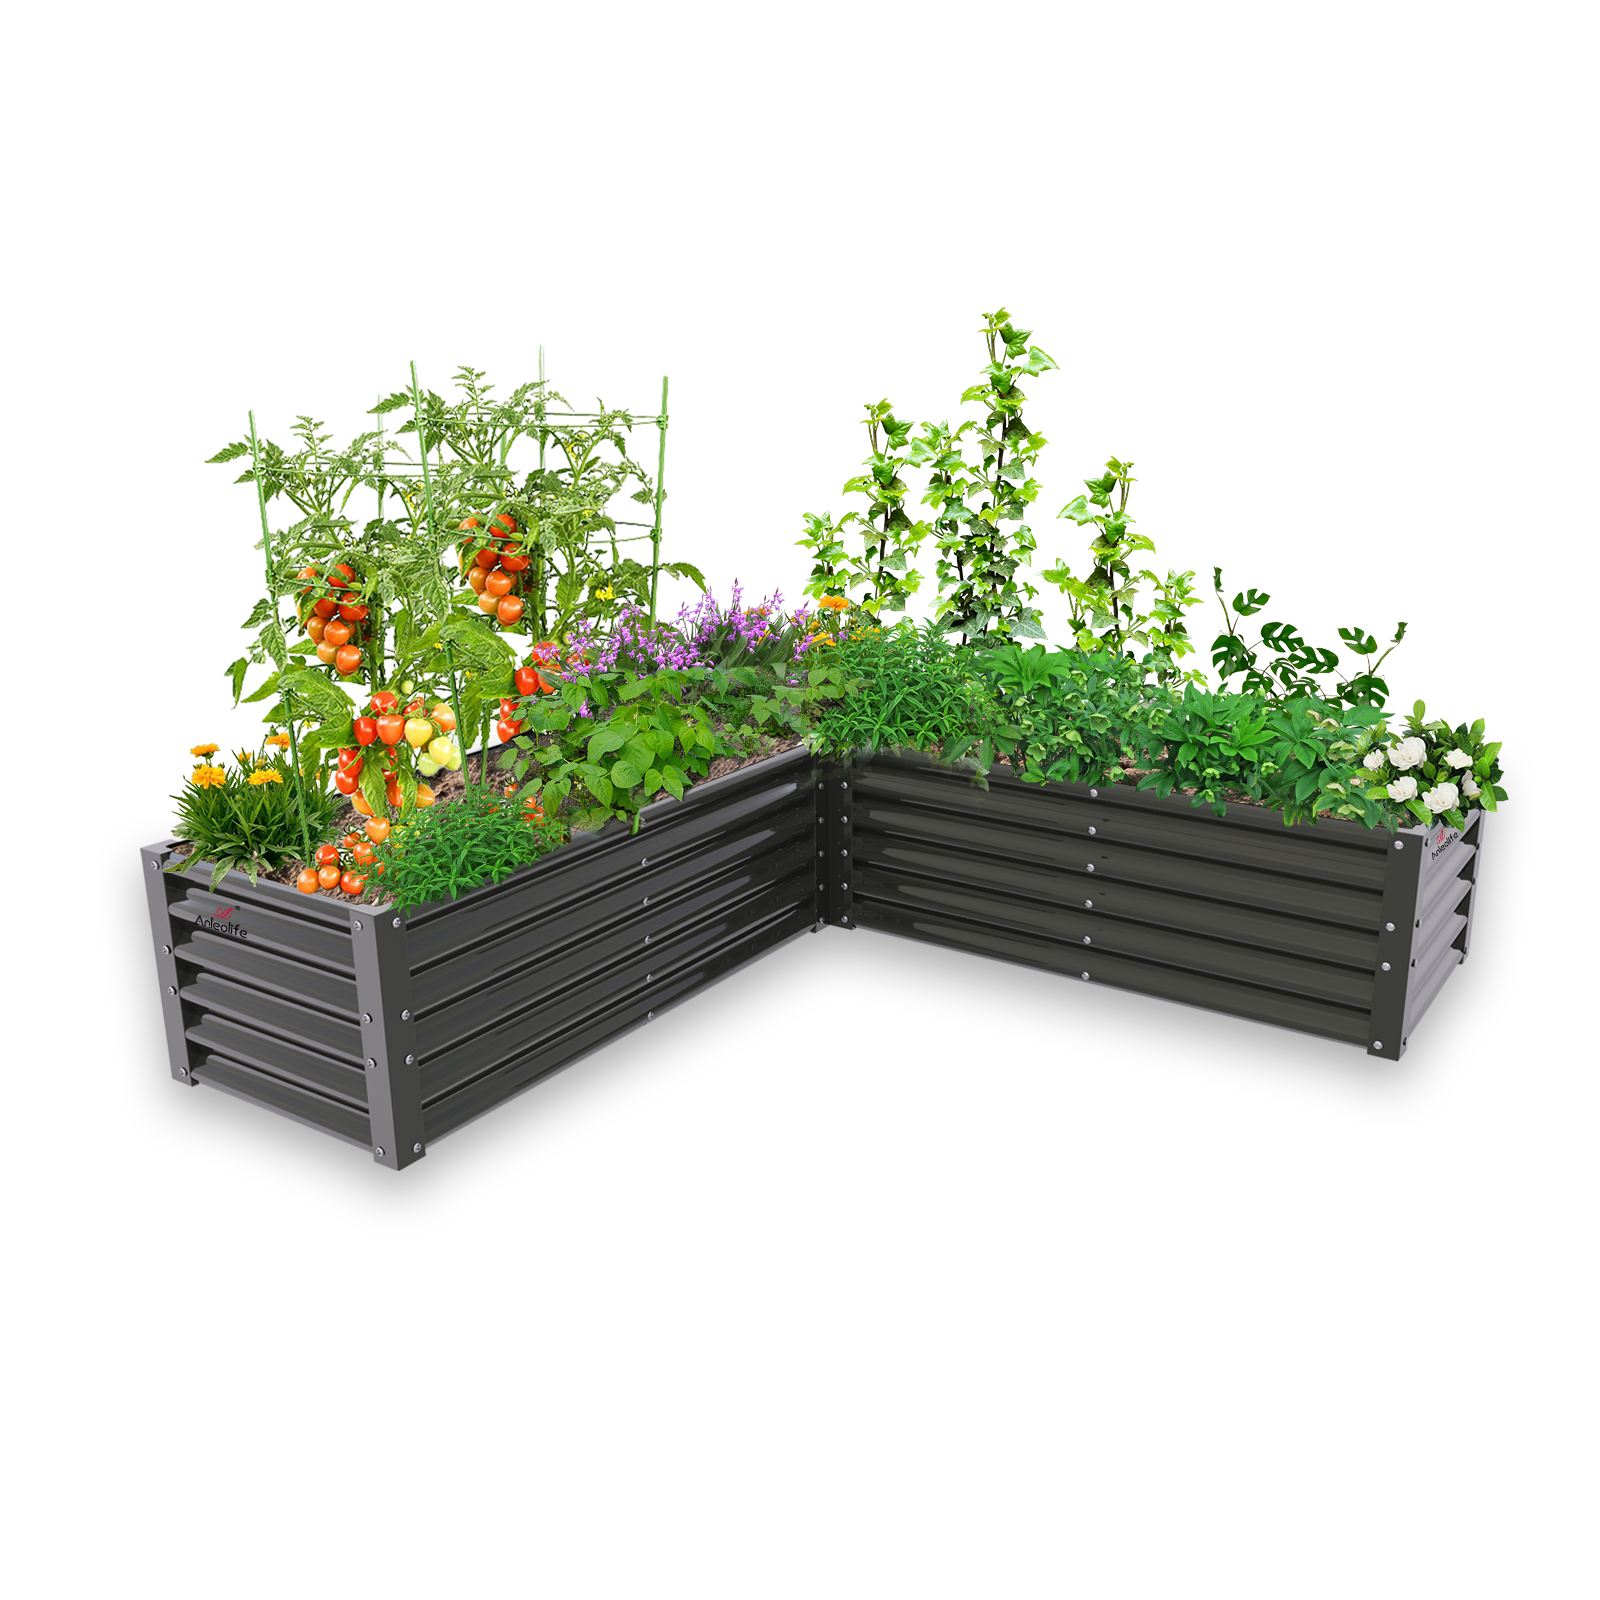
In essence, rectangular raised garden bed becomes a miniature ecosystem, balancing biology, chemistry, and design in perfect harmony.
Ready to Build Your Own Living Soil System?
Now that you understand the science behind soil layers, it’s time to put theory into action. Whether you’re starting fresh or refreshing old raised beds, remember: great gardens begin from the ground up.
Each handful of rich, living soil you build today is an investment in tomorrow’s harvest—nutrient-dense food, healthy roots, and a thriving backyard ecosystem.
Let’s Grow Smarter Together
Have you tried layering your raised garden beds before?
Share your favorite soil-building tricks, compost recipes, or layering methods in the comments!
Tell us:
What’s your go-to soil mix for raised beds?
How do you keep your soil healthy year after year?
Have you noticed better growth from layered beds versus store-bought soil?
We’d love to feature your ideas in our next gardening guide—because the best gardens grow through shared knowledge.
Get the Anleolife Gardener E-Book

Ready to take your garden from concept to creation?Explore our exclusive digital guide, The next 《Anleolife》VOL2 will include:
From Backyard to Bounty
The Science of Soil Layers
Seasonal Planting Calendar
Design Inspiration: Garden Beds That Wow
Click here to download《Anleolife》VOL1 for free.
Your next great garden design starts with one click — and a little imagination.