


ALT: Homeowner completing easy weekend backyard projects including raised garden beds and garden ornaments before summer ends
5 Easy Weekend Backyard Projects That Will Transform Your Outdoor Space Before Summer Fades
Key Conclusion: Summer is slipping away, but there's still time to make meaningful improvements to your backyard. Whether you're looking to set up a productive raised garden bed, organize your tool storage, add chicken tunnels for a small flock, build firewood log racks for the coming fall season, or install eye-catching kinetic wind spinners as garden ornaments, these five weekend projects deliver real results without requiring professional help or a massive budget. Pick one or tackle them all — your backyard will thank you.
Late summer is one of the best-kept secrets in home gardening and outdoor living. The intense pressure of "getting the garden started" has passed, the days are still warm, and there's a relaxed motivation to finalize improvements before cooler weather sets in. This is precisely the window when a single productive weekend can leave a lasting mark on your outdoor space for years to come.
These five projects were chosen with real homeowners in mind — families who want functional and beautiful backyards, retirees looking for satisfying weekend activity, and eco-conscious growers who want to squeeze every drop of productivity from their growing season. Each project can be completed in one to two days, requires minimal specialized skills, and delivers long-term value that far outweighs the effort.
Who These Weekend Backyard Projects Are Right For
✅ Applicable Scenarios:
- Homeowners with an existing backyard or patio area who want functional upgrades before fall arrives
- Home growers looking to extend their growing season or prepare beds for a fall planting cycle
- Families with children or small livestock who want organized, safe, and attractive outdoor setups
- Empty nesters and retirees with time on weekends who want rewarding, manageable DIY projects
- Urban gardeners working with compact spaces who need smart, scalable solutions
❌ Not Applicable/Cautions:
- Renters without permission to make structural modifications to outdoor areas should confirm with landlords before installing permanent raised beds or log racks
- Homeowners in HOA communities should check covenants before adding chicken tunnels, decorative features, or large garden structures
- Those in areas with extreme late-summer heat waves should plan outdoor construction early in the morning or in the early evening to avoid overexertion
Why Late Summer Is Actually the Perfect Time for Backyard Improvements
Most gardening content is published in spring, leaving the impression that if you didn't start in April, you've missed your chance. That couldn't be further from the truth. Late summer — roughly July through September — is one of the most productive windows for both planting cool-season crops and completing outdoor infrastructure projects.
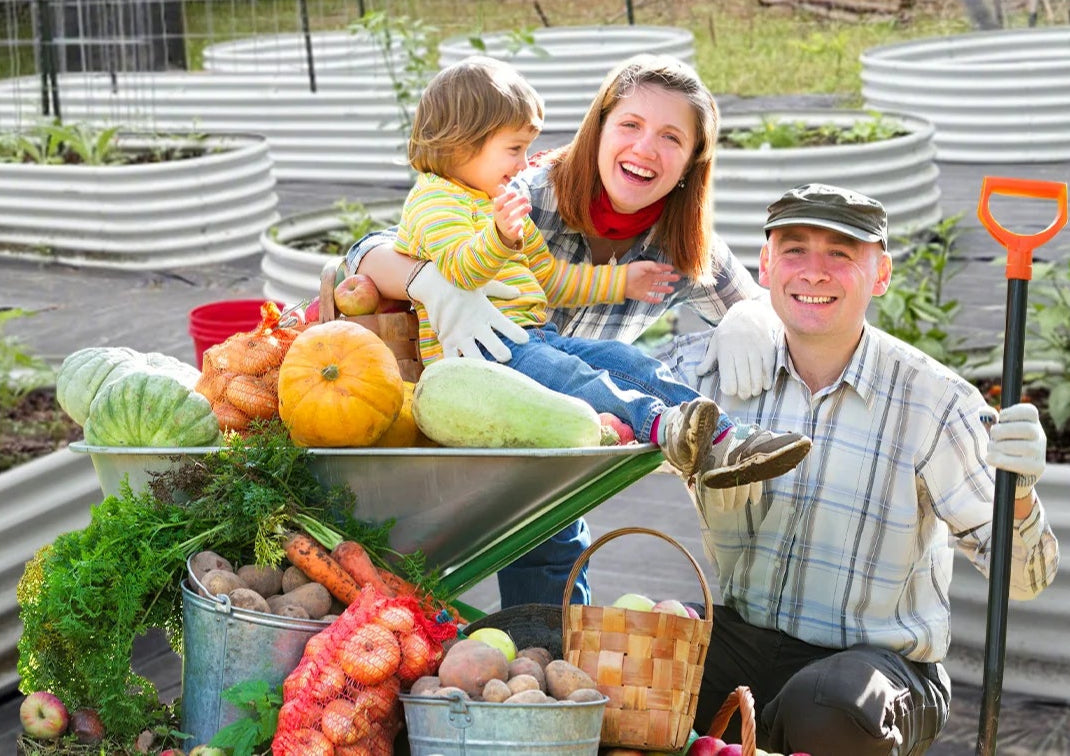
According to the National Gardening Association, a significant portion of American households participate in food gardening, and interest in home-grown produce has grown consistently since the early 2020s. More homeowners than ever are investing in raised beds, small-animal setups, and decorative garden features not just for function but for quality of life.
The weather dynamics of late summer also work in your favor. Soil temperatures are warm, which accelerates seed germination for fall crops like kale, lettuce, and spinach. Meanwhile, the urgency of peak summer maintenance has eased, giving you more mental bandwidth to plan and execute improvements thoughtfully.
If you're thinking about adding a raised garden bed this season, late summer is an ideal moment. You can install the structure now, fill it with quality soil, and either plant fall vegetables immediately or let the soil settle and condition itself over winter for a head start in spring. As explored in Step-by-Step Raised Bed Garden Layout Planning for Summer 2026 Beginners, even first-time growers can design and install a productive raised bed system with a little planning.
Beyond the garden bed itself, the other four projects on this list — chicken tunnels, log racks, tool organization, and kinetic wind spinners — are each designed to address common pain points that homeowners notice as they spend more time outdoors in summer. Let's get into each one.
The 5 Projects: A Complete Weekend Action Plan
Three-Step Quick Start to Planning Your Weekend Projects
Step 1: Assess Your Space and Prioritize
Walk your backyard with a notepad or your phone and take photos of every area that feels disorganized, underused, or incomplete. Note measurements for any spaces where you plan to install structures. Give yourself 30–60 minutes for this assessment — it's the most important step and will save you from buying materials you don't need or discovering mid-project that something doesn't fit.
Step 2: Gather Materials and Tools in Advance
Nothing derails a productive weekend like a mid-project hardware store run. Once you've decided which of the five projects you're tackling, make a complete materials list and do your shopping on Friday evening. For projects like raised garden beds, check online delivery timelines — Anleolife's warehouse network delivers within 3–8 business days across the U.S., so ordering ahead of your planned project weekend is smart planning.
Step 3: Set Up a Simple Work Zone
Before you begin any project, clear a flat workspace with enough room to lay out components, read instructions, and maneuver tools safely. For multi-step projects like raised bed assembly, a clean work zone dramatically reduces errors and speeds up the process. Keep a trash bag nearby for packaging materials and a water bottle within arm's reach.
Comparing the 5 Projects: Effort, Cost, and Impact at a Glance
Here's a quick reference to help you prioritize based on your available time, budget, and goals:
| Comparison Dimension | Raised Garden Bed | Chicken Tunnel | Firewood Log Rack | Tool Organization Station | Kinetic Wind Spinner |
|---|---|---|---|---|---|
| Typical Weekend Time | 2–4 hours | 3–6 hours | 1–2 hours | 2–3 hours | 30–60 minutes |
| Skill Level Required | Beginner | Beginner–Intermediate | Beginner | Beginner | Beginner |
| Long-Term Value | Very High | High | Medium–High | High | Medium |
| Family Involvement Potential | High | High | Medium | Medium | High |
| Seasonal Relevance (Late Summer) | Very High | High | High | Medium | High |
Project-by-Project Deep Dive
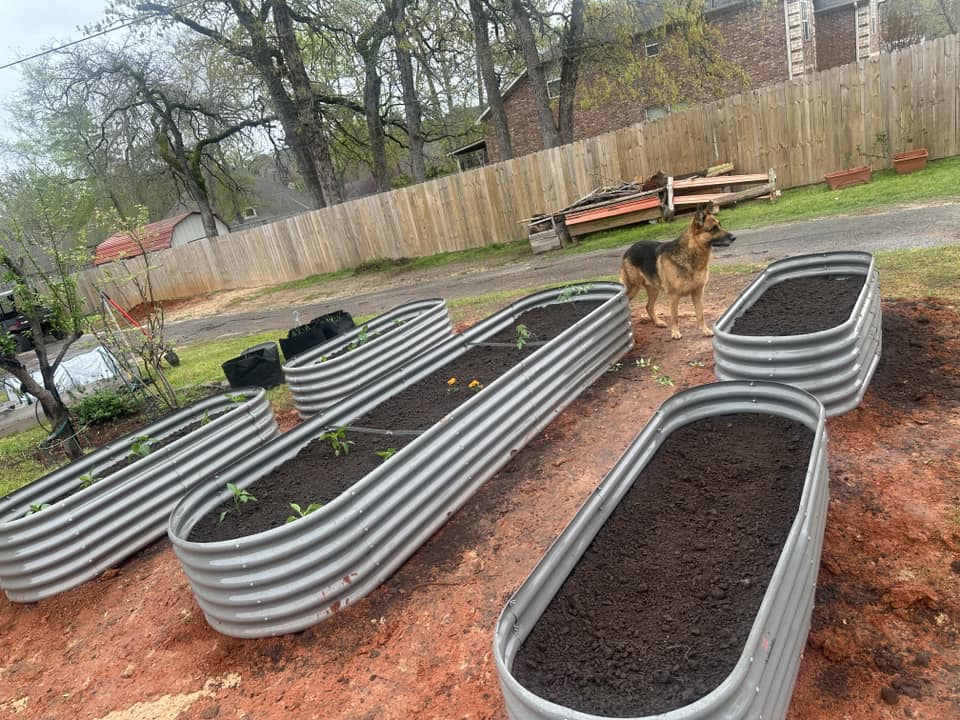
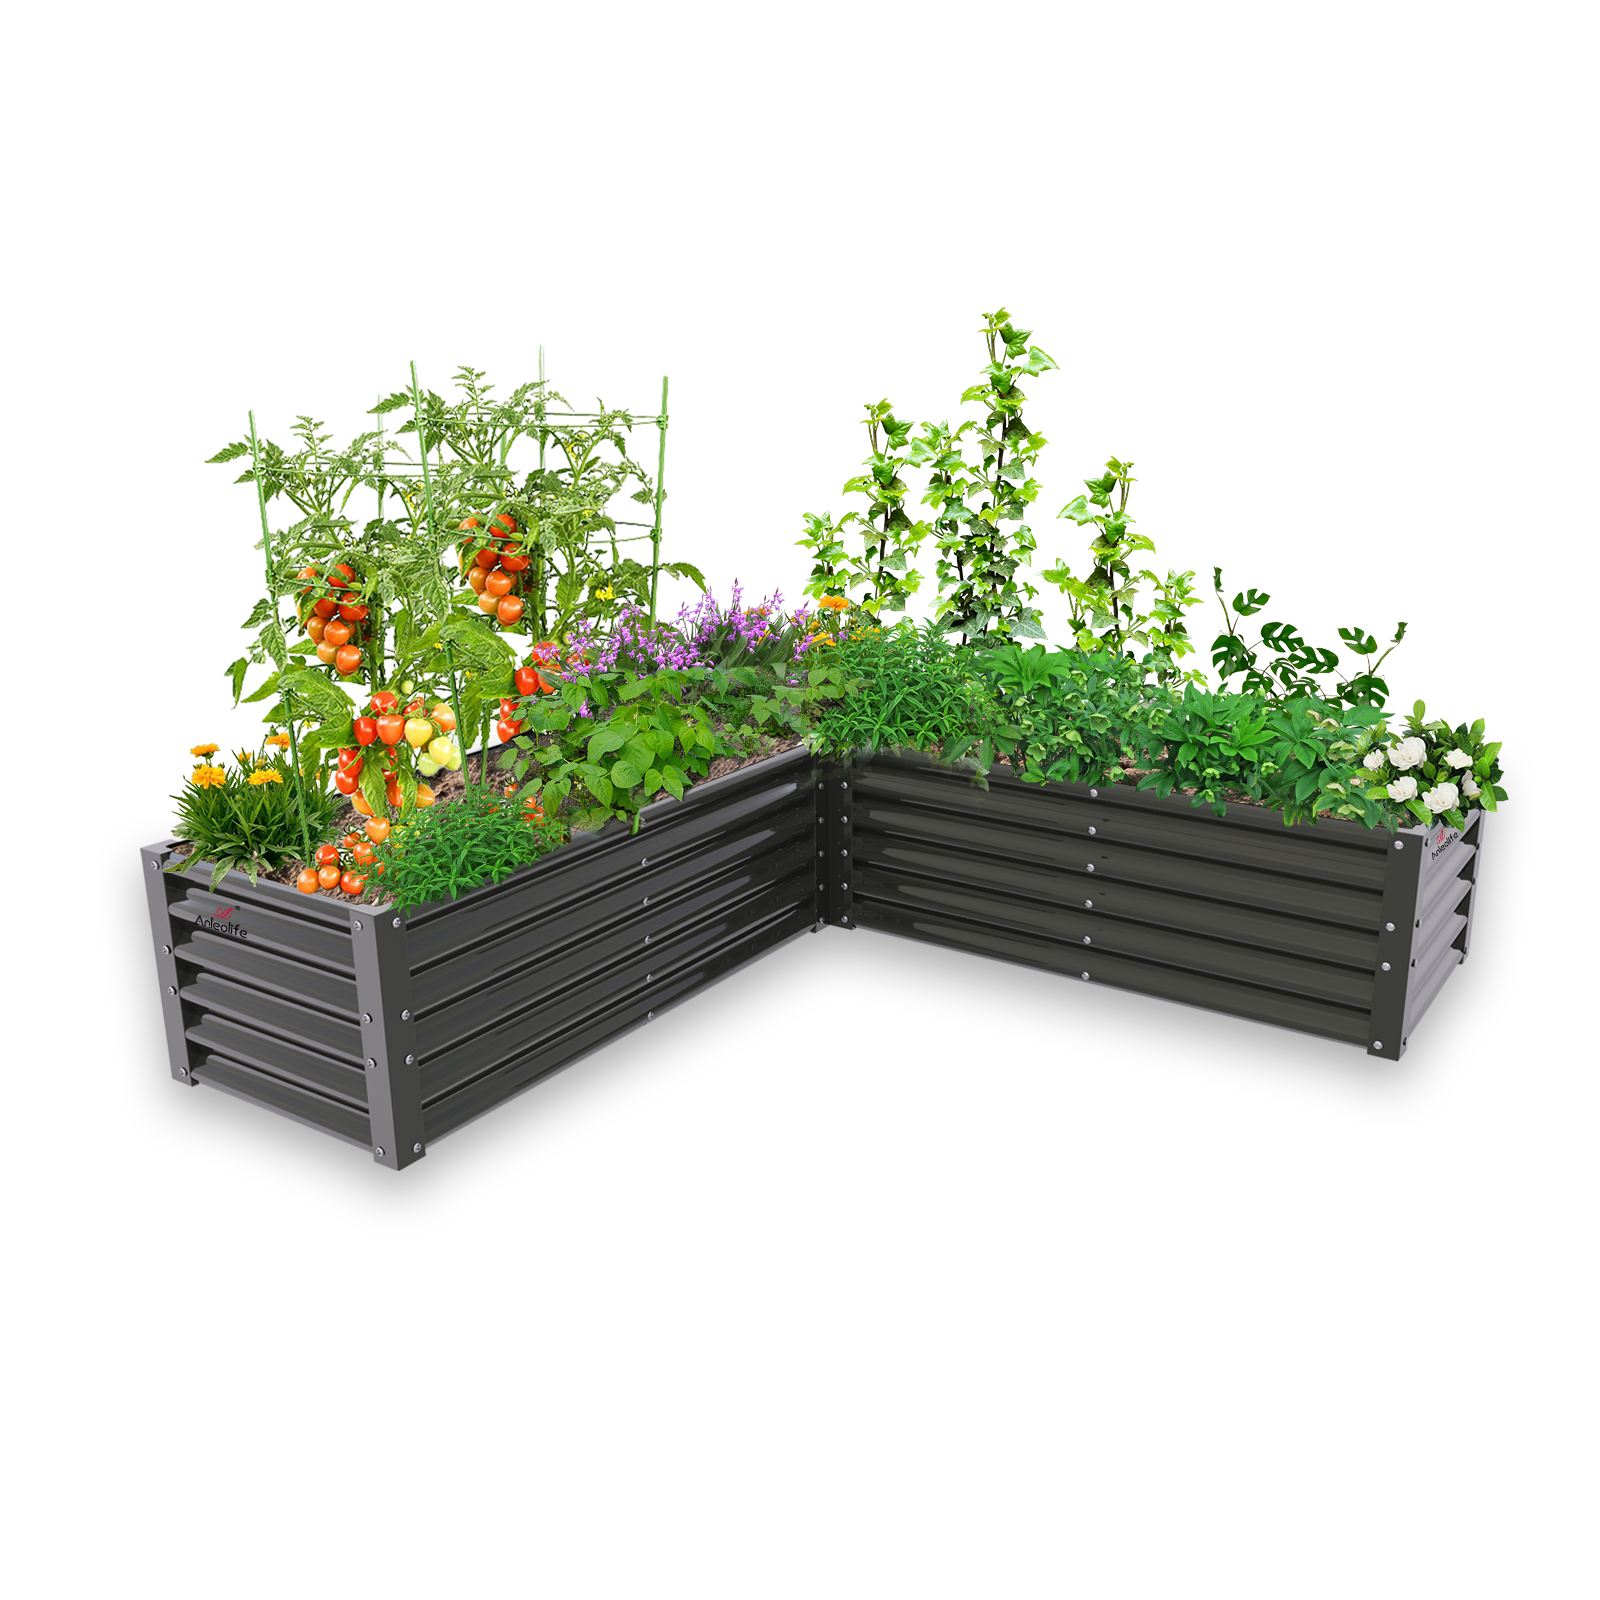
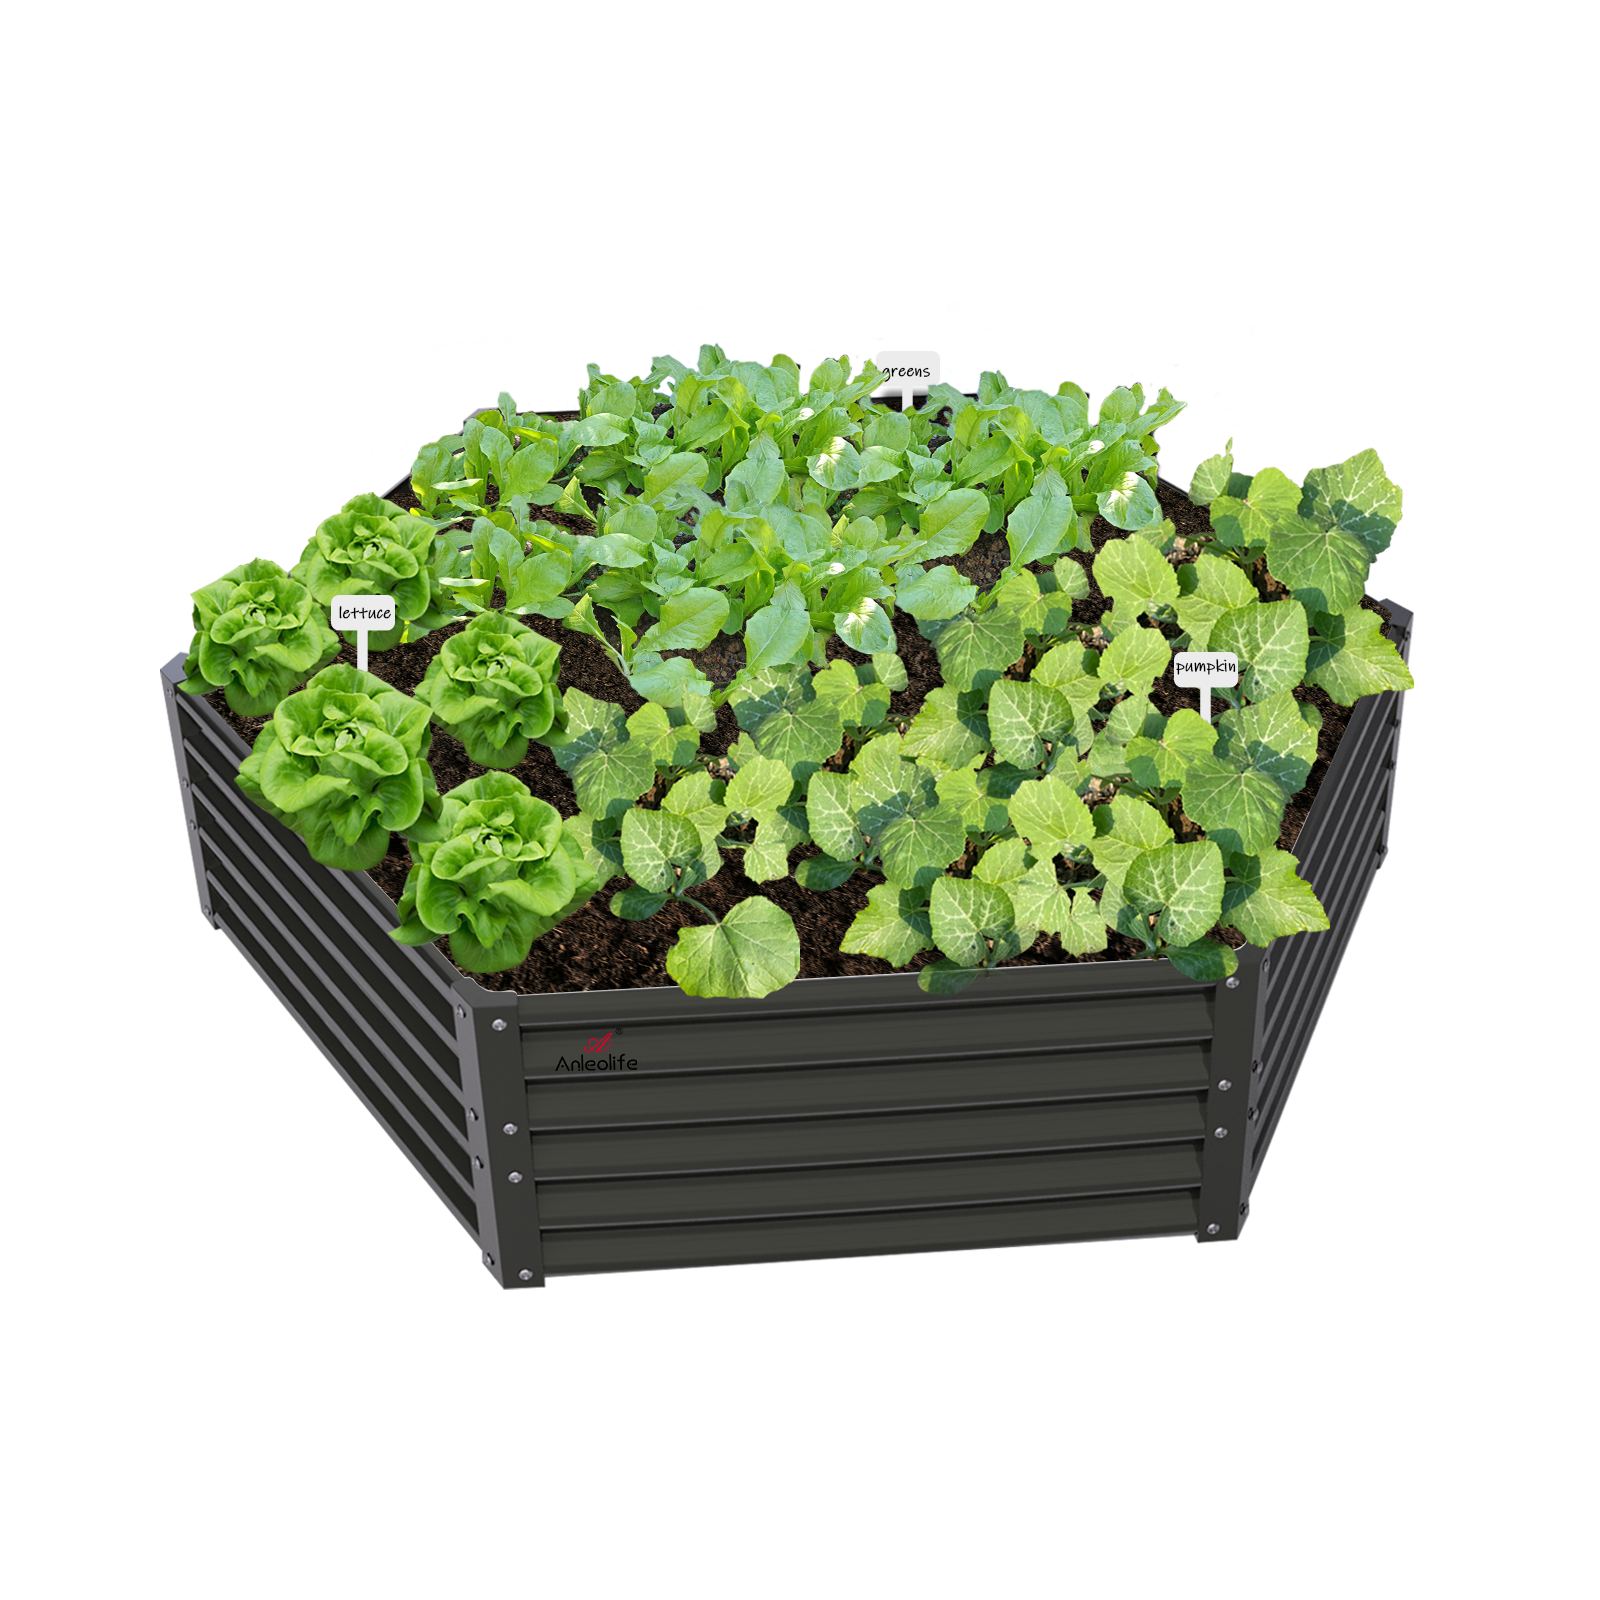
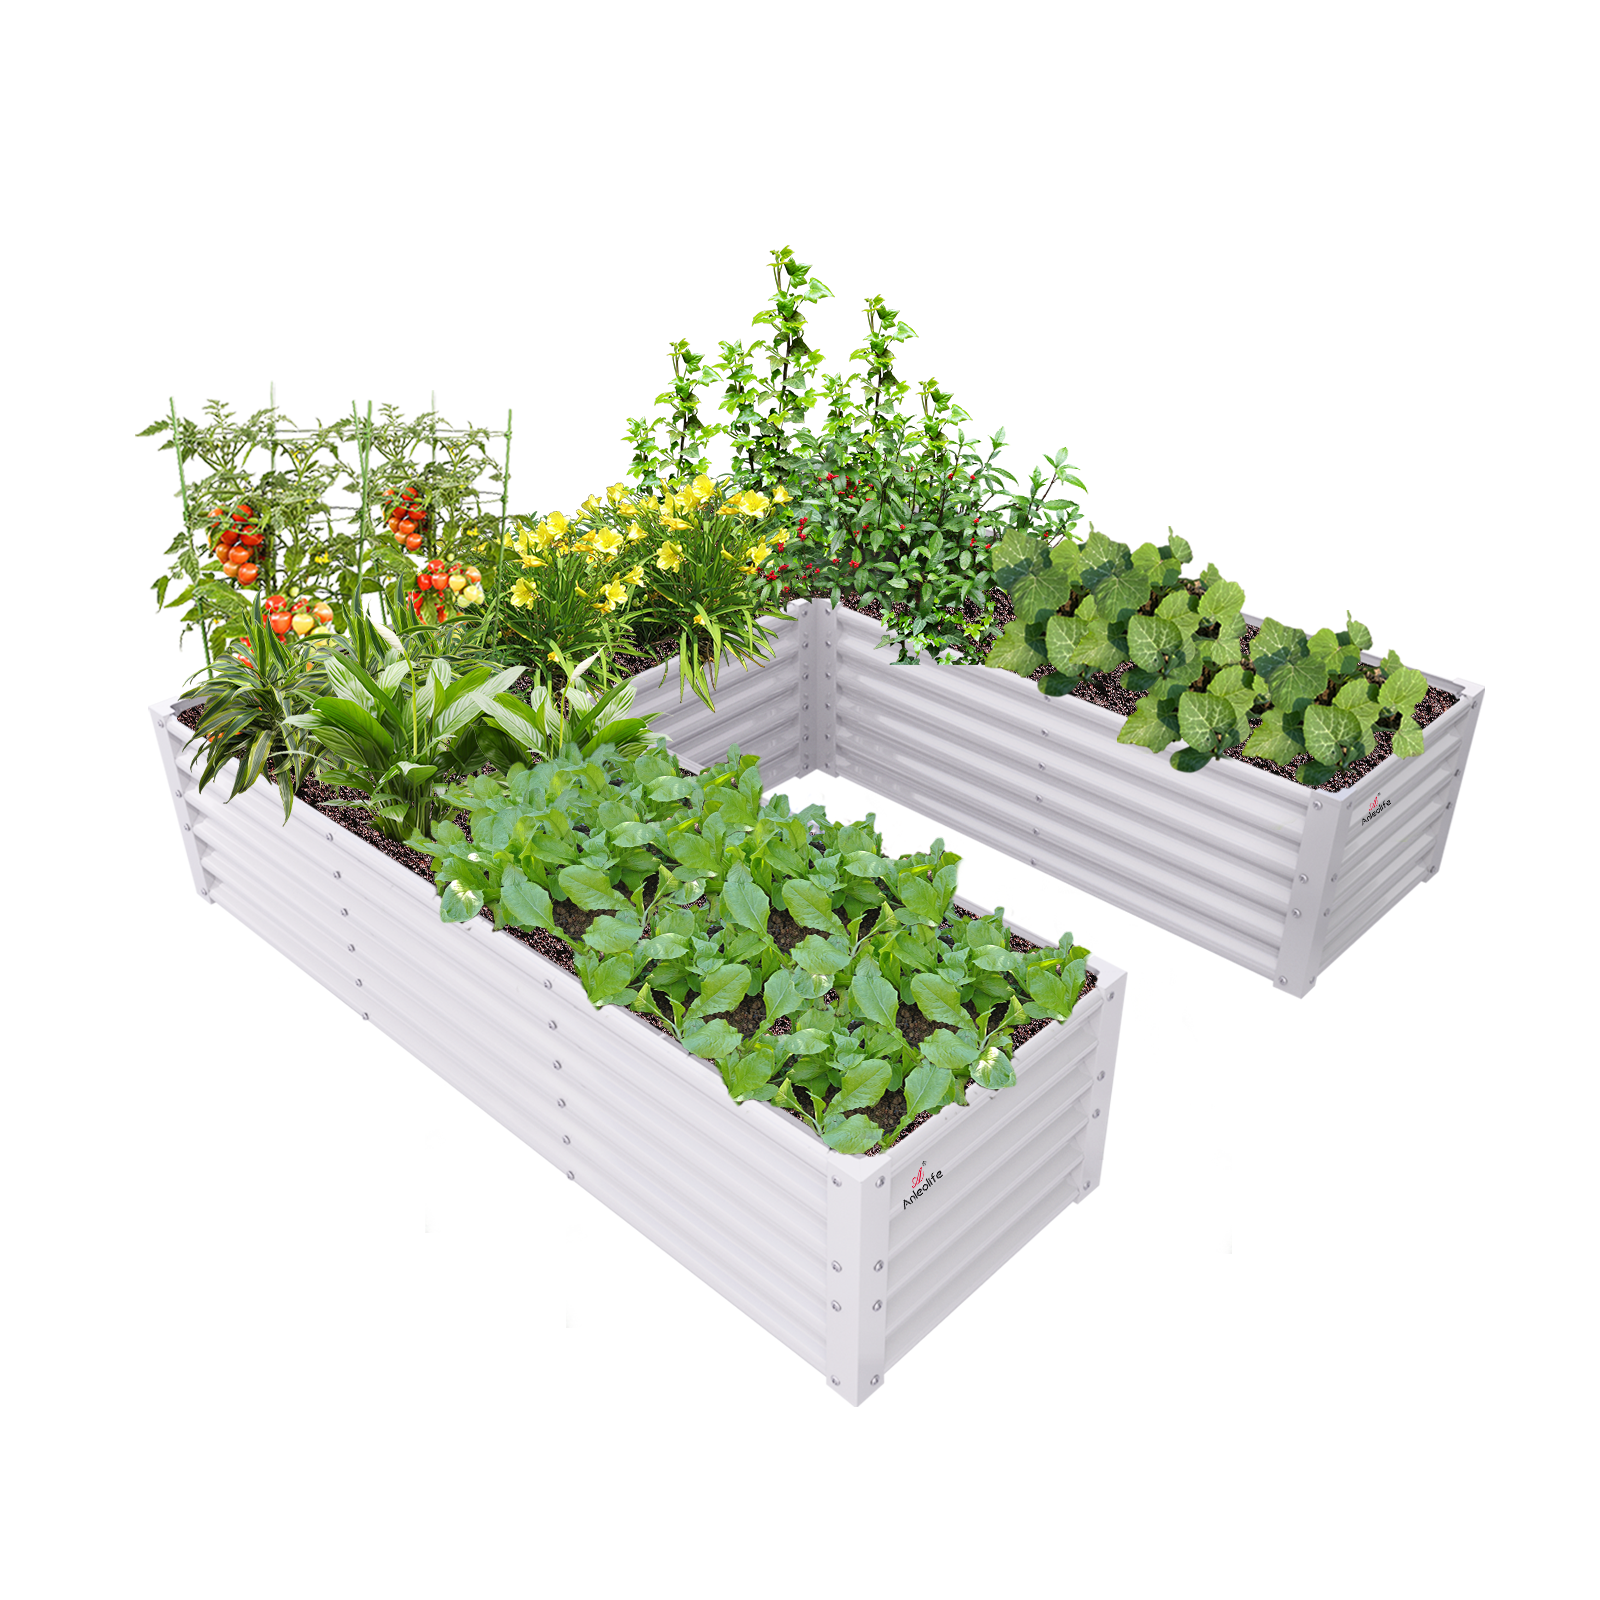
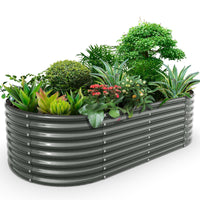
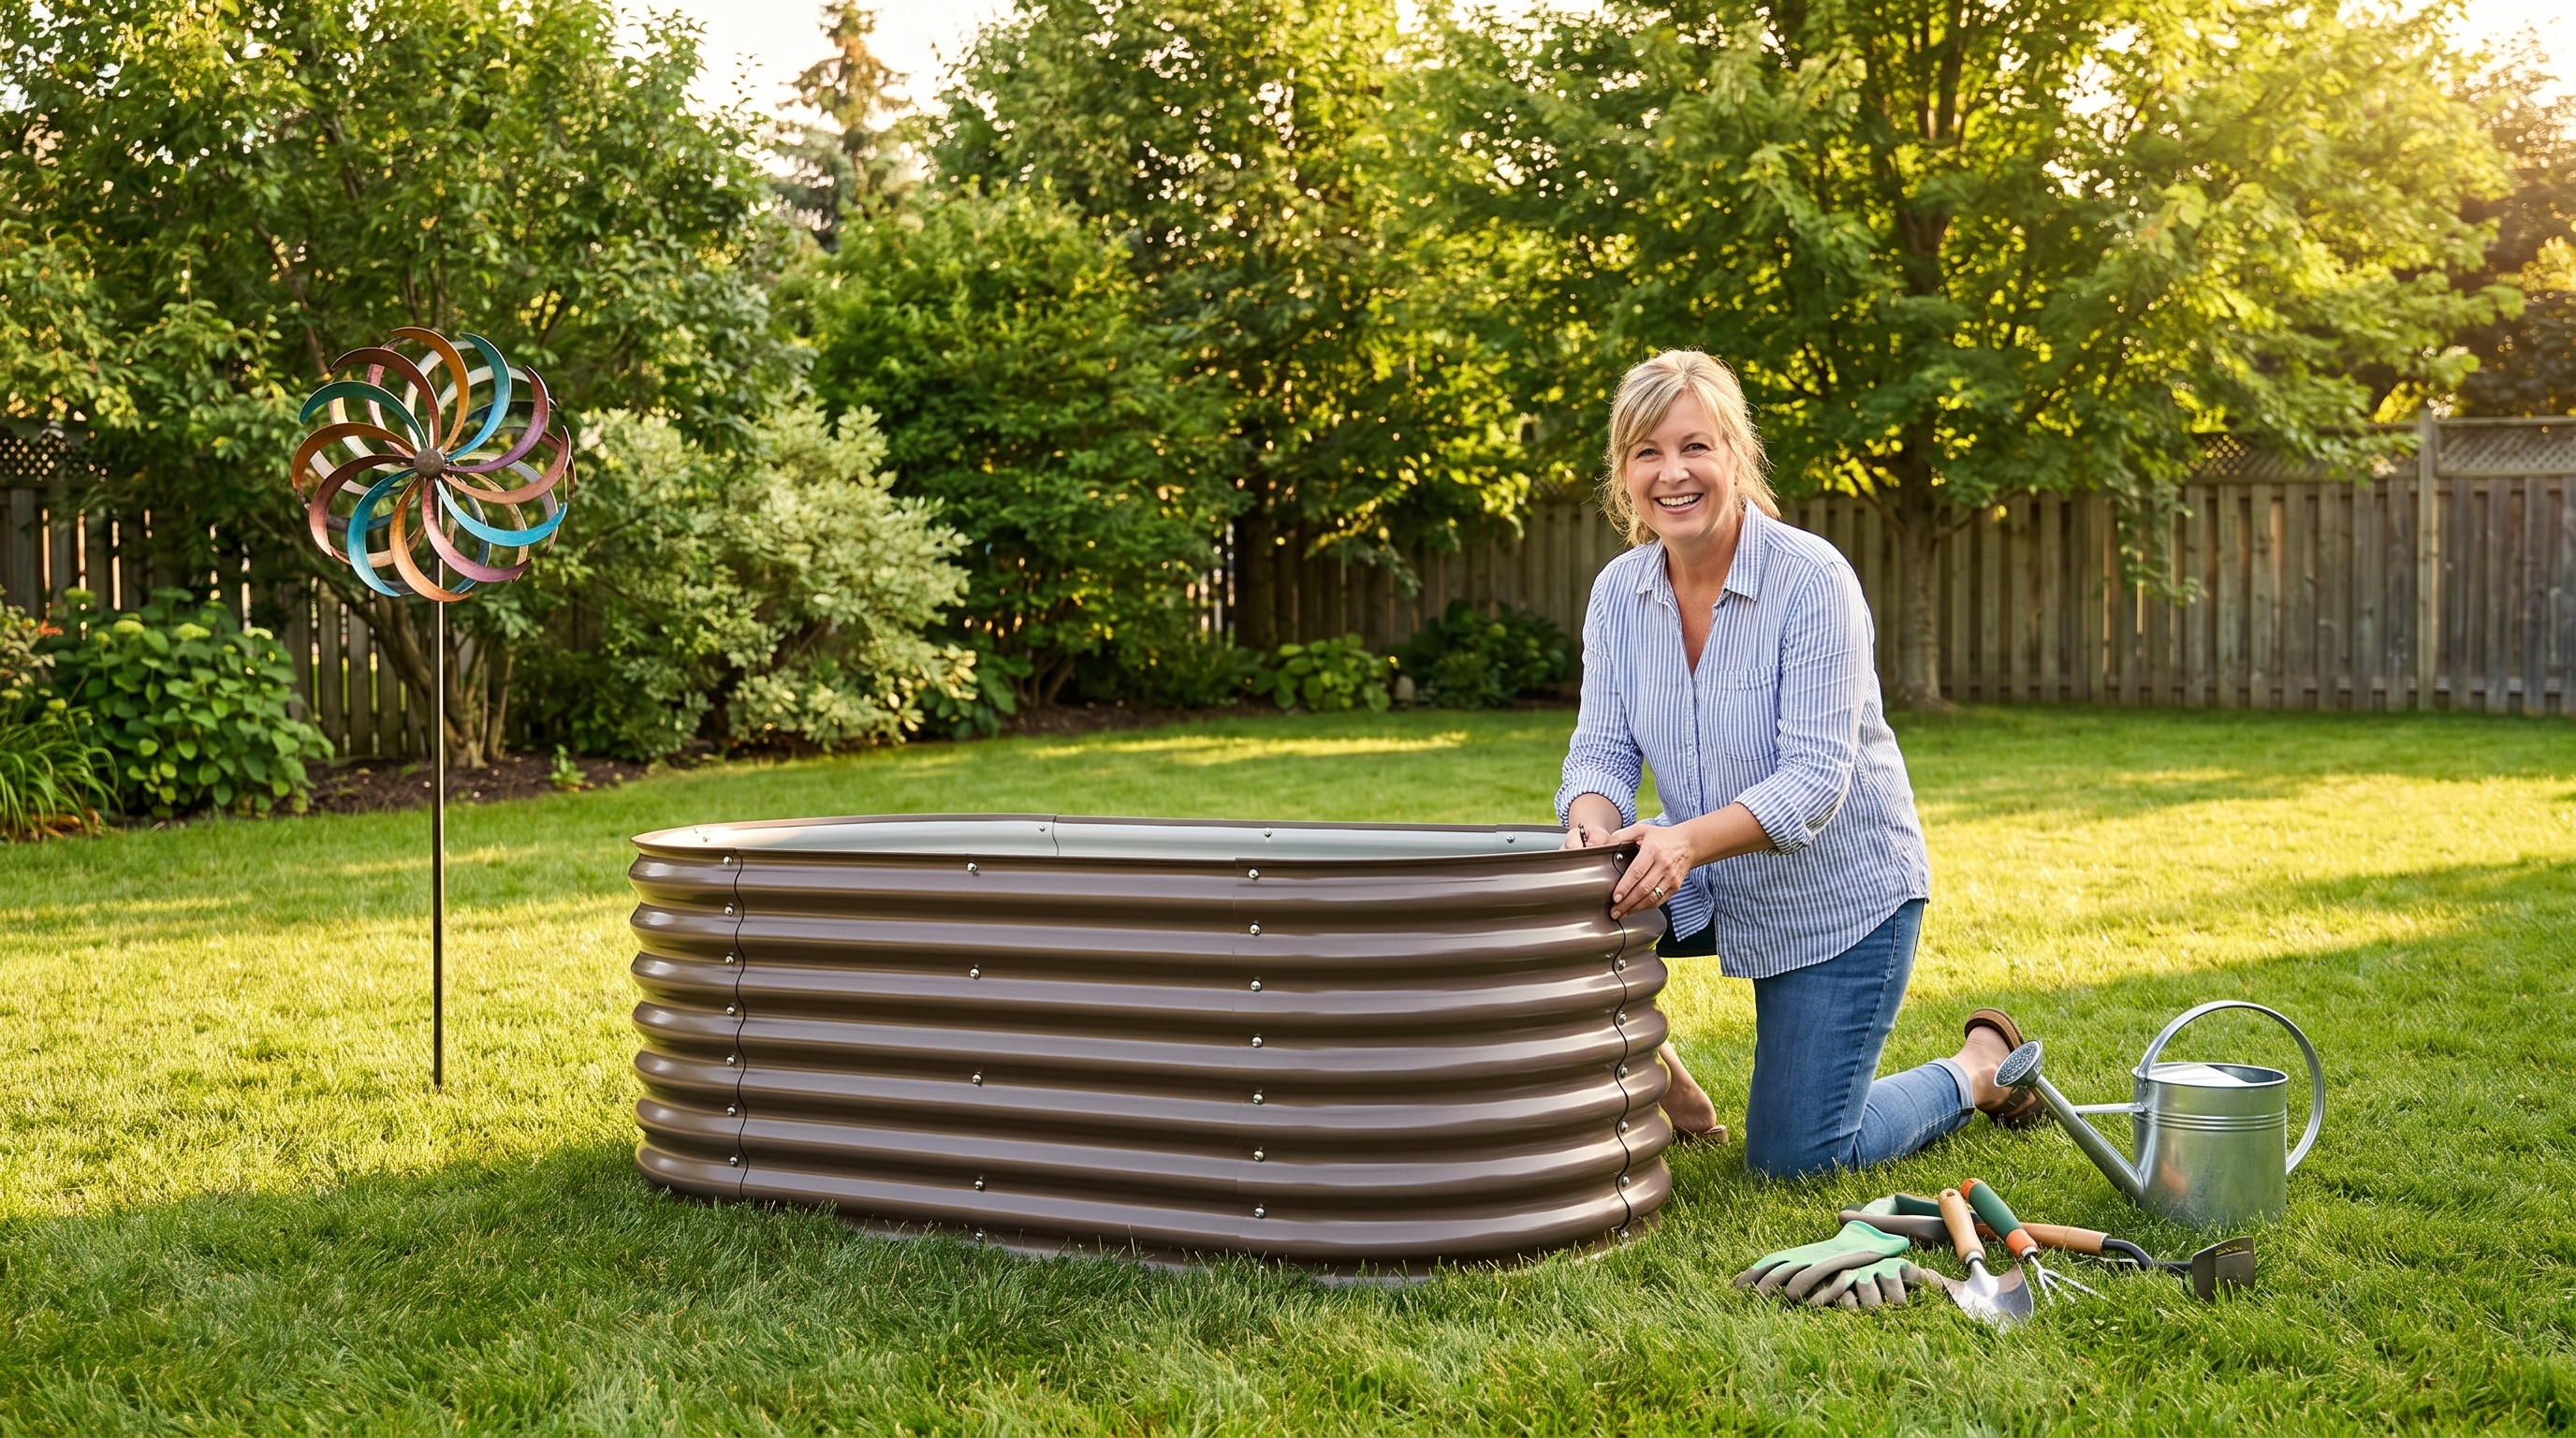
Project 1: Install a Raised Garden Bed for Fall Planting
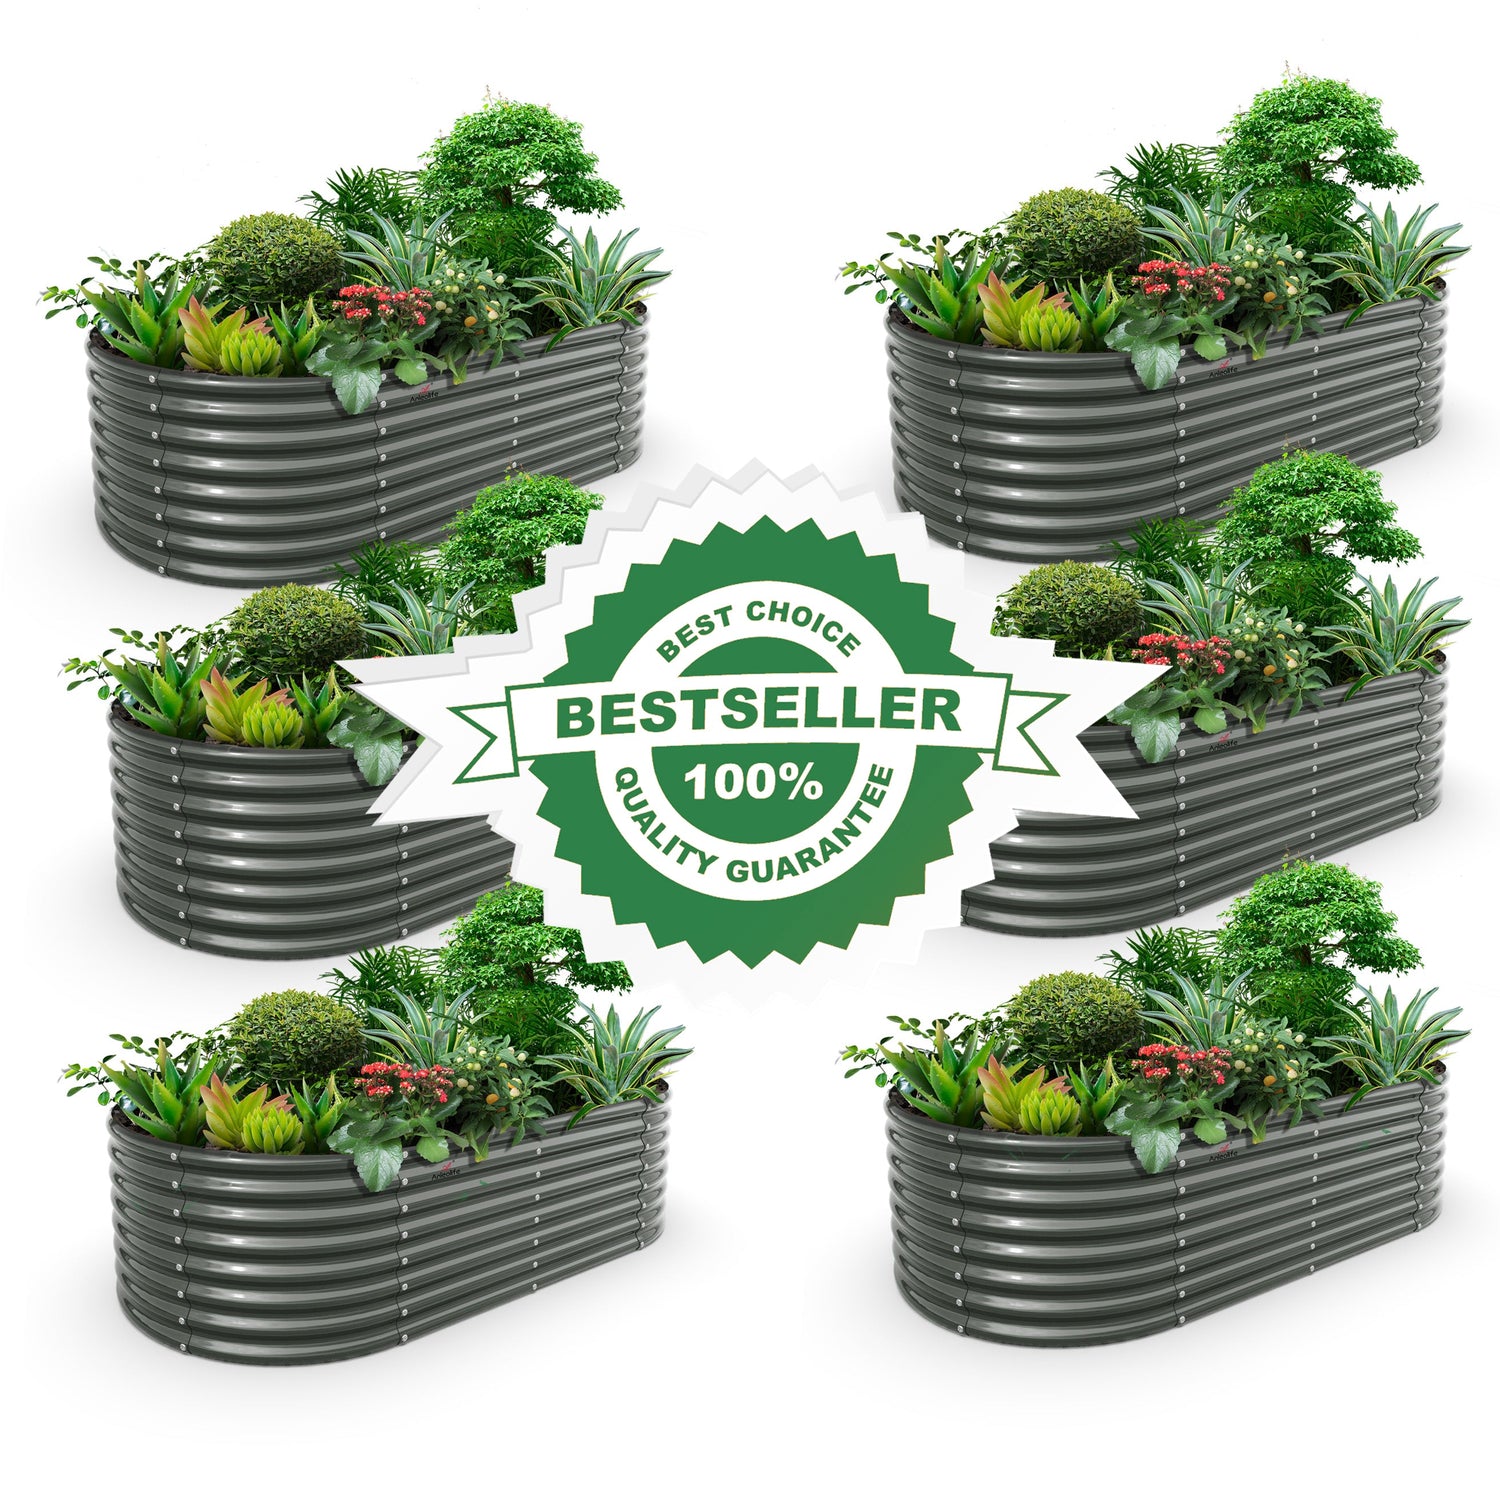
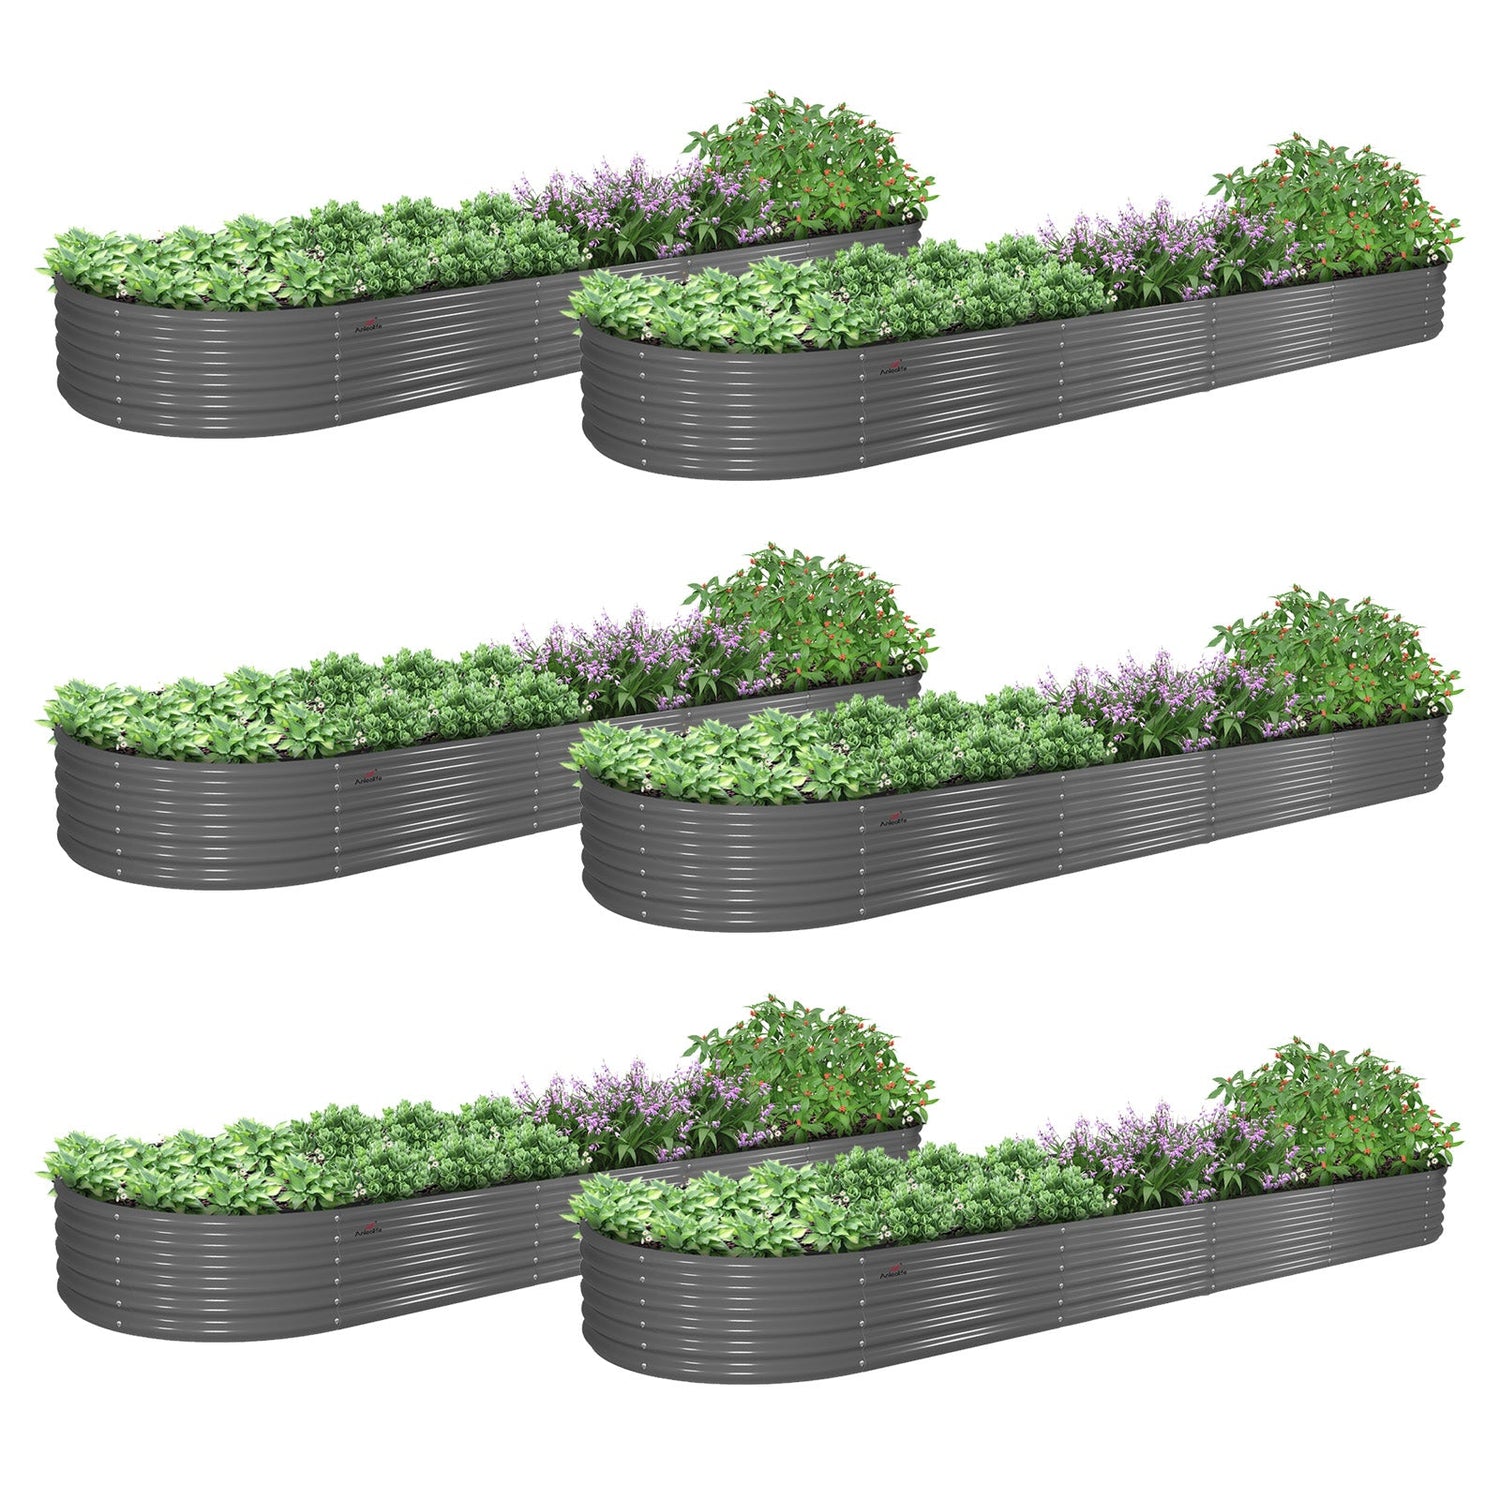
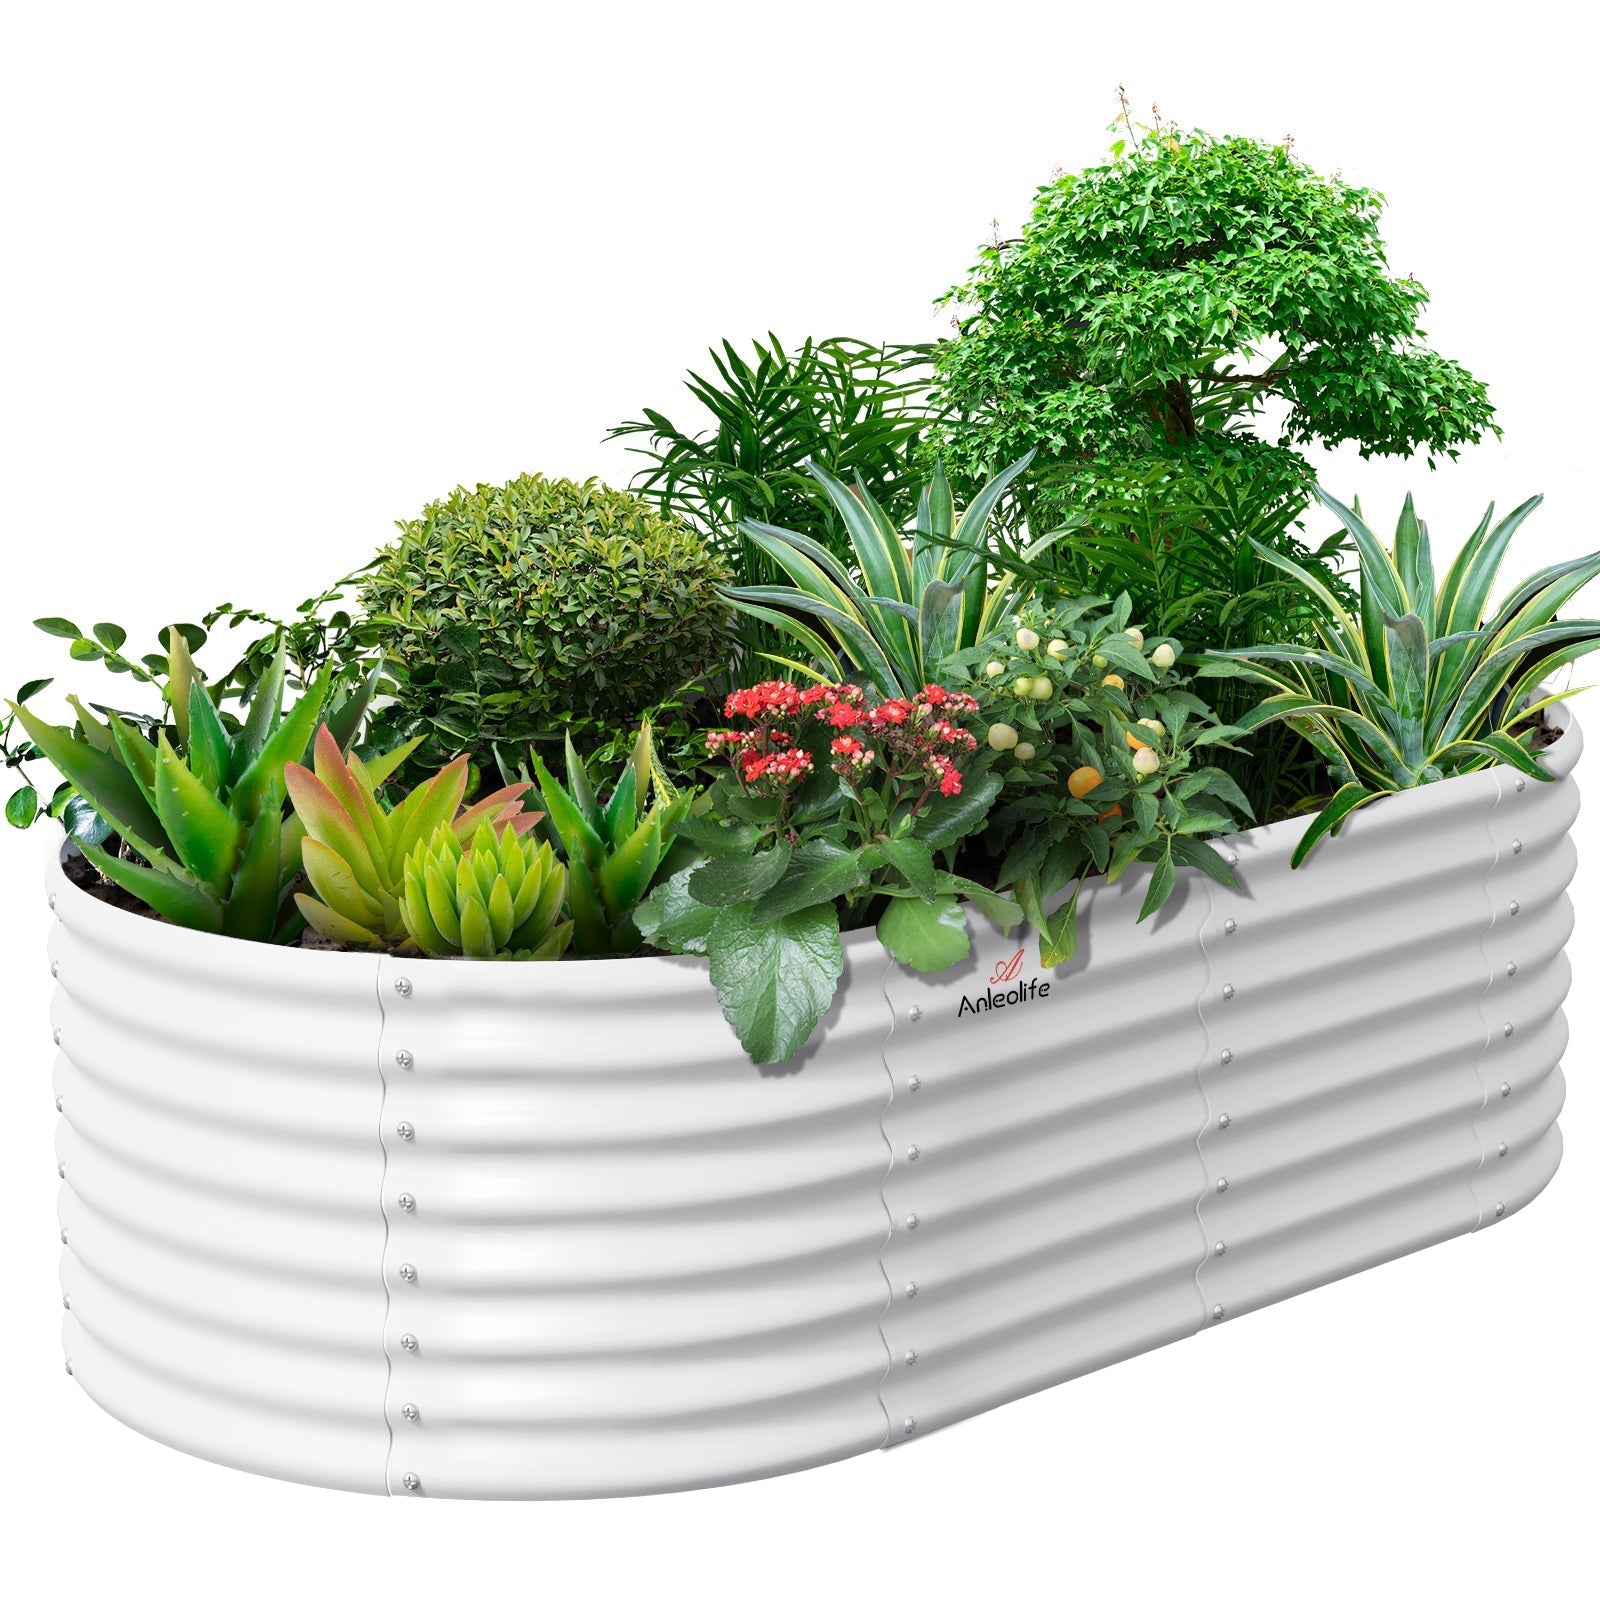
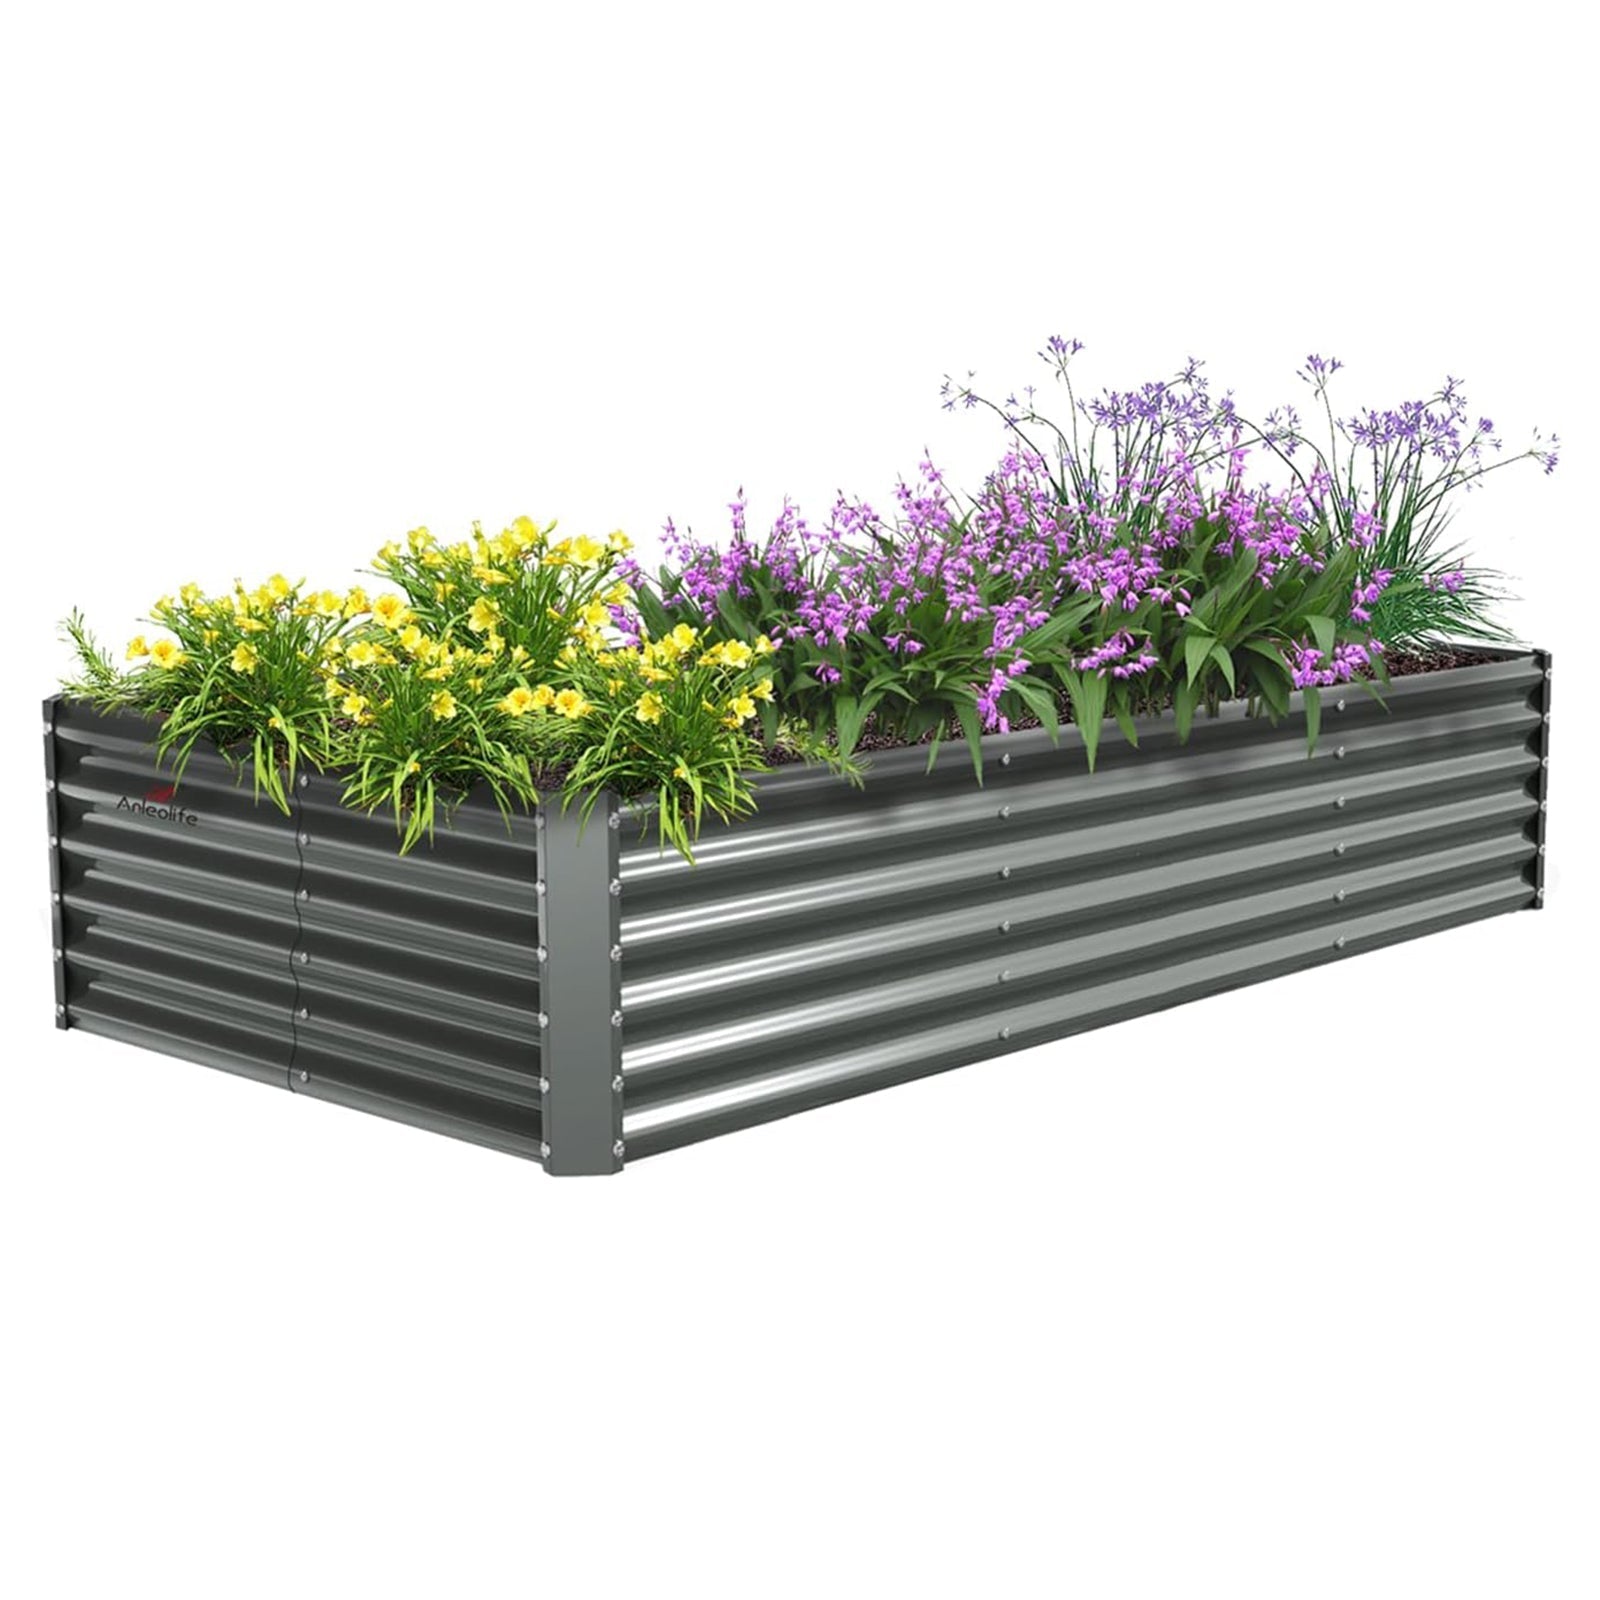
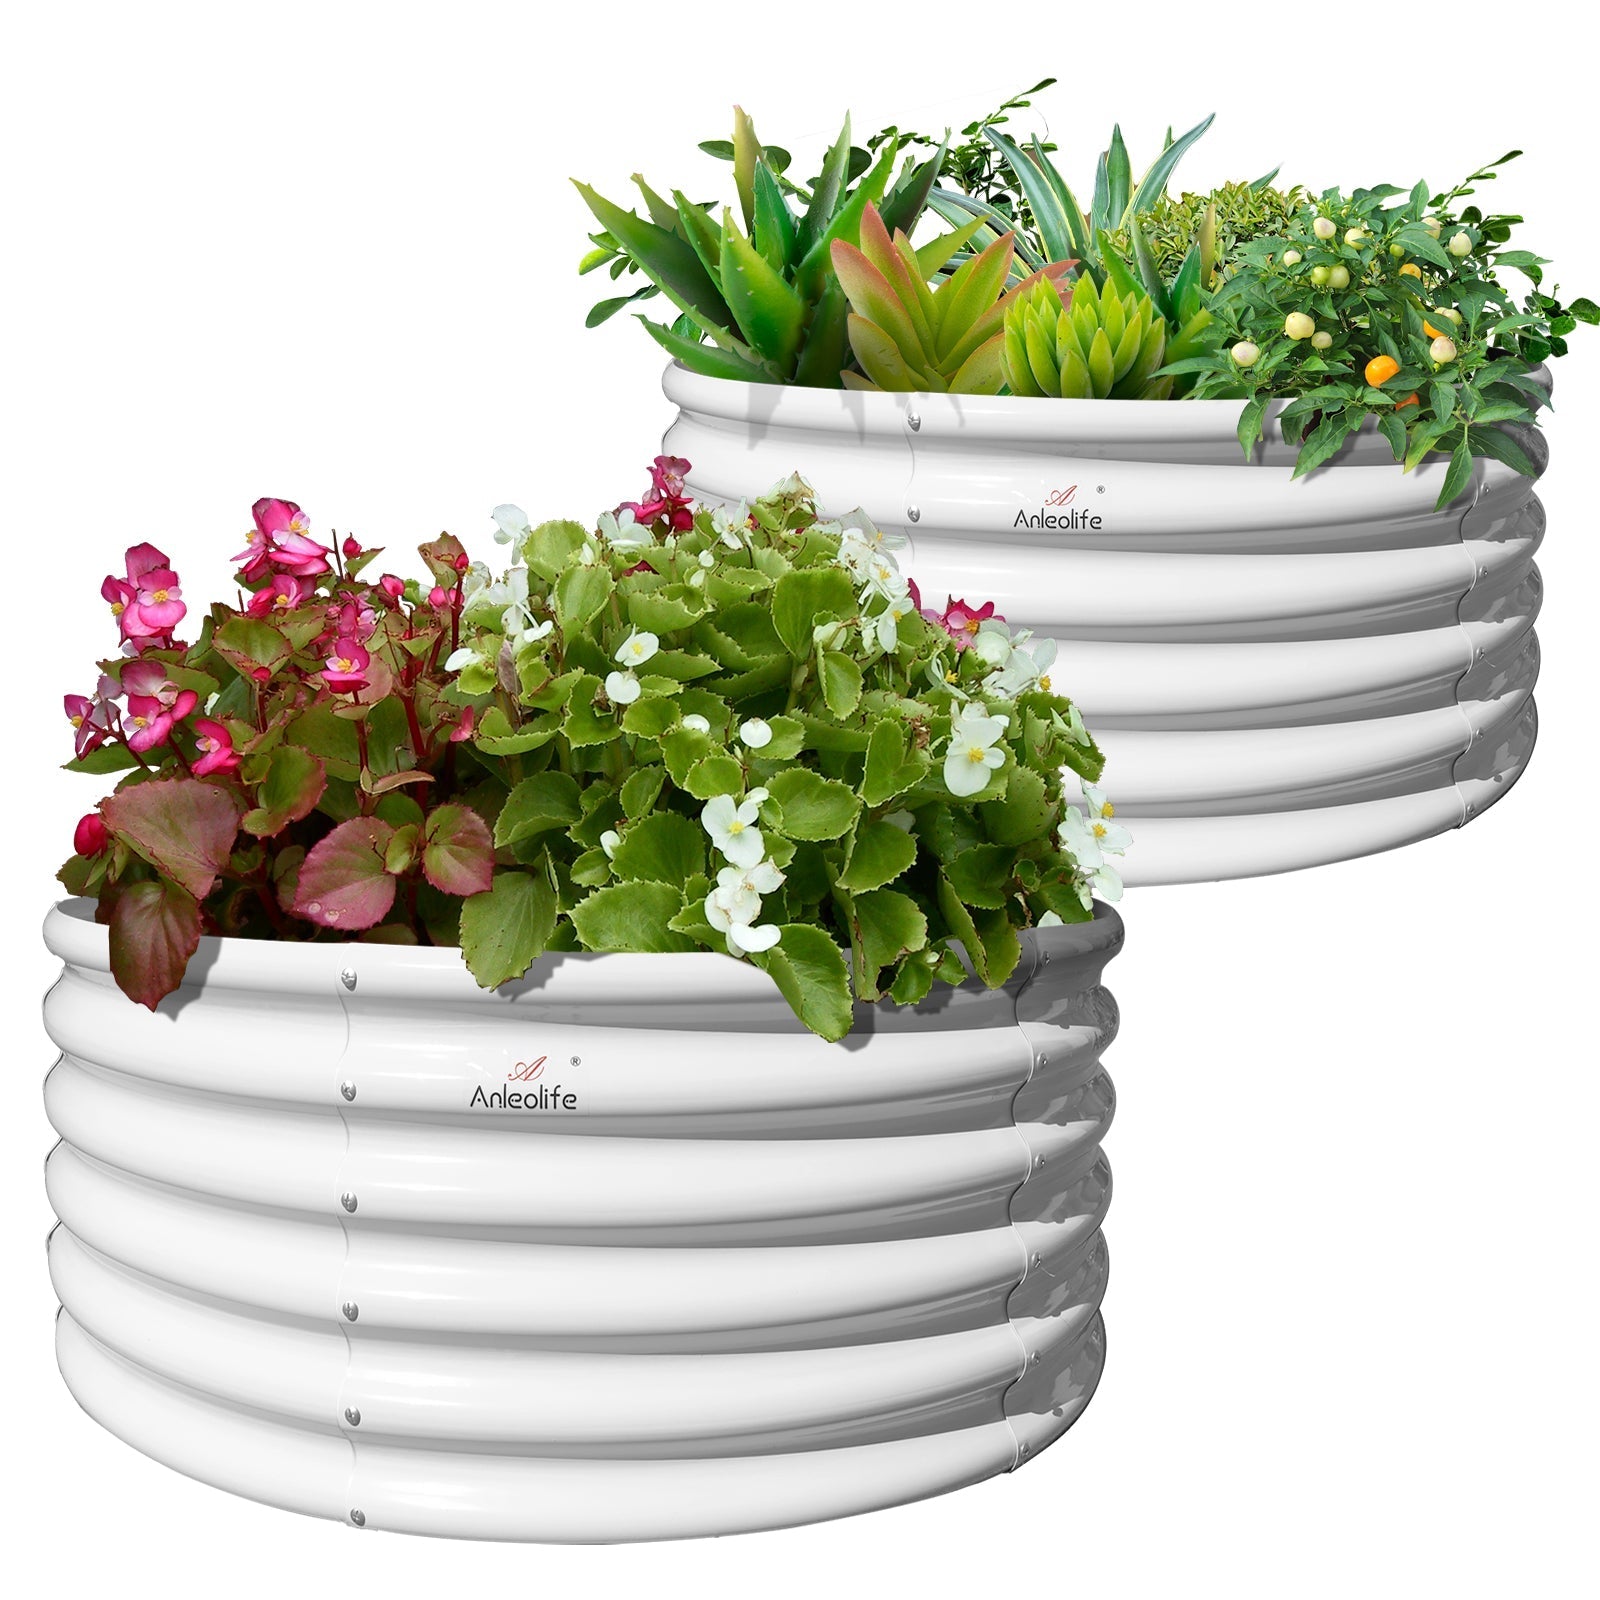
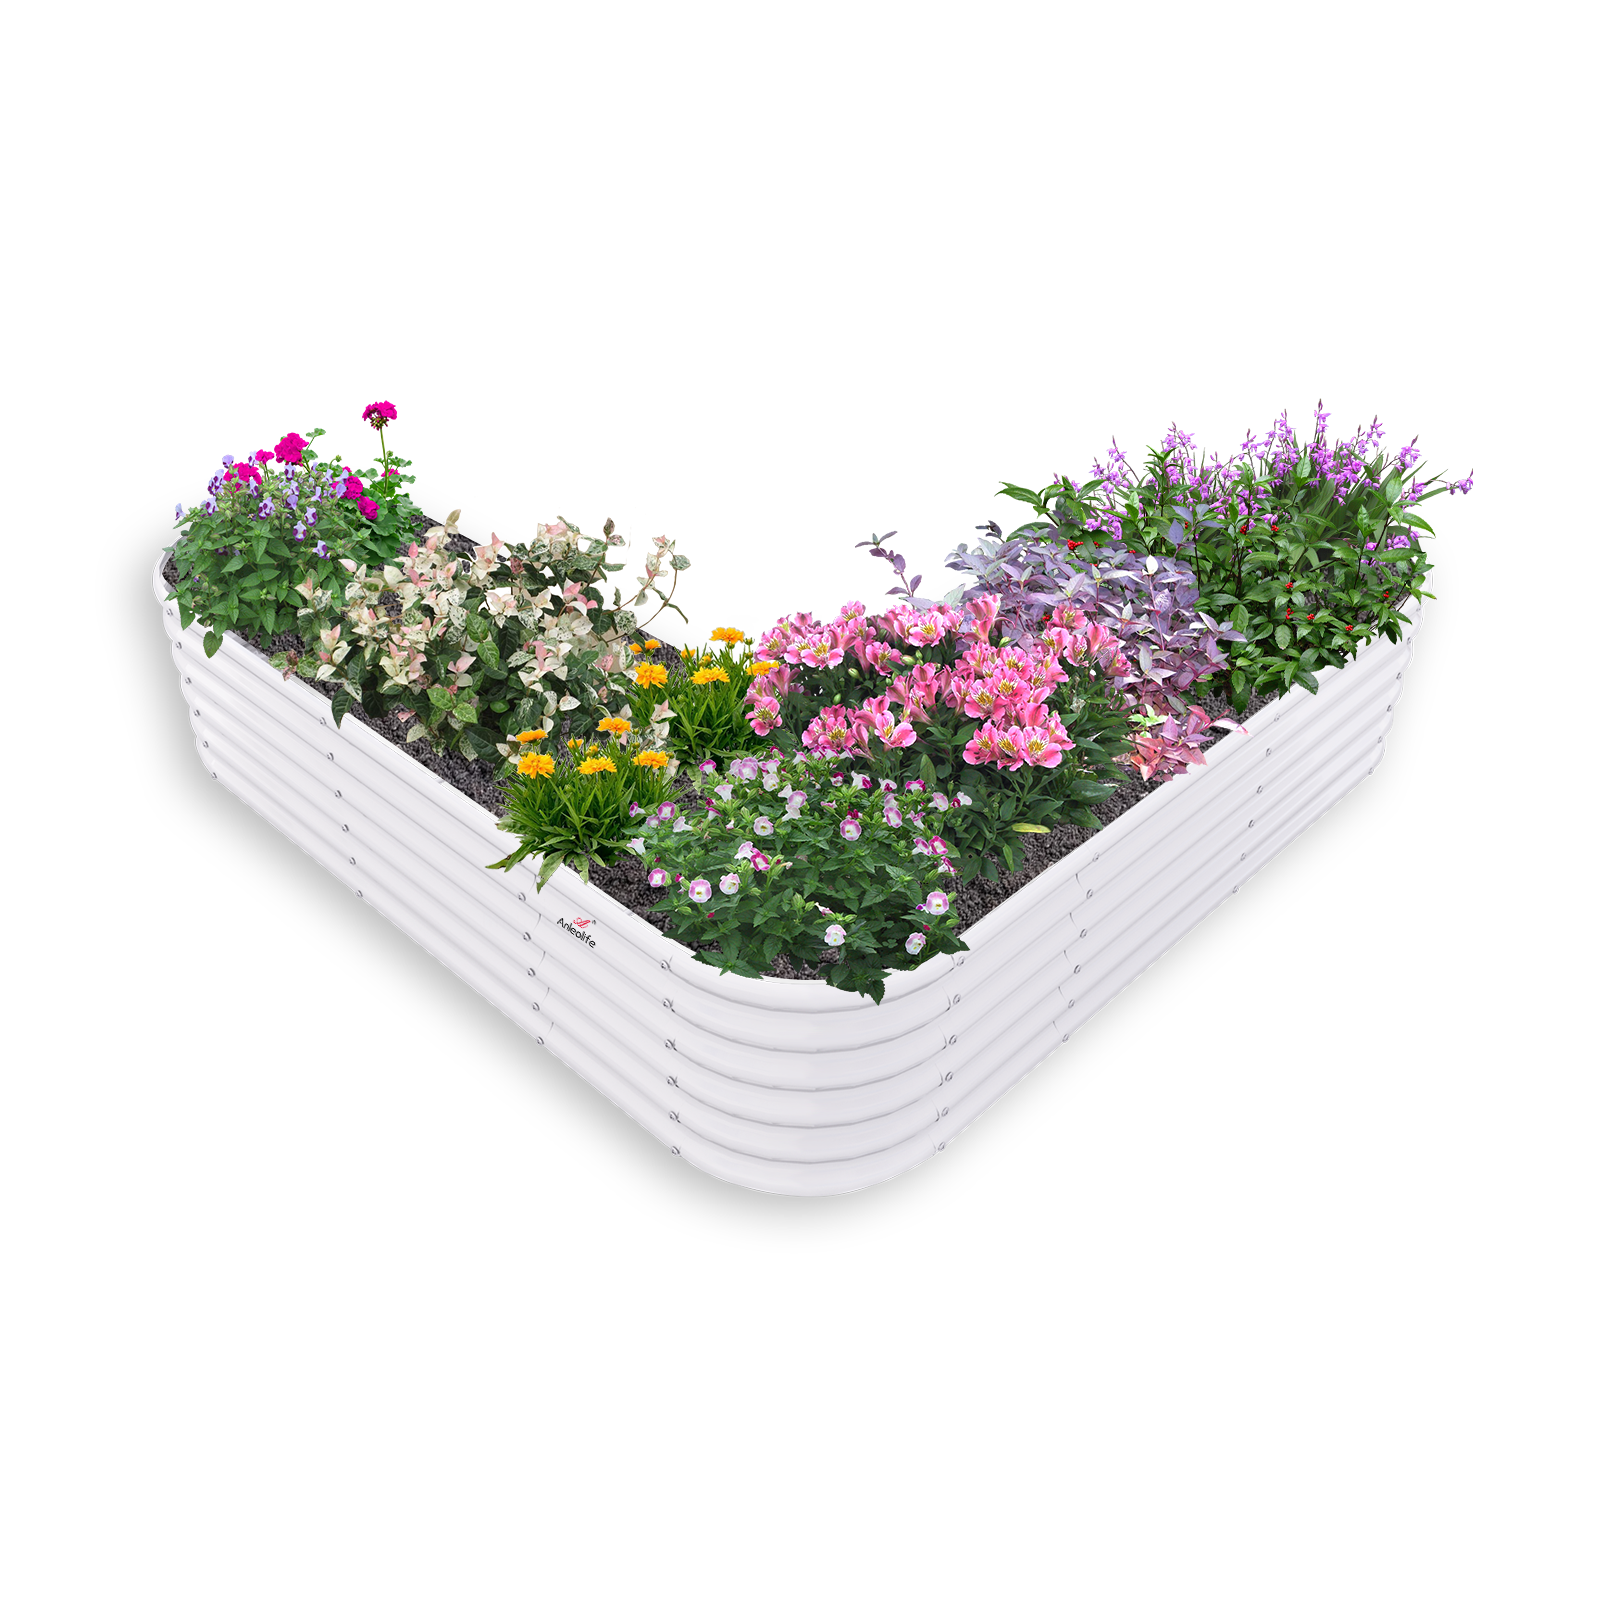
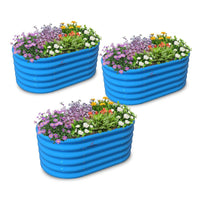
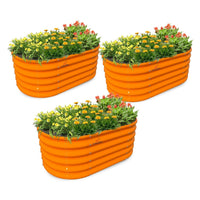
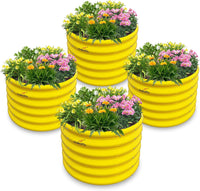
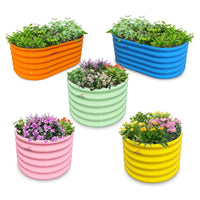
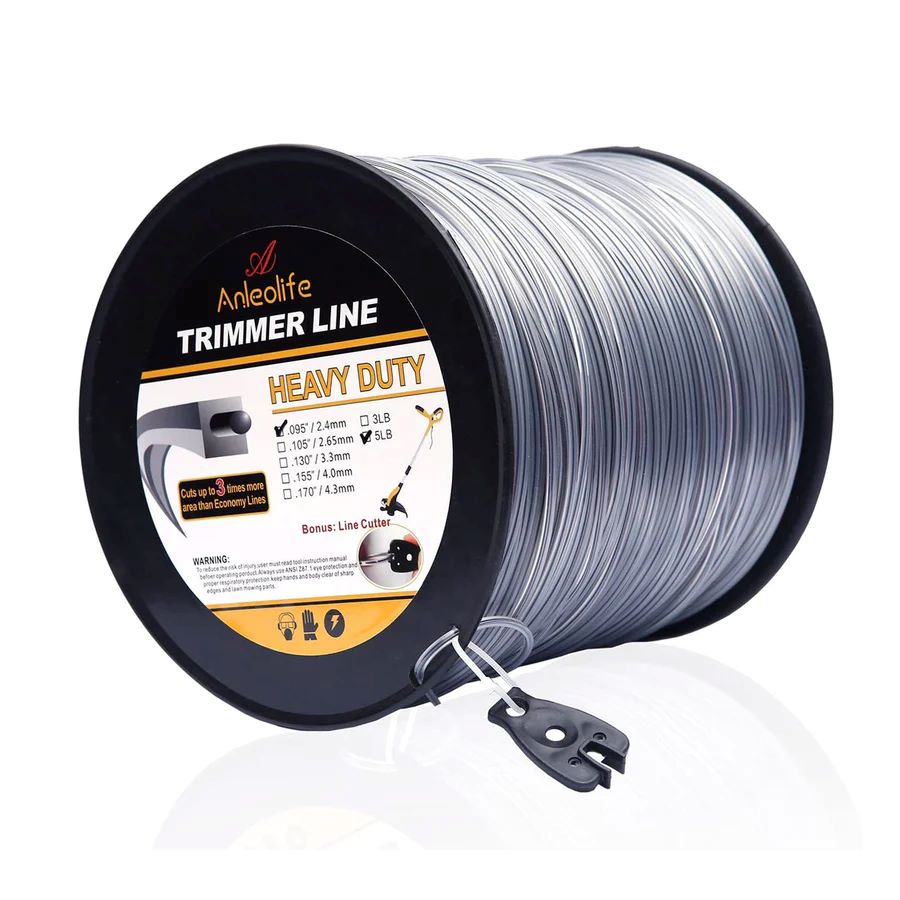
A raised garden bed is the project with the highest long-term return on investment of any item on this list. Once installed, it functions as a dedicated, high-performance growing space that can be used season after season — and in the case of galvanized steel beds from Anleolife, for up to 20 years.
The first decision is choosing the right material. Wood is often the first thing people think of, but it rots, warps, and typically needs replacing within a few years. Galvanized steel is the professional's choice — it's durable, rust-resistant, and weathers the seasons without degrading. If you want to understand the full picture, Galvanized Steel Raised Beds: 7 Reasons They Outperform Wood for Summer Gardening lays out the case comprehensively, and it's hard to argue with the logic once you've compared the two side by side.
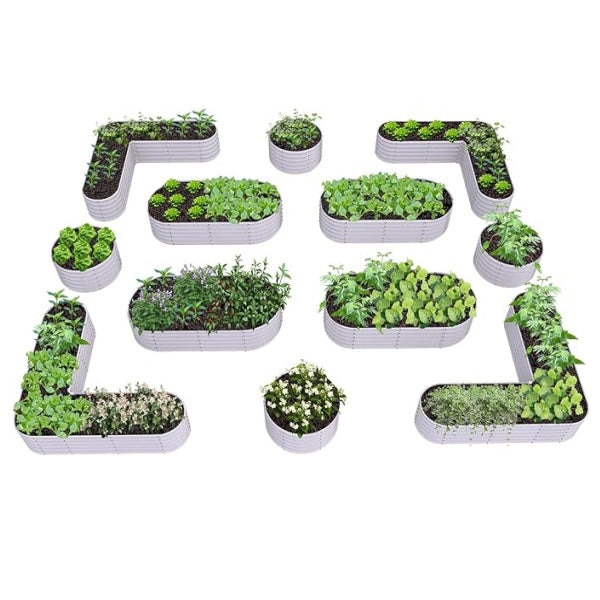
Anleolife's lineup covers a wide range of sizes and heights, from compact options ideal for urban micro-gardens to extra-tall 30-inch beds that eliminate bending entirely — perfect for retirees or anyone with back concerns. The Galvanized Steel Raised Garden Beds are available in multiple footprints including 8x4 ft, 12x3 ft, and 6x3 ft configurations, and the Modular Raised Garden Bed series allows you to customize and expand your layout over time.
For late-summer installation, the goal is to get your bed assembled, placed on leveled ground, and filled with quality growing mix before the end of August. What you fill it with matters enormously — a poor soil mix will underperform no matter how good your bed is. The question of what's the best material for affordable raised garden beds often comes down to the total cost of ownership: galvanized steel costs more upfront than basic wood but lasts decades longer, making it far more cost-effective over time. You can also explore Raised Garden Bed Budget Breakdown: What You Can Expect to Pay This Summer for a realistic cost overview.
For installation, assembly instructions are included with all Anleolife beds and typically require no special tools. Most beds can be assembled by one or two people in a single afternoon.
Project 2: Build a Chicken Tunnel (Chunnel) in Your Backyard
If you keep backyard chickens — or have been thinking about starting — a chicken tunnel, sometimes called a "chunnel," is one of the most rewarding weekend builds you can complete. A chicken tunnel is essentially a covered wire pathway that connects your coop to areas of the yard where you want your flock to forage without giving them complete free-range access to your garden beds.
The benefits are significant: chickens get natural foraging time, insects and weeds in designated areas get naturally controlled, and you maintain full control over where the flock is allowed. For homeowners with raised garden beds, keeping chickens out of growing areas while still allowing them yard access is a common challenge — and the chicken tunnel solves it elegantly.
Basic chicken tunnel construction uses wire mesh (hardware cloth or welded wire), flexible PVC conduit or pre-bent wire hoops, and ground staples or tent pegs. The tunnel can be straight or curved to follow the natural contours of your yard. Adding a simple door mechanism at each end allows you to open and close access as needed.
This is a project that can realistically be started and finished in a single weekend, with most of the time spent on measuring, cutting, and securing the wire. Enlist a helper for the easier sections — it's a genuinely fun group activity that kids often enjoy participating in.
Project 3: Build a Firewood Log Rack Before Fall
This one often catches people off guard — late summer seems early to think about firewood, but it's actually the ideal time. Properly storing firewood requires it to be stacked off the ground, covered, and allowed to dry or "season" before burning. If you're burning wood in a fire pit or fireplace this fall and winter, the wood you store now will be in better burning condition by October.
A firewood log rack is a straightforward weekend build. Freestanding metal log racks are available pre-built and are an easy assembly project. Alternatively, you can build a simple rack from lumber and metal brackets in a couple of hours. The key features to prioritize are:
- Elevation: The rack should keep wood off the ground to prevent moisture absorption and pest infiltration
- Airflow: Open-sided designs allow air to circulate around the wood, accelerating seasoning
- Stability: Ensure the rack won't tip when fully loaded
Position your log rack in a semi-sheltered area of the yard — ideally close enough to your fire pit or back door for convenient access, but not directly against the house where pests could find an easy entry point.
Project 4: Create an Organized Outdoor Tool Station
Ask most backyard homeowners where their hand tools and power tools are stored, and you'll get a vague gesture toward a cluttered corner of the garage or shed. Disorganized tool storage costs you time every single weekend — hunting for the right trowel, untangling extension cords, working around piles of equipment that never seem to have a proper home.
The recommended way to store hand tools and power tools outside involves a few core principles:
- Hand tools (trowels, pruners, weeders) should be hung vertically on a pegboard or tool rail system inside a shed or covered area. Moisture is the enemy — never leave metal tools lying on the ground or in open containers where rain can pool.
- Power tools should be stored in enclosed, weatherproof cases or brought indoors. If you have a dedicated outdoor storage cabinet, ensure it has a proper seal and is placed under a roof or overhang.
- Long-handled tools (rakes, shovels, hoes) can be stored in a tall bin or wall-mounted on a tool rack with individual slots or hooks.
A single weekend is enough time to install a basic pegboard system in a shed, add labeled hooks for each tool category, and clear out the clutter that's accumulated over the season. You'll be amazed how much easier weekend projects become when you know exactly where every tool is.
Project 5: Install Kinetic Wind Spinners and Garden Ornaments
Every productive backyard deserves to be beautiful, and kinetic wind spinners are one of the most satisfying and accessible ways to add dynamic visual interest to your outdoor space. Unlike static garden ornaments, kinetic pieces respond to the breeze, creating constant, gentle movement that brings the garden to life.
For homeowners pursuing a cottage-style landscape aesthetic, the best garden ornaments tend to blend natural textures with whimsical movement. Kinetic wind spinners in copper or brushed metal finishes pair beautifully with stone pathways, vintage-style planters, and overflowing raised garden beds. Ground-mounted spinners, hanging spirals, and stake-style designs are all widely available at garden centers and online.
Installing wind spinners is a genuinely beginner-friendly project — most stake designs require nothing more than pushing them into the ground in a location with good wind exposure. Use them to:
- Define the visual boundaries of garden beds
- Add height and movement to flat lawn areas
- Create focal points in corners or along fence lines
- Complement other decorative features like birdbaths, garden lanterns, or pathway stones
Pairing kinetic wind spinners with a fresh raised bed installation creates a backyard that's equally functional and visually stunning. For more inspiration on making your outdoor space genuinely beautiful without overspending, explore How to Give Your Backyard a Fresh Summer Aesthetic with Minimal Spend.
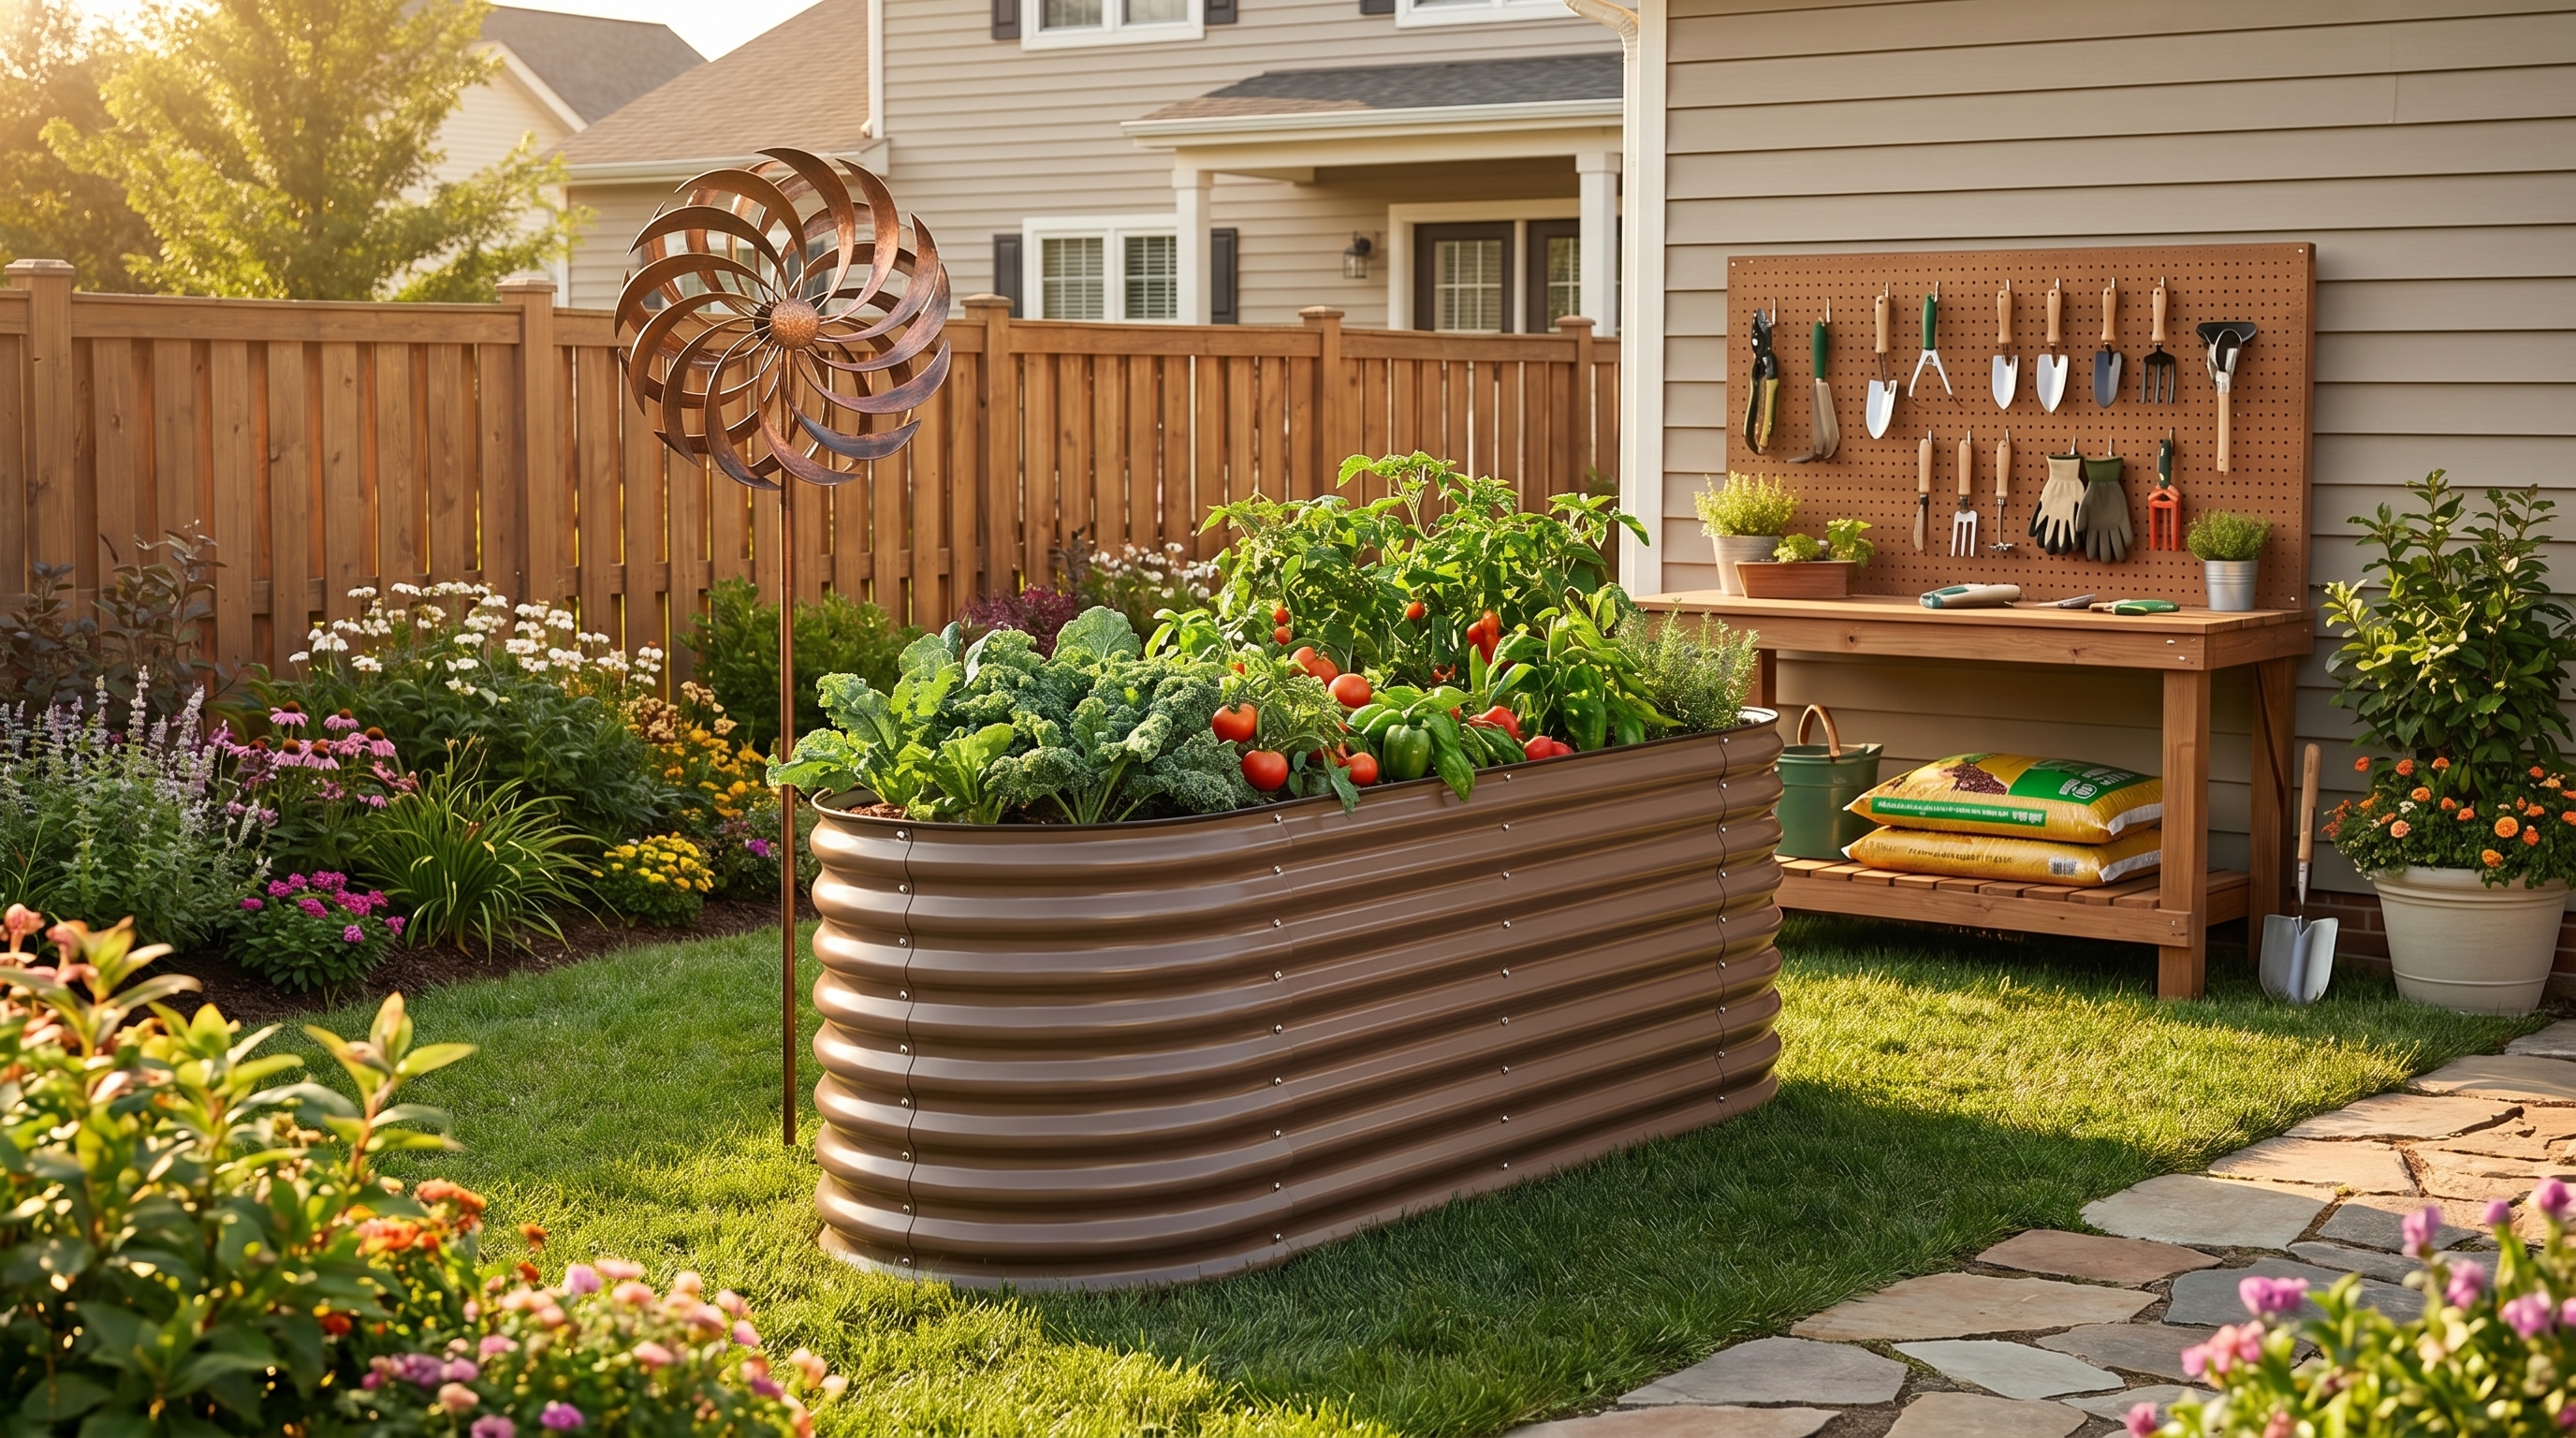
ALT: Backyard with galvanized steel raised garden bed, kinetic wind spinner ornaments, and organized outdoor tool station completed over a summer weekend
Advanced Tips: Getting More From Each Project
Netting: The Often-Forgotten Finishing Touch
Once your raised garden bed is installed and planted, learning how to install garden netting properly is a skill that pays dividends immediately. Garden netting protects crops from birds, insects, and small animals — and for late-summer plantings of brassicas and leafy greens, it can mean the difference between a successful fall harvest and a disappointing one.
For best results, use lightweight row cover or fine mesh netting supported by hoops or a simple PVC frame. The netting should be secured at the base with stakes or weights to prevent gaps that birds and insects can slip through. Leave some slack in the netting to allow plants room to grow upward. For chicken tunnel owners, ensuring your netting connections are tight where the tunnel meets garden boundaries is especially important.
Common Misconceptions About Late-Summer Projects
Misconception 1: "It's too late to install a raised bed this year."
Not true. A raised bed installed in August or September can still support a full fall growing season. Even if you don't plant immediately, filling and settling the soil now gives you a significant head start for spring. For guidance on what to plant as the season transitions, consider reading about Mid-Summer Raised Bed Maintenance: Your Essential June–July Care Checklist to understand what ongoing care looks like.
Misconception 2: "Metal raised beds get too hot for plants in summer."
This is a concern worth addressing factually. Quality galvanized steel beds are designed to manage heat effectively, and the soil mass within the bed acts as a thermal buffer. Proper watering and mulching practices keep root zone temperatures in check even on the hottest days.
Misconception 3: "These projects require professional help."
All five projects on this list are designed for competent beginners. Anleolife raised beds arrive with assembly hardware and instructions, chicken tunnel designs are freely available online in many variations, and log racks, tool stations, and wind spinners are among the most forgiving DIY projects you'll find.
Frequently Asked Questions FAQ
Q1: How do I choose the right size raised garden bed for a beginner?
The most practical starting size for beginners is typically an 8x4 ft raised bed. This footprint gives you enough growing space to produce a meaningful harvest while remaining manageable — you can reach the center of the bed from either side without stepping in. Anleolife offers this popular size in multiple heights, from standard 18-inch options to extra-tall 24–30-inch versions ideal for deeper-rooted vegetables or for gardeners who prefer to work standing up.
Q2: Are galvanized steel raised garden beds safe for growing vegetables?
Yes. Modern galvanized steel uses a zinc coating process that is considered safe for vegetable gardening by the majority of horticultural and food safety authorities. The zinc layer actually inhibits rust formation, which is why quality galvanized steel beds from Anleolife are engineered to last up to 20 years — far outlasting wood alternatives. If you'd like deeper reassurance on the subject, an independent discussion of the topic is available at Are Metal Raised Garden Beds Heat-Safe for Summer Vegetables?
Q3: How long does it take to complete all five projects, and what does it typically cost?
Each project is designed to fit within one to two weekend days. A single person could realistically complete the tool organization station and wind spinner installation in a single day. The raised garden bed and log rack each take a few hours. The chicken tunnel is the most time-intensive at three to six hours. Total costs vary by region and material choices, but all five projects can be completed affordably — particularly if you already own basic tools and can source lumber or wire locally.
Summary
Summer isn't over yet — and these five weekend projects prove that the final stretch of warm weather is some of the most valuable time you'll have for backyard improvements.
Three core takeaways from this guide:
- Late summer is genuinely an ideal time to install raised garden beds, build chicken infrastructure, prepare firewood storage, organize tools, and add decorative touches — each project compounds in value into fall and winter.
- Quality materials pay long-term dividends. A galvanized steel raised garden bed that lasts 20 years is fundamentally a different investment than a wood bed that needs replacing in three to five. Choosing the right materials from the start prevents future weekends from being spent on repairs and replacement.
- Small projects build momentum. Even completing just one of these five projects this weekend will create visible, satisfying change in your backyard — and that progress tends to inspire the next improvement.
The window is open. Pick your first project, gather your materials, and give your backyard the summer-ending upgrade it deserves.
Ready to Get Started?
Anleolife's nationwide U.S. warehouse network is strategically located in California, Texas, Florida, New York, Illinois, and Washington, ensuring delivery within 3–8 business days — so your garden upgrade plans never have to wait.
Products are available on major e-commerce platforms including Amazon, Walmart, Home Depot, Lowe's, Wayfair, and the official website Anleolife.com, providing consistent quality assurance and after-sales service.
Anleolife covers three core scenarios: Planting (metal raised garden beds, soil systems), Raising (chicken coops, rabbit hutches), and Beautification (decorative accessories, pathway systems) — meeting complete needs from functionality to aesthetics.
We understand that an ideal garden is not built overnight, but gradually improved over time. Our modular product design allows flexible expansion based on your needs — from your first garden bed to a fully integrated planting-and-raising ecosystem. We grow with you every step of the way.
References
- National Gardening Association. "Garden to Table: A Guide to Gardening in America."
https://garden.org - University of California Agriculture and Natural Resources. "Raised Bed Gardening."
https://ucanr.edu/ - U.S. Department of Agriculture (USDA). "Home Gardening and Food Safety Resources."
https://www.usda.gov/ - Penn State Extension. "Building and Using Raised Beds."
https://extension.psu.edu/ - Cornell Cooperative Extension. "Vegetable Planting Guide for the Home Garden."
https://cce.cornell.edu/
Note: Standards and recommendations may be updated periodically. Please check the latest official documents or consult professional advisors for the most current guidance.
About Anleolife
Anleolife is a leading outdoor garden solutions provider in North America, dedicated to offering a full-scenario product ecosystem for home gardening enthusiasts, covering planting, raising, and garden beautification. Since its founding, we have upheld our brand mission, "Made for Garden Life," continuously innovating products and optimizing services to help hundreds of thousands of users upgrade their gardens, reconnect with nature, and enjoy a better garden lifestyle.