





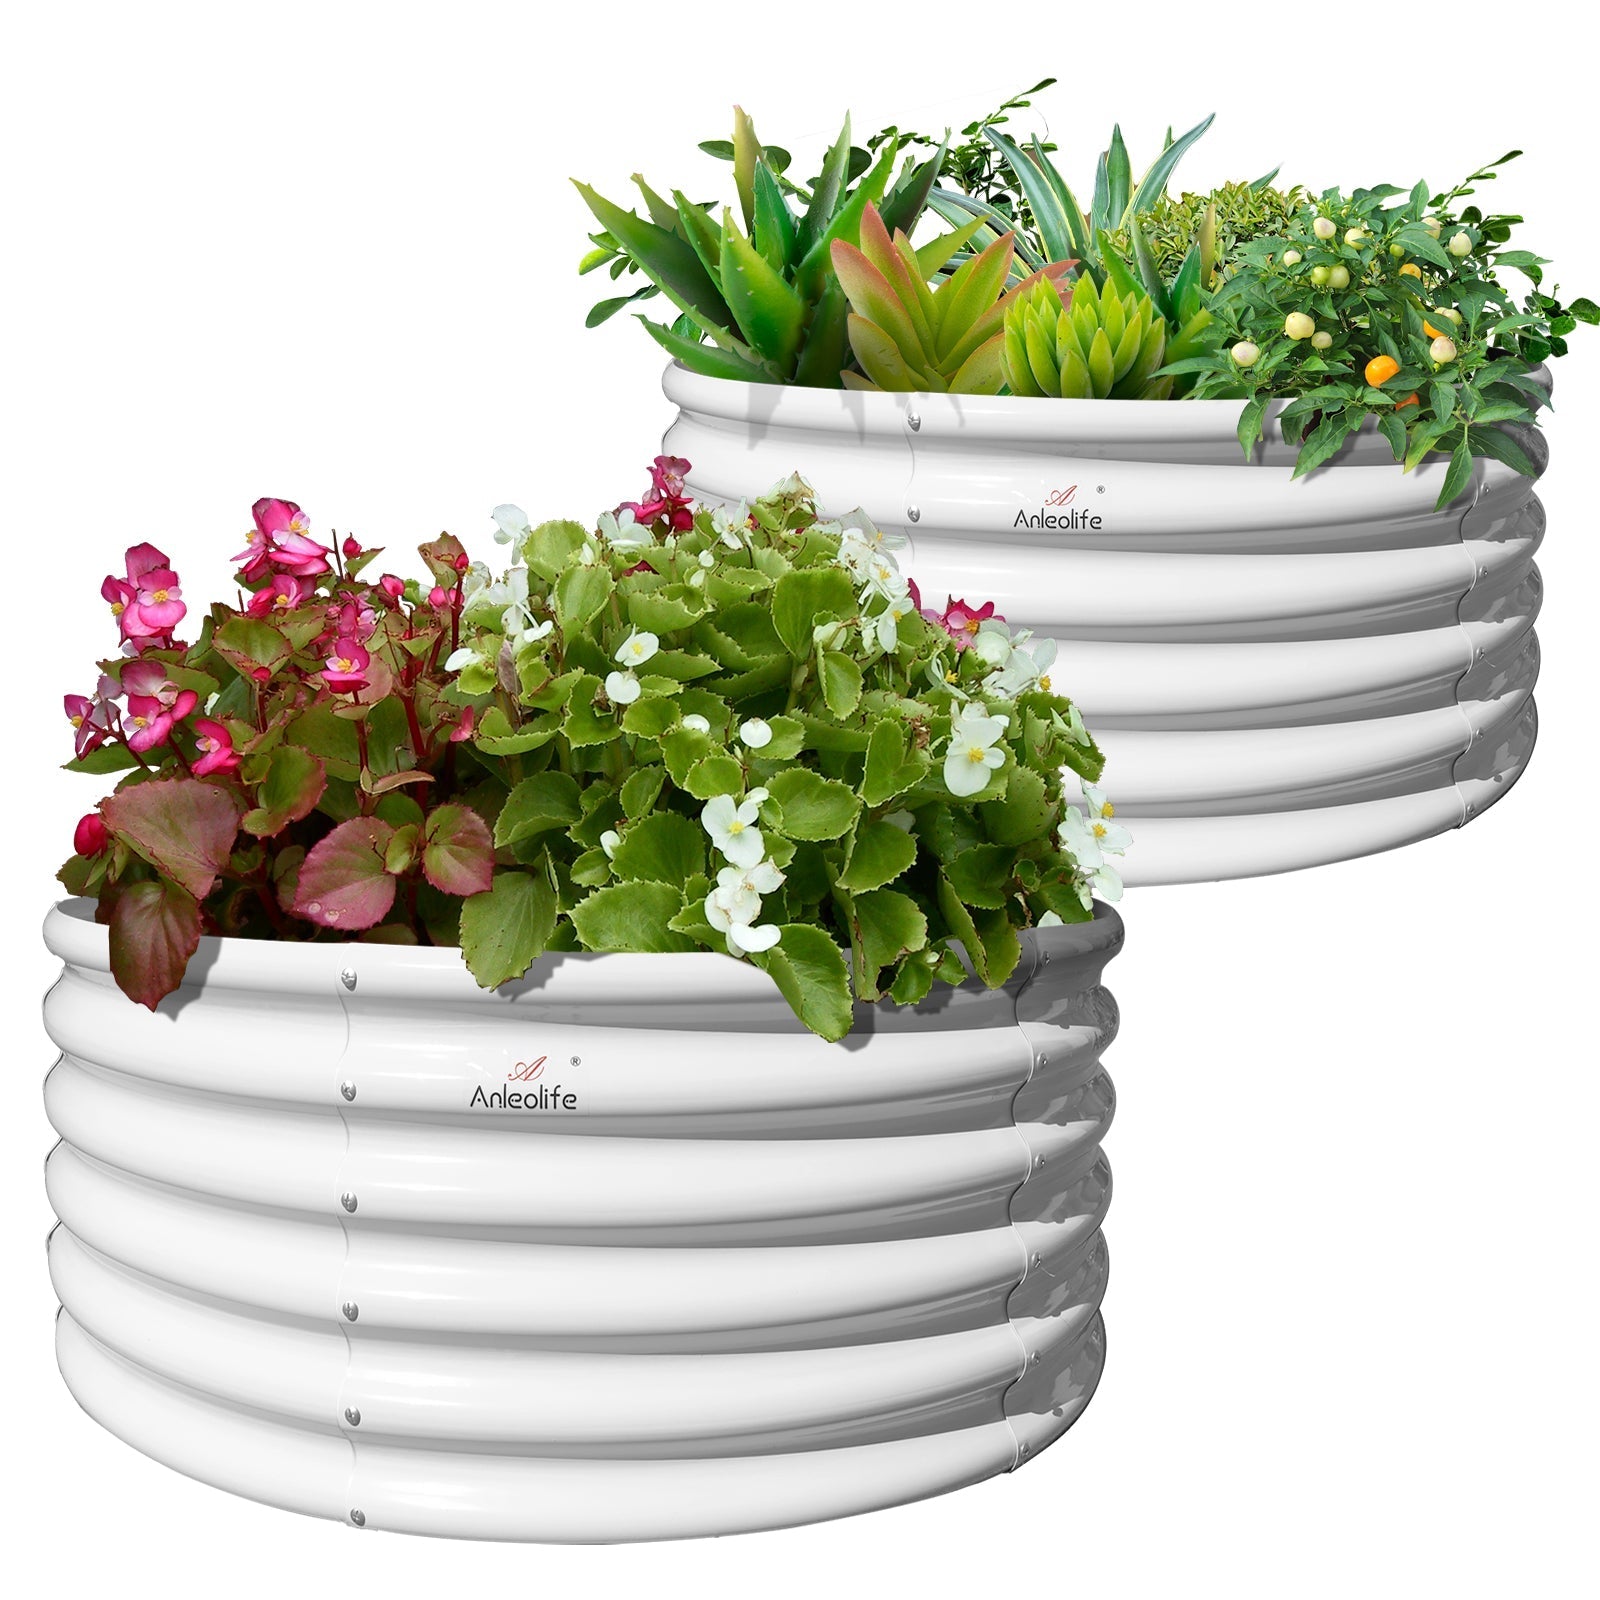







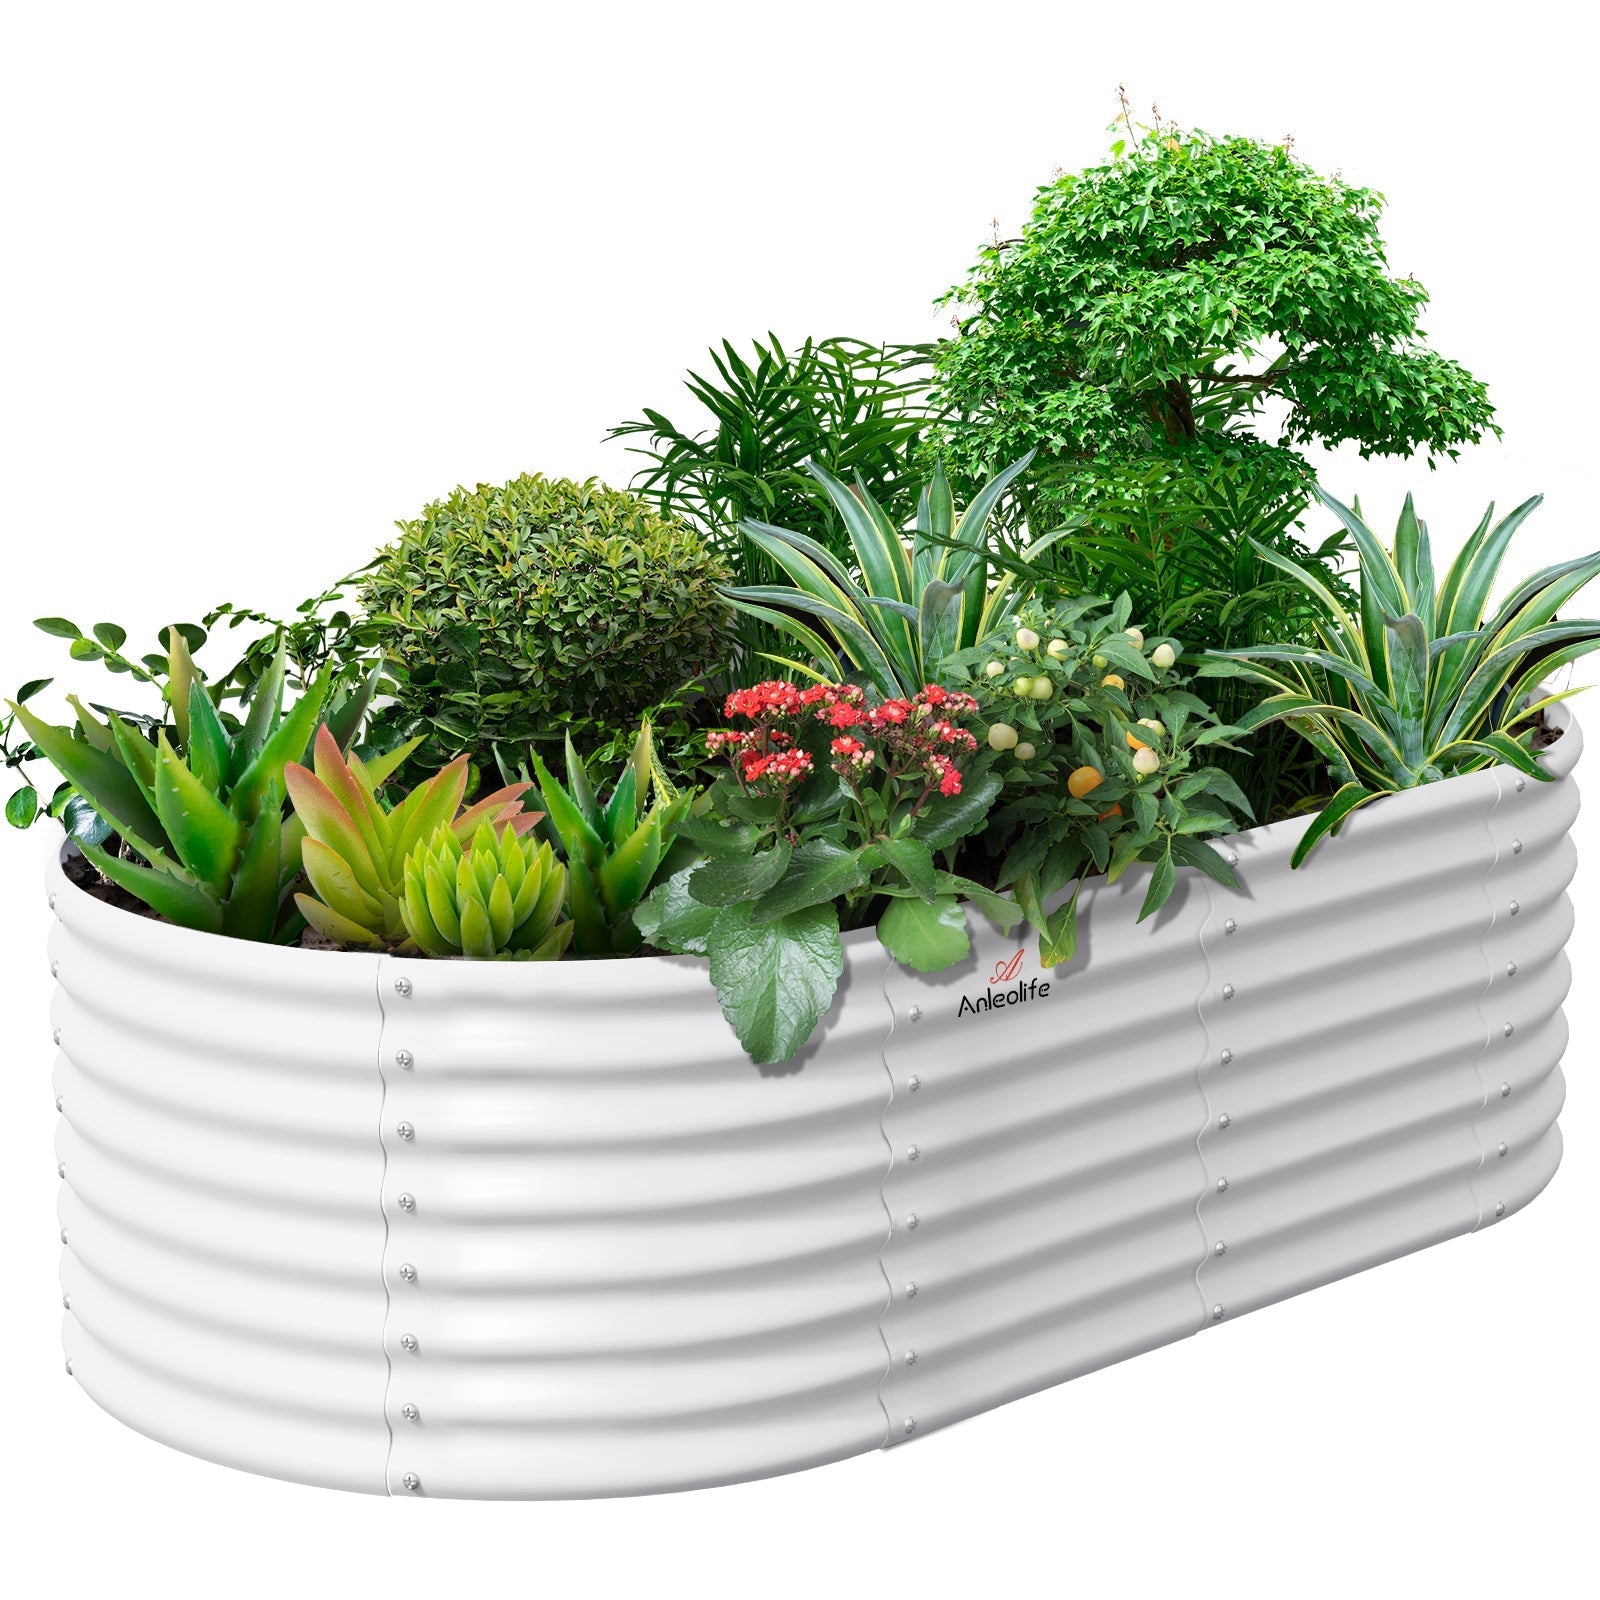














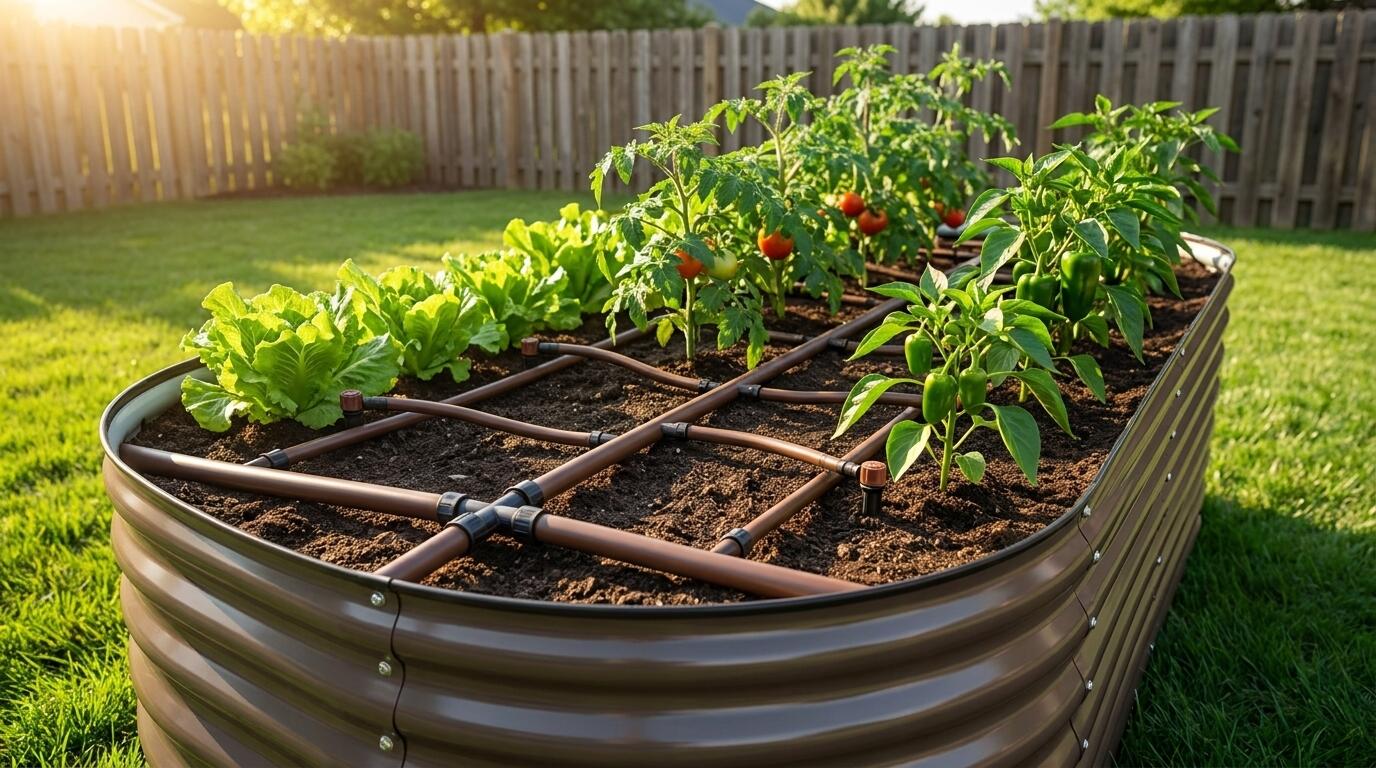
ALT: Drip irrigation system installed in a raised bed garden layout with emitters and tubing
5 Drip Irrigation Mistakes That Could Ruin Your Raised Bed Garden Layout This Season
Are you getting ready to install drip irrigation in your raised bed garden this season — and quietly wondering why your plants never quite thrive the way you expect them to? You're not alone. In our work with home gardeners across North America, a handful of installation errors come up again and again, quietly undermining what should be an efficient, water-saving system.
This article walks you through the five most consequential drip irrigation mistakes — the ones that consistently show up whether someone is setting up their first raised bed planting layout or expanding a well-established backyard growing space. Each item was chosen because it has a direct, measurable impact on plant health, water efficiency, and the long-term performance of your raised bed layout. Read through the full list before you buy a single fitting or cut a single length of tubing, and you'll save yourself real time, money, and frustration.
A quick note on how to use this list: you don't need to address every item at once. Think of each mistake as its own troubleshooting chapter. Identify which ones apply to your current setup, fix those first, and revisit the others as your garden grows.
The 5 Drip Irrigation Mistakes That Quietly Undermine Your Garden
Skipping a Pressure Regulator (and Trusting Your Home Water Line)
Drip irrigation is a low-pressure system, meaning it is engineered to deliver water slowly and precisely at pressures far below what a typical residential water supply produces. When you connect drip tubing directly to a standard home water line without a pressure regulator, the excess force causes emitters to blow off, tubing to pop apart at connections, and flow rates to become wildly inconsistent. The result is overwatering in some spots and drought stress in others — the exact problem drip systems are designed to prevent.
According to the Irrigation Association, most drip systems perform optimally within a specific low-pressure range, and running them at standard household line pressure can shorten component life significantly. A pressure regulator is an inexpensive inline device that reduces incoming water pressure to a level the system is designed for. It typically threads directly onto a hose bib or timer and costs a fraction of what you'll spend replacing blown emitters mid-season.
Best for: Any gardener connecting drip irrigation to a standard residential water supply — which is nearly everyone growing in raised beds at home.
Watch out: Not all pressure regulators are rated for the same output pressure. Match the regulator's output rating to your specific drip system's recommended operating range, which is usually printed on the tubing packaging or the emitter specification sheet.
Ignoring Your Raised Bed Layout When Spacing Emitters
Emitter spacing is one of the most common places a raised bed garden layout goes wrong. The instinct for many first-time installers is to space emitters evenly across the entire bed — say, one every twelve inches in a straight line — without accounting for where plants are actually positioned or how their root zones spread. A raised bed planting layout that groups heavy feeders like tomatoes and peppers together has very different water demands than a mixed salsa bed planted with herbs, onions, and compact greens.
The consequence of ignoring plant positioning is twofold: some plants get too much water (leading to root rot and fungal issues), and others get too little (leading to slow growth and bolting in leafy crops). The fix is to plan your emitter placement directly from your raised bed layout diagram before you run any tubing. Sketch out where each plant will go, note its water needs, and position emitters to serve root zones rather than to fill space.
This is especially important in larger raised bed configurations. If you're working with something like an 8x4 ft or a 12x3 ft bed — the kind of footprint where a single main line won't efficiently reach the full width — you'll want to use a multi-lateral layout with branch lines running perpendicular to the main supply line. For those planning a multi-bed backyard setup, a step-by-step guide to planning a multi-bed backyard garden transformation can help you think through the full irrigation and layout strategy before you commit to hardware.
Best for: Gardeners with mixed plantings, multiple crop types in a single bed, or large raised beds where water distribution uniformity is critical.
Watch out: Emitter spacing requirements change when you switch crops between seasons. If you replant a bed with entirely different species, revisit your emitter map rather than assuming last season's layout still applies.
Using the Wrong Tubing Size for Your Bed's Scale
Drip irrigation systems use two primary tubing sizes: mainline supply tubing (typically larger diameter) and distribution or "spaghetti" tubing (smaller diameter) that branches off to individual emitters. A pattern we consistently see is gardeners using only one size throughout — often running small-diameter tubing as the main supply line across a long or wide raised bed. As tubing length increases, pressure drops along the run, meaning emitters near the end of the line deliver significantly less water than those near the source.
The U.S. Department of Agriculture's Natural Resources Conservation Service (NRCS) has documented pressure loss as a primary cause of non-uniform drip irrigation performance in small-scale growing systems. The practical takeaway for home gardeners: use larger mainline tubing to carry water from the source to the bed, then branch off with smaller distribution tubing to serve individual plants. For beds longer than roughly eight feet, this two-tier approach is almost always worth the minor added complexity.
For raised beds built from durable materials like galvanized steel — which Anleolife engineers to last up to 20 years — the structural integrity of the bed is rarely the issue. The limiting factor in long-term performance is usually the irrigation system feeding it. Investing a little more thought into tubing sizing upfront pays dividends every season.
Best for: Gardeners with long rectangular beds (such as 12x3 ft or 10x3 ft footprints) or anyone running multiple beds off a single water source.
Watch out: Spaghetti tubing is flexible and easy to kink, especially at connection points. Use barbed connectors and secure the tubing with stakes to keep flow paths clear and consistent.
Forgetting a Filter — and Paying for It in Clogged Emitters
Drip emitters have very small openings — that's what makes them precise. And small openings clog. Debris in your water supply, whether it's fine sediment from a municipal line, organic matter from a rain barrel, or mineral scale from hard water, will collect in emitters over time and reduce or block flow entirely. Without a filter at the head of your system, you may not notice the problem until a plant wilts mid-summer and you trace it back to an emitter that stopped working weeks ago.
A filter is a simple mesh or disc component that installs at the water source, upstream of your pressure regulator and timer. According to the University of California Cooperative Extension, which has published extensively on drip irrigation best practices for home gardens, using a filter rated for your water quality is one of the highest-return maintenance investments you can make. In hard-water regions — large parts of the American Southwest and interior regions — a filter combined with periodic emitter flushing can triple the functional life of a drip system.
If you're drawing water from a rain barrel or collected source as part of an eco-conscious garden approach, filtration becomes even more critical. Organic particles in collected water are particularly effective at clogging small emitters.
Best for: Anyone in a hard-water region, anyone using collected or reclaimed water, and anyone who prefers a low-maintenance system that doesn't require seasonal emitter replacement.
Watch out: Filters need to be cleaned or replaced periodically. Check the filter screen at the start and end of each growing season, and inspect it mid-season if you notice any drop in system output.
Setting a One-Size-Fits-All Timer Schedule (and Never Revisiting It)
A drip timer is one of the most useful tools in a garden irrigation setup — and one of the most misused. The mistake isn't in using a timer; it's in programming a single schedule at the start of the season and leaving it unchanged as conditions shift. Watering needs in early spring when soil stays cool and evaporation is low are fundamentally different from mid-summer needs when temperatures climb, plants are at peak canopy size, and water demand can increase by a factor of two or more.
The concept at play here is evapotranspiration — the combined rate at which water evaporates from soil and transpires through plant leaves. As the USDA's irrigation research guidelines note, evapotranspiration rates change with temperature, humidity, wind, and plant growth stage, meaning a static timer schedule that worked in May will underwater your garden in July and overwater it in October.
The practical fix is to check in on your timer schedule at least once a month during the growing season. A simple soil moisture check — pushing a finger two inches into the soil near the root zone — takes less than a minute and tells you whether your timing is still appropriate. For gardeners who want a more systematic approach, choosing the right drip irrigation system for your raised garden beds includes guidance on timer types, including weather-based smart controllers that adjust automatically to local conditions.
Best for: Every gardener using a timer-based drip system, from beginners running a simple mechanical dial timer to experienced growers with multi-zone electronic controllers.
Watch out: Automated systems can create a false sense of security. Even with a smart controller, physical inspection of soil moisture and plant health remains the most reliable indicator of whether your irrigation is performing correctly.
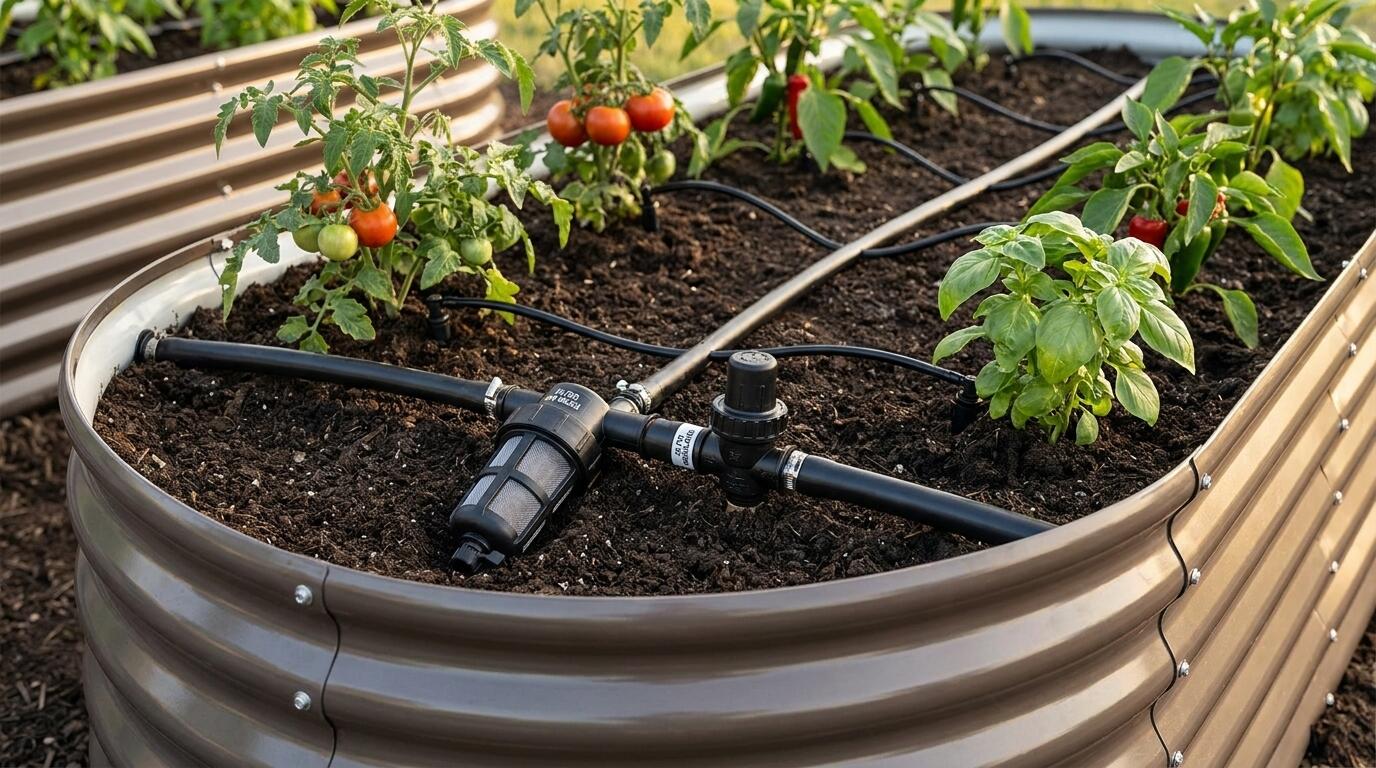
ALT: Properly installed drip irrigation system in a galvanized steel raised bed garden layout showing tubing, emitters, filter, and pressure regulator setup for efficient watering
Quick Comparison at a Glance
The five mistakes above address different layers of a drip irrigation system — from the hardware you install to the schedules you set. Here's a side-by-side summary to help you quickly identify which gaps might exist in your current setup.
| Mistake | Best Addressed By | Key Benefit of Fixing It | Limitation to Keep in Mind |
|---|---|---|---|
| Skipping a pressure regulator | Adding an inline pressure regulator at the water source | Prevents emitter blowouts and extends component life | Must match regulator output to system specifications |
| Ignoring raised bed layout when spacing emitters | Mapping emitter positions from your planting diagram | Delivers water where roots actually are, reducing waste | Emitter map must be updated when crops rotate |
| Using the wrong tubing size | Two-tier tubing (mainline + distribution) | Maintains consistent pressure and flow across long runs | Spaghetti tubing requires staking to prevent kinking |
| Forgetting a filter | Installing a mesh or disc filter upstream of the regulator | Prevents clogging and extends emitter life | Filters require seasonal inspection and cleaning |
| One-size-fits-all timer schedule | Monthly schedule review + soil moisture checks | Matches water delivery to actual plant demand | Even smart controllers benefit from physical plant checks |
Reading across this table, you'll notice that most of these fixes involve adding one low-cost component or establishing one simple habit. None of them require tearing out and rebuilding your system from scratch.
How to Choose the Right Fix for Your Situation
Identifying which of these mistakes applies to your garden depends less on your experience level and more on the specifics of your setup. Here's a practical way to triage.
If you're setting up drip irrigation for the first time in a new raised bed, prioritize mistakes one through three — the pressure regulator, emitter spacing, and tubing sizing. Getting these right from the start means your system will perform well immediately and continue to perform well without constant troubleshooting.
If you're troubleshooting an existing system that's working inconsistently — some plants thriving, others struggling — mistake two (emitter spacing relative to your raised bed planting layout) and mistake four (clogged emitters from missing filtration) are the most likely culprits. Walk your system while it's running and look for emitters with reduced output or no output at all.
If your system worked well early in the season but seems to be underperforming now that summer is fully underway, revisit mistake five. An unadjusted timer schedule is the most common cause of mid-season decline in otherwise well-installed systems.
A common misconception worth addressing directly: many gardeners assume that drip irrigation is inherently more forgiving than overhead watering and therefore requires less attention once installed. In practice, drip systems are more sensitive to pressure variation, debris, and specification mismatches precisely because they work at lower pressures and smaller flow rates. The payoff — significantly better water efficiency and reduced foliar disease — is real, but it comes from a system that's set up thoughtfully and checked periodically.
One final consideration: the quality of the raised bed itself shapes how well irrigation performs over time. A galvanized steel raised garden bed, such as those in the Anleolife lineup, provides a stable, non-degrading enclosure that maintains consistent soil volume and drainage characteristics season after season. Beds built from materials that warp, rot, or leach compounds into the soil over time can create unpredictable moisture conditions that no irrigation system can fully compensate for. If you're assessing your full growing setup, it's worth reading about what makes a raised garden bed durable enough to last a decade alongside your irrigation planning.
Frequently Asked Questions FAQ
Q1: How do I know what pressure my drip system needs?
The recommended operating pressure for your drip irrigation system is typically listed on the product packaging for your emitters or mainline tubing. Most residential drip systems are designed to work within a low-pressure range well below standard household line pressure. A pressure regulator — an inexpensive inline device — brings incoming pressure down to the correct operating range. If you're unsure, consult the manufacturer's specification sheet or the Irrigation Association's published guidelines for small-scale drip systems.
Q2: Is drip irrigation suitable for all types of raised bed planting layouts?
Drip irrigation works well in nearly all raised bed garden layouts, including densely planted beds, single-crop rows, and mixed-use configurations combining vegetables, herbs, and flowers. The key is positioning emitters to serve actual root zones rather than spacing them uniformly by habit. In beds with very dense plantings or compact ground-cover crops, soaker hose loops can supplement point-source emitters to achieve more even moisture distribution across the entire soil surface.
Q3: How long does a well-maintained drip irrigation system typically last?
The lifespan of a drip irrigation system depends heavily on water quality, UV exposure, and maintenance consistency. In our experience working with raised bed gardeners, mainline tubing in good conditions commonly remains functional for multiple growing seasons when stored or covered during off-season months. Emitters are the most frequently replaced component, particularly in hard-water areas where mineral deposits accumulate. Using a filter from the outset and flushing the system at the end of each season are the two practices most reliably associated with longer system life.
Wrapping Up
Getting drip irrigation right in a raised bed garden is less about advanced technique and more about avoiding a short list of well-documented, entirely preventable errors. Here are the key takeaways from everything covered above:
- A pressure regulator is not optional — it protects every component downstream and is one of the lowest-cost, highest-impact items you can add to any drip setup.
- Your raised bed layout diagram is the most useful tool you have for placing emitters correctly; design for root zones, not for even spacing.
- Two-tier tubing (mainline supply plus distribution branches) maintains consistent pressure across long or wide beds and is worth the modest added complexity.
- A filter at the head of the system is the single best defense against clogged emitters and the maintenance frustration that follows.
- A timer schedule set once in spring is almost guaranteed to underperform by summer; build a monthly check-in habit and treat soil moisture as your primary feedback signal.
The next practical step is to walk your existing irrigation setup — or sketch your planned one — against each of these five points. Identify the gap that's most likely affecting you right now, address that first, and work through the rest before the peak of the season arrives.
Ready to Build a Garden That Works as Hard as You Do?
Explore the full range of raised garden beds and garden solutions at Anleolife — available on Amazon, Walmart, Home Depot, Lowe's, Wayfair, and directly at Anleolife.com. With warehouse locations across California, Texas, Florida, New York, Illinois, and Washington, your order ships in 3–8 business days so your growing season doesn't have to wait. Whether you're starting with a single raised bed or building out a complete planting-and-raising ecosystem, Anleolife's modular designs grow with you at every stage.
Sources & Citations
- U.S. Department of Agriculture, Natural Resources Conservation Service (NRCS). "Irrigation Water Management."
https://www.nrcs.usda.gov - University of California Cooperative Extension. "Drip Irrigation in the Home Landscape."
https://ucanr.edu - U.S. Environmental Protection Agency, WaterSense Program. "Outdoor Water Use in the United States."
https://www.epa.gov








