


























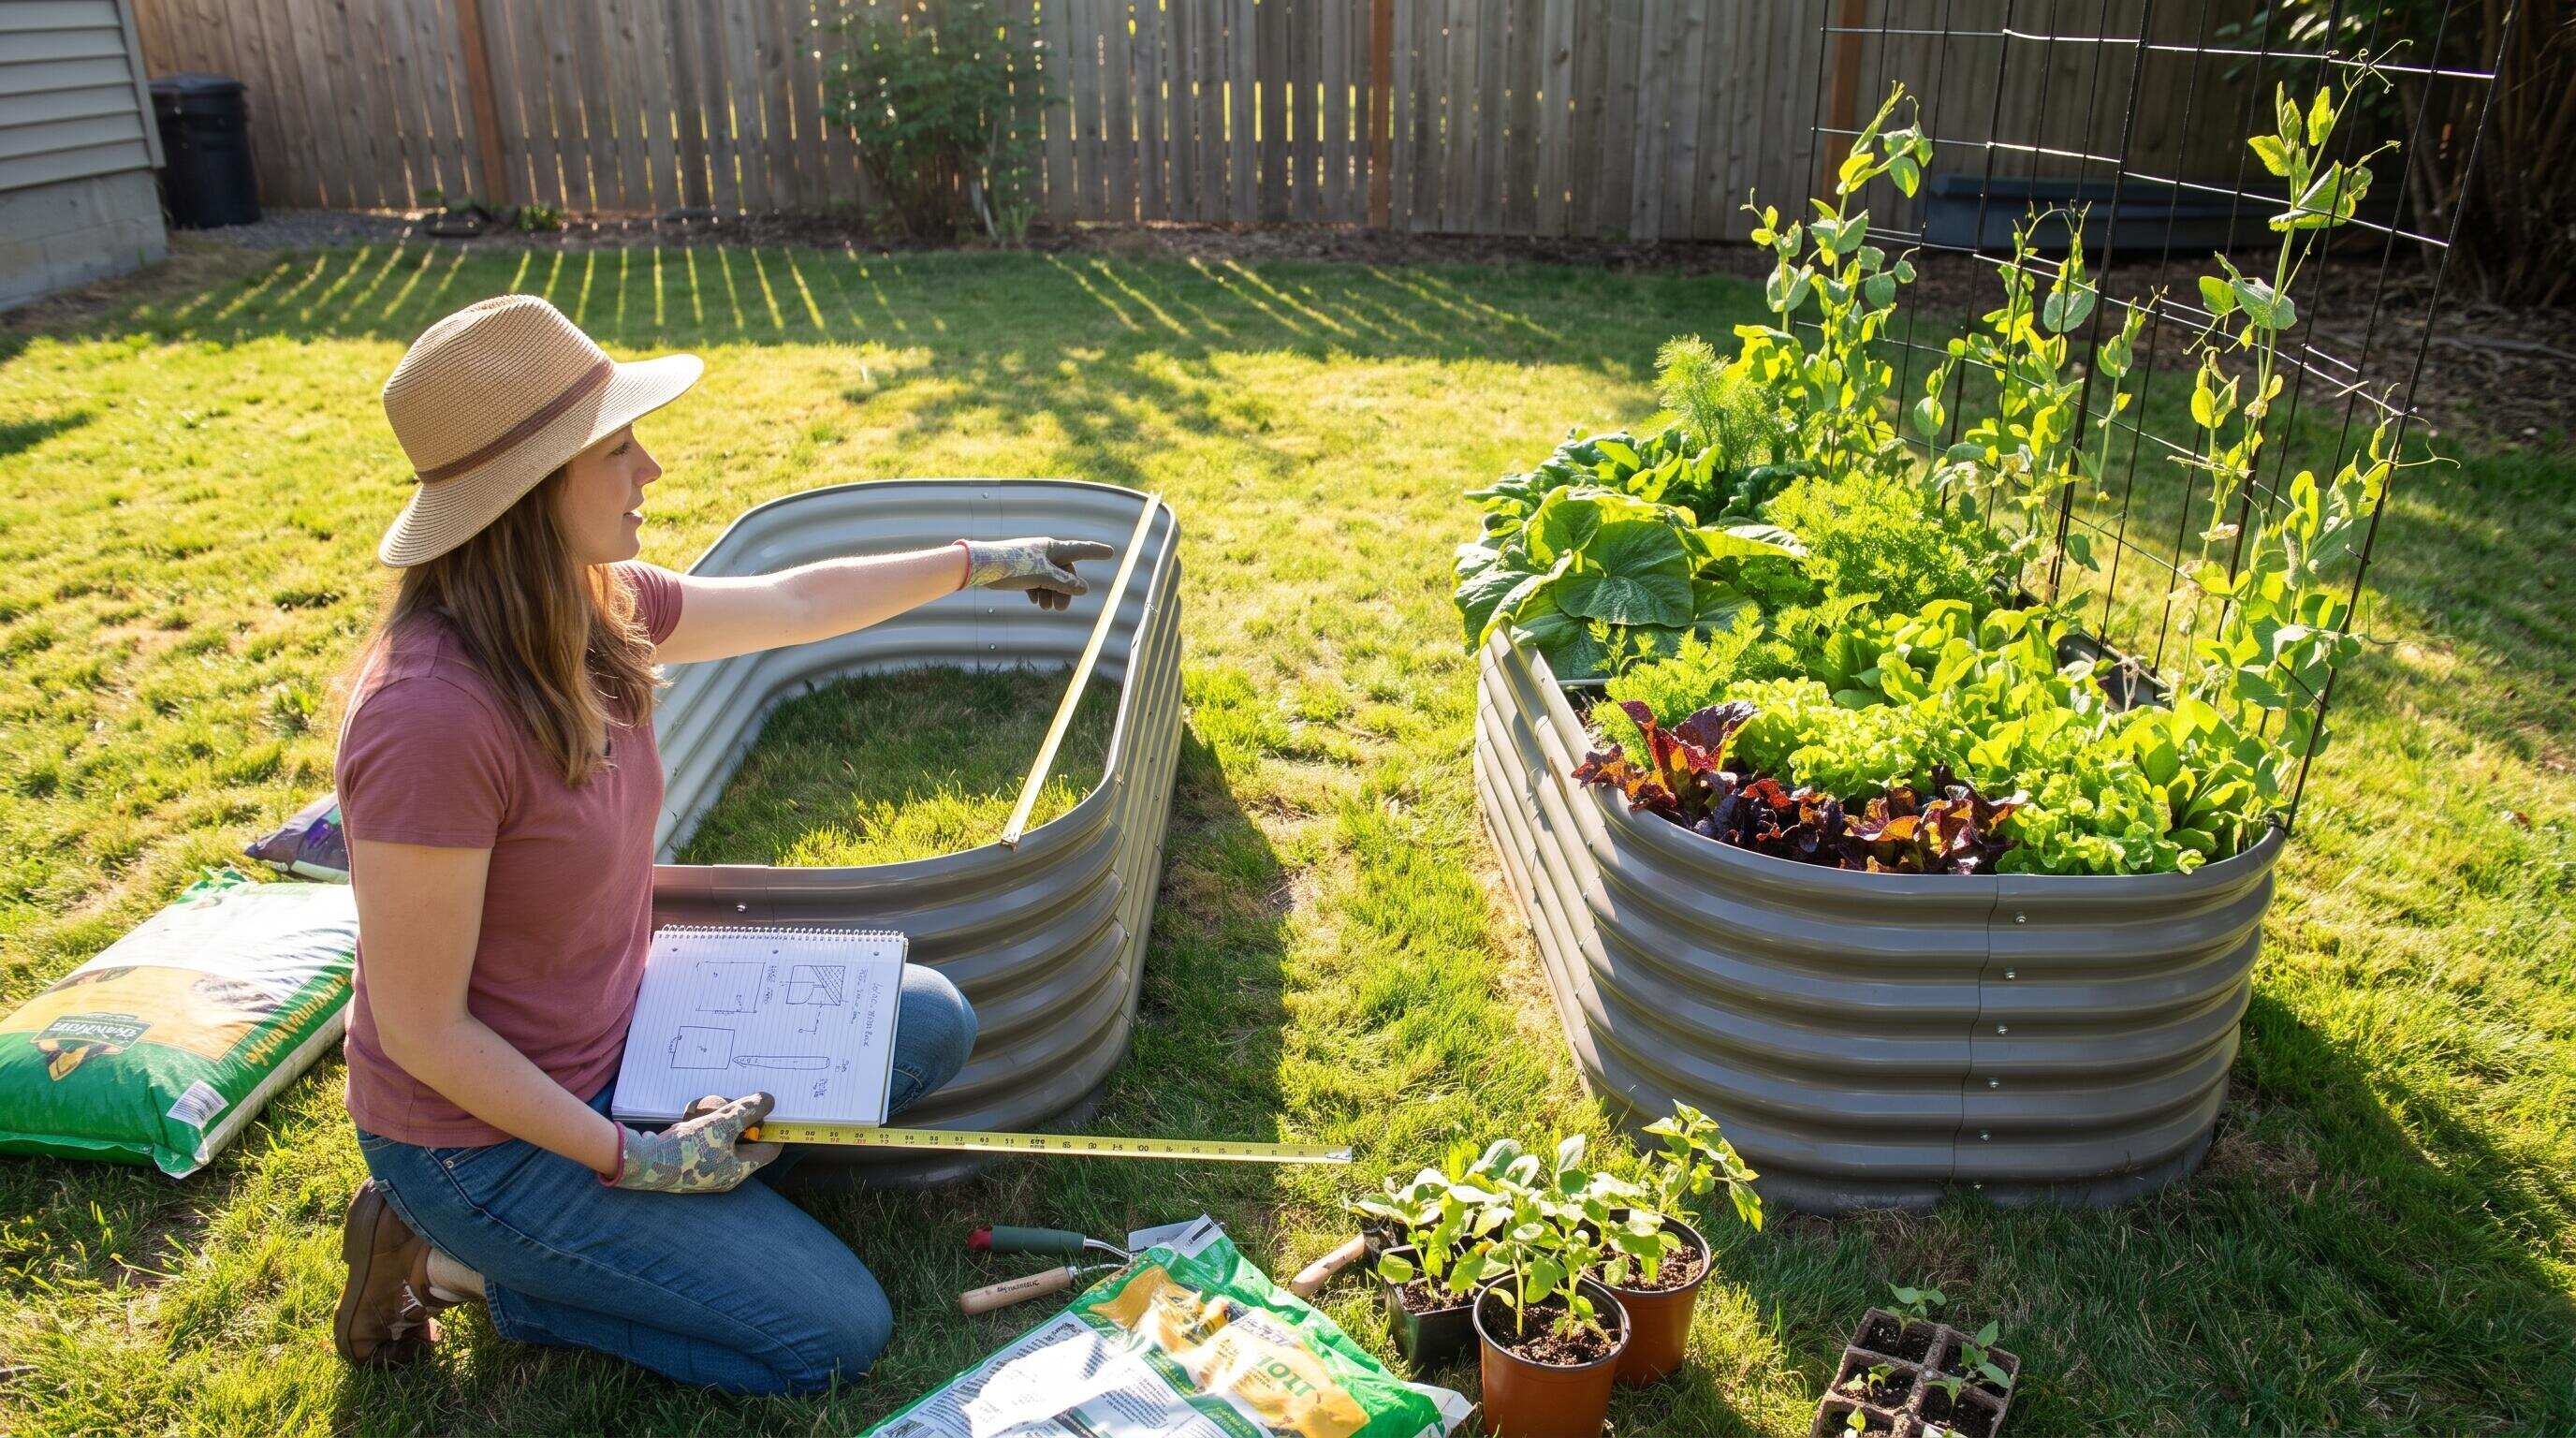
ALT: Beginner gardener planning raised bed garden layout with galvanized steel raised beds in a sunny backyard
Your First Raised Bed Garden Starts with a Solid Layout Plan
A well-thought-out raised bed garden layout is the single most important decision you will make before you dig your first scoop of soil. More and more home gardeners — from urban apartment dwellers with a small patio to empty nesters reclaiming a backyard — are turning to raised beds because they offer better drainage, warmer soil, and complete control over the growing environment. If you have been wondering where to begin, the answer is here: plan your layout first, build with the right materials, and plant according to what your space and family actually need.
This article walks you through every stage of that journey. Whether you are working with a compact side yard or a generous suburban backyard, a clear raised bed planting layout prevents the most common beginner mistakes — overcrowding, poor sun exposure, and wasted investment. By the end of this guide, you will have a practical roadmap covering site selection, bed sizing, soil setup, and planting strategy, with honest product guidance drawn from years of working with home gardeners across North America.
Who This Guide Is For — and When It Applies
Applicable Scenarios:
- First-time gardeners who have never built or planted a raised bed and want a step-by-step framework covering layout, construction, and planting
- Homeowners with underused lawn space, paved patios, or compacted clay soil who need a contained, manageable growing system
- Health-focused families, eco-conscious growers, and retirees who want fresh produce at home with minimal physical strain and long-term reliability
Not Applicable / Cautions:
- Gardeners managing large-scale agricultural or commercial production — raised bed layouts are designed for home-scale yields, not acreage farming
- Properties with deep, well-draining, fertile native soil already in place, where in-ground beds may be more economical and require less setup
Why Raised Bed Layout Planning Makes or Breaks Your First Garden
A raised bed garden layout is a structured, pre-planned arrangement of elevated planting containers — typically made from metal, wood, or composite materials — that determines how your growing space is organized, accessed, and utilized over time. Getting the layout right before you build saves money, reduces rework, and dramatically improves your harvest.
In our experience working with home gardeners across North America, a consistent pattern emerges: gardeners who sketch a layout before ordering materials end up with a better-functioning space and spend less time correcting problems later. Those who skip the planning phase often find their beds are too wide to reach across comfortably, placed in a shaded corner, or oriented in a way that means taller plants block sunlight from shorter ones.
The growing interest in home food production — driven by a desire for chemical-free vegetables, fresher produce, and more purposeful outdoor spaces — has made raised bed gardening one of the most accessible entry points into horticulture. The raised bed format is particularly well-suited to North American suburban and urban homes because it works on top of almost any surface: lawn, gravel, concrete, and even rooftop decks.
Understanding your raised bed layout means understanding four interrelated decisions: where to place your beds (site selection), how to size and orient them (spatial layout), what to build them from (material selection), and how to arrange plants within them (planting layout). This guide addresses all four in a logical sequence, so nothing falls through the cracks.
Planning, Building, and Planting: A Complete Step-by-Step Framework
Three-Step Quick Start
Step 1: Map Your Site Before You Shop
Walk your outdoor space at different times of day and note where sunlight falls for the longest periods. Most vegetables need a minimum of six to eight hours of direct sun daily, so your bed locations must prioritize sun exposure above convenience. Sketch a rough overhead diagram of your yard or patio, mark where water access is located, and identify any low spots where standing water collects after rain. This fifteen-to-thirty-minute exercise eliminates the most damaging beginner error: placing beds in the wrong spot.
Step 2: Choose Your Bed Size and Orientation
The most practical raised bed width for a beginner is four feet or less, because you can reach the center from either side without stepping into the bed and compacting the soil. Length is more flexible — common choices range from three feet to twelve feet depending on available space. Orient rectangular beds running north to south so both long sides receive roughly equal sun throughout the day. If you have a slope, orient beds to run across the slope rather than down it to prevent erosion and uneven watering.
Step 3: Build, Fill, and Plant in the Right Sequence
Assemble your bed frame on leveled ground, add a layer of cardboard or landscape fabric at the base to suppress weeds, and then fill with a quality soil mix before planting a single seed or transplant. Never plant into incomplete or poorly filled beds — roots need consistent depth and nutrition from day one. Once your soil system is in place, plant tall crops like tomatoes or corn on the north side of the bed, medium-height crops in the middle, and low-growing herbs or lettuce at the southern edge so every plant gets adequate light.
Comparing Common Raised Bed Layout Configurations
Choosing the right layout configuration depends on your space, the number of beds you want, and how you plan to move through the garden. Here is a practical comparison of the three most common beginner configurations:
| Comparison Dimension | Single Bed Layout | Row Layout (Multiple Beds) | Grid / Block Layout |
|---|---|---|---|
| Best for | Very small spaces, first-time testers | Long narrow yards, side gardens | Square or rectangular backyards |
| Access | Easy from all sides | Paths between rows required | Paths on all four sides needed |
| Scalability | Limited expansion | Easy to add beds in-line | Most flexible long-term expansion |
| Sun management | Simple — orient one bed | Consistent east-west row spacing | Requires careful tall-crop placement |
| Recommended bed count | 1–2 | 2–4 | 4 or more |
| Skill level required | Beginner | Beginner to intermediate | Intermediate |
For most new gardeners, starting with one or two beds in a simple row layout gives the best balance of manageability and learning opportunity. You can always expand.
Choosing the Right Raised Bed Material for Your Layout
Why material choice affects layout durability
The material you build your raised beds from determines how long your layout stays functional, how it looks in your outdoor space, and how much maintenance it demands over the years. In our work with home garden enthusiasts, galvanized steel consistently outperforms wood and plastic composite for longevity, structural stability, and resistance to rot and pests.
Galvanized steel raised garden beds are beds constructed from zinc-coated steel panels that resist rust, corrosion, and physical warping over years of outdoor use. Anleolife galvanized steel raised garden beds are designed to last up to 20 years — a meaningful investment for any gardener who wants to build a permanent layout rather than replace materials every few seasons.
For beginners planning their first raised bed garden layout, the choice of size matters just as much as the choice of material. Anleolife offers beds in a wide range of heights and footprints. Taller beds — in the 24-inch to 35-inch waist-high range — reduce the need to bend or kneel, making them especially practical for gardeners with limited mobility, older adults, and retirees. Shorter 18-inch beds suit children's gardens, ornamental plantings, and lower-profile layouts where visual integration with the landscape matters.
Matching bed height to your gardening goals
Bed height directly affects your soil system depth and what you can grow. Shallow beds in the 18-inch range work well for lettuces, herbs, radishes, and most annual flowers. Deeper beds in the 24-to-30-inch range accommodate root vegetables like carrots and parsnips, as well as tomatoes and peppers that need more rooting depth. The tallest waist-high options are ideal for anyone who wants to garden standing fully upright.
Understanding the Anleolife product range for layout planning
Anleolife's product lineup gives beginners the flexibility to match bed size to available space without compromising on quality. The galvanized steel range includes options from compact 4x1.5-foot waist-high beds suitable for a balcony or small patio, all the way to 12x3-foot configurations ideal for a dedicated kitchen garden row. The rust-resistant raised garden bed series offers similar flexibility in footprint and height, with additional surface treatments suited to high-humidity climates. For gardeners who want the freedom to reconfigure their layout as their skills grow, the modular raised garden bed series allows beds to be adjusted and expanded without starting over.
Round raised garden beds offer an aesthetic alternative for gardeners who want a focal point in a decorative layout — they work particularly well at the center of a symmetrical block arrangement or as a standalone herb garden near a kitchen door.
Designing Your Raised Bed Planting Layout
The raised bed planting layout is the internal organization of crops within each bed — which plants go where, how much space each needs, and how to sequence plantings across the growing season.
Companion planting and spacing fundamentals
Companion planting is the practice of grouping plants that benefit each other — deterring pests, improving nutrient cycling, or maximizing light use — in deliberate proximity. A widely recognized example is the Three Sisters combination of corn, beans, and squash: corn provides a trellis for beans, beans fix nitrogen, and squash covers the soil to retain moisture. For a beginner's raised bed, simpler pairings are more manageable: tomatoes with basil, carrots with onions, or lettuce undersown with taller brassicas.
Spacing within a raised bed layout differs from conventional row gardening. Because raised bed soil is typically deeper and more fertile than native ground soil, plants can often be spaced more closely — a method sometimes called intensive planting or block planting. The practical implication is that a well-managed 8x4-foot bed can produce a genuinely impressive yield from a compact footprint.
Planning for succession and seasonality
One of the most underused techniques in a beginner's raised bed planting layout is succession planting — sowing short-season crops like radishes, lettuce, and spinach in waves every two to three weeks so you always have something ready to harvest rather than everything maturing at once. Plan your layout with this in mind: designate one section of a bed for fast-turnover crops and another for long-season staples like tomatoes, peppers, and squash.
According to resources like Savvy Gardening's guide to 4x8 raised bed vegetable garden layout ideas, a standard 4x8-foot bed can accommodate a genuinely diverse planting plan when spacing guidelines are followed thoughtfully — a useful reference for beginners sketching their first plan.
Building your soil system
No raised bed layout succeeds without a high-quality soil system. The ideal fill for a raised bed is a blend of topsoil, compost, and a coarse amendment like perlite or aged wood chips that promotes drainage and aeration. Many experienced gardeners use a layered approach, placing bulkier organic matter at the base to decompose over time and enriching the upper layer where roots are most active. Avoid using raw garden soil alone — it compacts quickly in a contained bed and rarely has the nutrient density needed for intensive planting.
Pathway and access design within your layout
Pathways between beds are not wasted space — they are a functional part of your raised bed layout. A minimum of 18 to 24 inches between beds allows comfortable movement with a small wheelbarrow or garden cart. Wider paths of 36 inches or more accommodate mobility aids, which matters for older gardeners and those with physical limitations. Surfacing paths with gravel, wood chips, or stepping stones prevents mud and makes the garden usable in all weather conditions.
For inspiration on visual arrangement and pathway design, curated resources like the Raised Garden Bed Ideas collection on Pinterest can help you visualize different configurations before you commit to a final plan.
Advanced Considerations for Long-Term Layout Success
Handling challenging site conditions
Not every yard is flat, sunny, and well-drained. If your site has a moderate slope, build beds on a leveled pad or use one side of the bed as a short retaining wall by choosing a taller bed configuration. On hard surfaces like concrete or asphalt, make sure your beds are deep enough to provide adequate rooting depth without relying on the substrate below — this is where 24-inch or taller bed options become particularly valuable.
A common misconception: bigger is always better
Many beginners assume that larger beds mean larger harvests. In practice, a single 12x3-foot bed managed well will consistently outperform two poorly maintained 8x4-foot beds. Start with what you can realistically tend, harvest, and replant. A smaller, well-designed raised bed layout with attentive soil care and consistent watering will outperform an ambitious plan that gets overwhelming by midsummer.
Irrigation integration
Plan your irrigation before you finalize bed placement. Drip irrigation systems are well-suited to raised beds because they deliver water directly to the root zone, reduce leaf wetness that promotes fungal disease, and can be automated for consistent moisture management. If you plan to add drip lines, route them along the interior edge of each bed and account for a water source nearby when choosing your layout location. This is far easier to plan before beds are in place than to retrofit afterward.
Long-term layout evolution
A well-built raised bed garden layout is not static — it grows with you. In our experience with home gardening clients, the most satisfying gardens are the ones that started with one or two beds, proved rewarding in the first season, and expanded organically in subsequent years. Modular bed systems are particularly well-suited to this incremental approach because components can be reconfigured or extended without replacing the whole structure.
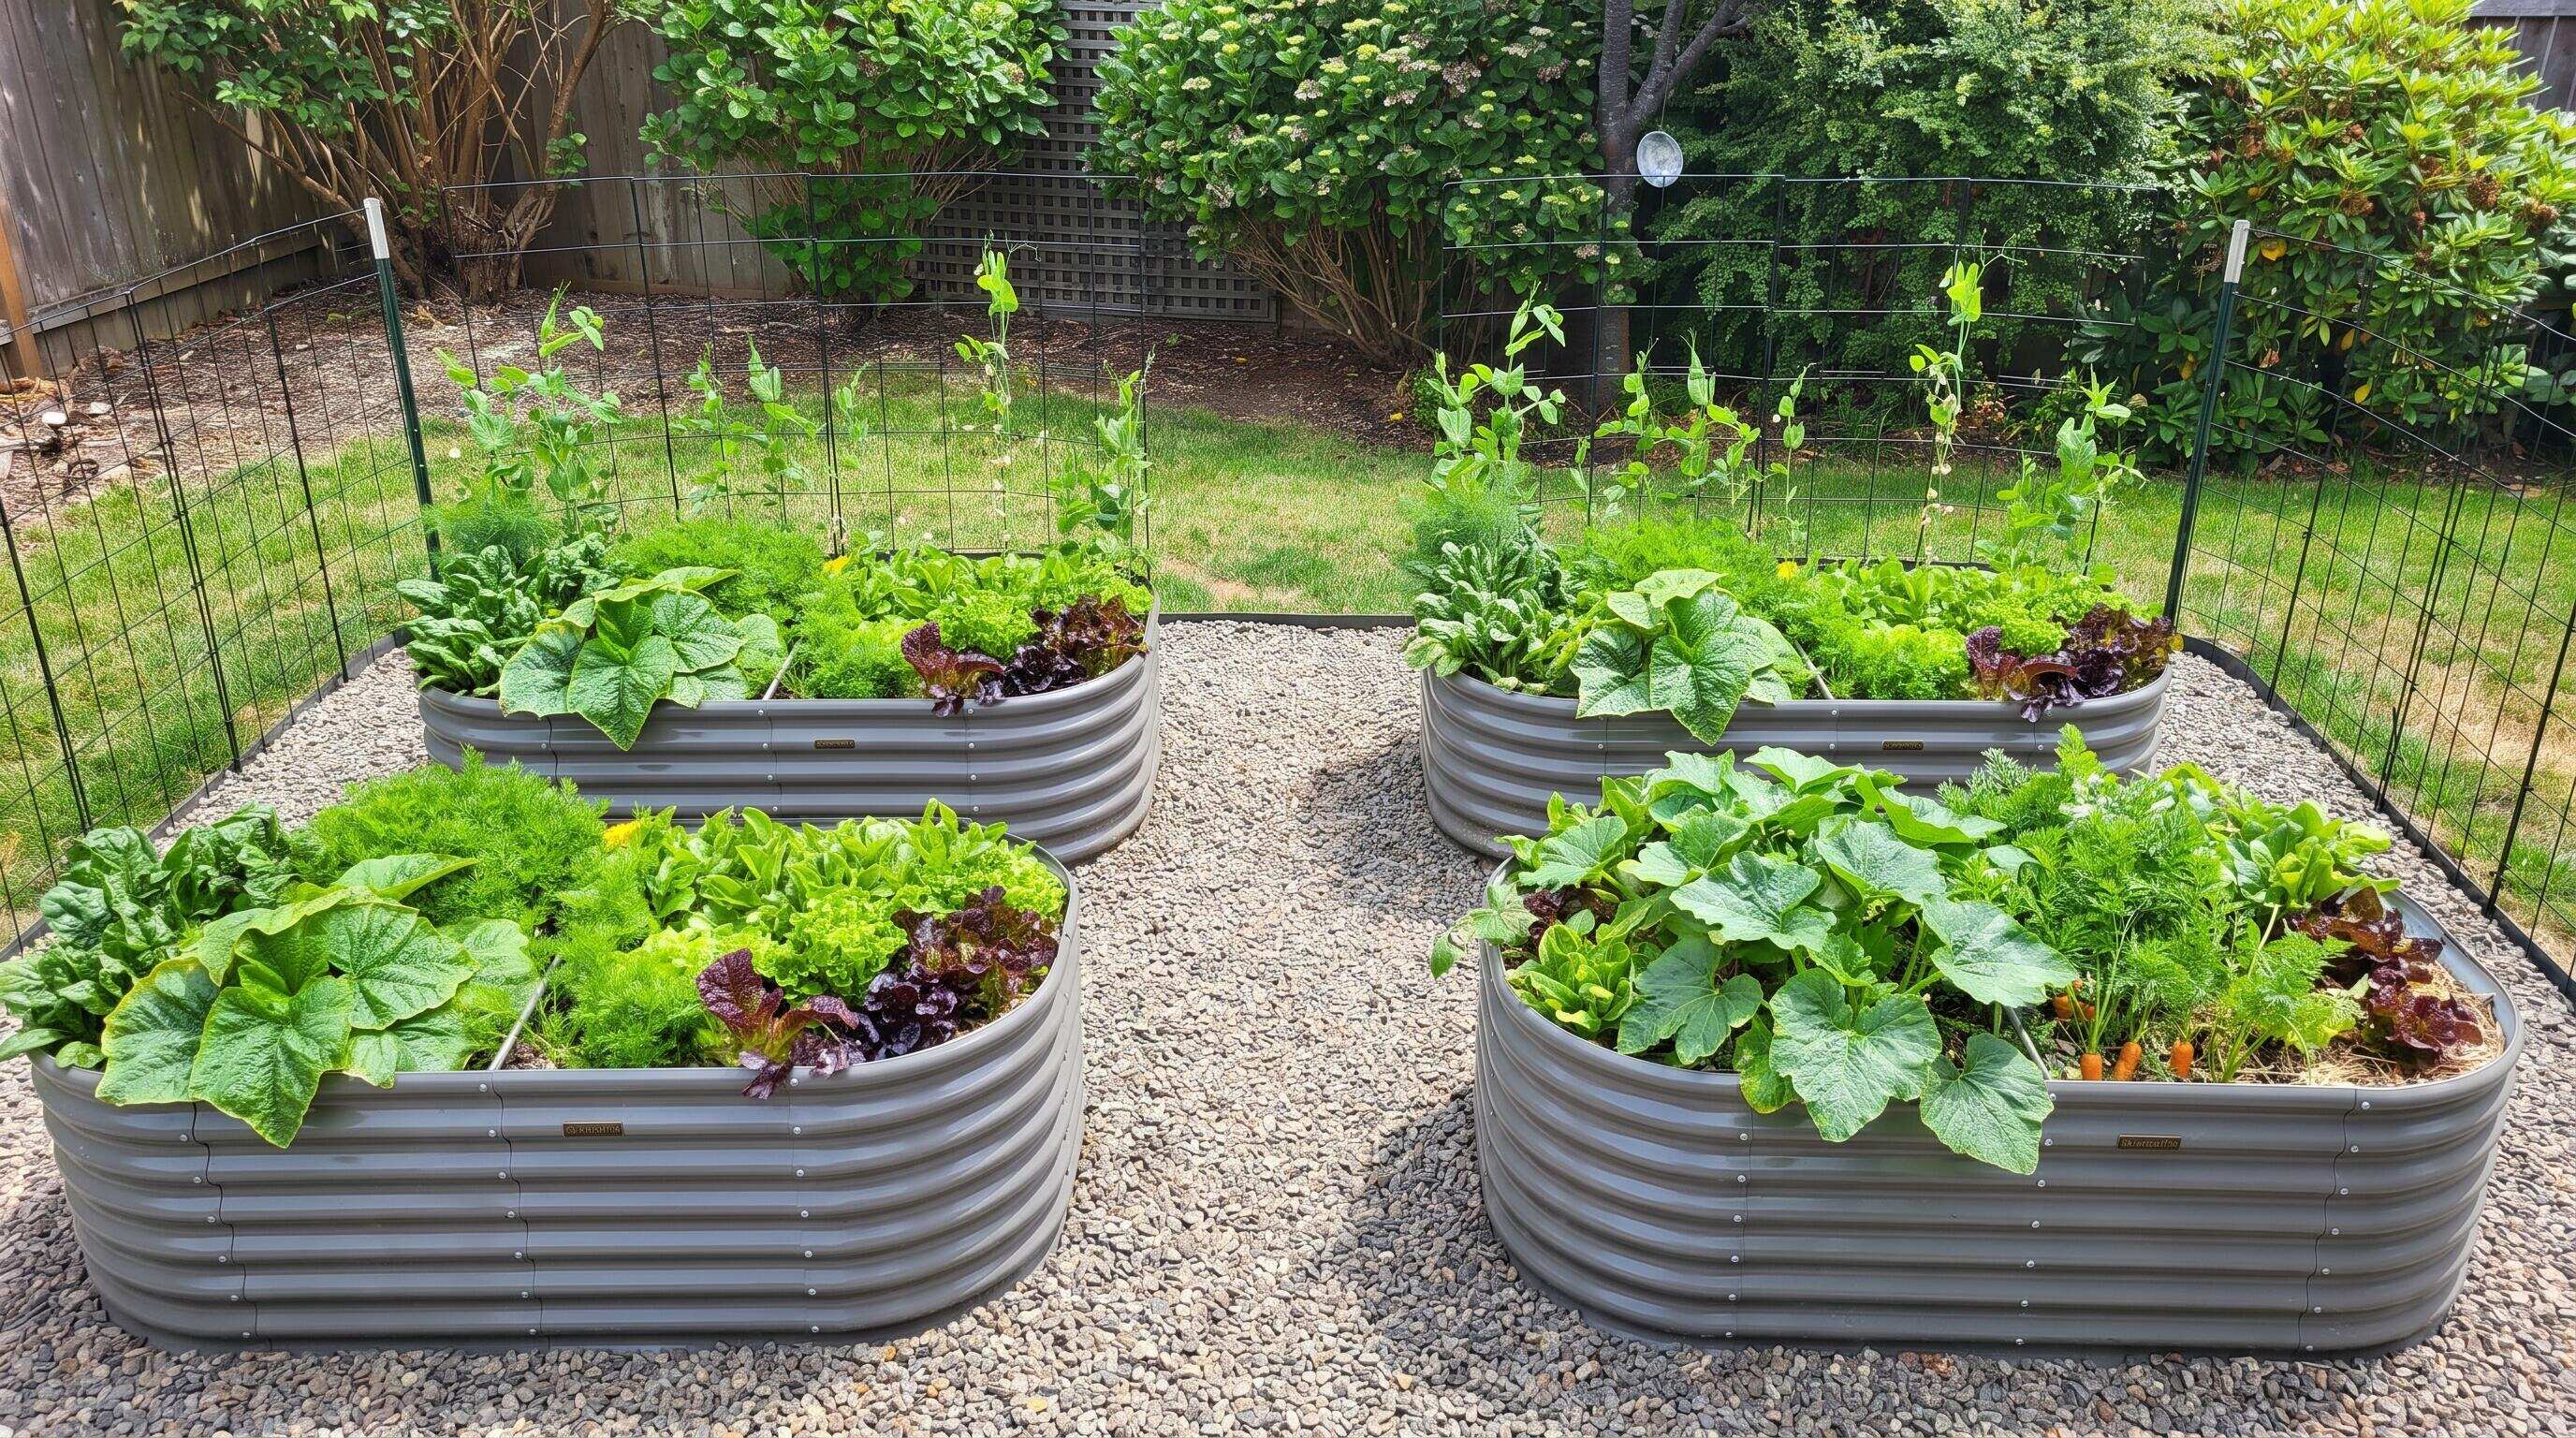
ALT: Galvanized steel raised garden beds in organized row raised bed layout with planted vegetables and gravel pathways in a residential backyard
Questions & Answers
Q1: How do I figure out the best raised bed layout for a small backyard?
Start by measuring your available space and identifying the sunniest areas — at least six hours of direct light per day is the baseline for most vegetables. For small backyards, a simple two-bed row layout oriented north to south makes efficient use of limited space while keeping access easy. According to layout planning resources like the Raised Bed Layout Template published by Journey with Jill, keeping beds to a maximum of four feet in width ensures you can reach the center without stepping in and compacting the soil.
Q2: Are galvanized steel raised beds safe for growing vegetables?
Galvanized steel raised garden beds are widely used for food production and are considered safe for vegetable gardening. The zinc coating that gives galvanized steel its rust resistance is the same element found naturally in soil and required by plants as a micronutrient. At the low concentrations involved in normal bed use, zinc leaching does not pose a meaningful risk to edible crops. Anleolife galvanized steel beds are built for longevity — designed to last up to 20 years — making them a practical and food-safe choice for home vegetable gardens.
Q3: How much does it cost and how long does it take to set up a first raised bed layout?
Setup time for a first single-bed layout typically runs from a few hours to a full weekend, depending on site preparation needs and whether you are leveling ground or laying pathways. Material costs vary by bed size, soil volume, and any irrigation additions, so it is worth sketching your plan and getting specific quotes before purchasing. The longer-term perspective is more relevant: a quality galvanized steel bed designed for a 20-year lifespan spreads its initial cost across many growing seasons, making it genuinely economical compared to replacing wooden beds every few years.
Key Takeaways
A successful raised bed garden layout begins with deliberate planning, not with purchasing materials. The three most important principles to carry forward are these:
First, location determines everything. Sun exposure, water access, and surface levelness must be assessed before you choose a bed size or configuration. A misplaced bed in a shaded corner will underperform regardless of how good the soil or the plants are.
Second, start smaller than you think you need to. A single well-managed raised bed will teach you more in one growing season than an ambitious multi-bed layout that becomes difficult to maintain. Build in the ability to expand, but resist the urge to overcommit in year one.
Third, invest in materials that match your long-term ambitions. A raised bed designed to last 20 years becomes part of your property's landscape in a meaningful way — structurally stable, visually cohesive, and financially sensible across many growing seasons. The raised bed planting layout inside that structure can evolve every year; the structure itself should be built to stay.
Your next step is straightforward: sketch your space, identify your sunniest area, choose your bed size, and take the first practical action toward the garden you have been imagining.
Ready to build a raised bed layout that grows with you? Explore the full range of galvanized steel and modular raised garden beds at the Anleolife website, available through Amazon, Walmart, Home Depot, Lowe's, and Wayfair, with delivery in 3–8 business days from warehouses across California, Texas, Florida, New York, Illinois, and Washington. Whether you are starting with one compact bed or planning a complete planting-and-raising ecosystem, Anleolife's modular design lets you expand at your own pace — from your first bed to a fully integrated home garden, every step of the way.
References & Further Reading
- Savvy Gardening. "4x8 Raised Bed Vegetable Garden Layout Ideas".
https://savvygardening.com/4x8-raised-bed-vegetable-garden-layout/ - Journey with Jill. "Raised Bed Layout Template".
https://journeywithjill.net/wp-content/uploads/2023/04/Raised-Bed-Layout-Designs.pdf - Pinterest / alethead74. "Raised Garden Bed Ideas".
https://www.pinterest.com/alethead74/raised-garden-bed-ideas/
Note: Standards and gardening guidelines may be updated; please check the latest official documents or consult professional advisors.








