


























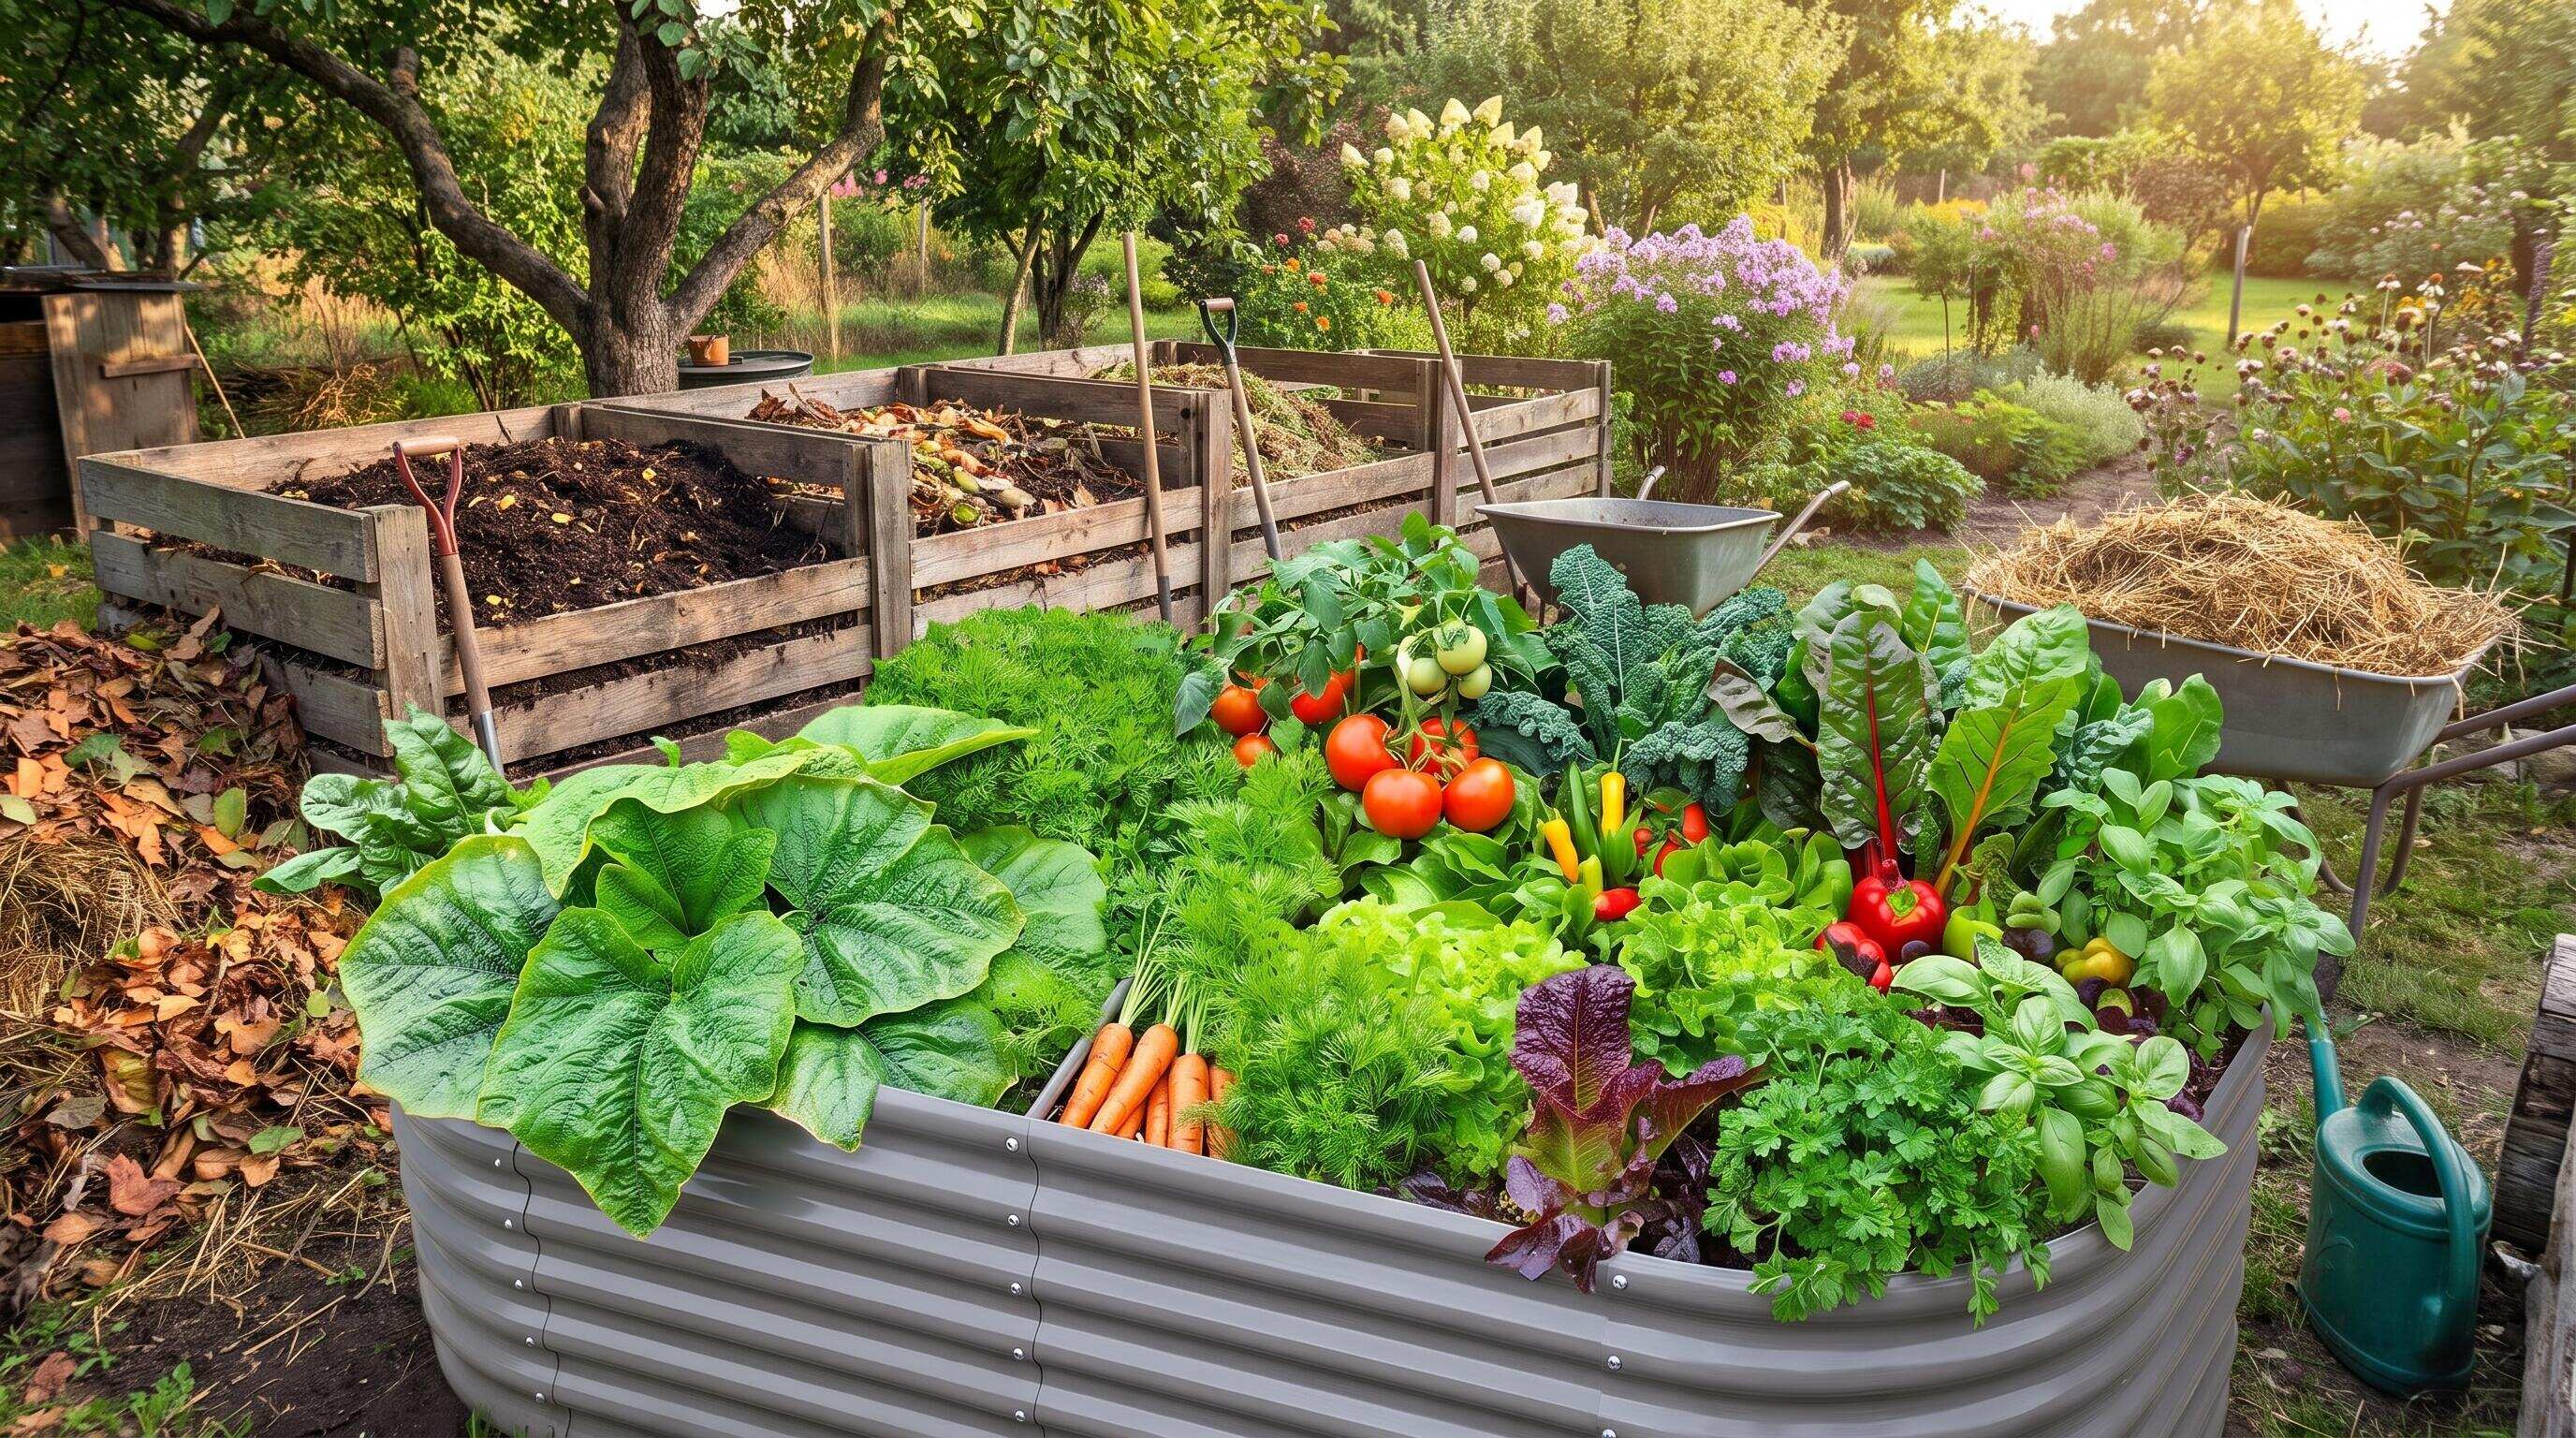
ALT: Backyard composting system feeding organic nutrients into galvanized raised garden beds for healthy growing
Why Your Raised Bed Garden Layout Deserves a Composting Partner
What is the single most impactful upgrade you can make to a raised bed garden layout? The answer, consistently supported by experienced growers and soil scientists alike, is a reliable on-site composting system. Compost transforms kitchen scraps and yard debris into nutrient-dense organic matter that feeds your raised bed planting layout season after season — without the recurring cost of bagged amendments.
A backyard composting system works in direct partnership with the raised bed layout you have already built or are planning. It closes the nutrient loop: plants draw minerals from the soil, you harvest those plants, and compost returns those minerals to the bed. The result is a self-reinforcing cycle that improves soil structure, microbial diversity, and water retention over time. In our work with clients who have transitioned from synthetic fertilizers to homemade compost, the qualitative shift in plant vigor is immediately visible — deeper root establishment, more even growth, and noticeably richer topsoil color.
This guide walks you through building a simple, practical backyard composting system calibrated specifically for raised bed gardening. We cover everything from choosing the right composter style to integrating finished compost into your beds, with honest guidance on what works and what common mistakes to avoid.
Who This Guide Is For — and When Composting Fits Your Setup
Applicable Scenarios:
- Homeowners with one or more raised beds who currently rely on store-bought bagged compost and want to reduce ongoing input costs
- Eco-conscious growers seeking a closed-loop organic system that minimizes kitchen and yard waste going to landfill
- Gardeners with moderate outdoor space (even a small patio corner works) who can dedicate a consistent 10–15 minutes per week to managing a compost pile
- Empty nesters and retirees who cook regularly at home and generate steady organic kitchen scraps
- Families with vegetable gardens following a raised bed garden layout who want to improve soil quality between planting seasons
Not Applicable / Cautions:
- Apartment dwellers without any outdoor ground or balcony space (indoor worm composting is a separate technique not fully covered here)
- Gardeners in communities with strict HOA rules prohibiting compost bins — check local ordinances before building
- Those expecting finished compost in under six weeks without active management — passive composting requires patience
- Raised beds used exclusively for succulents or cacti, which prefer low-organic, well-draining media and rarely benefit from heavy compost additions
The Soil Science Behind Composting for Raised Beds
Composting is the controlled biological decomposition of organic materials — food scraps, leaves, grass clippings, cardboard — into a stable, nutrient-rich humus that dramatically improves garden soil. For raised bed gardening specifically, compost plays a role that goes beyond simple fertilization.
Raised beds are, by design, isolated from the surrounding native soil. This independence is one of their greatest strengths: you control every input. But it also means the growing medium degrades over time as plants consume nutrients and organic matter naturally breaks down. According to the United States Department of Agriculture's Natural Resources Conservation Service, soil organic matter is one of the most critical indicators of long-term soil health, influencing water-holding capacity, nutrient cycling, and the activity of beneficial microorganisms. Regular compost additions replenish this organic matter continuously.
A pattern we consistently see in raised bed garden layouts that struggle — yellowing leaves mid-season, poor fruit set, compaction after heavy rain — often traces back not to disease or pest pressure, but to depleted organic matter in the growing medium. A functioning home compost system solves this problem at the root level, literally.
The timing of compost integration also matters. As detailed in guidance from the Old Farmer's Almanac on raised bed vegetable garden layout planning, amending beds with finished compost before planting — and again as a top-dressing mid-season — creates the layered nutrition profile that heavy-feeding vegetables like tomatoes, squash, and brassicas demand.
Beyond nutrition, compost improves the physical texture of your raised bed mix. It creates aggregates that allow air and water to move freely, preventing the compaction that shuts down root growth. It also buffers pH, moderating both acidic and alkaline extremes toward the neutral range most vegetables prefer.
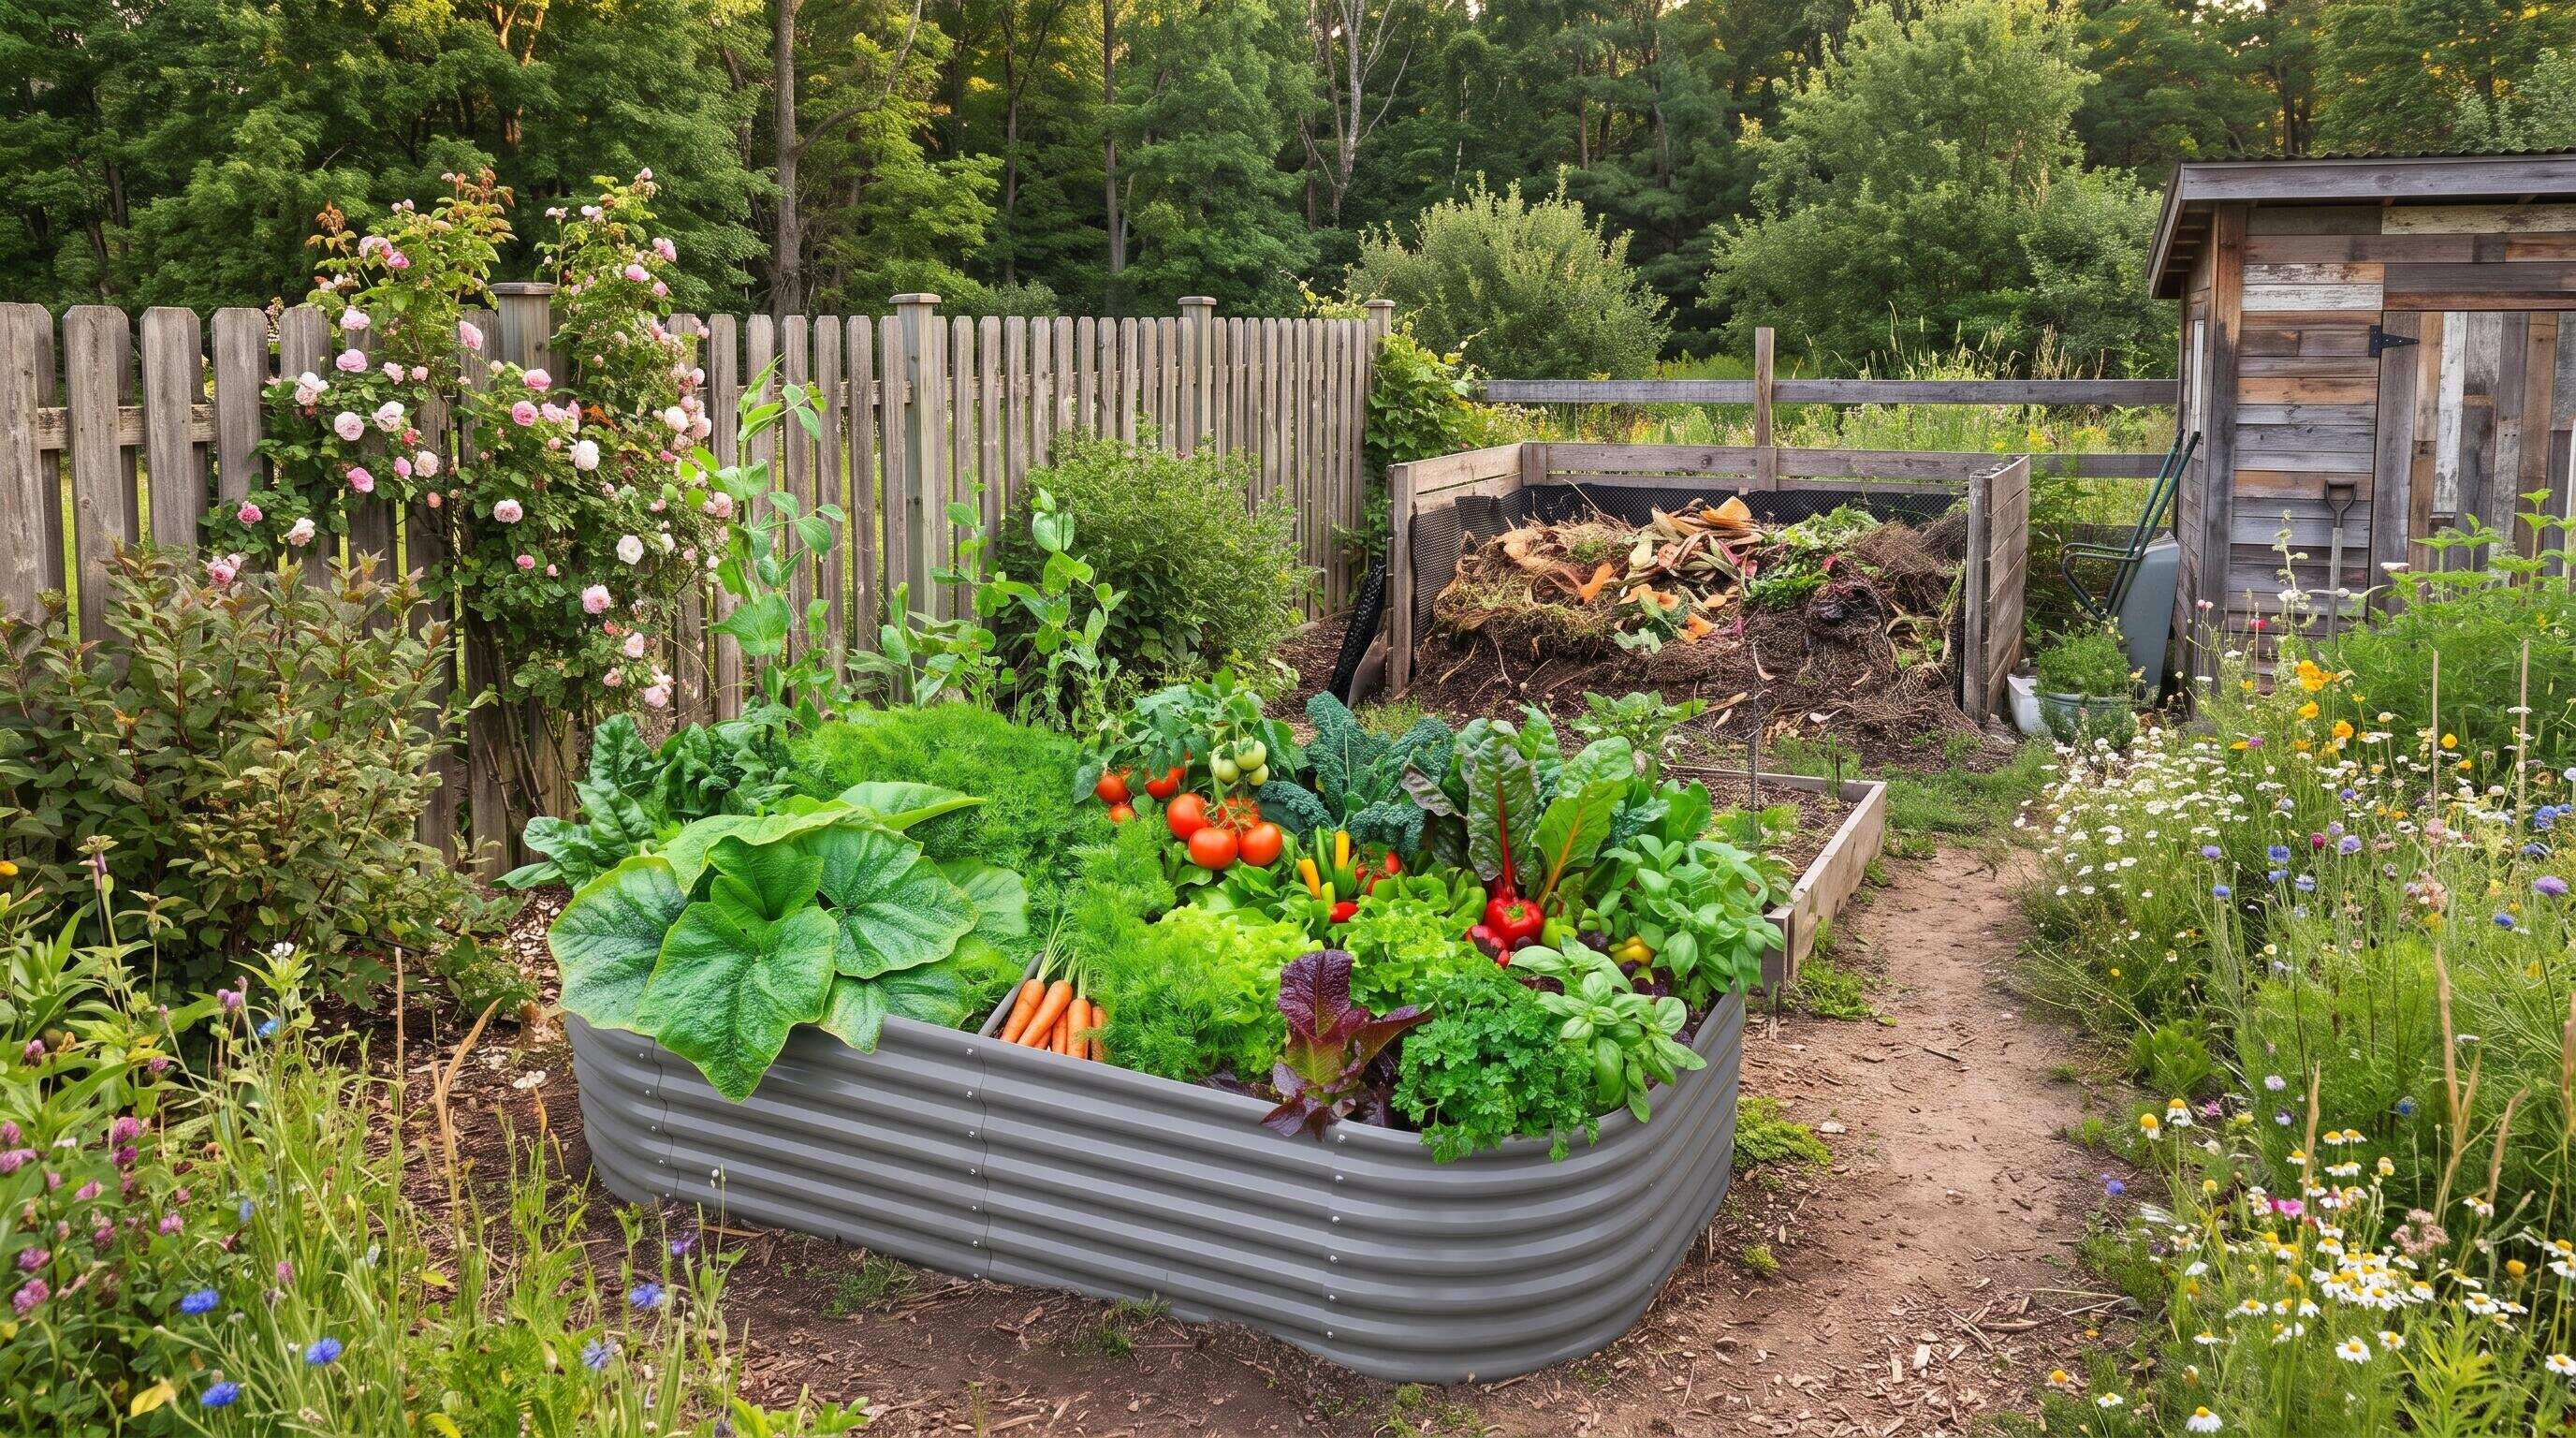
ALT: Wooden compost bin adjacent to galvanized steel raised garden beds in a backyard raised bed planting layout
If you are also thinking about how your raised bed layout fits into a larger yard plan that evolves over time, our guide on planning a modular garden layout that grows with your family explores how to integrate composting zones, growing beds, and pathways into a cohesive design.
Building Your Backyard Composting System: A Practical Roadmap
Three-Step Quick Start
Step 1: Choose and Position Your Composting Structure
Select a compost bin or build a simple enclosure before you collect a single scrap. The structure can be a purchased plastic tumbler, a timber-framed three-bin system, or even four wooden pallets wired together. What matters most is placement: position the composter within easy walking distance of your raised beds — ideally no more than 20–30 feet away — and in a spot that receives partial shade to prevent the pile from drying out too quickly. Allow 30–60 minutes for initial setup.
Step 2: Establish Your Brown-to-Green Ratio
The core rule of composting is balancing carbon-rich "brown" materials (dried leaves, cardboard, straw, wood chips) with nitrogen-rich "green" materials (vegetable scraps, fresh grass clippings, coffee grounds, plant trimmings). A ratio of roughly two to three parts brown to one part green by volume creates the right conditions for active microbial decomposition. Collect a reserve of brown material — a bag of dried leaves works perfectly — so you always have it on hand when you add kitchen scraps. This step takes about 15 minutes to organize initially.
Step 3: Maintain, Turn, and Harvest
Moisture and oxygen are the two variables you actively manage. The pile should feel like a wrung-out sponge — damp but not dripping. Turn the pile with a garden fork every one to two weeks to introduce oxygen, which accelerates decomposition and prevents anaerobic (smelly) conditions. In warm weather with active management, finished compost is typically ready in two to three months. Finished compost looks and smells like dark, earthy soil — no recognizable scraps remain. Harvest from the bottom of the pile and apply a one-to-three-inch layer to your raised beds each season.
Comparing Three Composting Methods for Raised Bed Gardeners
Not all composting methods suit every yard, lifestyle, or raised bed garden layout equally well. The three most practical options for home gardeners are the open pile or bin system, the tumbler composter, and in-bed vermicomposting (worm composting directly in the raised bed soil). Each has genuine strengths and real limitations.
| Comparison Dimension | Open Bin / Pile System | Tumbler Composter | In-Bed Vermicomposting |
|---|---|---|---|
| Setup Cost | Low (pallets or basic lumber) | Moderate to high (purchased unit) | Low (purchased worms + bedding) |
| Space Required | Moderate (3 ft x 3 ft minimum) | Small (footprint of unit only) | None (contained within bed) |
| Speed to Finished Compost | 2–6 months depending on management | 4–8 weeks with regular turning | Continuous but slow output |
| Pest Resistance | Lower without enclosed sides | High (sealed drum) | High (covered beds) |
| Volume Capacity | High | Moderate | Low |
| Physical Effort | Moderate (manual turning) | Low to moderate (rotating drum) | Very low (worms do the work) |
| Best Fit For | Larger yards, high-volume households | Small yards, urban micro-gardeners | Single raised bed, apartment patios |
The open bin system suits most homeowners with multiple raised beds and a regular supply of yard waste. The tumbler excels for urban micro-gardeners or those who prioritize speed and pest control over volume. In-bed vermicomposting is a niche but elegant option for a single raised bed where you want hyperlocal nutrient cycling without any external bin.
In our experience working with home gardeners across varying yard sizes and climates, the two-bin open system — where one bin is actively receiving material while the second cures — offers the best balance of capacity, cost, and simplicity for someone managing two to four raised beds.
What Goes In, What Stays Out, and How to Layer Your Pile
Composting materials fall into two clear categories, and understanding them removes most of the guesswork.
Brown materials are carbon-dense and slow to break down. They include dried autumn leaves (the single best compost ingredient most gardeners already have in abundance), cardboard torn into strips, paper bags, wood chips, straw, and dried plant stalks from last season's raised bed. Browns create the physical structure of the pile and prevent it from becoming a wet, airless mat.
Green materials are nitrogen-dense and break down quickly. They include raw vegetable and fruit scraps from the kitchen, coffee grounds and paper filters, fresh grass clippings, green plant trimmings, and eggshells (which are technically neutral but add calcium). These are the materials that feed the microbial community driving decomposition.
Materials to keep out of a backyard compost pile entirely include meat, fish, dairy products, cooked foods with oil or sauce, diseased plant material, pet feces (dog or cat), and anything treated with persistent herbicides. These either attract pests, carry pathogens, or introduce chemicals that can persist in finished compost and harm plants.
Layering technique matters more than most beginners expect. Start with a four-to-six-inch base layer of coarse browns (wood chips, straw, or chunked cardboard) to allow airflow from below. Add a two-to-three-inch layer of greens. Top with another layer of browns. Repeat this sandwich structure each time you add material. Each addition of kitchen scraps should be buried in the center of the pile and covered with browns — this single habit eliminates most odor and fruit fly issues that discourage new composters.
Troubleshooting your pile is straightforward once you know the signals. A pile that smells like ammonia has too many greens — add browns and turn it. A pile that is not heating up is either too dry, too small, or lacking nitrogen — add water and fresh green material. A pile that is cold and wet needs more browns and turning to restore airflow. A healthy active pile will feel warm to the touch in its center, sometimes reaching internal temperatures high enough to kill weed seeds, which is a meaningful benefit for raised bed gardeners who do not want to introduce weed pressure with their amendments.
According to guidance from the U.S. Environmental Protection Agency, backyard composting is one of the most environmentally effective waste-reduction strategies available to households, diverting organic material from landfills while simultaneously building soil health. This dual benefit — personal garden productivity and broader environmental responsibility — is precisely why composting resonates so strongly with the eco-conscious gardening community.
Integrating Finished Compost Into Your Raised Bed Layout
Finished compost is the payoff, and applying it correctly to your raised bed planting layout matters. There are three primary application moments in the gardening calendar, and using all three produces the most consistent results.
The first application is seasonal bed preparation. Before each major planting season — spring for warm-season crops, late summer for cool-season fall crops — spread a one-to-three-inch layer of finished compost across the full surface of each bed and work it gently into the top four to six inches of soil. This is the moment referenced in resources like raised bed vegetable garden layout planning guidance, where soil preparation is rightly identified as the single highest-leverage task for new and experienced gardeners alike. If you are also completing seasonal transitions, the process aligns naturally with the practices described in our guide on preparing your garden beds for the upcoming fall planting season.
The second application is mid-season top-dressing. After six to eight weeks of active growth — when heavy feeders like tomatoes and cucumbers are fruiting — apply a half-inch layer of compost around the base of plants without disturbing roots. This top-dressing acts as a slow-release fertilizer that also moderates soil temperature and retains moisture during the heat of summer.
The third application is end-of-season restoration. After the final harvest, clear plant debris, add a generous two-to-four-inch compost layer, and leave it on the surface over winter. Earthworms, frost-thaw cycles, and rain will incorporate it naturally, so the bed is primed and ready when spring arrives.
For gardeners using Anleolife galvanized steel raised garden beds — which are engineered for long-term durability with an expected lifespan of 20 years — the investment in high-quality composting directly amplifies the value of that infrastructure. A bed that lasts two decades deserves a soil system that improves annually, not one that degrades season by season.
Advanced Considerations: Faster Compost, Seasonal Challenges, and Common Myths
Accelerating decomposition without fancy additives comes down to three levers: particle size, moisture, and turning frequency. Shredding or chopping materials before adding them to the pile dramatically increases the surface area available to microbes. A bag of whole autumn leaves might take six months to break down; the same leaves shredded with a lawn mower can be finished in six weeks. Consistent moisture (that wrung-out sponge standard) and turning every seven to ten days rather than monthly are the other two highest-impact practices.
Cold weather slowdowns are normal and not a failure. Microbial activity drops significantly below 50°F (10°C), and in regions with harsh winters, a pile may appear to stall entirely from December through February. This is not a problem — the pile resumes once temperatures rise. Insulating the pile with a thick layer of straw around the outside during winter extends the active season by several weeks in many climates.
Common misconceptions deserve direct correction. First: compost does not require a large yard. A single 3-foot-square bin handles the kitchen waste of most households. Second: composting does not require significant time — a well-structured pile demands roughly 15 minutes per week. Third: finished compost will not make your beds too rich or cause fertilizer burn the way synthetic nitrogen sources can. It is a buffered, slow-release material that is genuinely difficult to over-apply to vegetables.
The relationship between compost quality and bed longevity is often overlooked. Consistently amending with high-quality compost maintains the loose, friable structure of raised bed growing medium, which in turn reduces the compaction forces that, over years, can stress the walls of even well-built beds. Maintaining both your soil and your infrastructure ensures you get the full value from a long-life growing system.
Questions & Answers
Q1: How long does it take to make finished compost for raised bed gardening?
Compost maturity depends on management intensity. An actively managed pile — turned every seven to ten days, kept at proper moisture, with balanced brown-to-green ratios — can produce finished compost in as little as two to three months in warm weather. A passive pile receiving little attention may take six months to a year. For raised bed gardeners on a seasonal schedule, starting a new pile in early fall typically yields usable compost by the following spring planting season.
Q2: Is it safe to add compost from a backyard pile to vegetable raised beds?
Yes, provided the pile has reached sufficient internal temperatures during the active decomposition phase, which kills most weed seeds and common pathogens. The U.S. Environmental Protection Agency and the USDA both recognize backyard composting as a safe, effective soil amendment practice for home vegetable gardens. The key precaution is to ensure compost is fully finished — dark, earthy-smelling, with no recognizable scraps remaining — before applying it to beds where edible crops are growing.
Q3: How much compost does a typical raised bed need each season, and how often?
A standard raised bed planting layout benefits from a one-to-three-inch compost application before each main planting season, plus a lighter half-inch top-dressing mid-season around heavy-feeding crops. For a typical 4x8-foot raised bed, this works out to roughly two to four cubic feet of compost per season. A well-managed home compost system serving a kitchen generating daily food scraps can realistically produce enough compost for two to four medium raised beds annually.
The Bottom Line
A backyard composting system is the most cost-effective, ecologically sound upgrade available to any raised bed garden layout — and it is far simpler to maintain than most beginners expect.
Key Takeaways:
- Compost replenishes the organic matter that raised beds lose each season, improving nutrition, soil texture, and water retention simultaneously.
- A balanced brown-to-green ratio of roughly two to three parts carbon-rich material to one part nitrogen-rich material is the core discipline of effective composting.
- Finished compost integrates best in three moments: pre-planting bed preparation, mid-season top-dressing, and end-of-season restoration.
- The composting method you choose — open bin, tumbler, or in-bed vermicomposting — should match your yard size, waste volume, and time commitment, not a universal prescription.
- Consistent composting over time builds a raised bed soil system that measurably improves year after year, compounding the return on your initial bed investment.
The natural next step is pairing a composting habit with a raised bed structure built to last. When your growing infrastructure and your soil system are both designed for the long term, the results are qualitatively different from what a season-to-season approach produces.
Ready to pair your new composting practice with a raised bed built to match it? Visit the Anleolife website to explore the full range of galvanized steel and rust-resistant raised garden beds, available in configurations from compact 4x1.5-foot waist-high planters to expansive 12x3-foot growing systems. Anleolife products ship from a nationwide U.S. warehouse network — with locations in California, Texas, Florida, New York, Illinois, and Washington — ensuring delivery within 3–8 business days. Shop through the platform of your choice, including Amazon, Walmart, Home Depot, Lowe's, Wayfair, or directly on Anleolife.com, with consistent quality assurance and after-sales support at every channel. Start with one bed and one compost bin, and let the system grow with you.
References
- U.S. Environmental Protection Agency. "Composting At Home."
https://www.epa.gov/ - USDA Natural Resources Conservation Service. "Soil Health."
https://www.nrcs.usda.gov/ - The Old Farmer's Almanac. "Raised Bed Garden Layout Plans."
https://www.almanac.com/raised-bed-vegetable-garden-layouts-beginners - Savvy Gardening. "4x8 Raised Bed Vegetable Garden Layout Ideas."
https://savvygardening.com/4x8-raised-bed-vegetable-garden-layout/
Note: Standards and guidelines may be updated; please check the latest official documents or consult professional advisors.








