


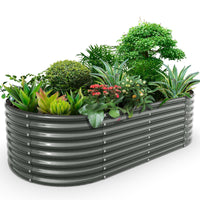


ALT: Advanced soil layering techniques for raised garden beds showing compost, topsoil, and drainage layers this season
Why Soil Layering Is the Secret to a Thriving Raised Garden Bed This Season
Key Conclusion: Mastering advanced soil layering techniques for raised garden beds is the single most impactful decision you can make this season. A properly layered bed mimics the complexity of natural ecosystems, delivering drainage, aeration, nutrient density, and long-term fertility in one structured system. Whether you're setting up your first bed or optimizing an established planting space, understanding how layers work together transforms average yields into extraordinary ones — season after season.
Growing your own food is one of the most rewarding lifestyle choices you can make. But even the best seeds and the most dedicated watering schedule can't compensate for poor soil structure. Raised garden beds offer a unique opportunity that in-ground gardening simply doesn't: total control over your growing medium from the very bottom layer to the surface.
This article will walk you through exactly how to layer your raised bed soil for maximum fertility, drainage, and long-term productivity. We'll cover which materials belong in each layer, how depth affects performance, and which plant types benefit most from specific layering configurations.
Who Should Use These Soil Layering Techniques
✅ Applicable Scenarios:
- Gardeners setting up new raised beds this season who want to build the ideal soil profile from scratch
- Home growers experiencing waterlogging, nutrient depletion, or compaction in existing raised beds
- Urban micro-gardeners and small-space growers looking to maximize output per square foot
- Empty nesters and retirees seeking a low-maintenance, high-performance garden system that requires less annual amendment
❌ Not Applicable/Cautions:
- Container gardens under 8 inches deep, where true layering is not structurally feasible without sacrificing root space
- Gardeners using primarily peat-based mixes without organic matter additions — layering alone won't compensate for fundamentally poor base materials
- Beds placed in full shade where soil temperature and microbial activity remain too low for active decomposition layers to function effectively
The Science Behind Raised Bed Soil Structure (And Why It Matters More Than You Think)
Most gardeners focus on what they plant. The best gardeners focus on what their plants grow in.
Soil structure in a raised bed is fundamentally different from in-ground soil. Because raised beds are elevated, enclosed, and often filled with custom mixes, the natural stratification that occurs over decades in native soil doesn't happen on its own. You have to create it intentionally.
Research from the University of California Cooperative Extension and USDA soil health programs consistently shows that structured growing media — with distinct layers serving drainage, microbial activity, nutrient retention, and surface-level feeding — outperforms homogeneous single-medium beds across nearly every measurable crop metric: yield weight, root development depth, disease resistance, and water use efficiency.
Here's the core principle: healthy plant roots need three things simultaneously — moisture access, oxygen availability, and nutrient proximity. A single-medium fill (such as plain topsoil or bagged potting mix) compromises at least one of these requirements within a single growing season as the medium compacts, pore spaces close, and nutrients leach downward.
Layering solves this structurally. By placing materials with different physical properties at different depths, you create a gradient: free-draining materials at the base prevent waterlogging; decomposing organic matter in the middle generates sustained heat and nutrition; a refined growing medium at the top gives roots immediate access to a perfectly calibrated environment.
This is also where the question of what's the best material for affordable raised garden beds intersects directly with soil strategy. The bed itself — its height, material, and configuration — determines how many distinct layers you can realistically install. Taller beds allow more complex layering systems, which is one reason many experienced gardeners prefer beds in the 18–30 inch height range.
If you're considering your budget alongside your soil strategy, How Much Should You Spend on a Raised Garden Bed This Season? offers a practical breakdown of where investment makes the biggest difference — and soil setup is near the top of that list.
Modern home gardeners are increasingly interested in the hugelkultur method, lasagna gardening, and the no-till layered approach — all of which draw on the same foundational principle: mimic nature's layering, accelerate it, and direct it toward productive food growing. These aren't passing trends. They represent a genuine shift in how backyard growers think about soil as a living, dynamic system rather than a static growing medium.
Building the Perfect Soil Profile: Your Three-Step Layering System
Quick-Start: Setting Up Your Layered Raised Bed
Step 1: Install and Prepare Your Raised Bed Structure
Before any soil goes in, your bed needs to be properly positioned and prepared. Choose a site that receives at least 6–8 hours of direct sunlight. Place cardboard or several layers of newspaper across the bottom interior to suppress weeds and encourage earthworm activity from below — this takes about 10–15 minutes and makes a measurable difference in long-term soil health. Make sure your bed is level to prevent uneven drainage.
Step 2: Build Your Base and Middle Layers
Fill the bottom third of your bed with coarse organic material: wood chips, straw, leaves, small branches, or even untreated cardboard chunks. This is your decomposition layer — it will break down slowly over 1–3 years, generating gentle heat and feeding soil microbes. On top of this, add a transition layer of aged compost mixed with topsoil. This middle zone is where most root activity will eventually migrate as the decomposition layer breaks down beneath it. This step typically takes 30–60 minutes depending on bed size.
Step 3: Add and Refine Your Top Growing Layer
The top 6–8 inches of your bed should consist of your primary growing medium — a well-balanced blend of compost, quality topsoil, and a perlite or coarse sand component for aeration. This is where seeds germinate, transplants anchor, and most active root feeding occurs. Finish with a 2–3 inch layer of mulch for your vegetable garden — organic options like straw, shredded leaves, or wood chips reduce evaporation, moderate soil temperature, and suppress weeds without chemicals.
Comparing Soil Layering Methods for Raised Garden Beds
Different layering philosophies suit different gardening goals, bed sizes, and budgets. Here's a practical comparison to help you choose the right approach:
| Comparison Dimension | Classic Layered Fill | Hugelkultur Method | Lasagna/No-Till Method |
|---|---|---|---|
| Best for bed depth | 18–24 inches minimum | 24–35+ inches ideal | Works at 12–18 inches |
| Primary materials | Compost, topsoil, perlite | Wood logs, compost, soil | Cardboard, compost, organic layers |
| Water retention | Moderate-high | Very high (wood absorbs moisture) | High |
| Time to plant readiness | Immediate | 2–4 weeks optimal | 2–6 weeks |
| Annual amendment needs | Moderate | Low after year 2 | Low to moderate |
| Best for beginners | Yes | Moderate learning curve | Yes |
| Long-term fertility | Good with regular compost top-dressing | Excellent (multi-year decomposition) | Excellent |
For most home gardeners, especially those new to raised bed growing, the Classic Layered Fill approach offers the best balance of immediacy, control, and performance. The Hugelkultur method rewards patience and delivers impressive long-term results, making it ideal for deeper beds and gardeners thinking years ahead.
Layer-by-Layer: A Detailed Guide to Each Zone in Your Raised Bed
The Drainage Foundation Layer
The very bottom of your raised bed serves one critical purpose: preventing water from pooling and suffocating roots. This layer should consist of coarse, porous material that allows water to pass through freely while still providing some structural support for the layers above.
Excellent materials for this layer include wood chips, gravel (if drainage is a persistent issue), straw, or broken-up wood. If you're using the hugelkultur approach, large logs and branches go here. Aim for this layer to take up roughly 20–30% of your bed's total depth.
One often-overlooked element at this stage is weed barrier management. A layer of cardboard or overlapping newspaper placed before any fill material creates an effective temporary barrier that breaks down within 6–12 months — adding organic matter as it does — while preventing aggressive perennial weeds from pushing up into your carefully constructed soil profile.
The Decomposition and Nutrient-Generation Zone
Directly above your drainage foundation sits the layer that makes soil layering in raised garden beds distinctly superior to simple fill methods: the decomposition zone.
This middle layer is where organic matter actively breaks down, generating microbial activity, mild heat, and a slow-release stream of nutrients that feeds your growing medium above. Fill this zone with a combination of aged compost (at least 60 days old), fallen leaves, kitchen scraps buried in bulk, grass clippings, or partially decomposed wood chips.
This is also the zone where earthworm activity concentrates most intensely over time. Worms drawn upward from native soil (via the cardboard base layer) will colonize this zone, aerating it constantly and converting organic matter into nutrient-dense castings that move upward with irrigation water.
For gardeners using beds with greater depth — such as 24-inch extra-tall or 30-inch waist-high configurations — this decomposition zone can be expanded significantly, allowing for a more complex and long-lasting nutrient reservoir.
The Transition Compost Layer
Between your decomposition zone and your surface growing medium, a transition layer of well-aged compost serves as a bridge. This zone should be nearly finished compost — dark, crumbly, and earthy-smelling — mixed with a small proportion of quality topsoil.
The transition layer serves two purposes. First, it provides a physical buffer so that raw organic material from the decomposition zone doesn't directly contact seedling roots. Second, it acts as a reservoir of immediately available nutrients — fully broken-down organic compounds that roots can access as soon as they extend downward from the growing layer above.
The Active Growing Surface Layer
Your top 6–8 inches is where the magic of day-to-day growing happens. This layer must balance several competing demands: it needs to be loose enough for seeds to germinate and roots to establish, moisture-retentive enough to reduce watering frequency, nutritious enough to feed crops through their full growth cycle, and well-draining enough that roots never sit in saturated conditions.
The widely respected What Is the Best Soil Mix for Raised Garden Beds? (The Mel's Mix Guide) offers a proven formula for this top layer — a blend of compost, coarse vermiculite, and a variety of organic matter sources that consistently outperforms single-source growing media.
For most vegetables, herbs, and annual flowers, a well-constructed top layer requires minimal amendment beyond a seasonal top-dressing of fresh compost — one of the great advantages of a properly layered bed over single-medium fills that exhaust quickly.
The Mulch Finish: Your Seasonal Top Dressing
No layering system is complete without a surface mulch layer. The best mulch for a vegetable garden balances weed suppression, moisture retention, and thermal regulation — and the good news is that several affordable options deliver on all three.
Straw (not hay, which contains seeds) is the classic vegetable garden mulch: lightweight, easy to apply, and effective at keeping soil temperatures stable during both spring cool spells and midsummer heat. It breaks down within a season, adding organic matter directly to your top growing layer.
Shredded leaves are an excellent free resource that many gardeners overlook. Run autumn leaves through a lawnmower or leaf blower with a collection bag, and you have premium mulch material that slowly releases nutrients as it decomposes.
Wood chip mulch — particularly arborist chips that include both wood and leaf material — is increasingly popular for vegetable beds and has shown strong results in university trial gardens. It suppresses weeds aggressively, retains moisture well, and contributes to long-term soil carbon content.
Apply 2–3 inches of your chosen mulch after planting, keeping it pulled back slightly from plant stems to prevent rot. Replenish as needed through the season.

ALT: Cross-section diagram of raised garden bed showing advanced soil layering technique with drainage base, compost middle zone, growing medium, and straw mulch top layer for vegetable garden this season
Advanced Considerations: Adapting Your Layering Strategy by Climate, Bed Type, and Crop
Climate Zone Adaptations for Raised Bed Soil Layering
What climate zones work best for small raised beds? The honest answer is: all of them — with the right layering adjustments.
In cooler northern climates (USDA Zones 3–5), the decomposition layer in your raised bed provides meaningful thermal benefit. As organic material breaks down, it generates gentle heat that can extend your growing season by 2–4 weeks on either end. Darker mulch colors absorb more sunlight, warming the root zone faster in spring.
In hot southern and southwestern climates (Zones 8–11), the priority shifts to moisture retention and temperature moderation. Heavier compost proportions in the top layer, combined with thick straw mulch, protect roots from heat stress. Hugelkultur-style wood-heavy base layers offer exceptional water storage in drought-prone regions.
In mid-Atlantic and Pacific Northwest climates, waterlogging risk increases during rainy seasons. Prioritize a robust drainage foundation layer, and consider mixing perlite or coarse sand into your top growing medium to maintain adequate aeration even in prolonged wet weather.
Choosing the Right Raised Bed for Your Layering Goals
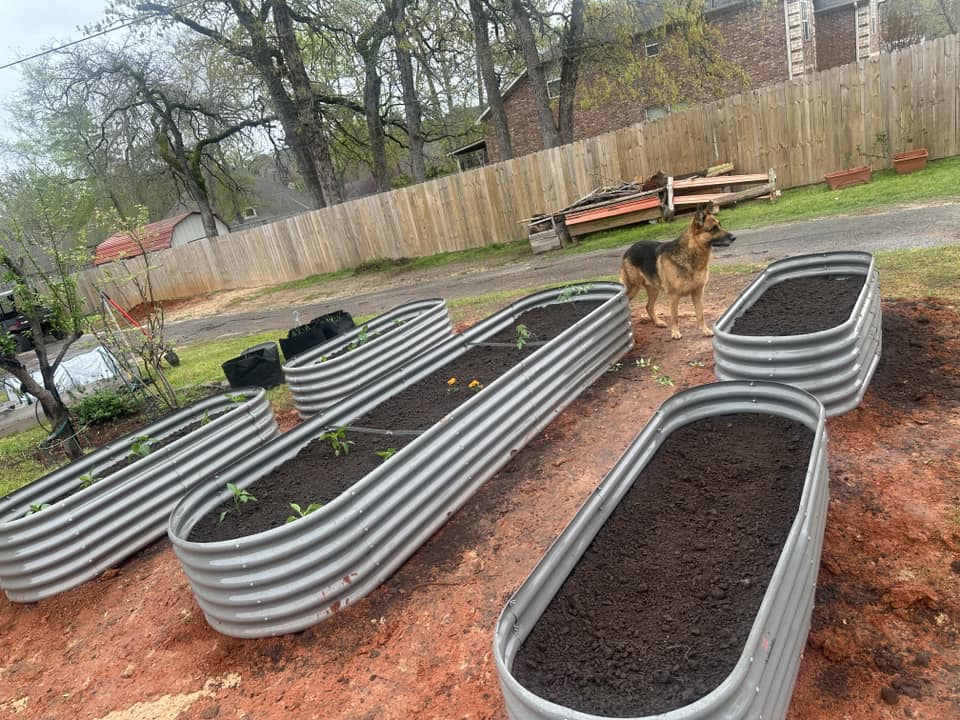
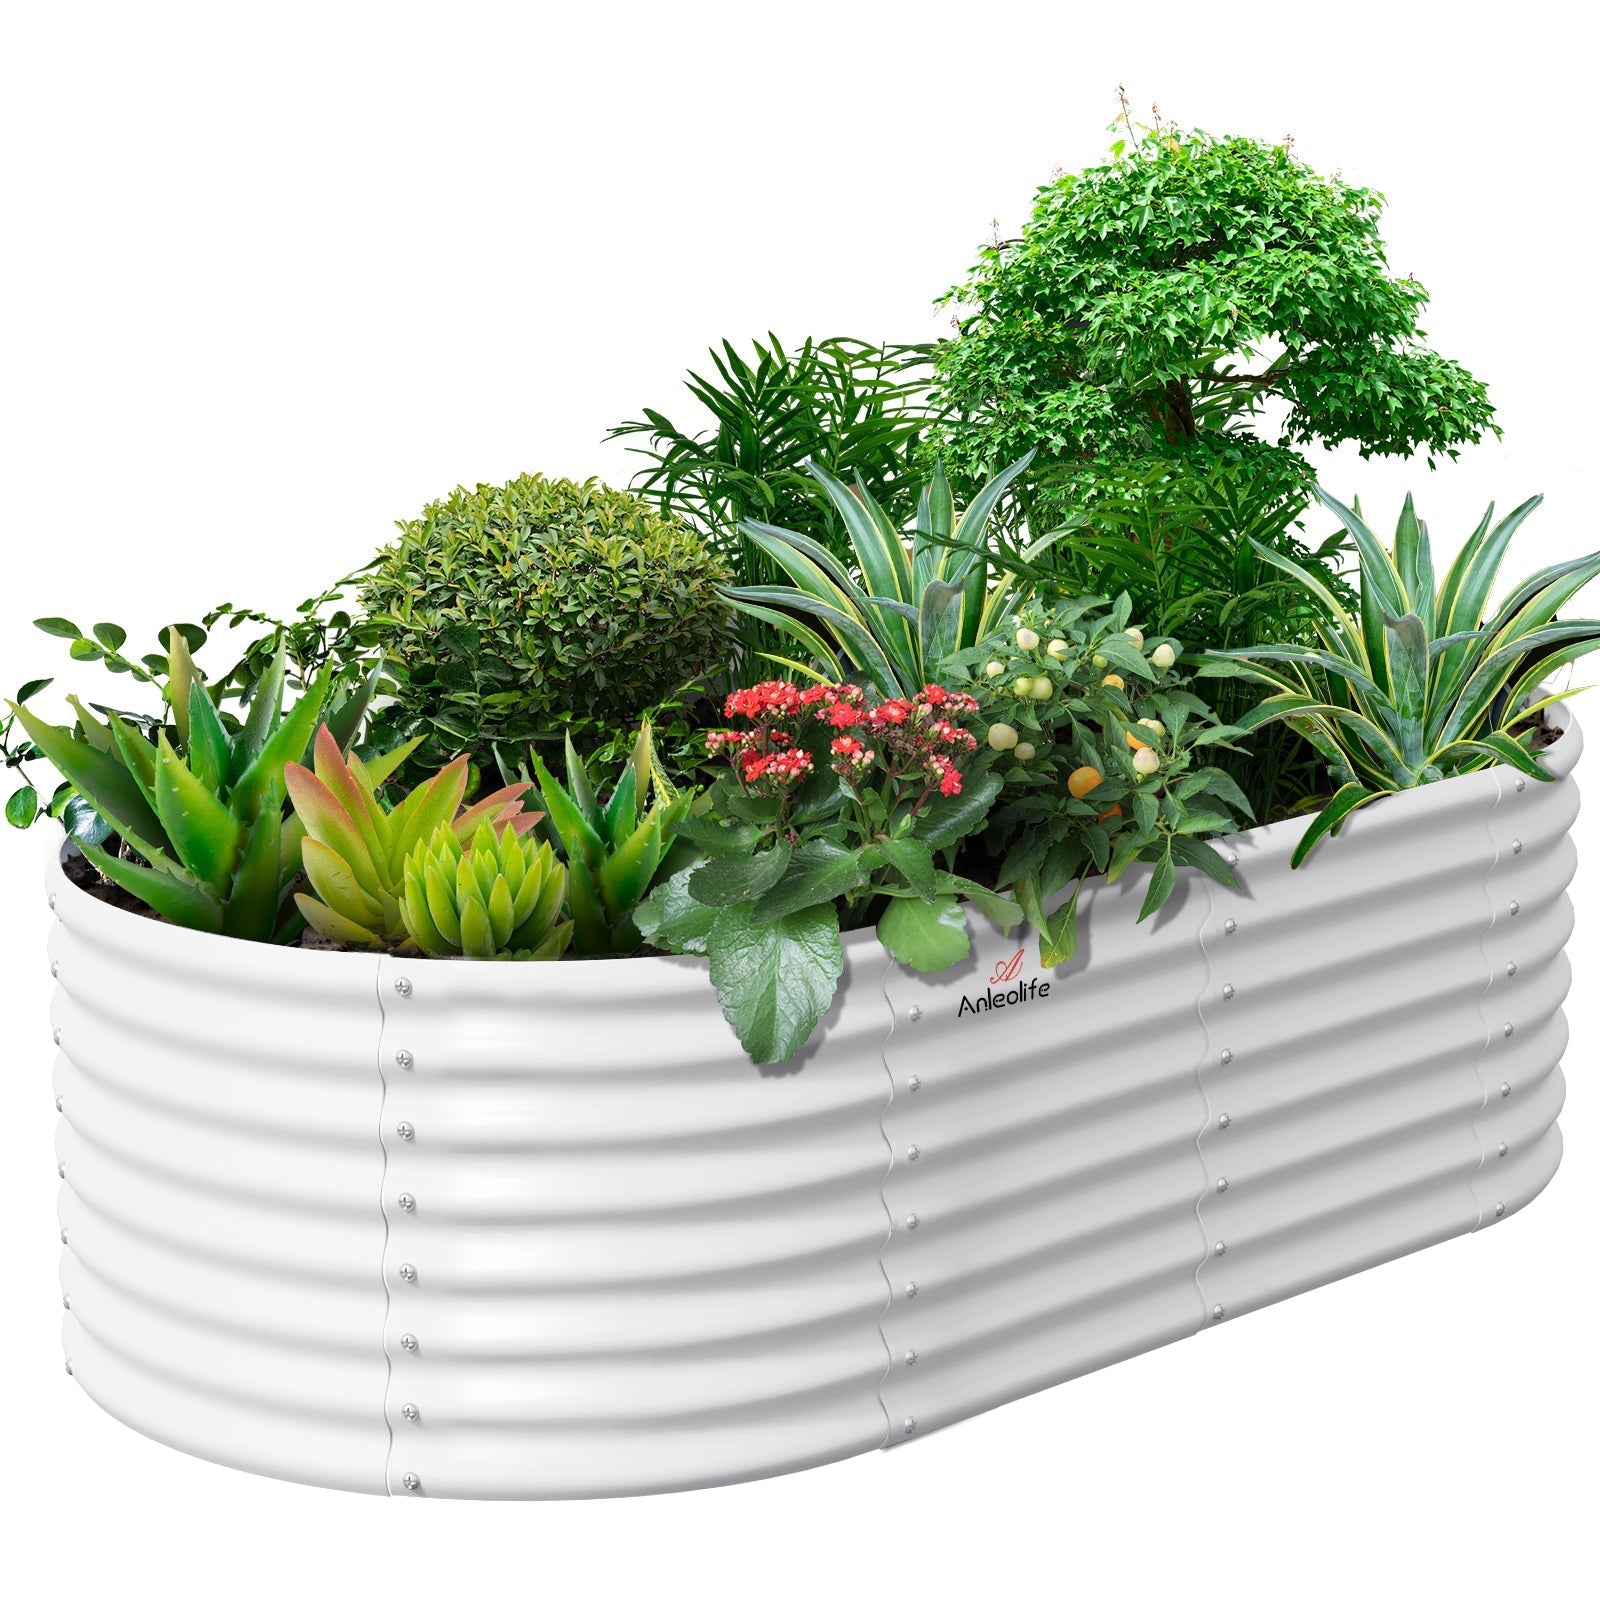
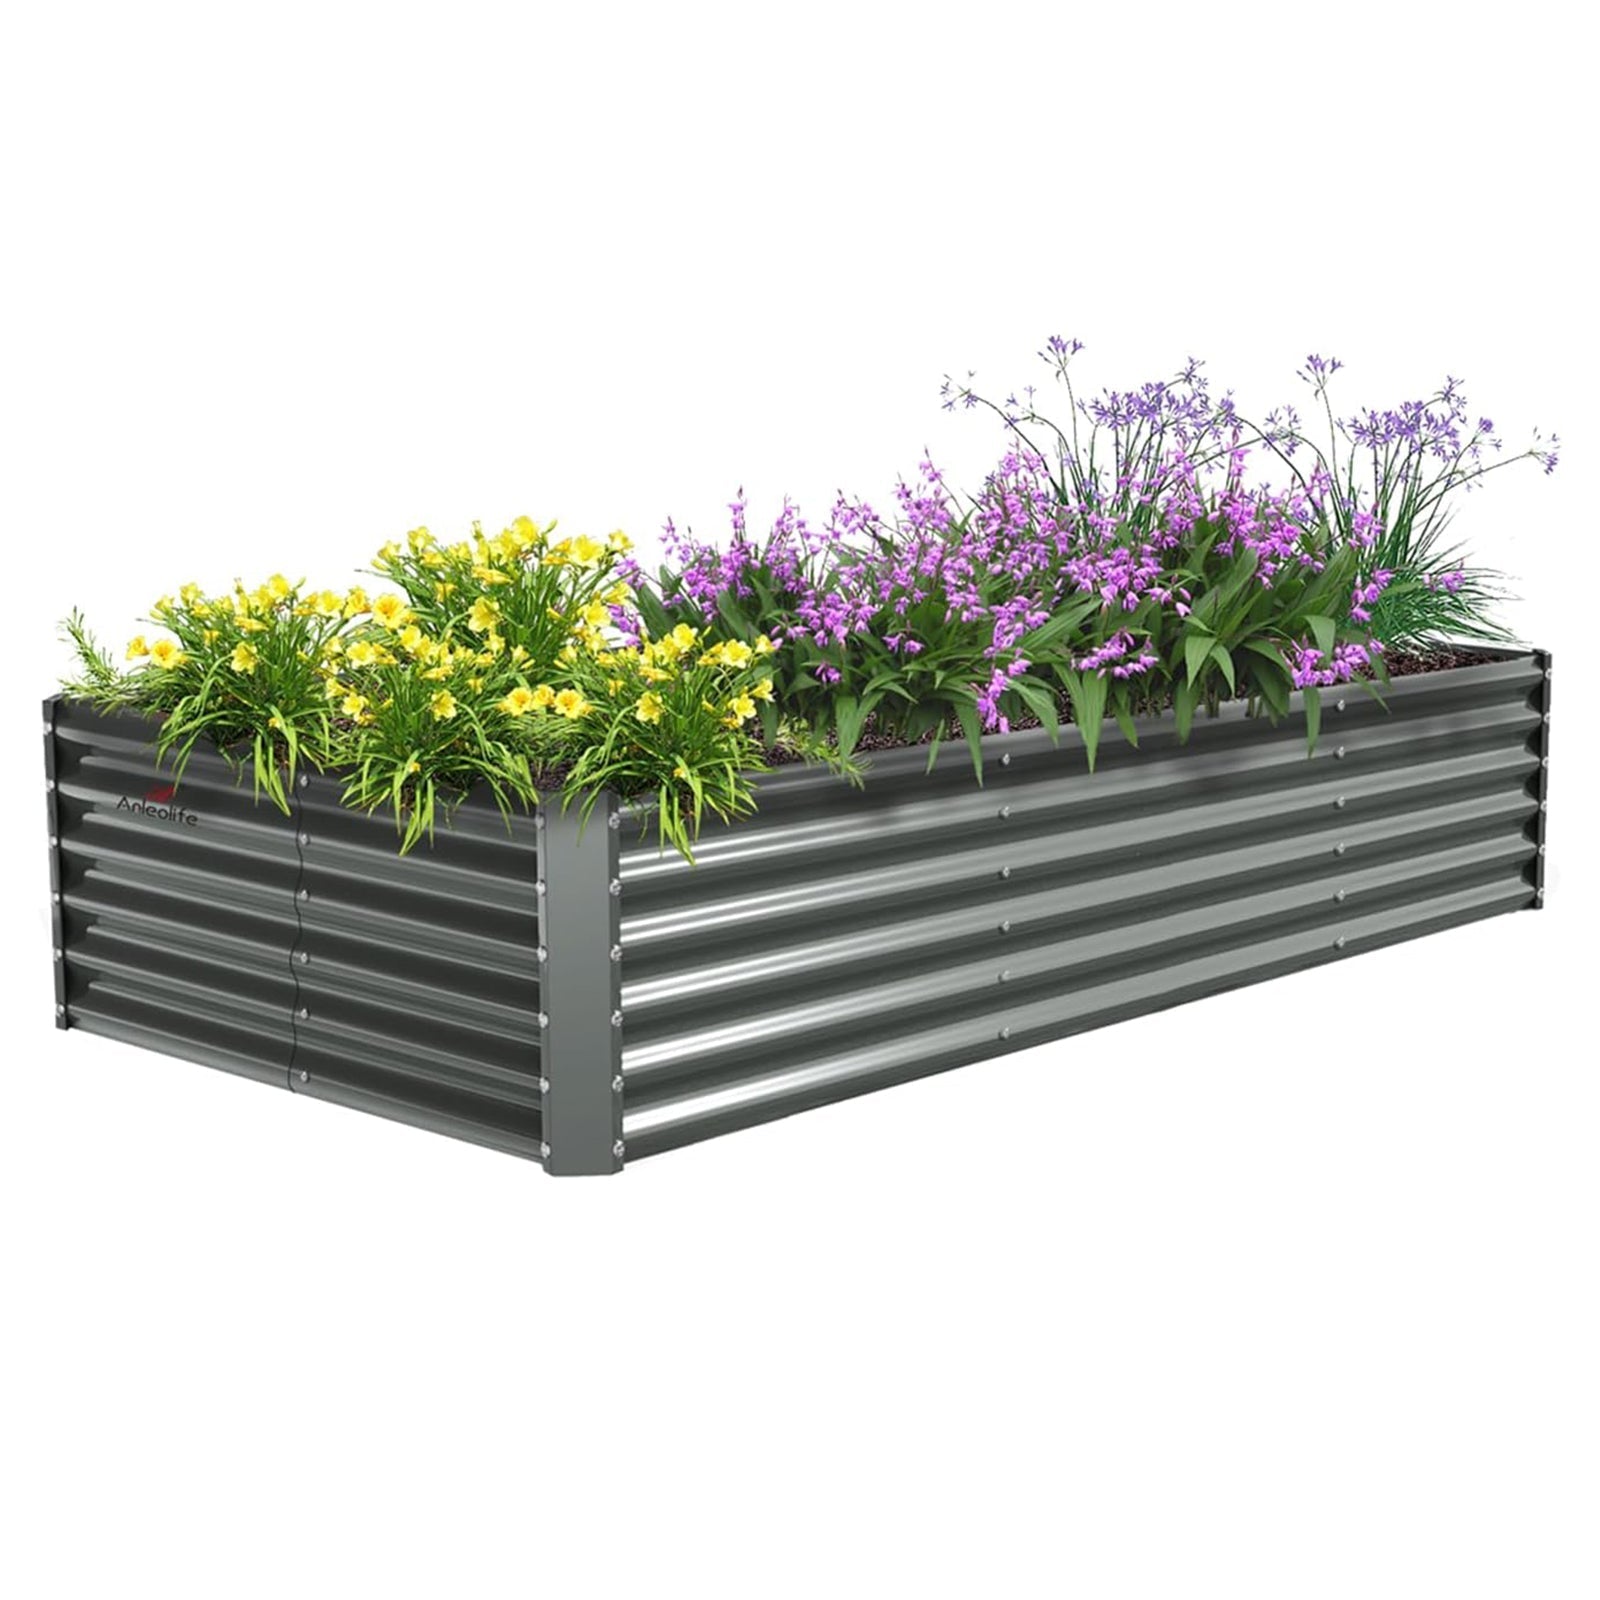
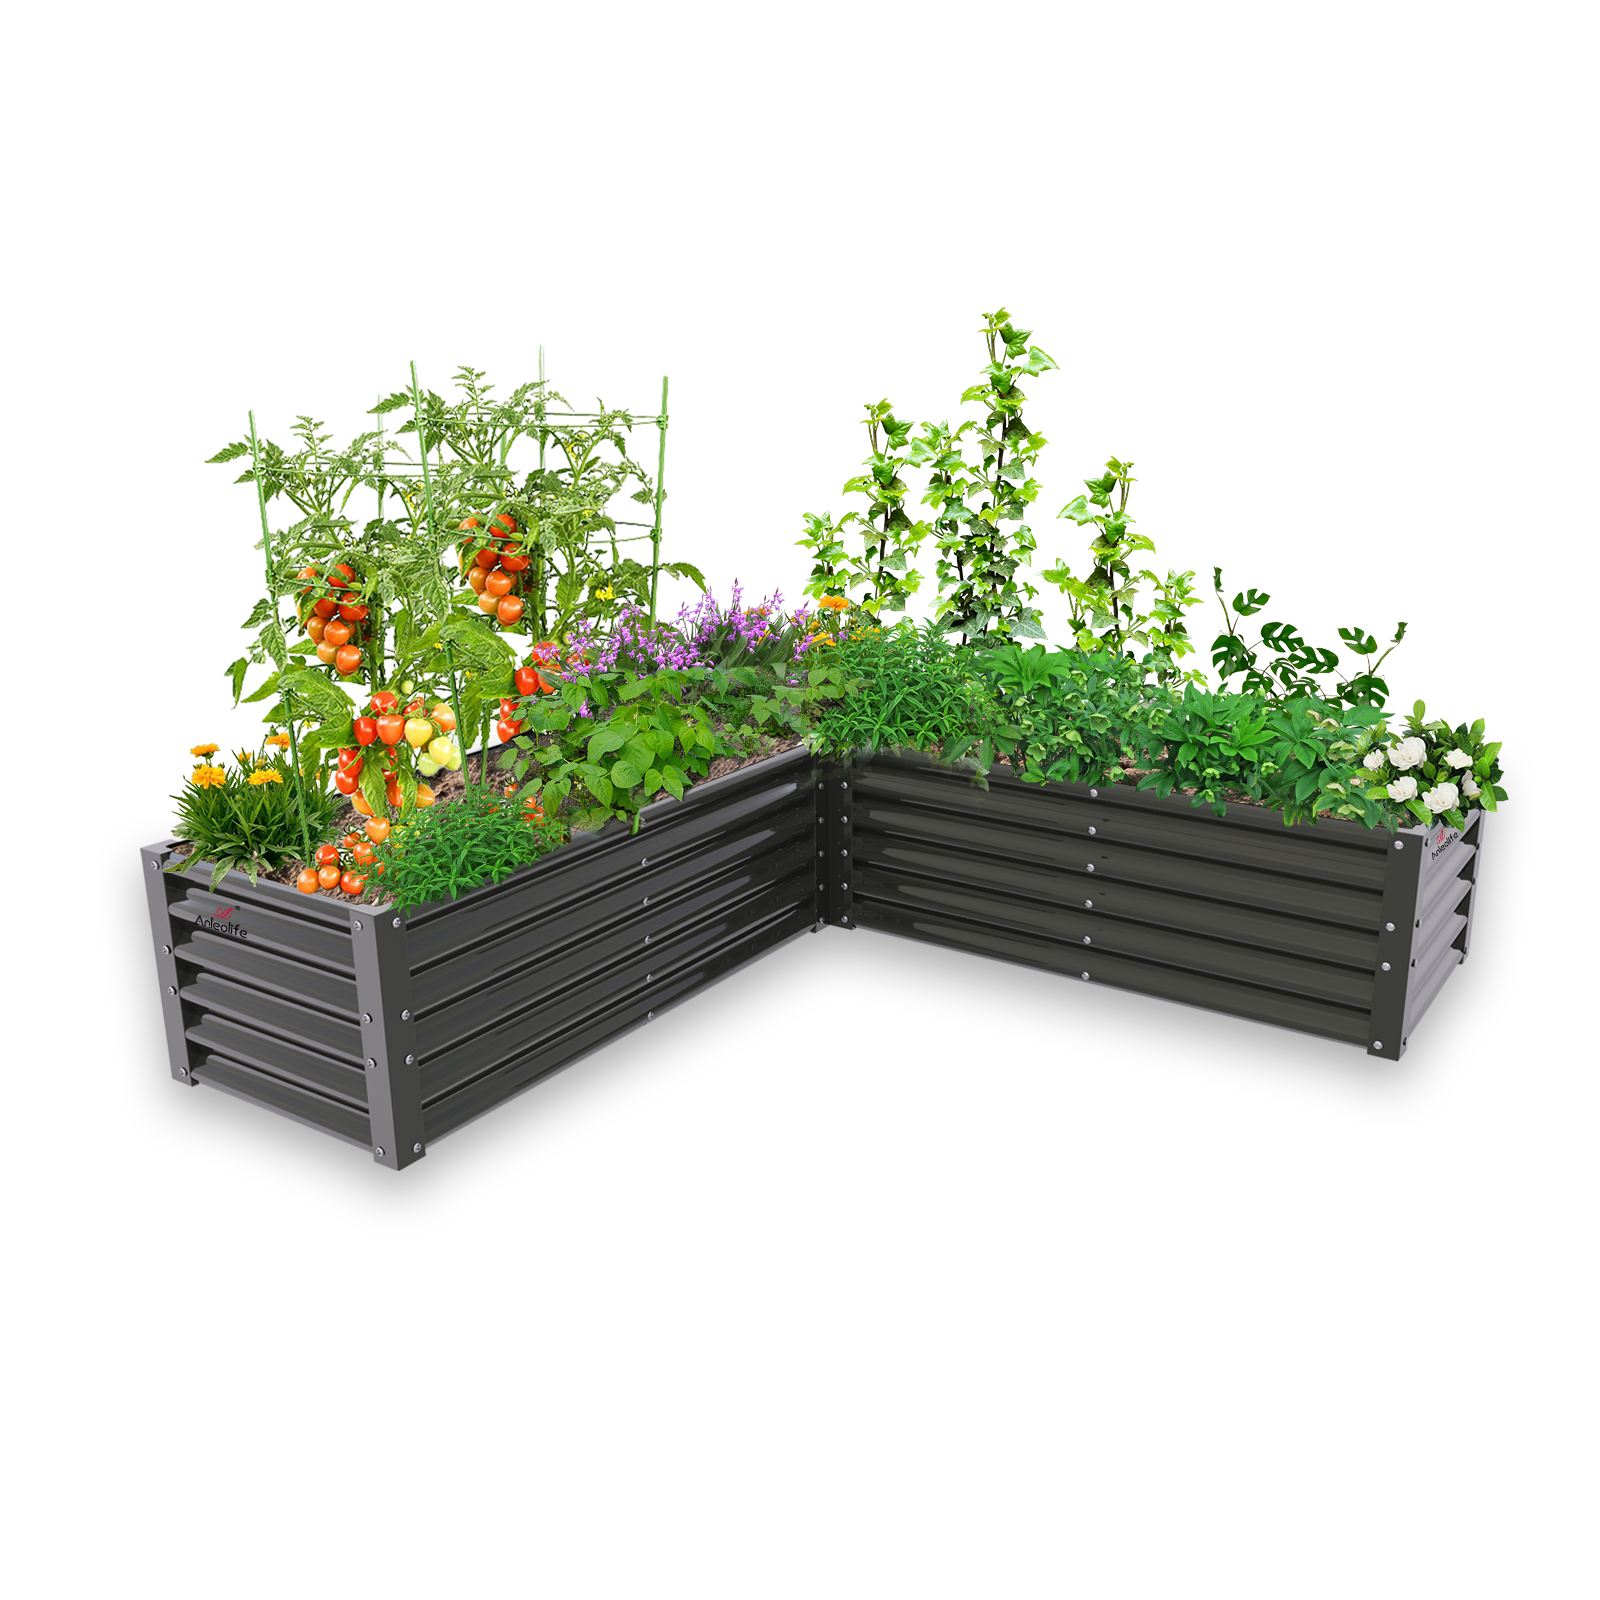
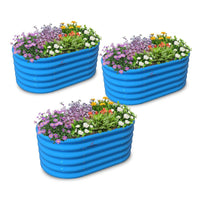
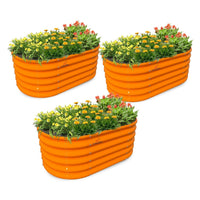
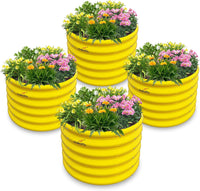
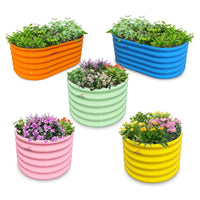
Soil layering is only as good as the structure containing it. The best material for affordable raised garden beds continues to be galvanized steel — it's weather-resistant, structurally sound, and doesn't leach chemicals into your carefully built soil system.
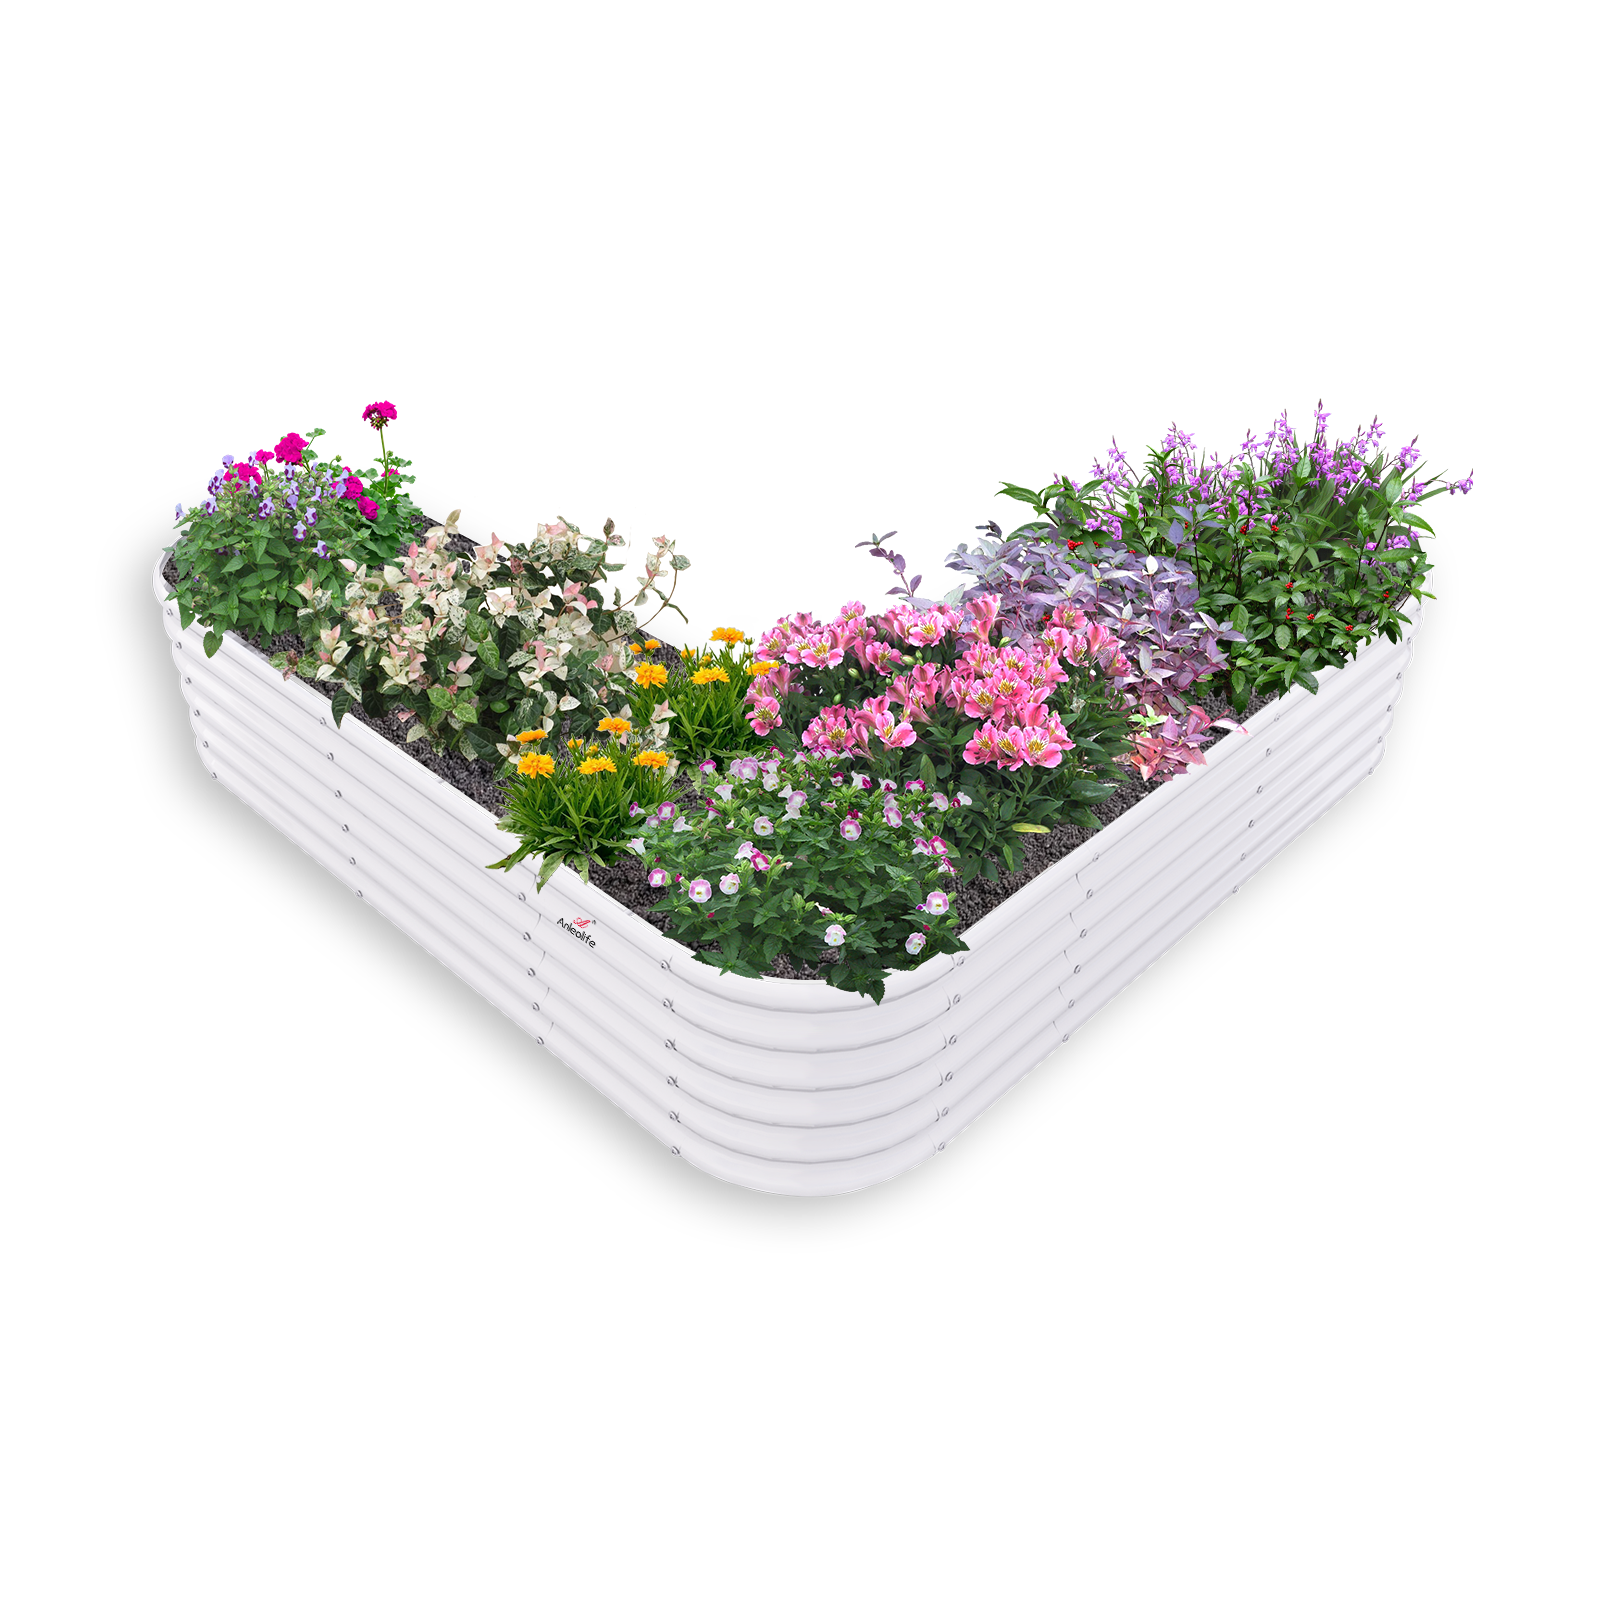
Anleolife's galvanized steel raised garden beds are built to last up to 20 years, giving your layered soil system the time it needs to fully mature and perform at its best. The available height range — from standard 18-inch models to extra-tall 24-inch, 30-inch, and even 35-inch waist-high configurations — directly determines how complex and effective your layering system can be.
Deeper beds (24 inches and above) support a full three-zone layering system with genuine decomposition, transition, and growing zones. Shallower 18-inch beds work well for a simplified two-layer approach. For families working with limited outdoor space, How to Build a Raised Garden Bed Layout for Families with Limited Backyard Space provides smart configuration strategies that work beautifully with layered soil systems.
Common Misconceptions About Soil Layering
Misconception 1: "More layers always means better results."
Quality matters more than quantity. Three well-chosen, well-executed layers outperform six poorly selected ones. Focus on the function of each layer rather than adding complexity for its own sake.
Misconception 2: "You need to replace all your soil each season."
A well-layered bed improves with age. The decomposition layer breaks down and feeds the layers above it. Your main annual task is top-dressing with 1–2 inches of fresh compost — not rebuilding from scratch.
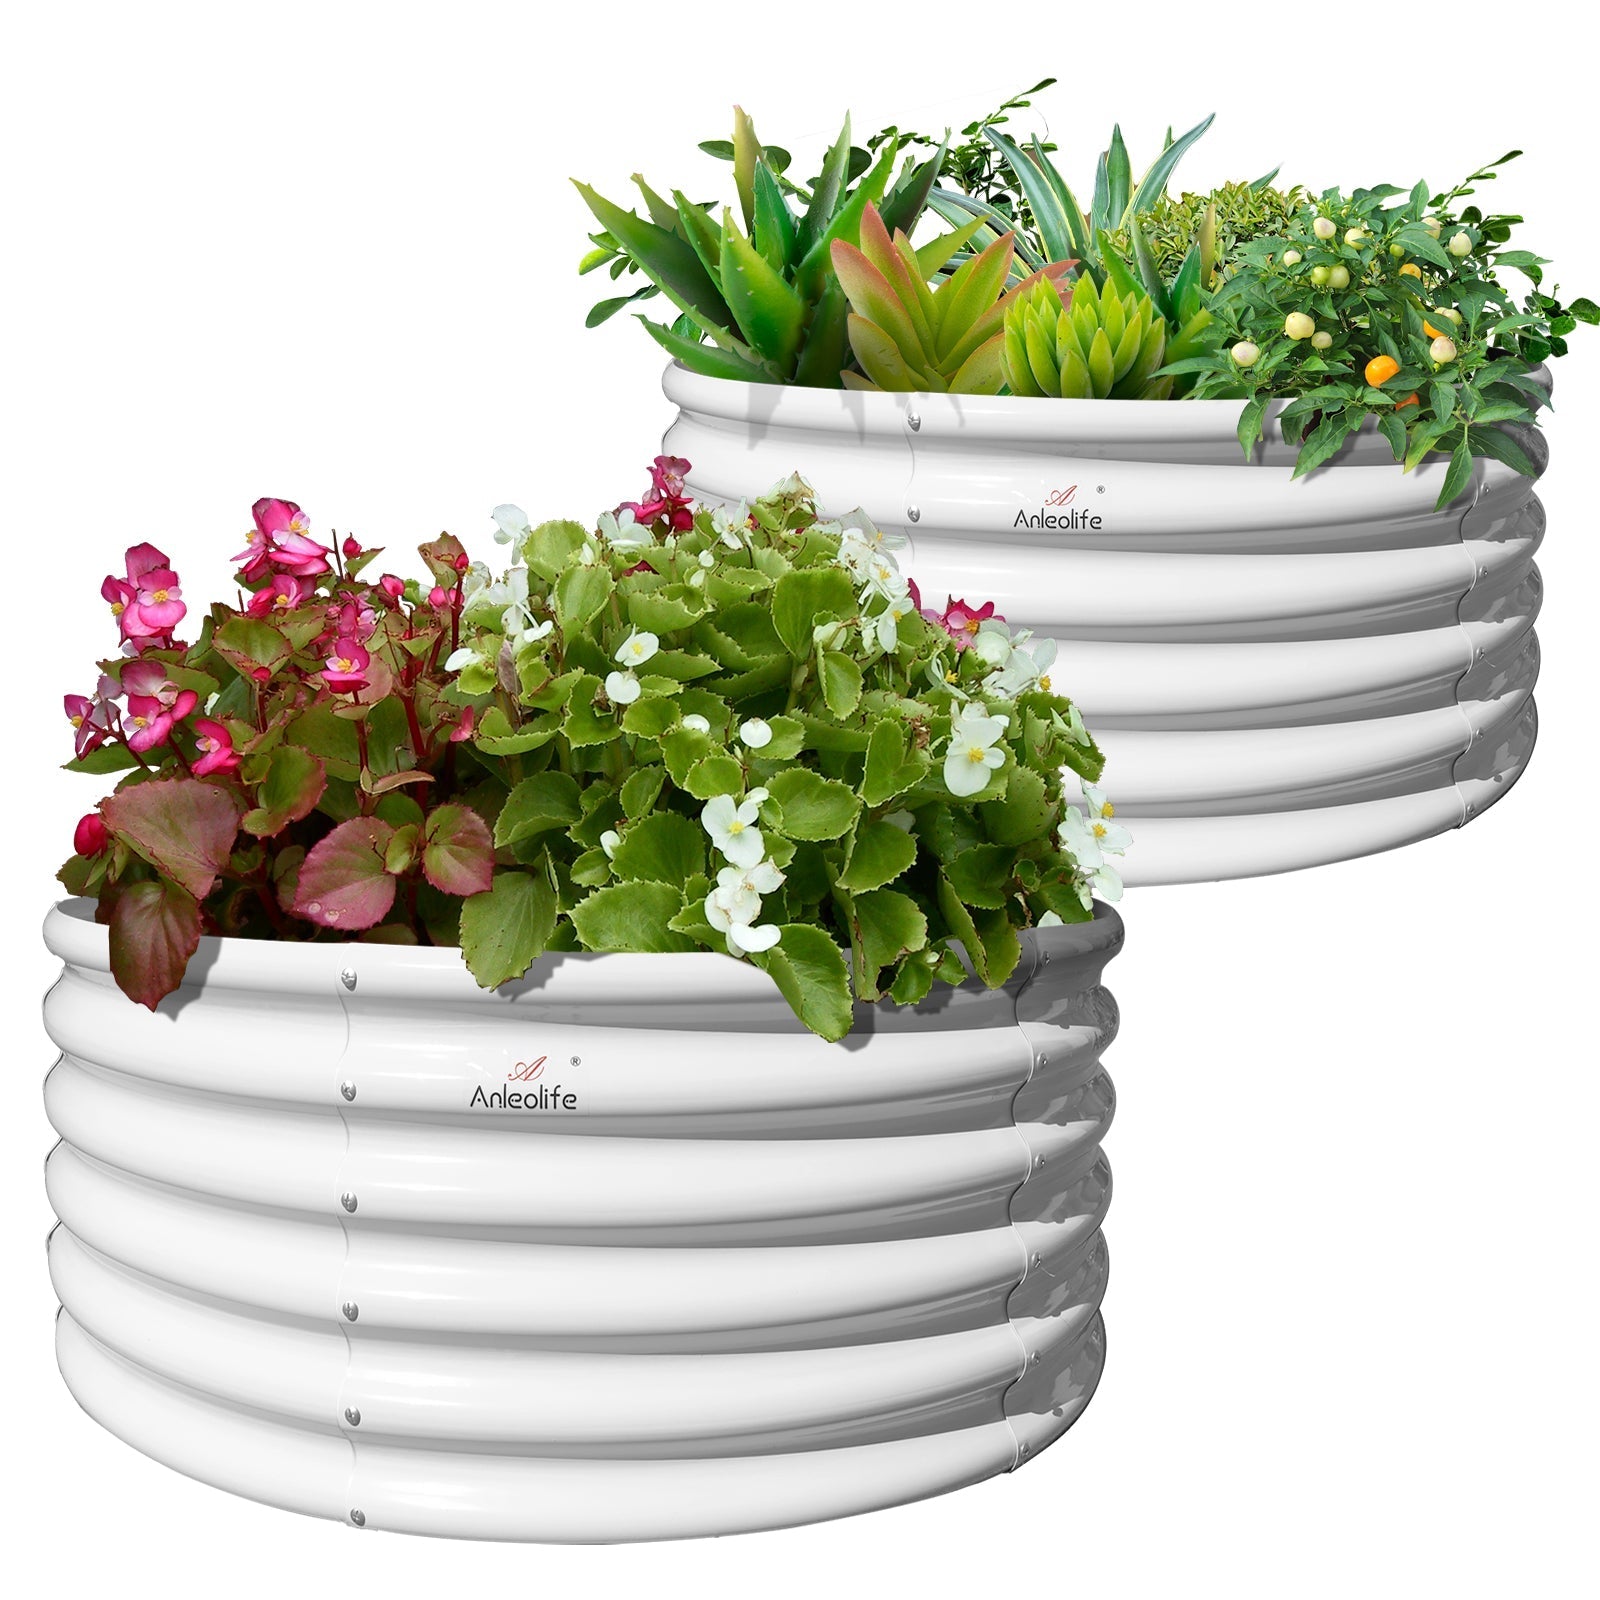
Misconception 3: "Layering is only for large beds."
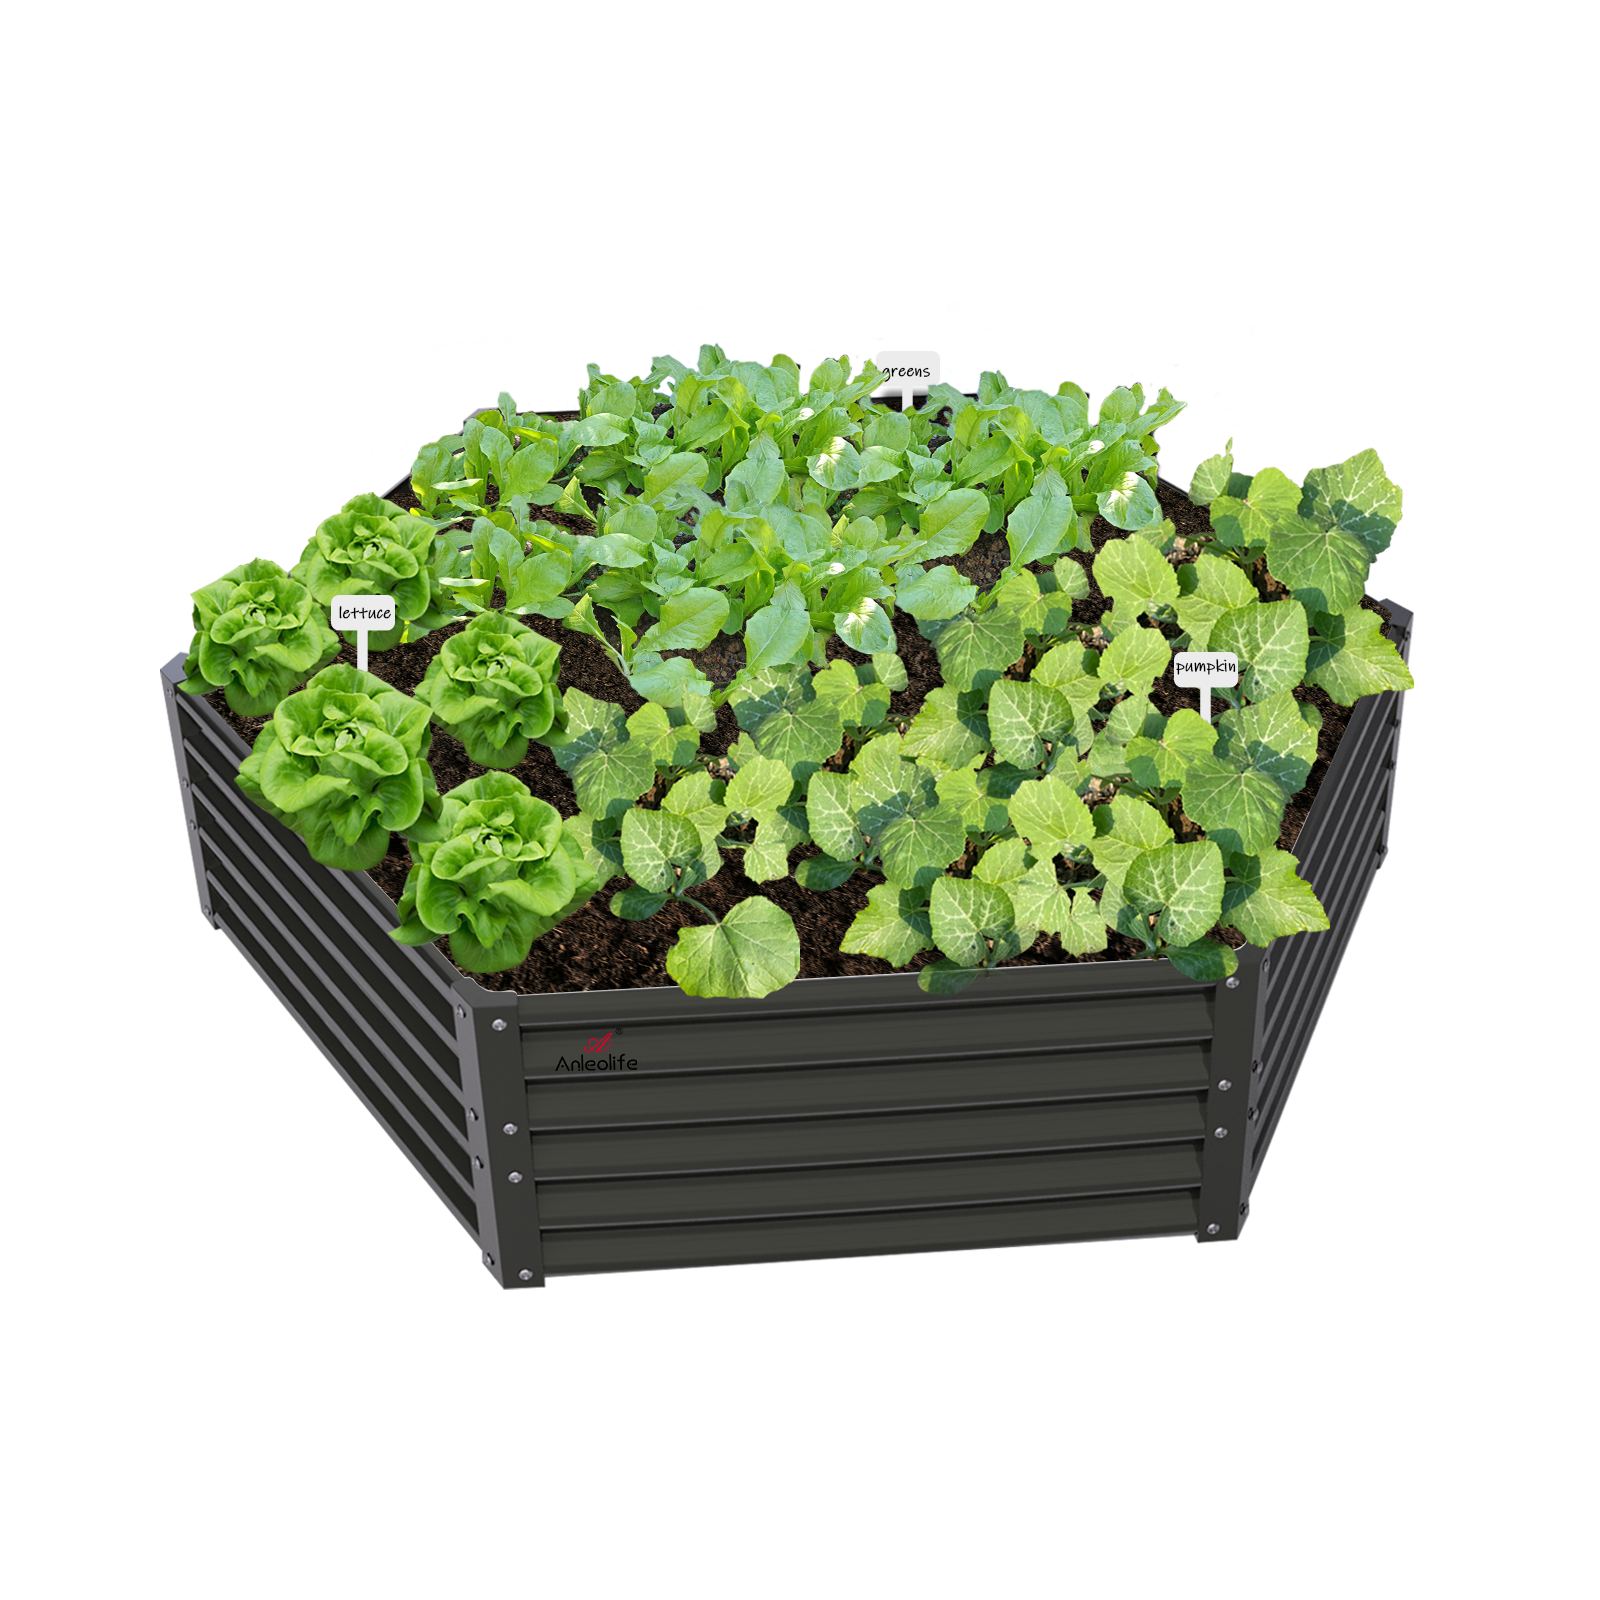
Compact beds — even round raised garden beds or smaller square configurations — benefit from layering. Simply scale the thickness of each layer proportionally to your available depth.
Misconception 4: "Garden edging and bed walls don't affect soil performance."
They do. The best garden edging material for raised beds is one that doesn't interfere with soil moisture dynamics — non-toxic, non-leaching materials like galvanized steel or food-safe powder-coated metals keep your soil chemistry intact. Avoid treated wood in beds where edible crops are grown.
Frequently Asked Questions FAQ
Q1: How do I know if my raised bed soil layering is working correctly?
Watch for three indicators in the first 4–6 weeks: consistent moisture levels without waterlogging (the top inch dries, but soil 2–3 inches down remains evenly moist), vigorous early root development in transplants (visible through rapid above-ground growth), and the absence of compaction when you gently press the surface after watering. Active earthworm presence when you probe the soil is another excellent sign that your decomposition layer is functioning as intended.
Q2: Is it necessary to use a garden rake to prepare each soil layer before adding the next?
Yes — and a good garden rake is genuinely important at this stage. A quality bow rake or level-head rake allows you to spread each layer evenly, break up clumps, and ensure uniform thickness across the entire bed surface. Uneven layers create pockets of poor drainage or nutrient concentration. A sturdy, wide-headed rake with appropriate tine spacing makes this job significantly easier and produces more consistent results than hand-leveling alone.
Q3: How long does it take for the decomposition layer to start benefiting my plants, and does the layering system need rebuilding each year?
The decomposition layer typically begins contributing measurable nutrients to the zone above it within 4–8 weeks of installation, depending on ambient temperature, moisture levels, and the materials used. Microbial activity accelerates significantly in warm conditions. You do not need to rebuild your layering system annually — this is one of the major advantages of the approach. Simply top-dress with 1–2 inches of fresh compost each spring, replenish your mulch layer as it breaks down, and allow the underlying layers to continue their long-term decomposition cycle naturally.
Summary
Advanced soil layering for raised garden beds isn't a complicated technique reserved for expert growers — it's a structured, logical approach to building the growing environment your plants genuinely need. Here are the three core takeaways from everything we've covered:
1. Layer function matters more than layer count. Build each zone with a clear purpose: drainage at the base, decomposition and nutrient generation in the middle, refined growing medium at the top, and protective mulch at the surface. Four well-executed layers deliver transformative results.
2. Your bed's depth determines your layering potential. Taller raised beds — particularly in the 24–35 inch range — unlock the full power of complex layering systems, including hugelkultur approaches that deliver multi-year fertility with minimal annual effort. Choosing the right bed height is a soil strategy decision, not just a comfort one.
3. Layered soil improves with time. Unlike basic potting mix that exhausts within a season, a properly layered raised bed grows more fertile over years. With a galvanized steel raised bed built to last up to 20 years, you're investing in a growing system that compounds in performance season after season.
Your next step: assess your current beds or choose your new bed size, then map out your specific layering plan using the framework in this article. Whether you start with a standard 18-inch bed or invest in a deeper 30-inch configuration, the principles remain the same — build from the bottom up, with purpose at every layer.
Start Your Best Garden Season Yet with Anleolife
Anleolife's nationwide U.S. warehouse network — strategically located in California, Texas, Florida, New York, Illinois, and Washington — ensures delivery in 3–8 business days, so your raised bed arrives ready to work when your garden planning is complete.
Products are available across major platforms including Amazon, Walmart, Home Depot, Lowe's, Wayfair, and directly at Anleolife.com, giving you consistent quality assurance and after-sales support wherever you prefer to shop.
Anleolife's three core product scenarios — Planting (metal raised garden beds and soil systems), Raising (chicken coops and rabbit hutches), and Beautification (decorative accessories and pathway systems) — cover the full range of your outdoor garden needs, from first harvest to fully integrated backyard ecosystem.
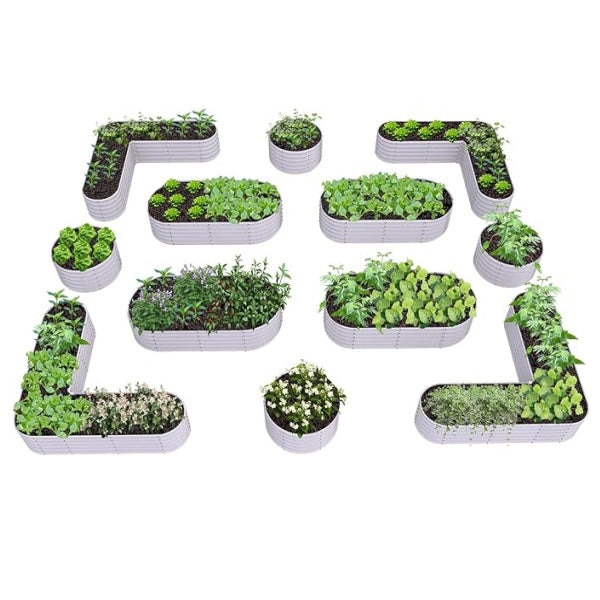
We understand that an ideal garden is not built overnight, but gradually improved over time. Our modular product design allows flexible expansion based on your needs — from your first 8x4 garden bed to a fully integrated planting-and-raising ecosystem. We grow with you every step of the way.
References
- United States Department of Agriculture Natural Resources Conservation Service. "Soil Health — Fundamentals".
https://www.nrcs.usda.gov/conservation-basics/natural-resource-concerns/soils/soil-health - University of California Agriculture and Natural Resources. "Soil and Fertilizer Management for Home Gardeners".
https://ucanr.edu/ - Penn State Extension. "Building Healthy Garden Soil".
https://extension.psu.edu/building-healthy-garden-soil - Oregon State University Extension Service. "Mulching Woody Ornamentals with Organic Materials".
https://extension.oregonstate.edu/gardening/techniques/mulching-woody-ornamentals-organic-materials - National Gardening Association. "Raised Bed Gardening Guide".
https://garden.org/learn/articles/view/2761/
Note: Standards and best practices may be updated. Please check the latest official documents or consult professional advisors for the most current guidance.
About Anleolife
Anleolife is a leading outdoor garden solutions provider in North America, dedicated to offering a full-scenario product ecosystem for home gardening enthusiasts, covering planting, raising, and garden beautification. Since its founding, we have upheld our brand mission, "Made for Garden Life," continuously innovating products and optimizing services to help hundreds of thousands of users upgrade their gardens, reconnect with nature, and enjoy a better garden lifestyle.