


























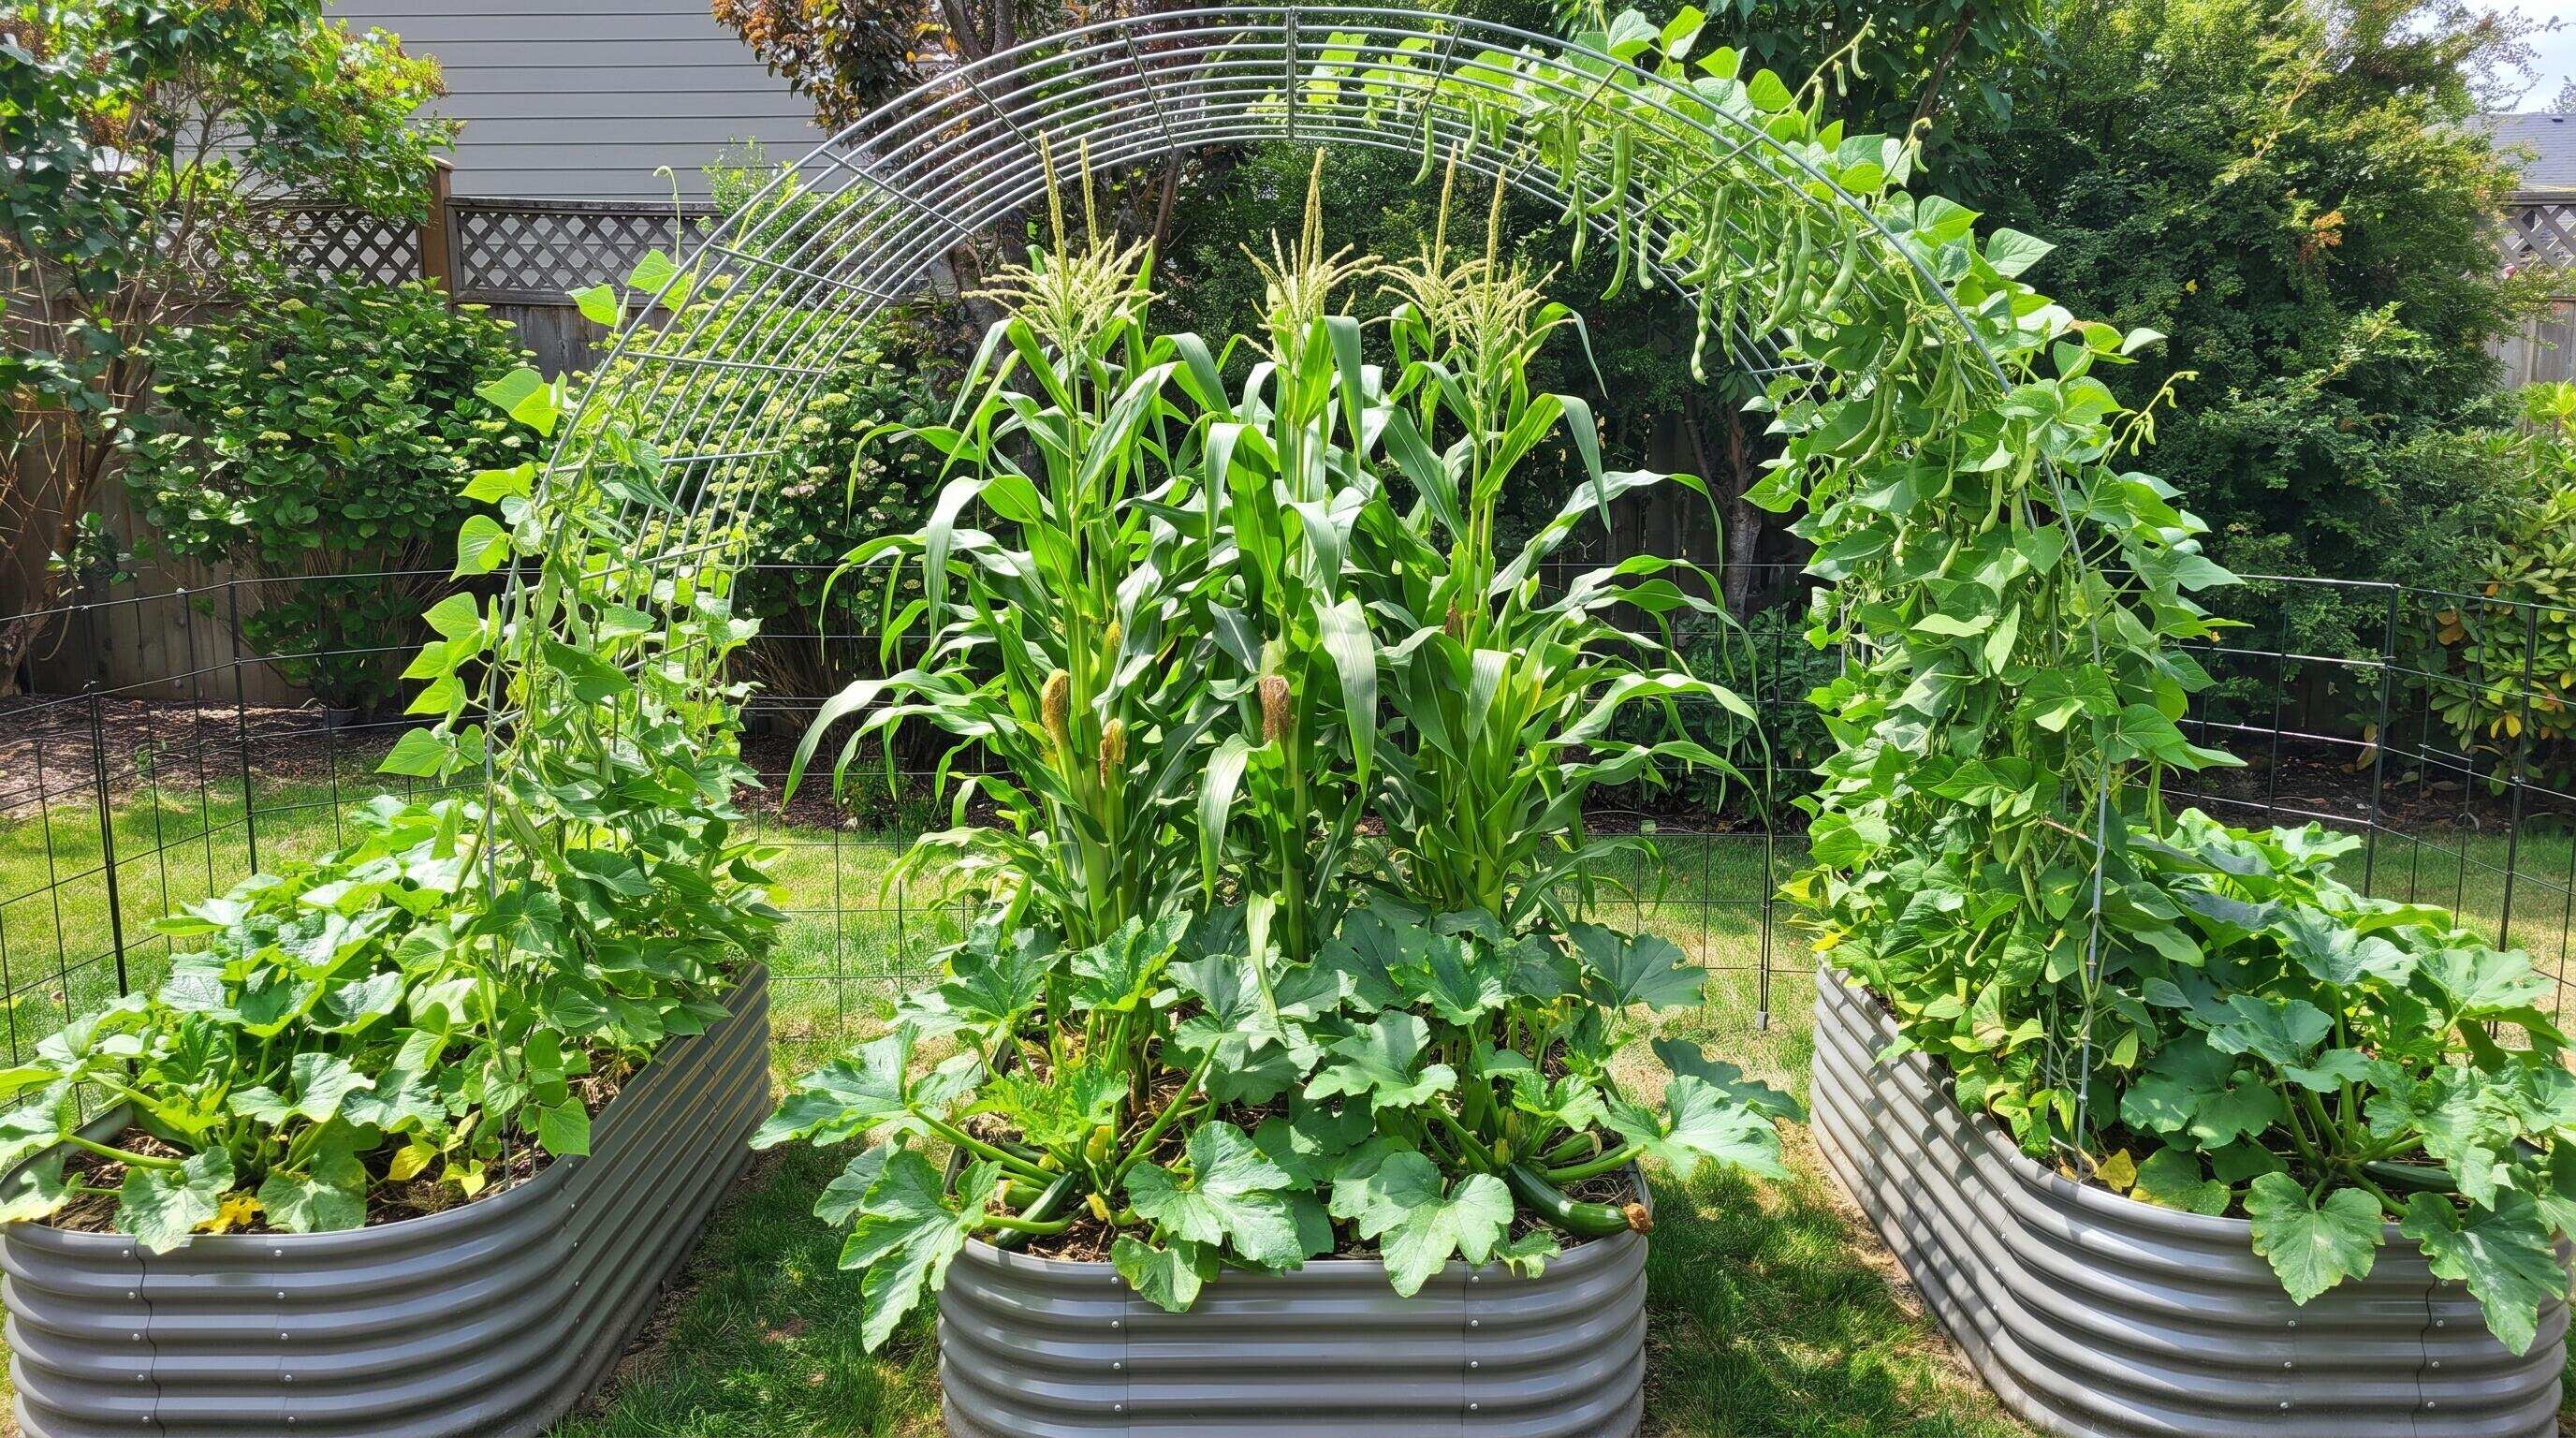
ALT: Step-by-step raised bed garden layout planning for a multi-bed backyard transformation
Transform Your Backyard with a Smart Raised Bed Garden Layout
Picture this: you walk out your back door and instead of a patchy lawn or unused concrete, you see rows of thriving vegetable beds, pollinator-friendly herbs, and climbing tomatoes reaching toward the sun. That transformation doesn't happen by accident — it starts with a deliberate, well-mapped raised bed garden layout that accounts for your space, your household's needs, and the way plants actually grow. This guide walks you through every stage of that planning process, from your first sketch on paper to the moment you firm your first seedling into the soil.
This guide is written for homeowners who are serious about making their backyard work harder — families who want to grow real food, empty nesters who are ready to invest time in something rewarding, and urban micro-gardeners who need to squeeze maximum yield out of a modest footprint. Whether you're starting with two beds or dreaming of twelve, the same planning principles apply, and getting them right from the start saves you months of rework.
Before You Start: Prerequisites and Preparation for Your Multi-Bed Garden Plan
Planning a multi-bed raised bed garden layout is a weekend-scale project, but the preparation stage deserves its own dedicated block of time before a single bag of soil is purchased. Rushing through assessment is one of the most consistent patterns we see lead to mid-season regret — beds positioned in the wrong spot, pathways too narrow to wheel a barrow through, or a soil system that isn't deep enough for root vegetables.
Before you move into the step-by-step planning process, take stock of the following:
What to assess and gather:
- A rough measurement of your available outdoor space (a tape measure and a notepad are sufficient at this stage)
- An honest observation of sunlight — walk your yard at different times of day and note which areas receive full sun (six or more hours), partial sun, and shade
- Knowledge of your local frost dates and growing season, which you can find through your state's cooperative extension service
- An understanding of your household's dietary habits — what vegetables does your family actually eat?
- A realistic sense of how much time per week you can commit to garden maintenance
- Access to a water source within a practical distance of your planned bed locations
- A preliminary budget that accounts for beds, soil, amendments, seeds or transplants, and pathway materials
Time and effort estimate:
The planning phase itself is low-labor but requires focused attention. Expect to spend several sessions spread across a week or two — one session for site assessment, one for layout drafting, and another to finalize materials. Physical installation of the beds and soil system is more demanding and scales with the number of beds you're building.
Checklist before starting:
- Yard measurements recorded on paper or a simple sketch
- Sunlight observations logged for at least one full day
- Local frost dates identified
- Household food preferences noted
- Preliminary budget range established
- Water access point confirmed
- Any HOA or local zoning restrictions reviewed
Step-by-Step Guide to Planning Your Raised Bed Planting Layout
Step 1: Map Your Yard and Identify Your Best Real Estate
A productive raised bed garden layout begins with an accurate picture of your space. Start by sketching your yard to rough scale — it doesn't need to be an architect's drawing, just a proportional representation of the perimeter, existing structures, trees, fences, and access points. Mark north on your sketch so you can reason about sun angles later.
Once you have your base map, overlay your sunlight observations. Most food crops — tomatoes, peppers, squash, beans, and leafy greens — perform best in full sun, so your sunniest zones are your most valuable real estate. Note any areas that receive shade from the house, a fence, or mature trees, particularly in the afternoon, when shade is most likely to suppress fruit production.
Tip: Identify at least one backup zone in partial sun — this becomes ideal for herbs like cilantro, for cool-season crops like lettuce, or for a future composting station.
Step 2: Define How Many Beds You Need and What Size Fits Your Goals
The number and size of raised beds in your layout should be driven by two things: how much food you realistically want to produce, and how much you can comfortably maintain. In our experience working with home gardeners, the most common regret is starting too large — taking on more beds than available time allows leads to neglected plantings, which quickly erode motivation.
A practical starting framework:
- A household of two to four people looking to supplement grocery shopping with fresh produce can achieve meaningful output from two to four generously sized beds.
- If you're targeting greater self-sufficiency or want to include perennial crops like asparagus or herbs alongside annuals, four to six beds gives you the rotation space to do it well.
- Gardeners who want to include a dedicated cutting flower bed, a children's growing patch, or a raised herb garden alongside their vegetables should plan for at least one additional bed per dedicated use.
Raised bed size should be planned so you can reach the center of each bed from either side without stepping in — this protects soil structure and is especially important as bed count increases. Anleolife's raised garden beds are available in configurations that support this principle, ranging from compact 4x1.5 ft waist-high formats to expansive 12x3 ft layouts that keep every planting zone within arm's reach.
Tip: If space is genuinely limited, prioritize fewer, deeper beds over many shallow ones. Deeper beds support a wider range of crops, including root vegetables like carrots and beets that struggle in shallow soil systems.
Step 3: Design Your Pathway System and Access Infrastructure
Pathways are not afterthoughts — they are the skeleton of your raised bed garden layout. Wide, well-defined paths between beds make the difference between a garden that's a joy to work in and one that feels cramped and frustrating by midsummer.
A pathway width of at least two feet between beds allows comfortable side-by-side access for weeding, harvesting, and transplanting. If you plan to move a wheelbarrow through the garden regularly — which you will, when it's time to top-dress beds with compost — plan at least one main artery that's wide enough to accommodate it without clipping the bed edges.
Path surface materials are worth considering early, because they affect the long-term look and function of the space. Options include:
- Wood chips or bark mulch: affordable, easy to replenish, suppresses weeds effectively
- Gravel or crushed stone: durable, excellent drainage, slightly higher upfront cost
- Stepping stones with ground cover: aesthetically polished, ideal for gardeners who value beautification alongside function
- Compacted decomposed granite: popular in drier climates, low maintenance once established
According to the University of California Cooperative Extension, well-designed pathways in home gardens reduce soil compaction around growing areas and improve long-term soil health — a clear structural benefit that compounds over multiple growing seasons.
Tip: Mark your pathway lines with stakes and string before purchasing path materials. Walking your planned layout at full scale often reveals that a pathway you planned as two feet wide feels narrower than expected once beds are installed.
Step 4: Match Your Raised Bed Products to Your Layout Requirements
Once you know how many beds you need, where they'll sit, and what crops you intend to grow, you can select beds that match those requirements. This is where material quality, bed height, and structural durability become decisions that will serve you — or frustrate you — for years.
Galvanized steel raised garden beds are the most widely recommended choice for multi-bed layouts because they resist rust, hold their shape under the pressure of deep soil fills, and deliver a lifespan that makes the investment worthwhile. Anleolife galvanized steel raised garden beds are built to last up to 20 years, which means a garden infrastructure investment made today can still be serving your household in two decades — far outlasting wood alternatives that typically require replacement within five to seven years.
Bed height is one of the most consequential decisions in a raised bed planting layout:
- Standard height beds (around 18 inches) are versatile, supporting most annuals and offering improved drainage over in-ground planting.
- Extra-tall beds (24 to 30 inches) dramatically reduce bending and are particularly valued by gardeners managing back or knee limitations — a common and practical consideration for empty nesters and retirees.
- Waist-high formats (around 35 inches) function almost like standing workbenches and are transformative for anyone who finds lower beds difficult to tend.
Anleolife's product range spans this entire spectrum, from the 18-inch tall configurations ideal for general-purpose planting to 30-inch extra-tall and 35-inch waist-high formats designed for accessible, strain-free gardening. For a multi-bed layout, mixing heights intentionally — taller beds in areas you'll tend frequently, standard-height beds for lower-maintenance perennials or overflow crops — is a strategy we consistently see lead to more satisfying, sustainable gardens.
Tip: When planning a layout with six or more beds, consider using Anleolife's modular raised garden bed configurations. Modular systems allow you to start with a core configuration and expand bed size or shape as your garden grows, without purchasing entirely new infrastructure.
Step 5: Plan Your Soil System for Each Bed
A raised bed garden layout is only as productive as the soil it contains. This step is where many first-time multi-bed gardeners underestimate both the volume of soil required and the importance of composition.
For a deep, productive raised bed soil system, the general approach endorsed by most cooperative extension services and soil scientists is a layered fill that prioritizes both drainage and nutrient retention. A commonly used framework:
- The bottom layer uses coarse organic material (wood chips, straw, or leaves) to encourage drainage and gradual decomposition that feeds the bed over time.
- The middle layer introduces a blend of topsoil and compost, which provides the bulk of the growing medium.
- The top layer is a premium mix of compost, aged manure, and horticultural vermiculite or perlite that gives transplants an immediately hospitable environment.
The precise ratio of these components can be adjusted based on the crops you're growing. Root vegetables benefit from a looser, less compacted mix; heavy feeders like squash and tomatoes respond well to higher organic matter content.
According to the USDA Natural Resources Conservation Service, healthy garden soil — defined as well-structured, biologically active, and nutrient-balanced — is the single greatest determinant of vegetable garden productivity. Planning your soil system at the layout stage, rather than filling beds with whatever is available at the time of installation, is the difference between a garden that thrives from its first season and one that needs corrective amendments by midsummer.
Tip: For a multi-bed layout, calculate your total soil volume needs before purchasing. An underestimated soil order is one of the most common delays in getting new raised bed gardens into production. Most suppliers can help you calculate cubic footage requirements if you provide bed dimensions.
Step 6: Develop Your Crop Rotation and Companion Planting Map
A productive raised bed planting layout is not a static document — it's a living plan that changes with each season. Planning crop rotation from the beginning, before you've planted a single seed, protects your soil, reduces disease pressure, and prevents the nutrient depletion that follows growing the same family of plants in the same location year after year.
The foundation of rotation planning is grouping crops by plant family:
- Solanaceae (tomatoes, peppers, eggplant) are heavy feeders and should not occupy the same bed two years running.
- Brassicaceae (cabbage, broccoli, kale, radishes) are susceptible to club root and other soil-borne pathogens that accumulate with repeated plantings.
- Legumes (beans, peas) fix atmospheric nitrogen and are best used as a "rest crop" after heavy feeders, replenishing what the previous season consumed.
- Cucurbits (squash, cucumbers, melons) and root crops (carrots, beets, onions) round out a four-group rotation that protects soil ecology over a multi-year cycle.
Sketch a simple grid with your beds numbered and map which crop group occupies each bed in Year 1. Then write Year 2 and Year 3 columns showing how each group moves one position forward. This takes thirty minutes to do at the planning stage and prevents years of soil management problems.
Companion planting adds another layer of intentionality: planting basil alongside tomatoes, nasturtiums at the edges of beds to deter aphids, or marigolds as a general pest-deterrent border. These relationships are well-documented in horticultural literature and add both function and visual interest to the garden space.
Tip: Keep your rotation map somewhere durable — a laminated card, a note in your phone's photo library, or a simple spreadsheet. Gardens evolve, and a rotation plan only works if you can reference it in subsequent seasons.
Step 7: Install, Establish, and Refine
With your layout mapped, your beds selected, your soil planned, and your crop rotation drafted, the installation phase begins. Approach installation in a logical sequence: prepare the ground beneath each bed location first (remove grass or weeds, level the surface if needed), position your beds according to your layout sketch, then fill with your soil system before moving to the next bed.
Anleolife ships its raised garden beds through a nationwide U.S. warehouse network — with strategic locations across California, Texas, Florida, New York, Illinois, and Washington — ensuring delivery within 3–8 business days. That means once your layout is finalized and your order is placed, you're typically moving into installation within the same week.
After installation, the first growing season is also an observation season. Notice which beds dry out faster, which receive unexpected shade as the season progresses, and which soil mixes produce the healthiest root development. Take notes. The multi-bed layout you've planned is a framework, not a contract — refining it based on real-season observation is exactly how experienced gardeners continuously improve their results.
Tip: Photograph your garden from the same vantage point at the start of each season. This visual record is more useful than you might expect — it shows progression, reveals layout inefficiencies, and serves as a reference when planning the following year's rotation.
Common Mistakes and Troubleshooting in Raised Bed Layout Planning
| Symptom | Likely Cause | How to Fix |
|---|---|---|
| Beds dry out quickly and require daily watering | Beds positioned in high-wind zones or on slopes that accelerate drainage; soil mix lacks sufficient organic matter | Reposition future beds toward more sheltered locations; amend soil with additional compost; consider a drip irrigation system |
| Plants in one bed consistently underperform despite regular feeding | Bed receives insufficient sunlight due to shadow from a fence, structure, or large plant in an adjacent bed | Reassess shadow patterns at different times of day; relocate the underperforming bed or prune obstructions where possible |
| Pathways become muddy and compacted after rain | Path surface lacks adequate drainage layer or material; ground beneath paths not leveled before installation | Add a layer of gravel beneath wood chip or bark mulch paths; re-grade problem areas to improve runoff direction |
| Soil level drops significantly after first season | Organic material in the lower fill layers decomposed faster than expected, which is normal but can surprise first-time growers | Top-dress beds each spring with several inches of fresh compost; this replenishment cycle is part of healthy raised bed soil management |
| Crop disease carries over from one season to the next | Rotation plan not followed; pathogen populations built up in the same soil over consecutive plantings of the same plant family | Recommit to the rotation map; remove and dispose of (not compost) diseased plant material at end of season |
| Layout feels crowded once beds and plants are at full size | Pathways were planned narrowly; plant spread at maturity was underestimated | Widen key access pathways by removing one bed if necessary; choose more compact plant varieties in future seasons |
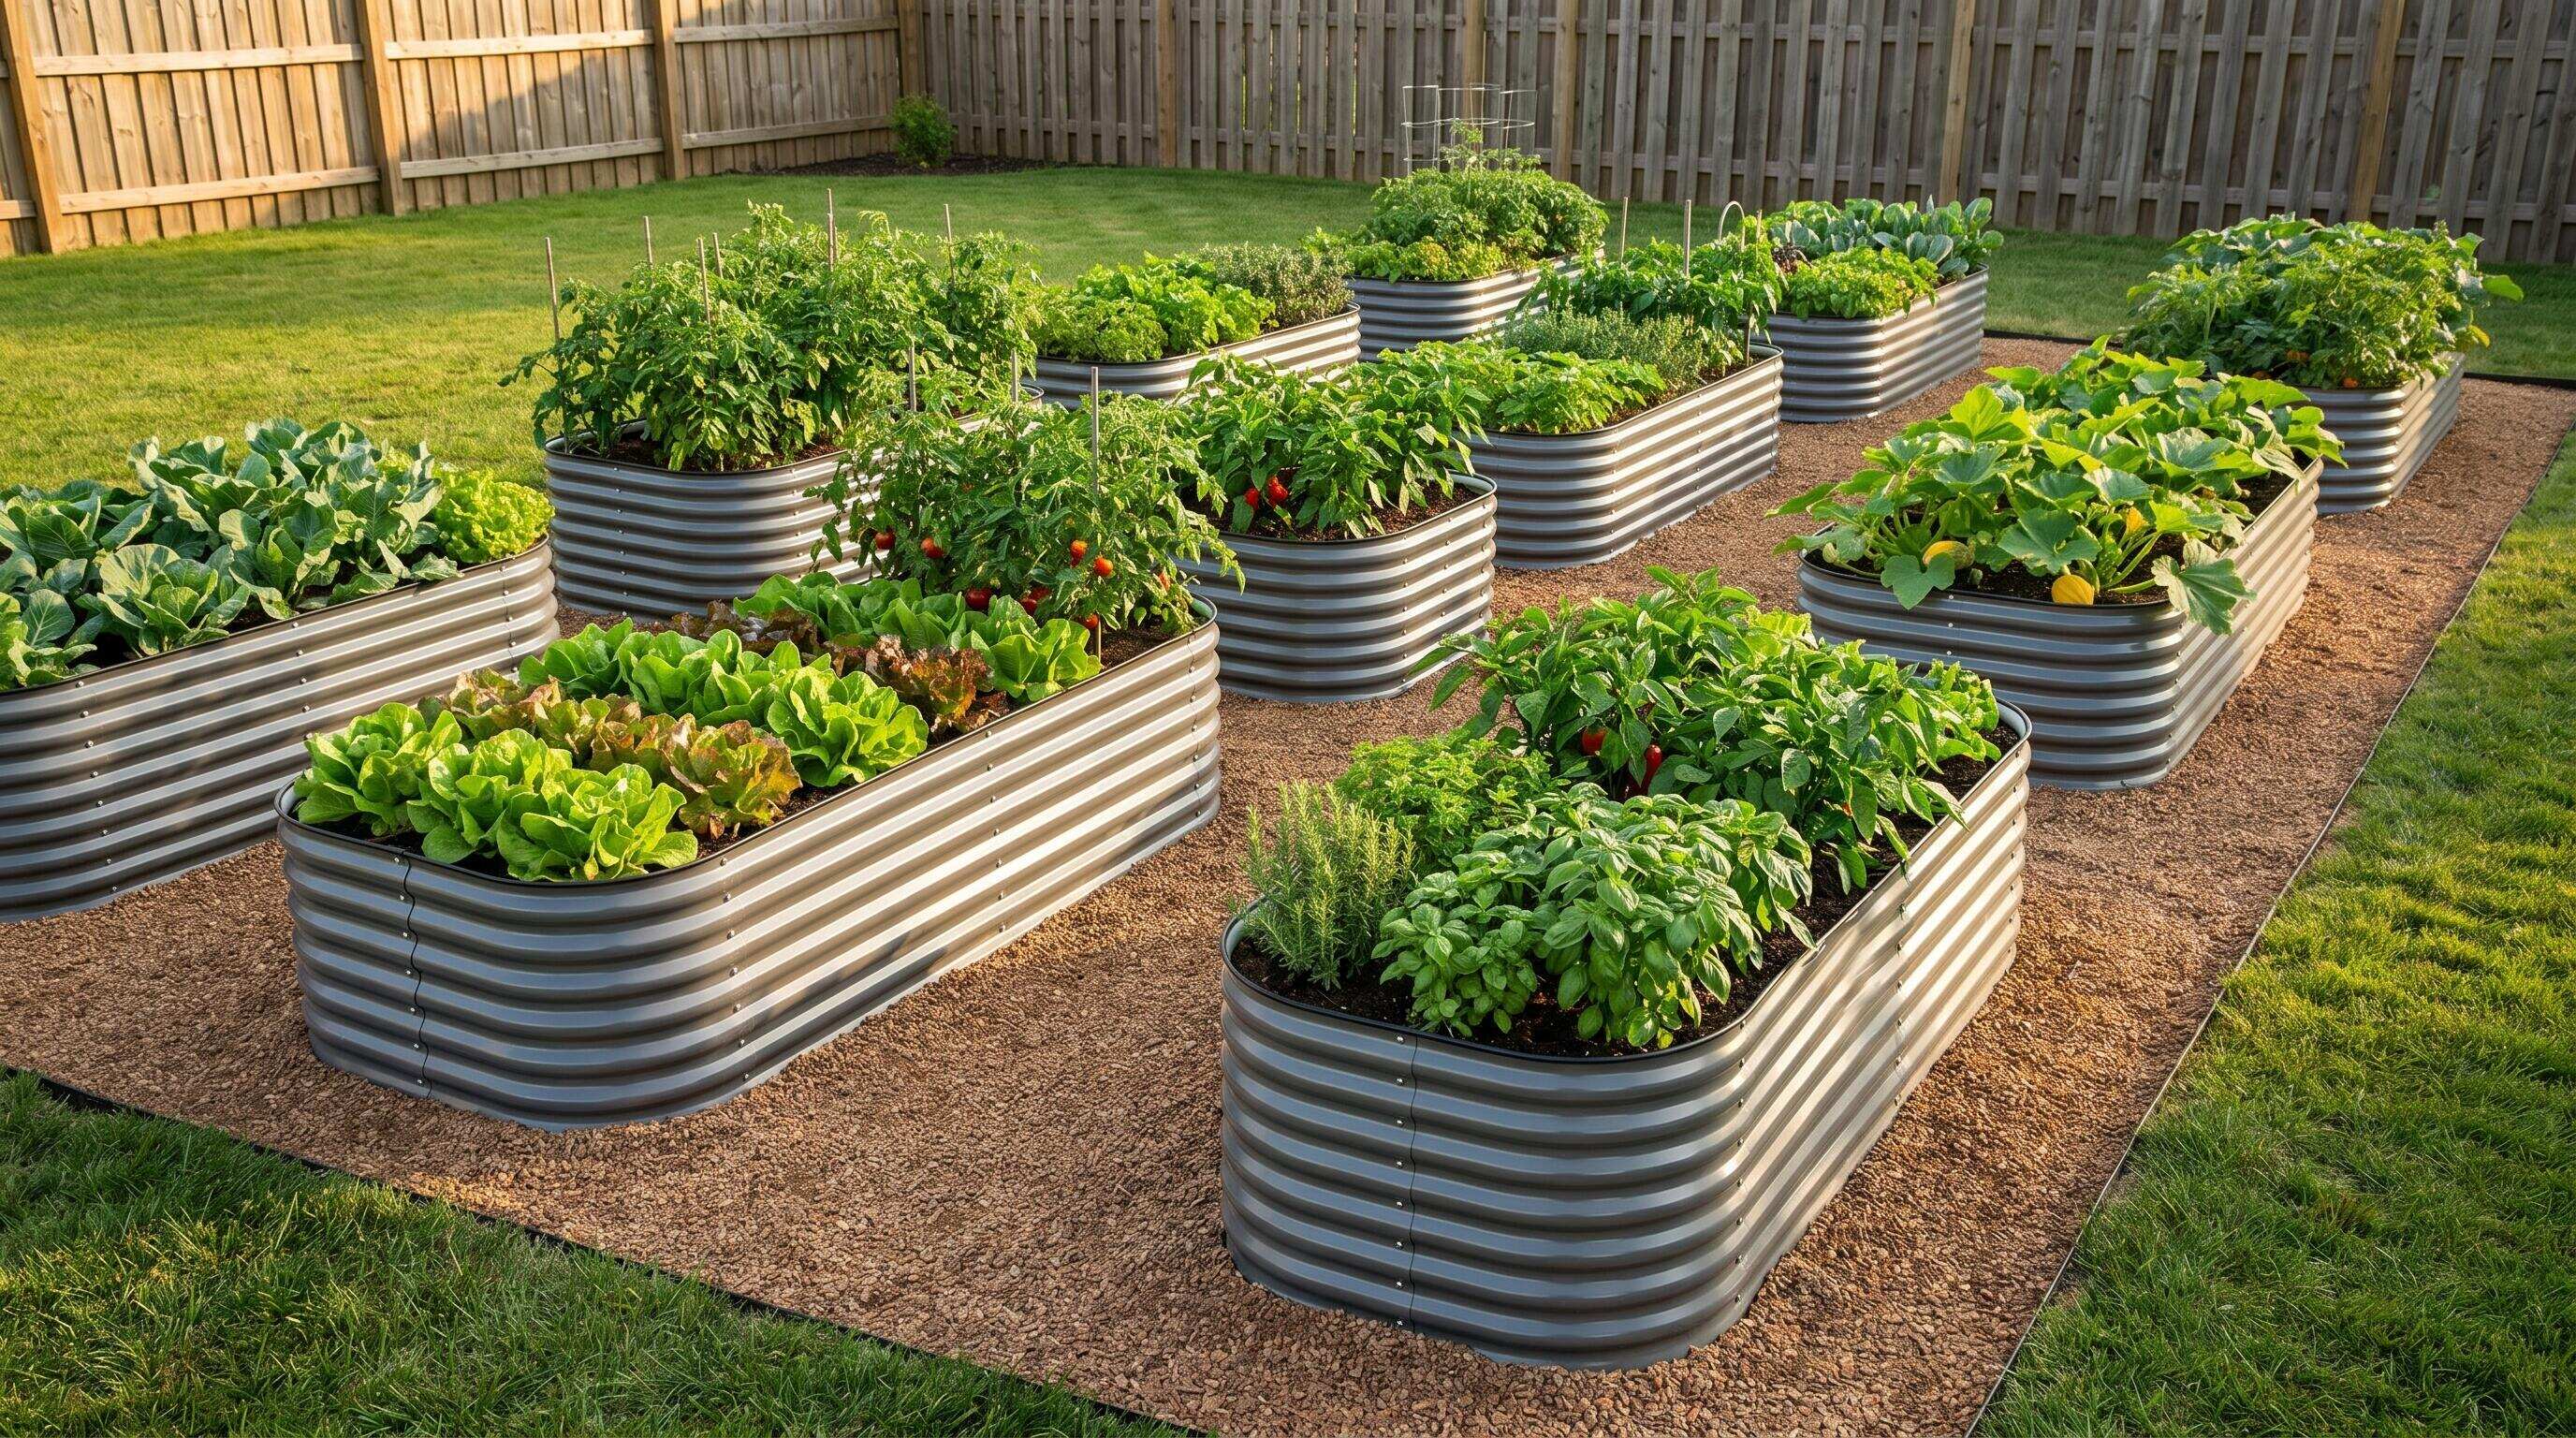
ALT: Multi-bed raised bed garden layout with wide pathways and galvanized steel raised garden beds in a backyard setting showing crop rotation zones and companion planting design
Pro Tips for Better Results in Your Multi-Bed Garden Transformation
Think vertically wherever horizontal space is limited. A common misconception is that raised bed gardening is exclusively a horizontal endeavor. Trellises, arbors, and vertical growing frames positioned at the north end of beds (so they don't shade shorter plants) dramatically expand productive capacity without adding ground footprint. Climbing beans, cucumbers, and indeterminate tomatoes are natural candidates.
Plan for water before you plant. Installing soaker hose or drip irrigation lines at the same time as your beds — before soil is added — is far easier than retrofitting a water system around established plants. Drip irrigation also reduces foliar disease by delivering water directly to root zones rather than wetting foliage.
Use your layout to sequence harvests, not just organize space. Many experienced gardeners plan for a "succession bed" — one bed dedicated to staggered plantings of fast-maturing crops like lettuce, radishes, and spinach. Rather than planting everything at once and facing a glut, succession planting means you're harvesting something almost every week throughout the season.
Don't treat beautification as secondary. One pattern we consistently see in multi-bed gardens that get maintained long-term: the owners treated visual appeal as part of the design from the start. Edging materials, consistent bed colors (galvanized steel offers a naturally cohesive aesthetic), and decorative pathway materials all contribute to a garden space that feels intentional — and spaces that feel intentional get tended.
The misconception about raised bed soil being "set it and forget it." Many first-time raised bed gardeners assume that filling a bed with premium mix means they won't need to manage soil for years. In reality, active soil management — topping up with compost each spring, adding amendments as deficiencies appear, and protecting microbial life by avoiding unnecessary tilling — is what sustains the productivity advantage of raised beds over time.
People Also Ask
How do I plan a raised bed garden layout for maximum sunlight exposure?
Planning a raised bed garden layout for maximum sunlight starts with positioning beds on an east-west orientation, so rows run north to south — this ensures each plant row receives direct sun for the longest part of the day without being shaded by the row behind it. Place taller crops like staked tomatoes or trellised beans on the north side of your layout so they don't cast shadow over shorter plants. Observe your yard's sun patterns across an entire day before finalizing bed positions.
Are galvanized steel raised garden beds safe for growing vegetables?
Galvanized steel raised garden beds are widely considered safe for vegetable growing. The galvanization process coats steel in zinc, which forms a stable protective layer. Horticultural research and guidance from cooperative extension services across the United States generally supports the use of galvanized steel for food production. Zinc is also an essential plant micronutrient, and any trace amounts that enter the soil are typically within ranges that benefit rather than harm plant health. Anleolife's galvanized steel beds are built to a food-garden-appropriate standard and carry a 20-year lifespan expectation.
How long does it take to set up a multi-bed raised bed garden from planning to first planting?
The timeline from initial planning to first planting varies with the number of beds, your soil sourcing lead time, and the season you're starting in. For a two-to-four bed installation, a dedicated weekend of planning followed by another weekend of installation is realistic for many households. Soil delivery can add a few days. With Anleolife's beds shipping through a nationwide warehouse network and arriving within 3–8 business days, the physical setup can typically begin within one to two weeks of finalizing your order — making a spring planting goal very achievable when planning begins in late winter.
Final Thoughts
Planning a multi-bed backyard garden transformation is one of the most rewarding home projects a family can undertake — and doing it methodically, with a well-reasoned raised bed garden layout, is what separates gardens that thrive season after season from those that struggle past their first summer.
Key Takeaways:
- Start with an accurate site map and honest sunlight assessment — this single step prevents the most common layout regrets.
- Match bed size and height to your crops and your physical comfort, not just your available space.
- Plan your pathways as infrastructure, not afterthoughts — wide, well-surfaced paths make a multi-bed garden a pleasure to work in.
- Build rotation and companion planting into your layout from the very beginning, not as a retrofit.
- Treat soil as an ongoing system, not a one-time fill — consistent organic matter replenishment is what sustains raised bed productivity long-term.
- Choose materials built for the long run. A bed rated for 20 years of service is garden infrastructure, not a seasonal purchase.
The best next step is to pull out a piece of paper, mark the boundaries of your yard, and begin sketching. The planning is where the transformation actually starts.
Ready to bring your layout to life? Browse the full range of raised garden beds — including galvanized steel, modular, extra-tall, and waist-high configurations — directly on the Anleolife website, or find Anleolife products on Amazon, Walmart, Home Depot, Lowe's, and Wayfair. With warehouse locations across California, Texas, Florida, New York, Illinois, and Washington, your beds can arrive within 3–8 business days — so your garden transformation doesn't have to wait. From your first bed to a fully integrated planting and growing ecosystem, Anleolife grows with you every step of the way.
References & Further Reading
- USDA Natural Resources Conservation Service. "Soil Health for Home Gardeners and Small-Scale Growers."
https://www.nrcs.usda.gov/ - University of California Agriculture and Natural Resources — UC Cooperative Extension. "Vegetable Garden Design and Raised Bed Gardening Guidance."
https://ucanr.edu/ - U.S. Environmental Protection Agency. "Brownfields and Urban Agriculture: Interim Guidelines for Safe Gardening Practices."
https://www.epa.gov/ - National Gardening Association. "Raised Bed Gardening: Planning, Planting, and Soil Management."
https://garden.org/ - USDA Agricultural Research Service. "Crop Rotation and Soil Health in Home and Small Farm Settings."
https://www.ars.usda.gov/
Note: Standards and guidelines may be updated; please check the latest official documents or consult professional advisors for the most current recommendations.








