





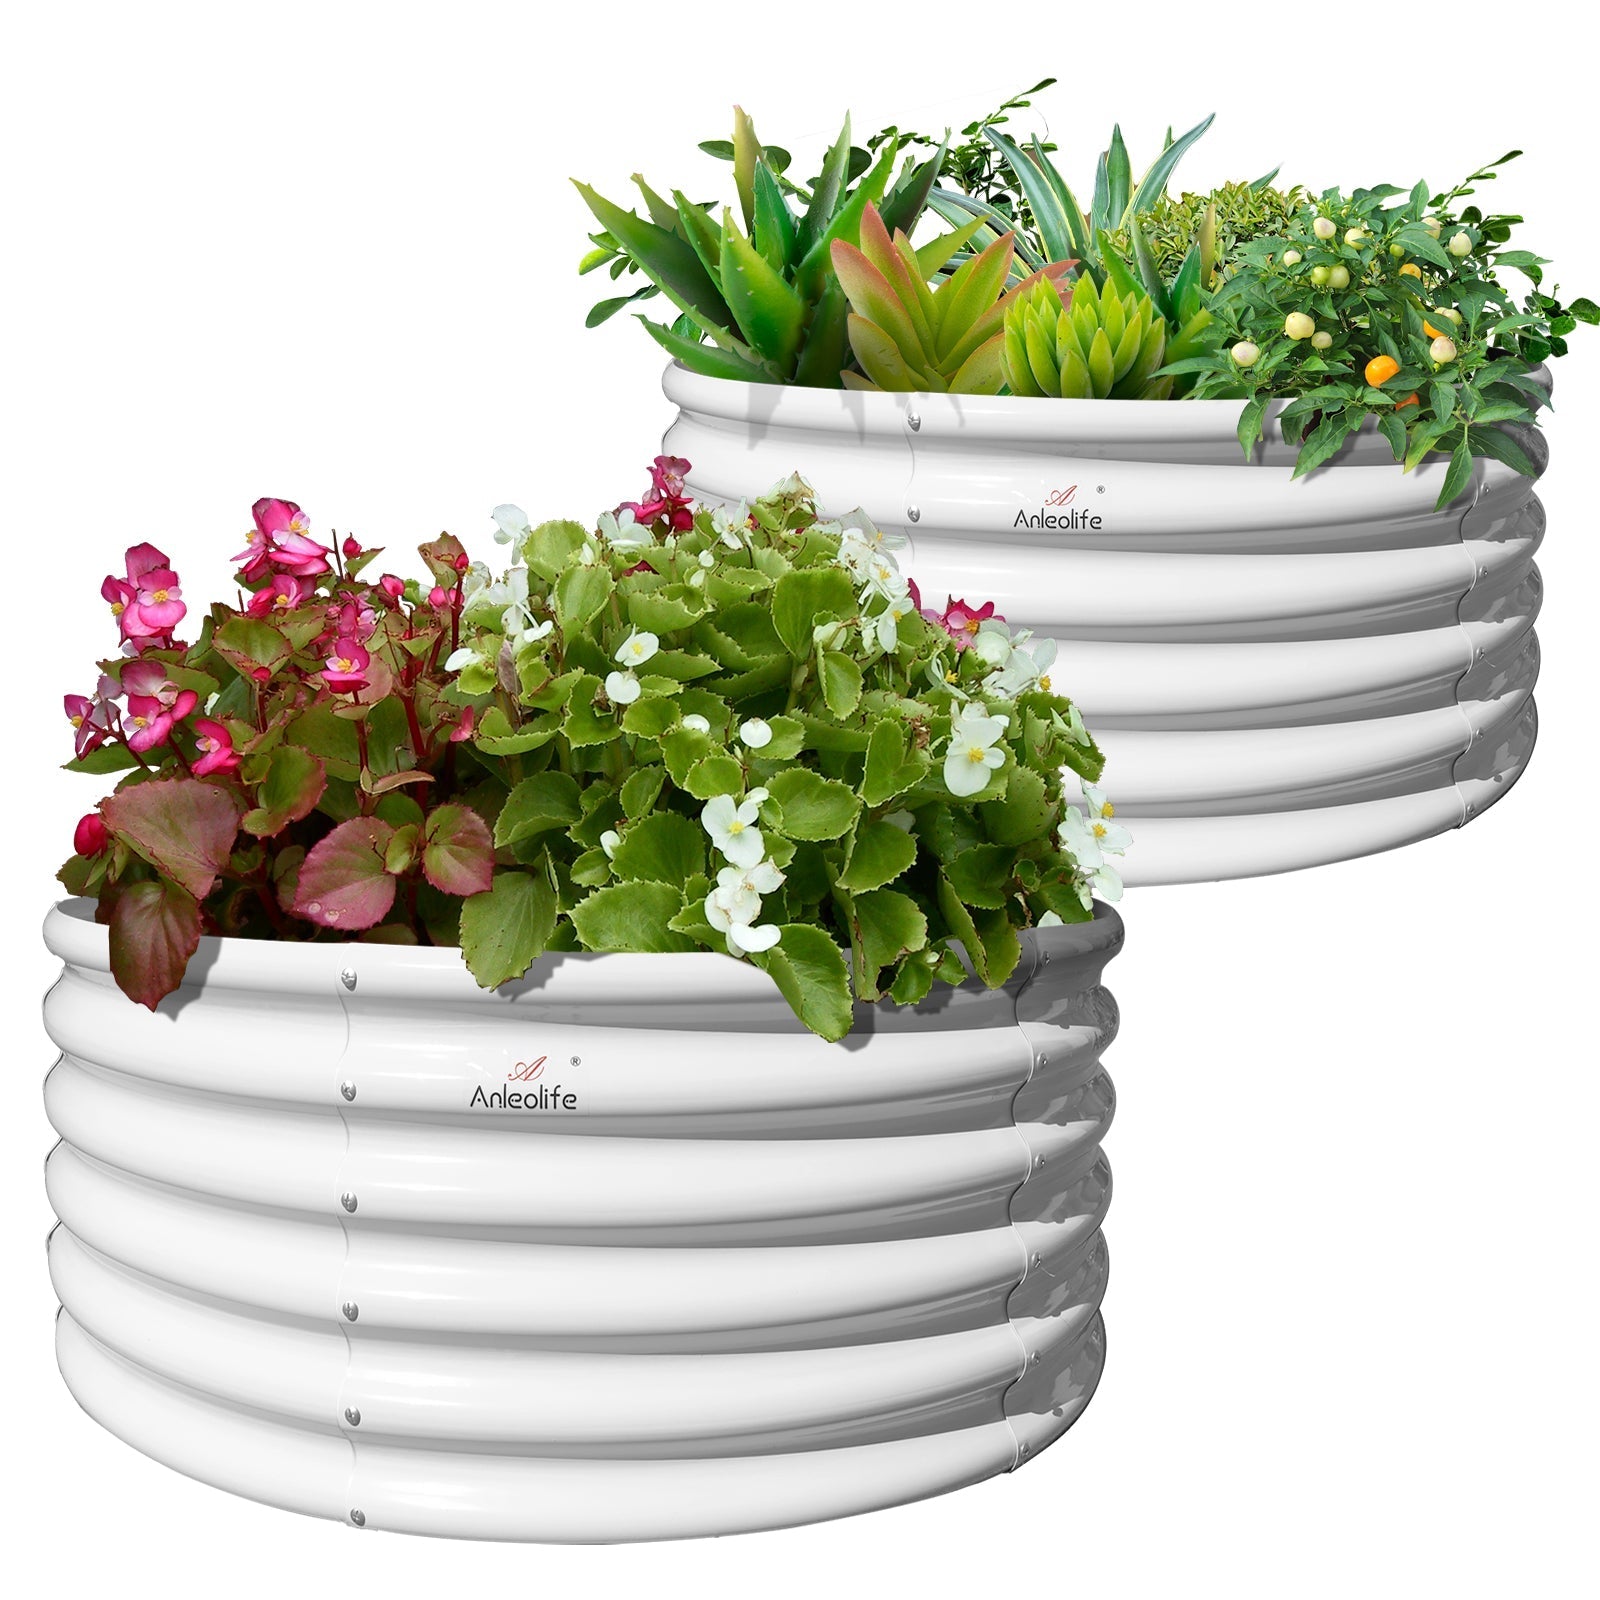







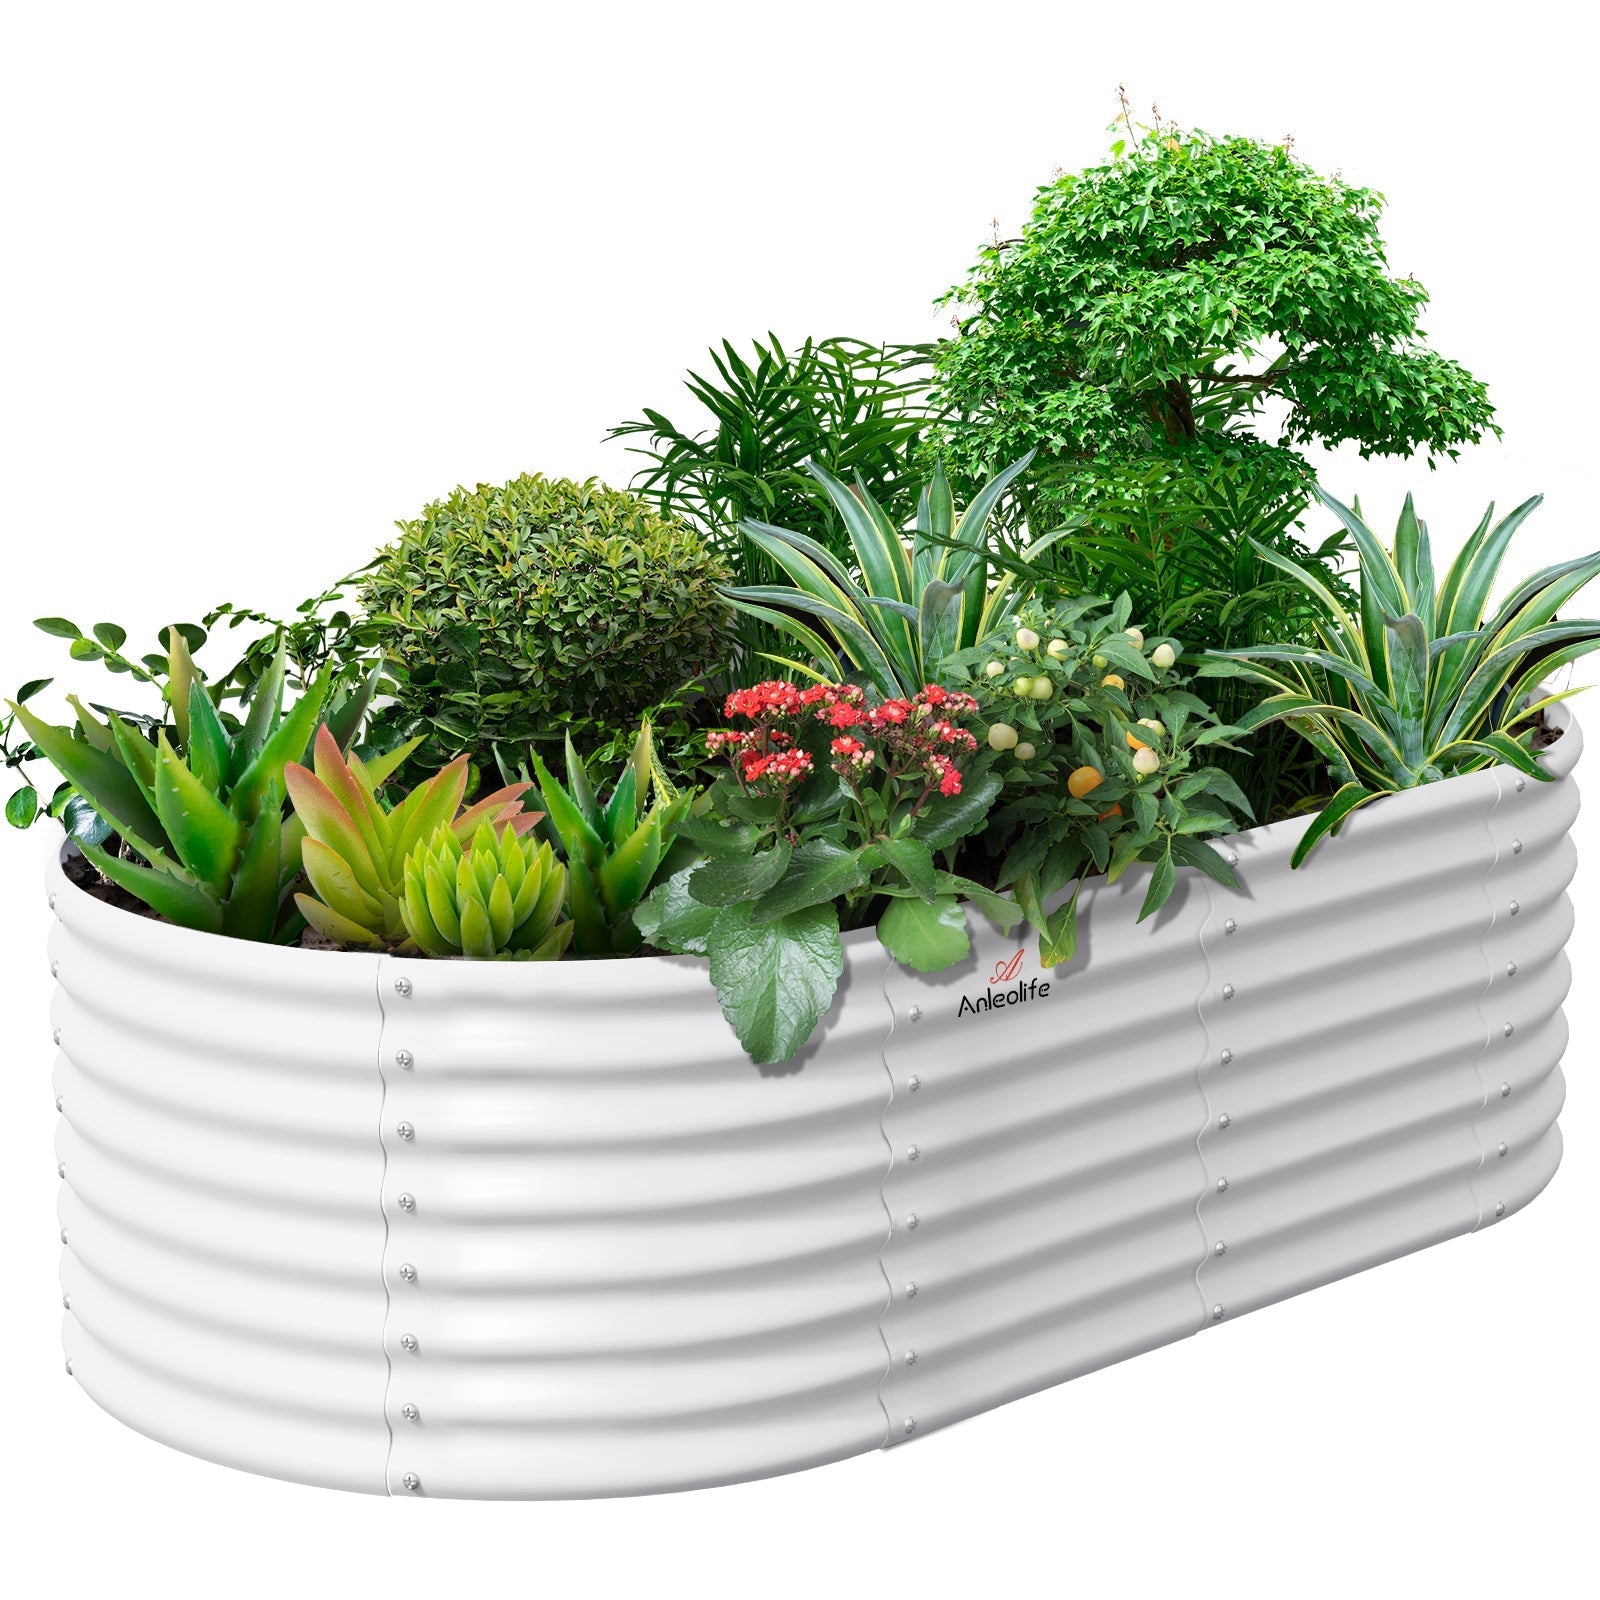














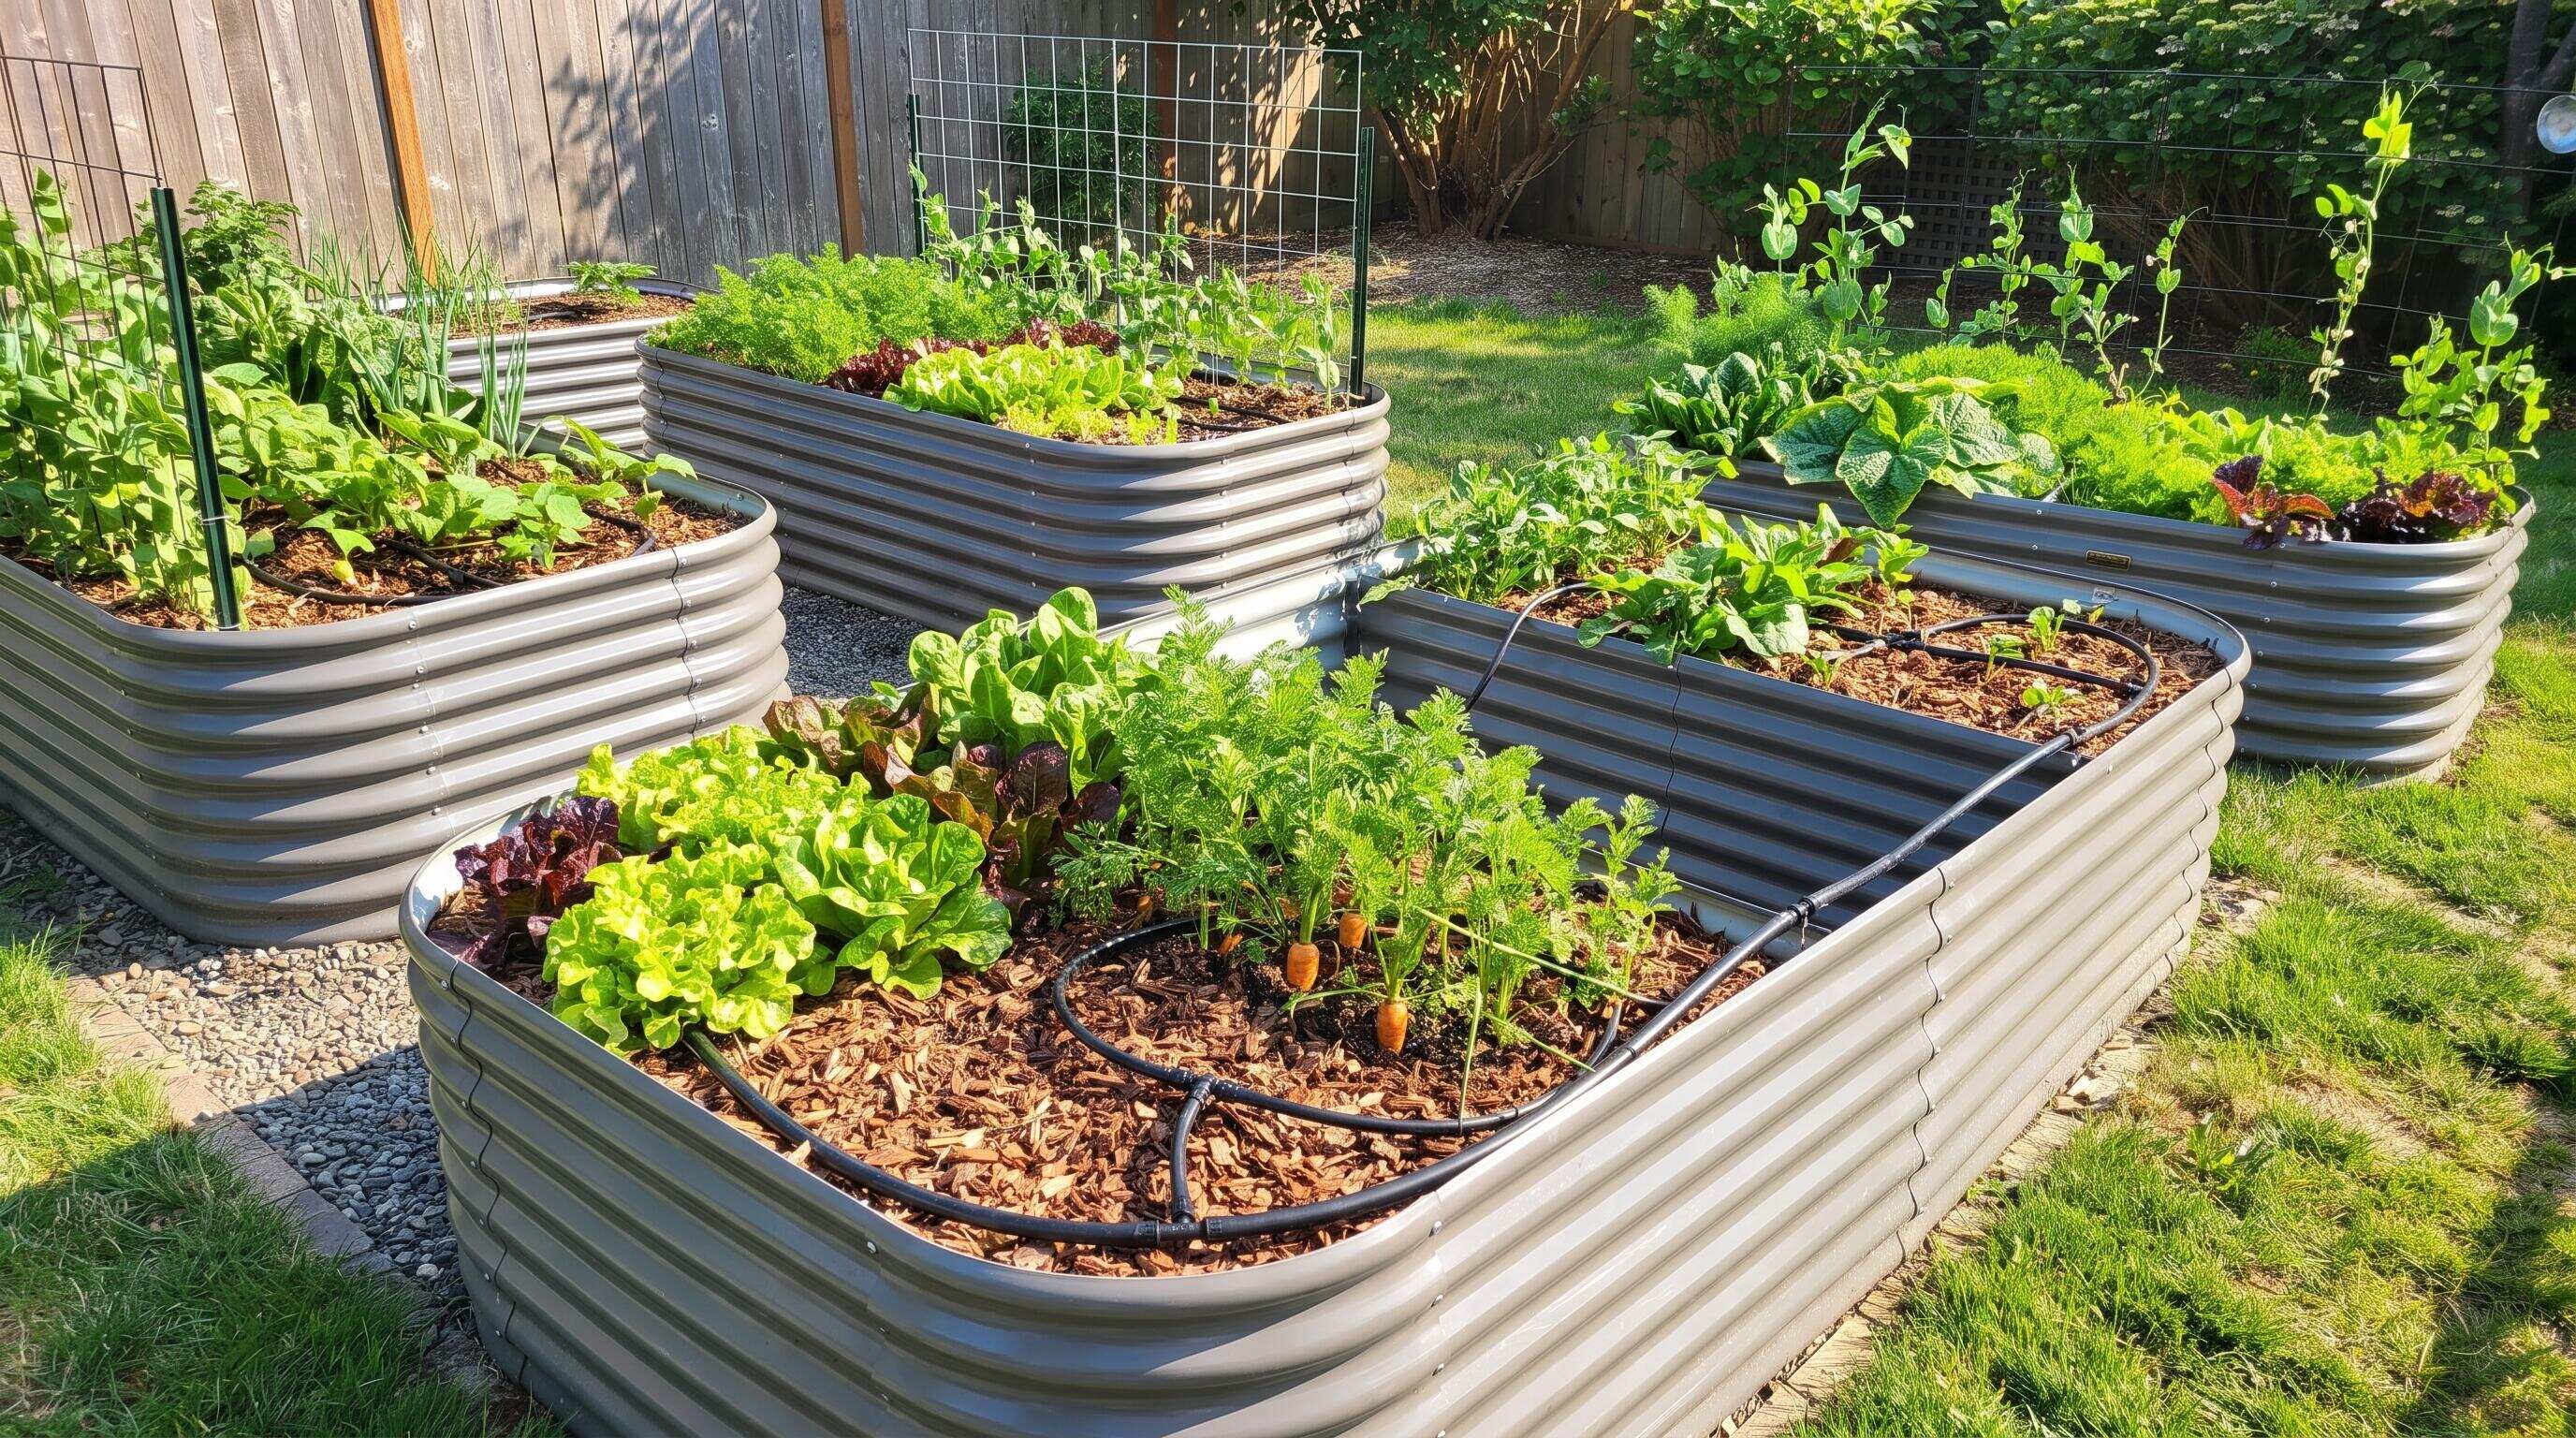
ALT: Drip irrigation kit setup across multiple raised bed garden layouts in a sunny backyard
Why Your Raised Bed Garden Layout Determines Which Drip Irrigation Kit You Need
The single most important question gardeners ask when expanding from one bed to several is this: does my irrigation setup need to change when I add more raised beds? The answer is yes — and the sooner you factor your raised bed garden layout into your irrigation plan, the easier (and less expensive) your watering system becomes to manage.
A drip irrigation kit is a water delivery system that routes pressurized water through a main supply line, then branches it out through smaller emitter tubes to deliver water directly to plant root zones. When you are watering a single bed, almost any basic kit works. But once you have two, four, or even six beds arranged across a yard — each with different dimensions, different crops, and different watering needs — the kit that fits your layout becomes a genuine design decision, not an afterthought.
This guide walks you through exactly how to match a drip irrigation system to the physical reality of your raised bed planting layout: the spacing between beds, the number of zones, the emitter flow rates, and the hardware that holds it all together. Throughout, we draw on the practical knowledge our team has built working alongside home gardeners across North America — from urban micro-gardens with two compact beds to suburban backyards with a dozen beds running in parallel rows.
Who This Guide Is For — and Where It Falls Short
Applicable Scenarios:
- Home gardeners managing two or more raised garden beds and looking to automate or improve their watering routine
- Gardeners whose beds are arranged in a defined raised bed layout — rows, clusters, or L-shapes — with consistent spacing between them
- Anyone setting up new raised beds and wanting to plan irrigation as part of the initial design rather than retrofitting later
- Growers using raised beds of varying heights (from standard 18-inch-tall beds to extra-tall 30-inch waist-high models) who need one system that adapts across all of them
Not Applicable or Requires Caution:
- Container gardening on patios where pots are moved frequently — drip lines work poorly with mobile containers
- Gardeners on low-pressure well water systems, where flow rate calculations must be verified against your specific pump output before purchasing any kit
- Layouts where beds are separated by more than roughly 30 feet without a secondary pressure source — long supply runs can lose pressure before reaching the final emitter
The Shift From One Bed to Many: Why Layout Suddenly Matters
Most gardeners start with a single raised bed. It is manageable, forgiving, and almost any watering method works. You can hand-water a 4x8 bed in three minutes and never think twice about consistency. But something changes — sometimes gradually, sometimes all at once — when you expand.
In our experience working with home gardeners at every skill level, expansion almost always happens faster than people expect. Someone adds a second bed for tomatoes, a third for herbs, a fourth for root vegetables. Before long, they have a defined raised bed planting layout in their yard: beds arranged in rows or clusters, each planted with different crops at different stages of growth. Hand-watering that system becomes a 30-minute daily chore, and more critically, it becomes inconsistent. One bed gets a little extra, another gets skipped on a busy Thursday, and the plants notice.
Drip irrigation solves the consistency problem. According to the U.S. Department of Agriculture, drip irrigation can reduce outdoor water use significantly compared to overhead watering methods, while also reducing foliar disease pressure by keeping leaves dry. That second benefit matters especially in raised bed gardening, where plants are often spaced intensively and airflow between them can be limited.
But the reason so many gardeners end up with a system that underperforms is that they buy a kit based on general reviews rather than their specific raised bed layout. A kit sized for one 4x4 bed will not have the tubing length or the emitter count to cover four 8x4 beds. A timer designed for a single zone will create watering conflicts when different beds need different schedules. Understanding how layout drives kit selection is the foundational skill this guide is designed to build.
For gardeners still deciding on their physical bed setup, the first-time buyer's guide to sizing a raised garden bed kit is a helpful starting point before committing to an irrigation plan.
Choosing and Setting Up a Drip Kit for Multiple Raised Beds
Three-Step Quick Start for Multi-Bed Drip Irrigation
Step 1: Map Your Raised Bed Layout to Scale
Before you purchase a single fitting, draw your raised bed garden layout on paper or a simple digital tool. Mark each bed's dimensions, the gaps between beds, and the distance from your water source to the farthest bed. This sketch becomes your shopping list. Count the total number of beds, note their individual sizes, and calculate the linear footage of main supply line you will need to reach every bed. For most residential setups, this takes 30 to 45 minutes and prevents at least two return trips to the hardware store.
Step 2: Divide Your Layout Into Watering Zones
Not all beds in a raised bed layout need the same amount of water. Tomatoes and squash are heavy drinkers; herbs and root vegetables prefer drier conditions between waterings. Group your beds into zones based on crop type and sun exposure. A bed in full afternoon sun will dry out faster than one partially shaded by a fence. A typical residential multi-bed layout works well with two to three zones, each controlled by its own valve or timer channel. This zoning step determines whether you need a single-zone timer or a multi-channel controller.
Step 3: Size Your Supply Line and Emitter Drip Rates
With zones defined, calculate the total flow demand for each zone — the sum of all emitter output rates running at the same time. Your municipal water pressure (typically expressed in PSI, or pounds per square inch) and the flow capacity of your supply line must meet or exceed this demand. Standard residential pressure is generally sufficient for up to about 6 to 8 emitters running simultaneously on a single half-inch supply line, though your specific conditions may vary. Choose emitter drip rates (commonly measured in gallons per hour) based on soil type: sandy or fast-draining raised bed soil mixes benefit from slower, longer sessions; dense or moisture-retaining mixes need shorter runs.
Comparing the Three Main Drip Kit Configurations for Raised Bed Layouts
The market offers three broad kit configurations for multi-bed setups. Each fits a different type of raised bed layout and a different level of gardening commitment. The table below summarizes the key differences so you can make a side-by-side decision.
| Comparison Dimension | Basic Expansion Kit | Zoned Multi-Valve Kit | Automated Smart Zone System |
|---|---|---|---|
| Best layout type | 2–3 beds in a straight row | 3–8 beds in rows or clusters | 4+ beds, mixed crop types |
| Timer / control | Single manual timer | Multi-channel timer (2–4 zones) | App-controlled or weather-adaptive |
| Pressure management | Relies on household pressure | Pressure regulator per zone | Integrated pressure regulation |
| Emitter flexibility | Fixed flow emitters | Adjustable emitters per zone | Adjustable + flow monitoring |
| Installation complexity | Low | Moderate | Moderate to high |
| Scalability | Limited (1–2 extra beds) | Good (add zones as needed) | Excellent (modular expansion) |
| Relative cost | Lowest | Mid-range | Higher upfront, saves water long-term |
Which configuration fits which layout? A basic expansion kit works well if your beds are arranged in a simple single row and share similar crops. A zoned multi-valve kit is the most popular choice among the gardeners we work with — it handles the reality of a mixed raised bed garden layout where tomatoes, leafy greens, and herbs all want different watering schedules. A smart zone system makes the most sense for gardeners with a larger, more established layout who want weather-responsive automation and are comfortable with app-based controls.
Key Hardware Components Explained for Beginners
The Main Supply Line
The main supply line — typically a half-inch polyethylene tube — is the backbone of your drip system. It runs from your water source (an outdoor spigot or hose bib) to and between all your raised beds. In a multi-bed raised bed layout, this line connects to each bed in sequence (called a "daisy chain" or series connection) or branches out in a manifold arrangement where each bed receives its own branch from a central header. For most home gardeners, the daisy chain approach is simpler; the manifold approach gives more even pressure distribution across beds that are spread at different distances.
Pressure Regulators
Municipal water pressure is often higher than drip systems are designed to handle. A pressure regulator — a small, inexpensive inline fitting — steps household pressure down to the 20–30 PSI range that most drip emitters operate correctly at. In a multi-zone setup, place a pressure regulator at the inlet of each zone rather than just at the main supply, so pressure stays consistent even when one zone runs while another is off.
Emitters and Micro-Tubing
Emitters are the small plastic fittings that deliver water at a controlled, slow rate directly to the root zone of each plant. They connect to the main supply line via thin micro-tubing — sometimes called "spaghetti tubing" because of its narrow diameter. For raised bed gardening, drip emitters are typically placed at the base of each plant, or soaker loops made from porous tubing are threaded through the entire bed. For intensively planted beds (where plants are spaced just 6 to 12 inches apart), soaker loops often provide more even coverage than individual point emitters.
Timers and Multi-Channel Controllers
A timer automates when and how long each zone runs, which is the feature that turns a drip system from a convenience into a genuine garden management tool. Single-channel timers work for one zone. If your raised bed layout spans multiple zones with different crop types, a multi-channel controller allows you to set independent schedules — for example, running the tomato zone daily and the herb zone every three days.
Filters
Inline filters protect emitters from clogging with sediment or minerals from your water supply. This is an easily overlooked component, but in practice, clogged emitters are the most common reason drip systems fail silently — a plant dies of thirst while its neighbor is perfectly watered. A simple 150-mesh inline filter placed right after the timer prevents the majority of clogging problems.
Matching Kit Choices to Specific Raised Bed Configurations
The physical arrangement of your raised bed garden layout has a direct impact on which kit components you need. Here are the most common configurations and how to address them.
Straight Row Layouts
A straight row of two to four beds is the simplest configuration to irrigate. The main supply line runs along one long side of the row, and individual emitter branches drop into each bed at regular intervals. Supply line length is easy to calculate: measure the total length of the row, add the width of each bed (to account for the line running across the top of each bed), and add a small buffer for connections.
Parallel Double-Row Layouts
Two parallel rows of beds — a common configuration in larger backyard gardens — require a main line that either runs between the rows or loops around the perimeter. Running the line between the rows is usually more efficient, since emitter branches only need to reach half the bed width in each direction. This configuration often benefits from a manifold-style connection to balance pressure between the two rows.
L-Shaped or Corner Layouts
An L-shaped raised bed layout, common in corner yards or along two sides of a fence, requires a supply line with at least one 90-degree turn. Use elbow fittings rather than bending the tubing — hard bends restrict flow and can cause the tubing to eventually kink and cut off water delivery.
Mixed-Height Bed Layouts
This is a scenario we encounter frequently with Anleolife customers, whose product range spans from 18-inch standard-height beds up to 30-inch waist-high models. When beds of different heights are arranged together, the irrigation hardware itself does not change — drip emitters don't care about the height of the bed wall — but the emitter stake length matters. Taller beds have deeper soil columns, so emitter stakes should be long enough to reach the root zone rather than sitting at the very surface.
For gardeners thinking about the long-term durability of the beds receiving this irrigation infrastructure, it is worth noting that Anleolife galvanized steel raised garden beds are rated for a 20-year lifespan, meaning you are building irrigation infrastructure around beds that will outlast most other garden structures. Understanding how galvanized construction holds up over time is covered well in the piece on whether galvanized beds really resist rust better than powder-coated steel.
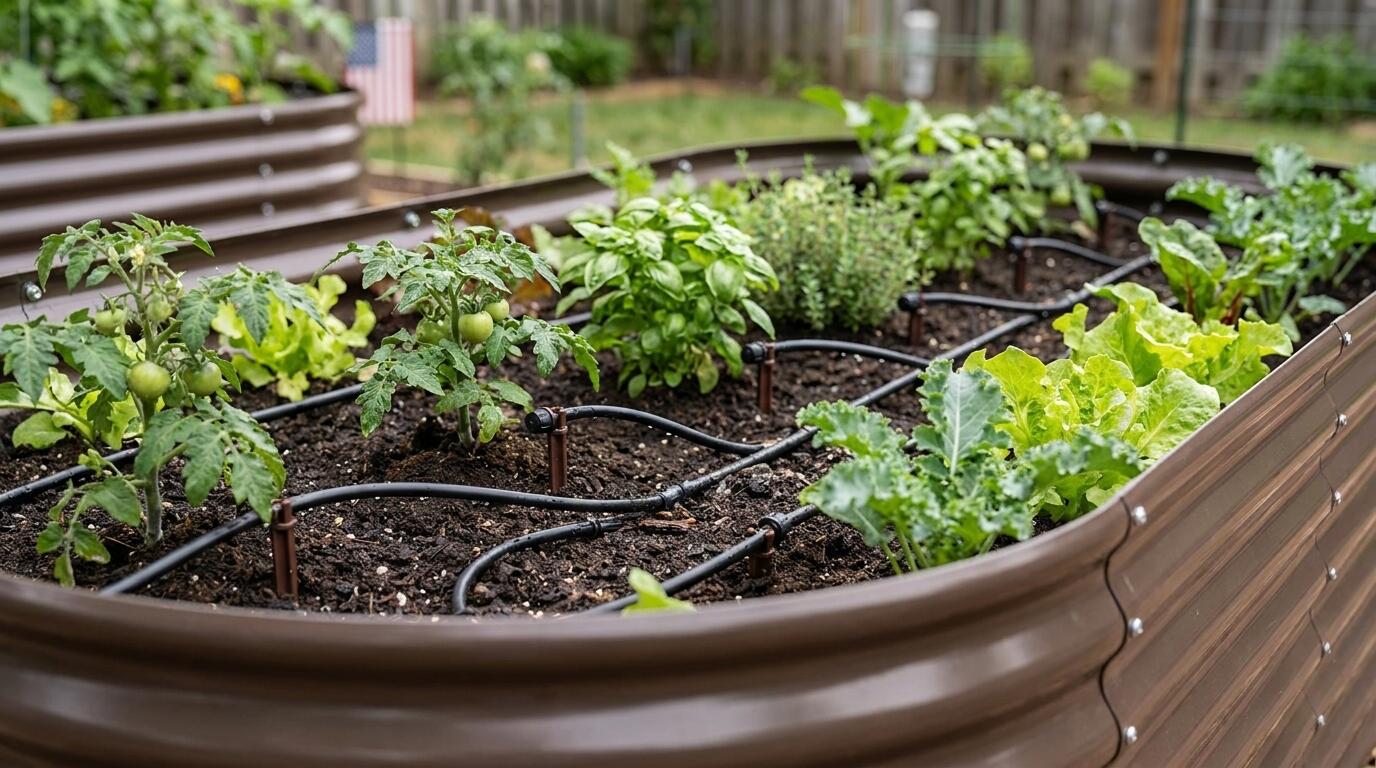
ALT: Close-up of drip emitters and micro-tubing installed in a galvanized steel raised bed with a mixed vegetable planting layout
Advanced Considerations: Pressure Loss, Seasonal Changes, and Common Misconceptions
Handling Pressure Loss Over Long Supply Runs
Pressure loss is the invisible challenge of multi-bed drip systems. Every foot of supply line, every fitting, every emitter adds what engineers call "head loss" — a reduction in effective pressure that can leave your farthest beds underwatered even when the system looks fine on paper. As a practical rule of thumb, if your last bed is more than 50 feet from the water source, consider either upgrading to a larger-diameter main supply line or using a secondary pressure booster at the midpoint of the run.
Adjusting Schedules Seasonally
A pattern we consistently see among experienced raised bed gardeners is the tendency to set an irrigation schedule in spring and forget to adjust it through summer. As temperatures rise and plants mature, water demand increases substantially. A timer set for 20 minutes in May may be delivering half the water a bed needs in July. Build a monthly "schedule check" into your routine — observe the soil moisture at 2–3 inches below the surface and adjust run times accordingly.
Winterizing Your Drip System
In climates with freezing winters, water left in supply lines and emitters can freeze and crack fittings. Drain the system fully before the first hard freeze by disconnecting the supply line at the source and allowing gravity to pull residual water out. Store timers and plastic fittings indoors — most are not rated for extended freeze exposure. This annual winterization step extends the life of your drip components significantly.
The Misconception That More Emitters Always Mean Better Watering
A common misconception is that adding more emitters to a bed improves results proportionally. In practice, more emitters mean higher total flow demand — which can drop pressure below the operational threshold for the entire zone. The right approach is to match emitter count to plant count, not to add emitters for reassurance. For intensively planted beds following a raised bed planting layout approach like square-foot gardening (where plants are spaced at defined grid intervals), soaker loops often outperform individual point emitters precisely because they eliminate the need to place an emitter at every plant.
Healthy soil is also a critical partner to any irrigation system. A well-structured raised bed soil mix — with good drainage and organic matter — allows drip water to spread laterally from each emitter, reducing the number of emitters needed and the risk of wet/dry pockets. The relationship between soil composition and irrigation efficiency is explored in detail in the guide on best soil composition for thriving organic vegetable raised beds.
Questions & Answers
Q1: How do I calculate how much drip tubing I need for my raised bed layout?
Start by sketching your raised bed garden layout to scale and measuring the total distance from your water source to each bed, including the runs across the top of each bed where emitter branches will go. Add those distances together, then add 15–20% as a buffer for fittings, corners, and adjustments. For the small-diameter micro-tubing that connects emitters, count your plants and allow roughly 18 to 24 inches of micro-tubing per emitter stake. Most kit packaging lists coverage in linear feet of main supply line, so compare that figure against your total measurement.
Q2: Is a pressure regulator necessary if I already have low household water pressure?
A pressure regulator is still recommended even with lower household pressure, because pressure can fluctuate throughout the day — particularly in neighborhoods where many homes draw water simultaneously in the morning. Without a regulator, emitters designed for a specific operating pressure range may deliver inconsistent flow as pressure rises and falls. A fixed 25 PSI regulator is inexpensive and eliminates pressure variability as a variable in your troubleshooting. If your static pressure is genuinely very low, test it with an inexpensive gauge before purchasing a kit to ensure your supply can meet the flow demands of your planned number of emitters.
Q3: How much time does it take to install a drip system across four raised beds?
For a four-bed layout with a single-zone timer and daisy-chained supply line, most first-time installers complete the job in two to three hours. That time includes laying out the main supply line, punching holes and inserting emitter barbs, running micro-tubing to each plant, and programming the timer. The most time-consuming step is typically the emitter placement within each bed — budget about 20 to 30 minutes per bed if you are placing individual point emitters. Using soaker loops instead reduces in-bed installation time significantly. Subsequent seasonal setup (reconnecting after winter storage) typically takes under an hour once you are familiar with the system.
Wrapping Up
Choosing a drip irrigation kit for multiple raised beds is ultimately a design exercise, not a shopping exercise. The kit that fits your garden is the one that matches three things: the physical arrangement of your raised bed layout, the crop diversity (and therefore watering diversity) across your beds, and the pressure and flow characteristics of your water supply.
The three core principles to carry forward are these. First, map before you buy — a scaled sketch of your raised bed garden layout is the most valuable tool in this process. Second, zone by crop type, not by convenience — a multi-channel timer pays for itself quickly in water savings and improved plant health. Third, start with adequate pressure management and filtration — these two components prevent the majority of drip system failures.
Drip irrigation and raised bed gardening are genuinely complementary systems. Raised beds give you defined, manageable planting zones; drip irrigation lets you water those zones with precision and consistency. Together, they represent a practical investment in healthier plants, lower water bills, and less time spent on routine maintenance — all of which add up to a garden that is more enjoyable to grow in.
Ready to build the raised bed foundation your drip system deserves? Anleolife's galvanized steel raised garden beds — available with a 20-year lifespan — are designed to support exactly this kind of long-term, integrated garden setup. Shop the full range at the Anleolife website, or find Anleolife products on Amazon, Walmart, Home Depot, Lowe's, and Wayfair. With a nationwide U.S. warehouse network spanning California, Texas, Florida, New York, Illinois, and Washington, delivery arrives in 3–8 business days — so your garden plans move forward without delay. From your first raised bed to a complete planting-and-raising ecosystem, Anleolife grows with you every step of the way.
Sources & Further Reading
- U.S. Department of Agriculture (USDA). "Water Conservation and Drip Irrigation Resources."
https://www.usda.gov/ - U.S. Environmental Protection Agency (EPA). "WaterSense: Outdoor Water Use and Irrigation Efficiency."
https://www.epa.gov/ - University Cooperative Extension Services (Land-Grant University System). "Drip Irrigation for Home Gardens: Design and Management Principles."
https://www.extension.org/ - Savvy Gardening. "4x8 Raised Bed Vegetable Garden Layout Ideas."
https://savvygardening.com/4x8-raised-bed-vegetable-garden-layout/ - Gardener's Supply Company. "Pre-Planned Gardens."
https://www.gardeners.com/pages/kitchen-garden-planner-preplanned-gardens
Note: Standards and guidelines may be updated; please check the latest official documents or consult professional advisors for the most current recommendations.









