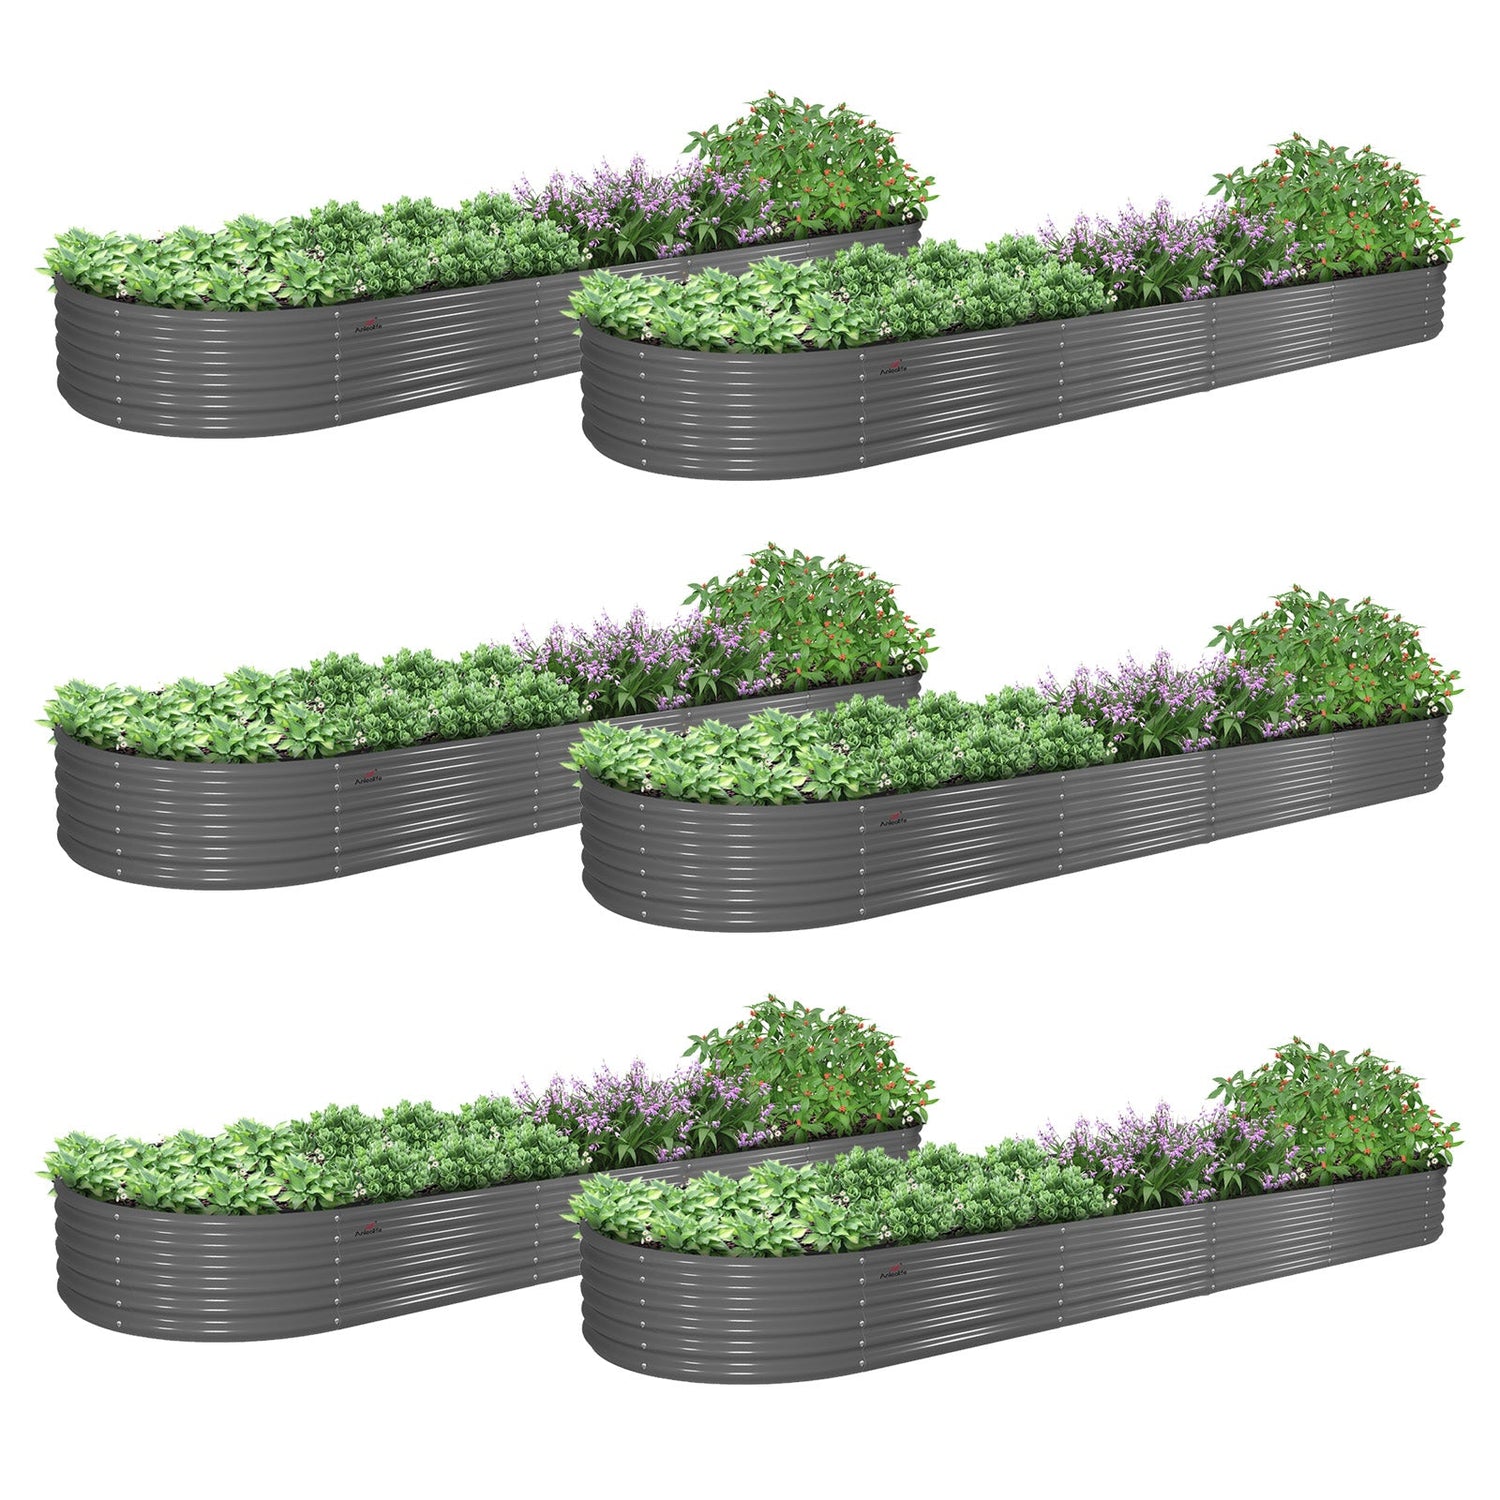



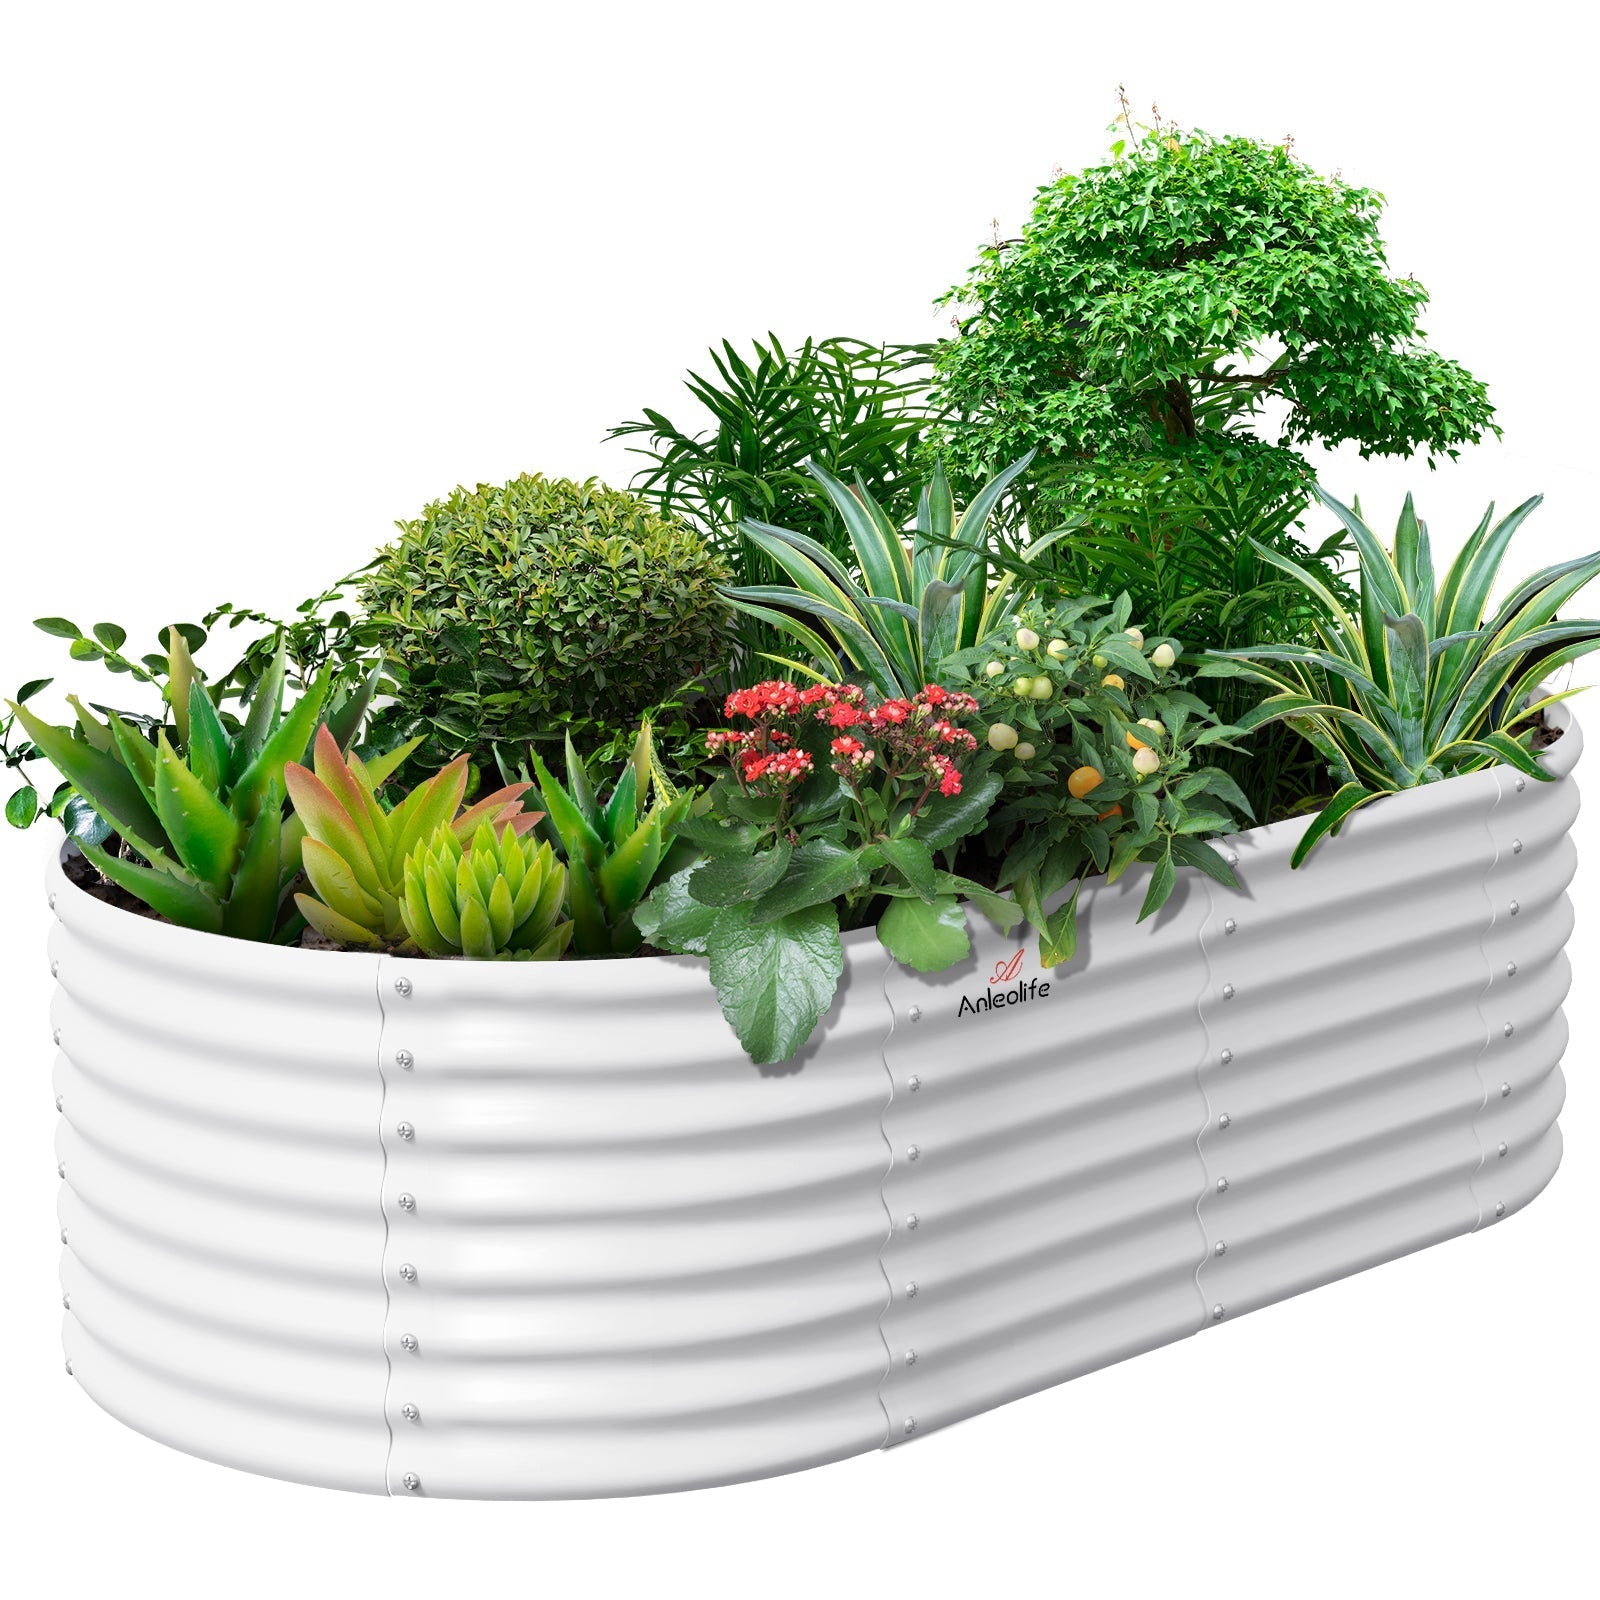
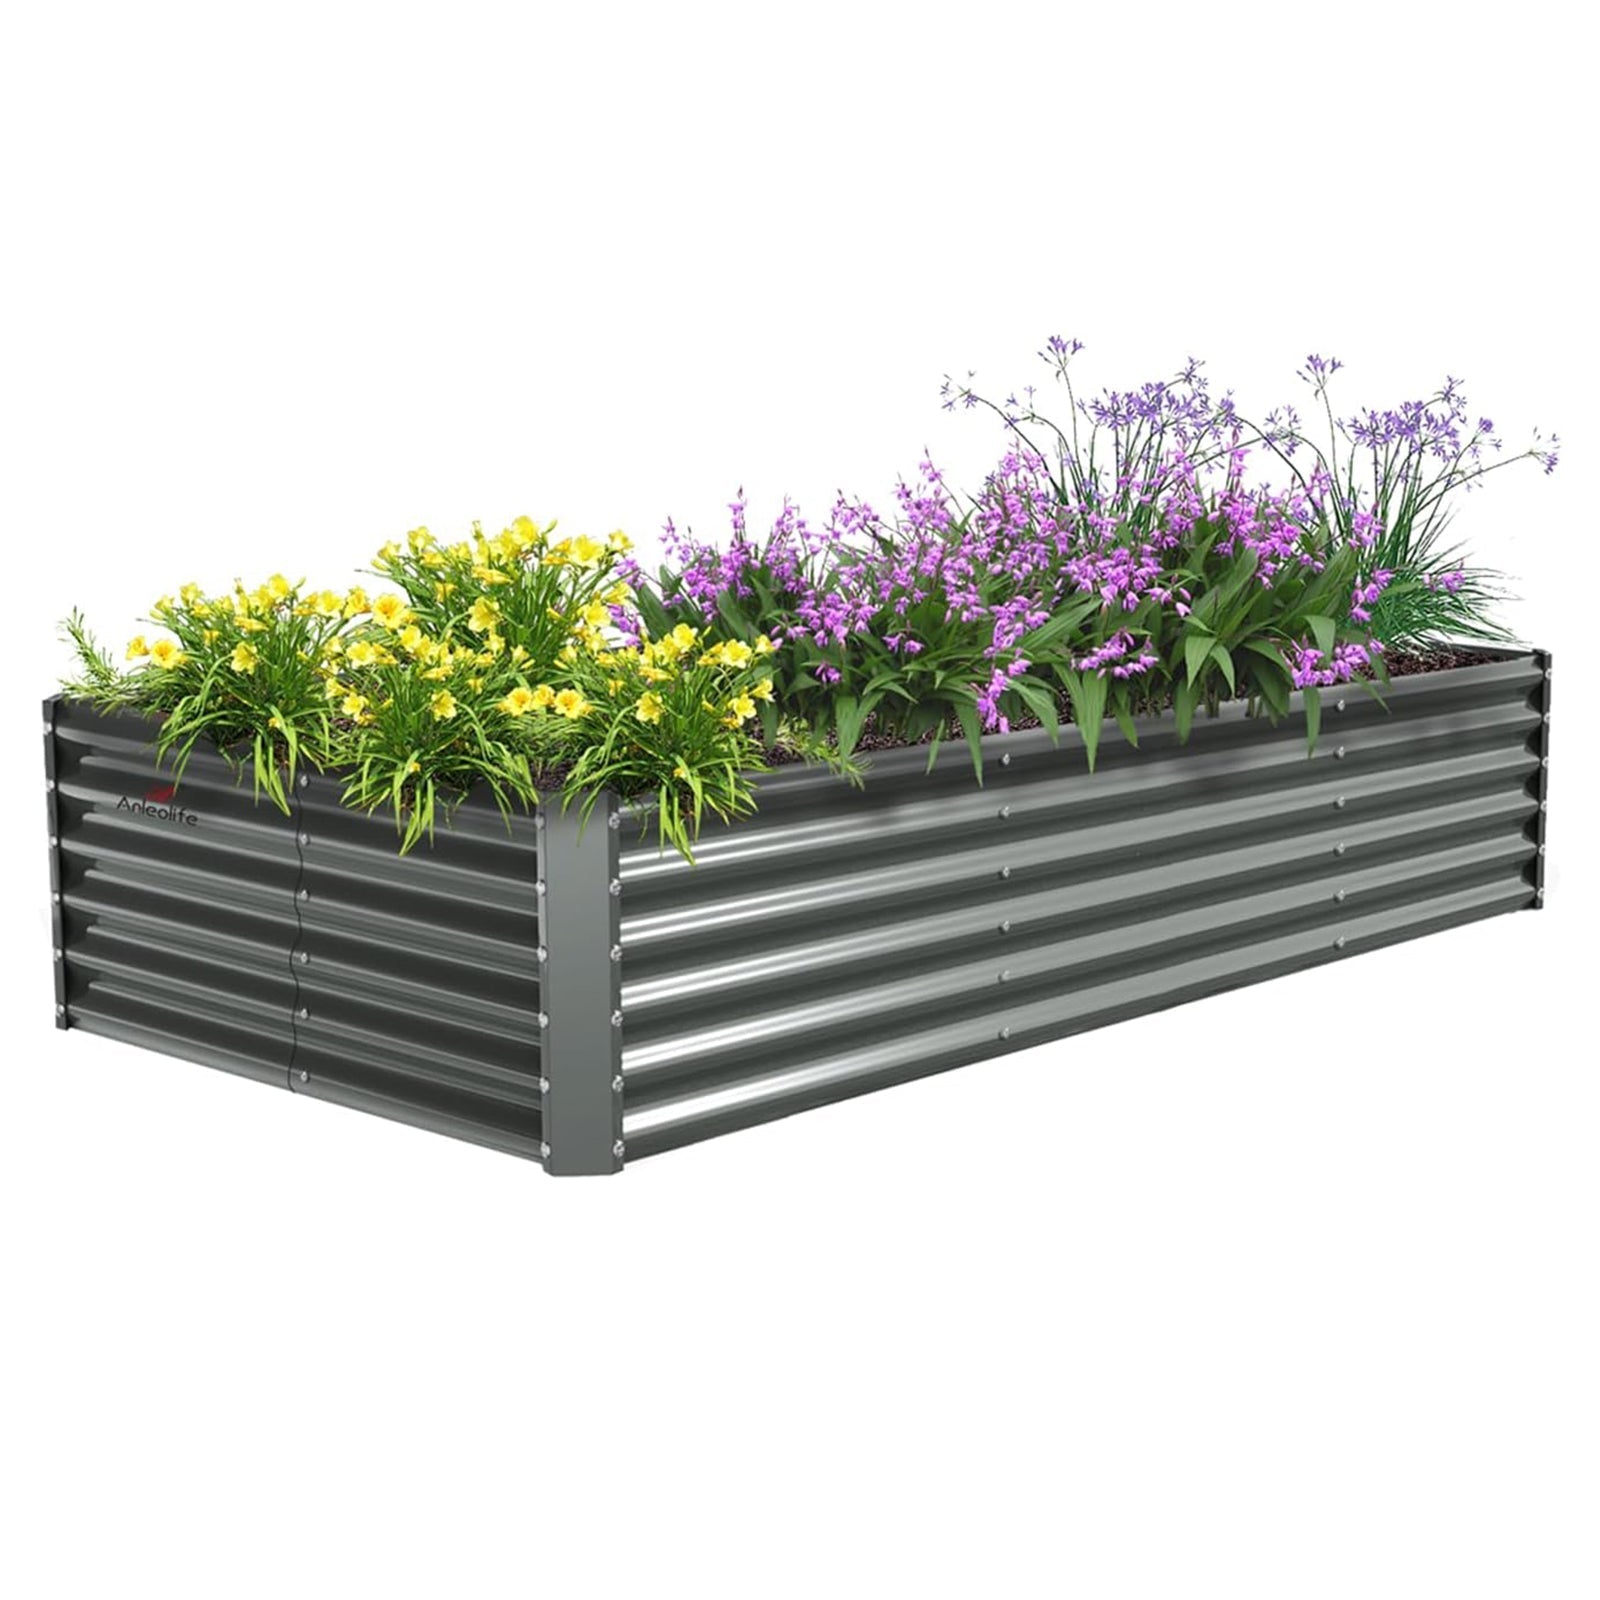

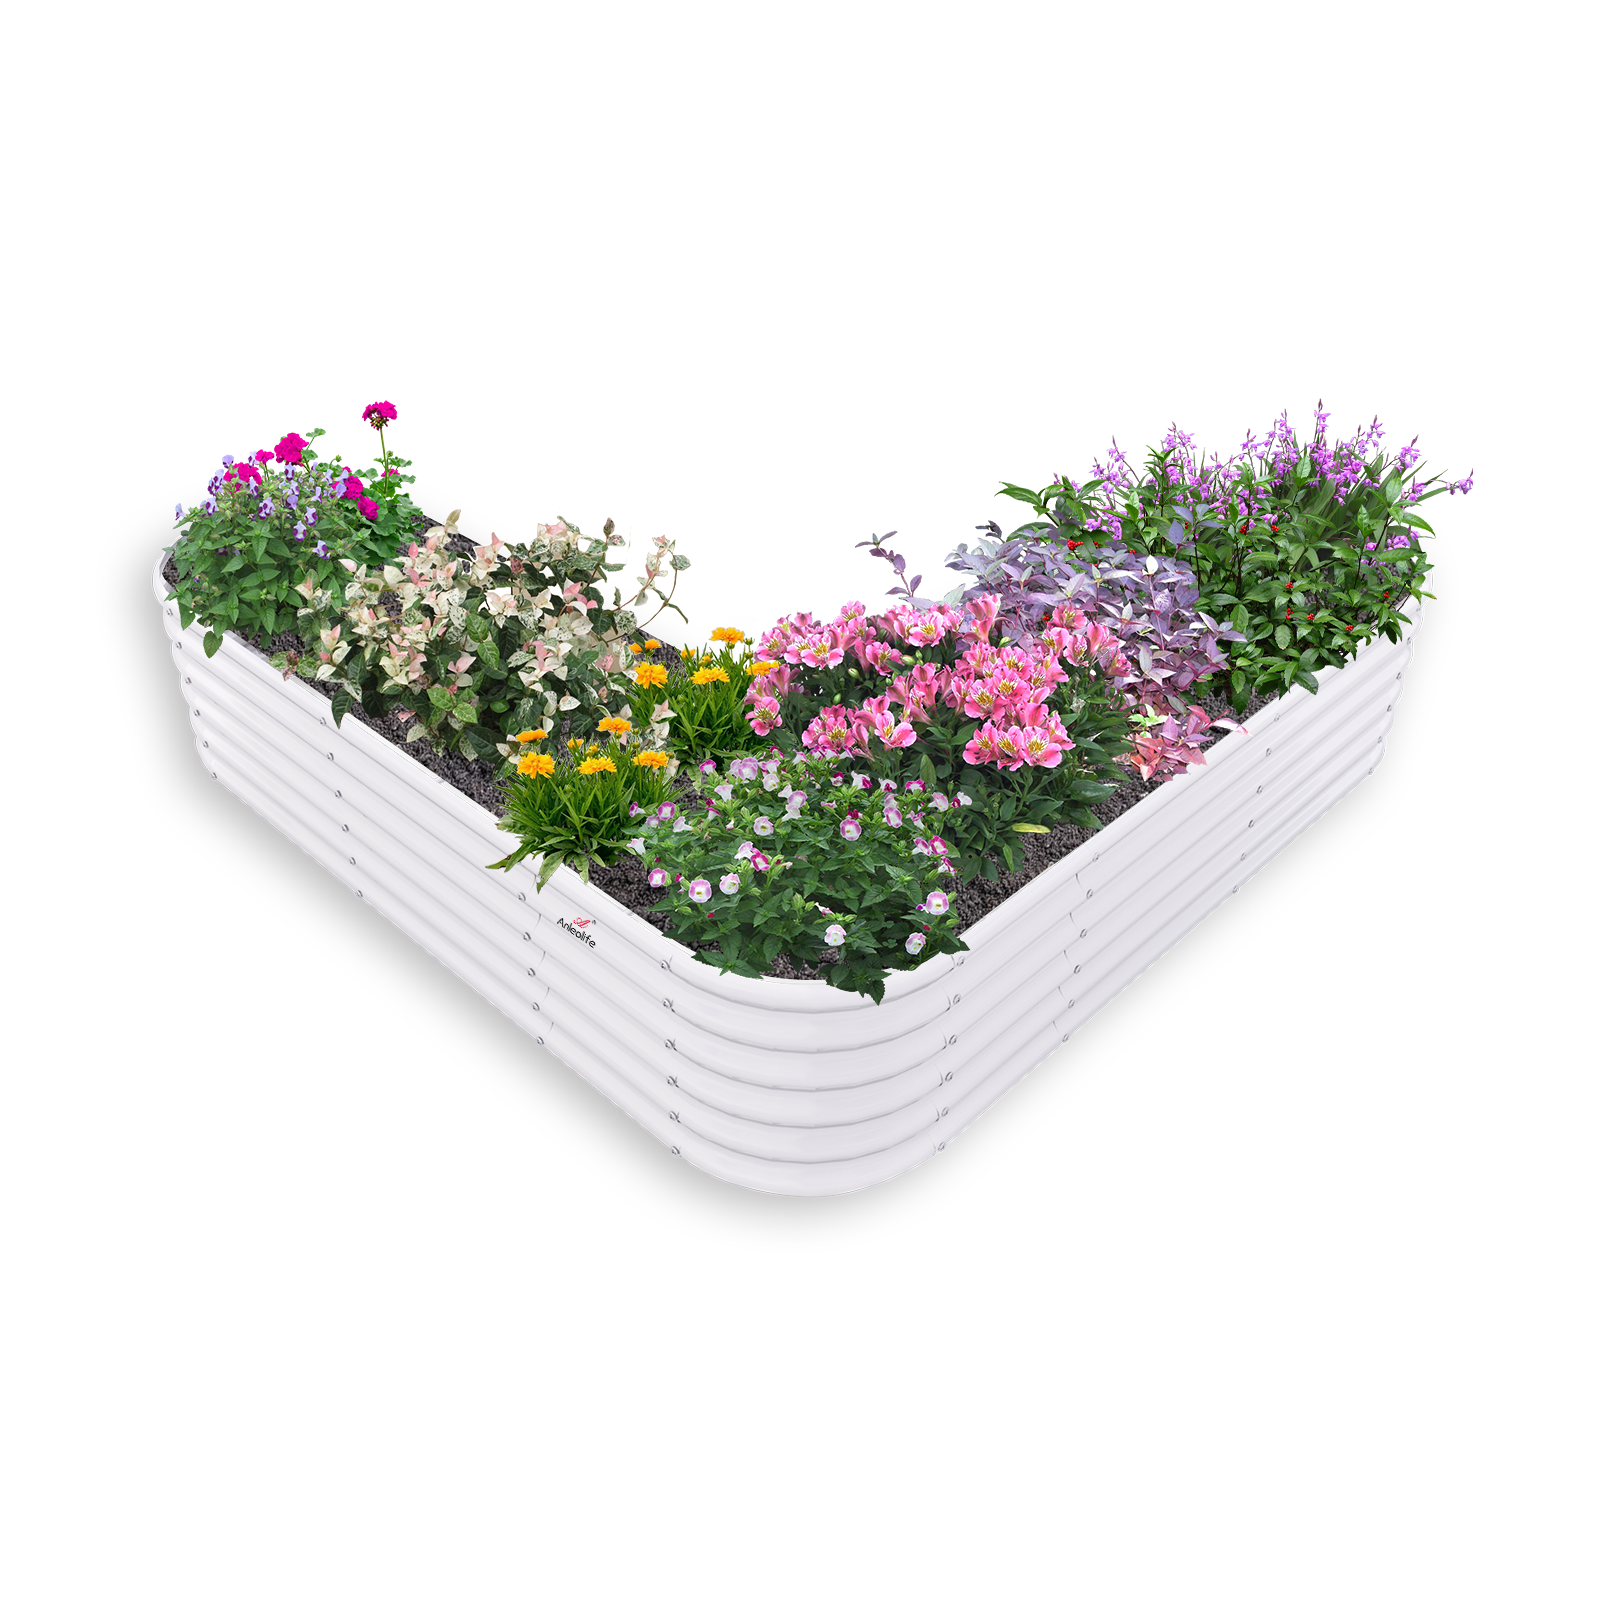
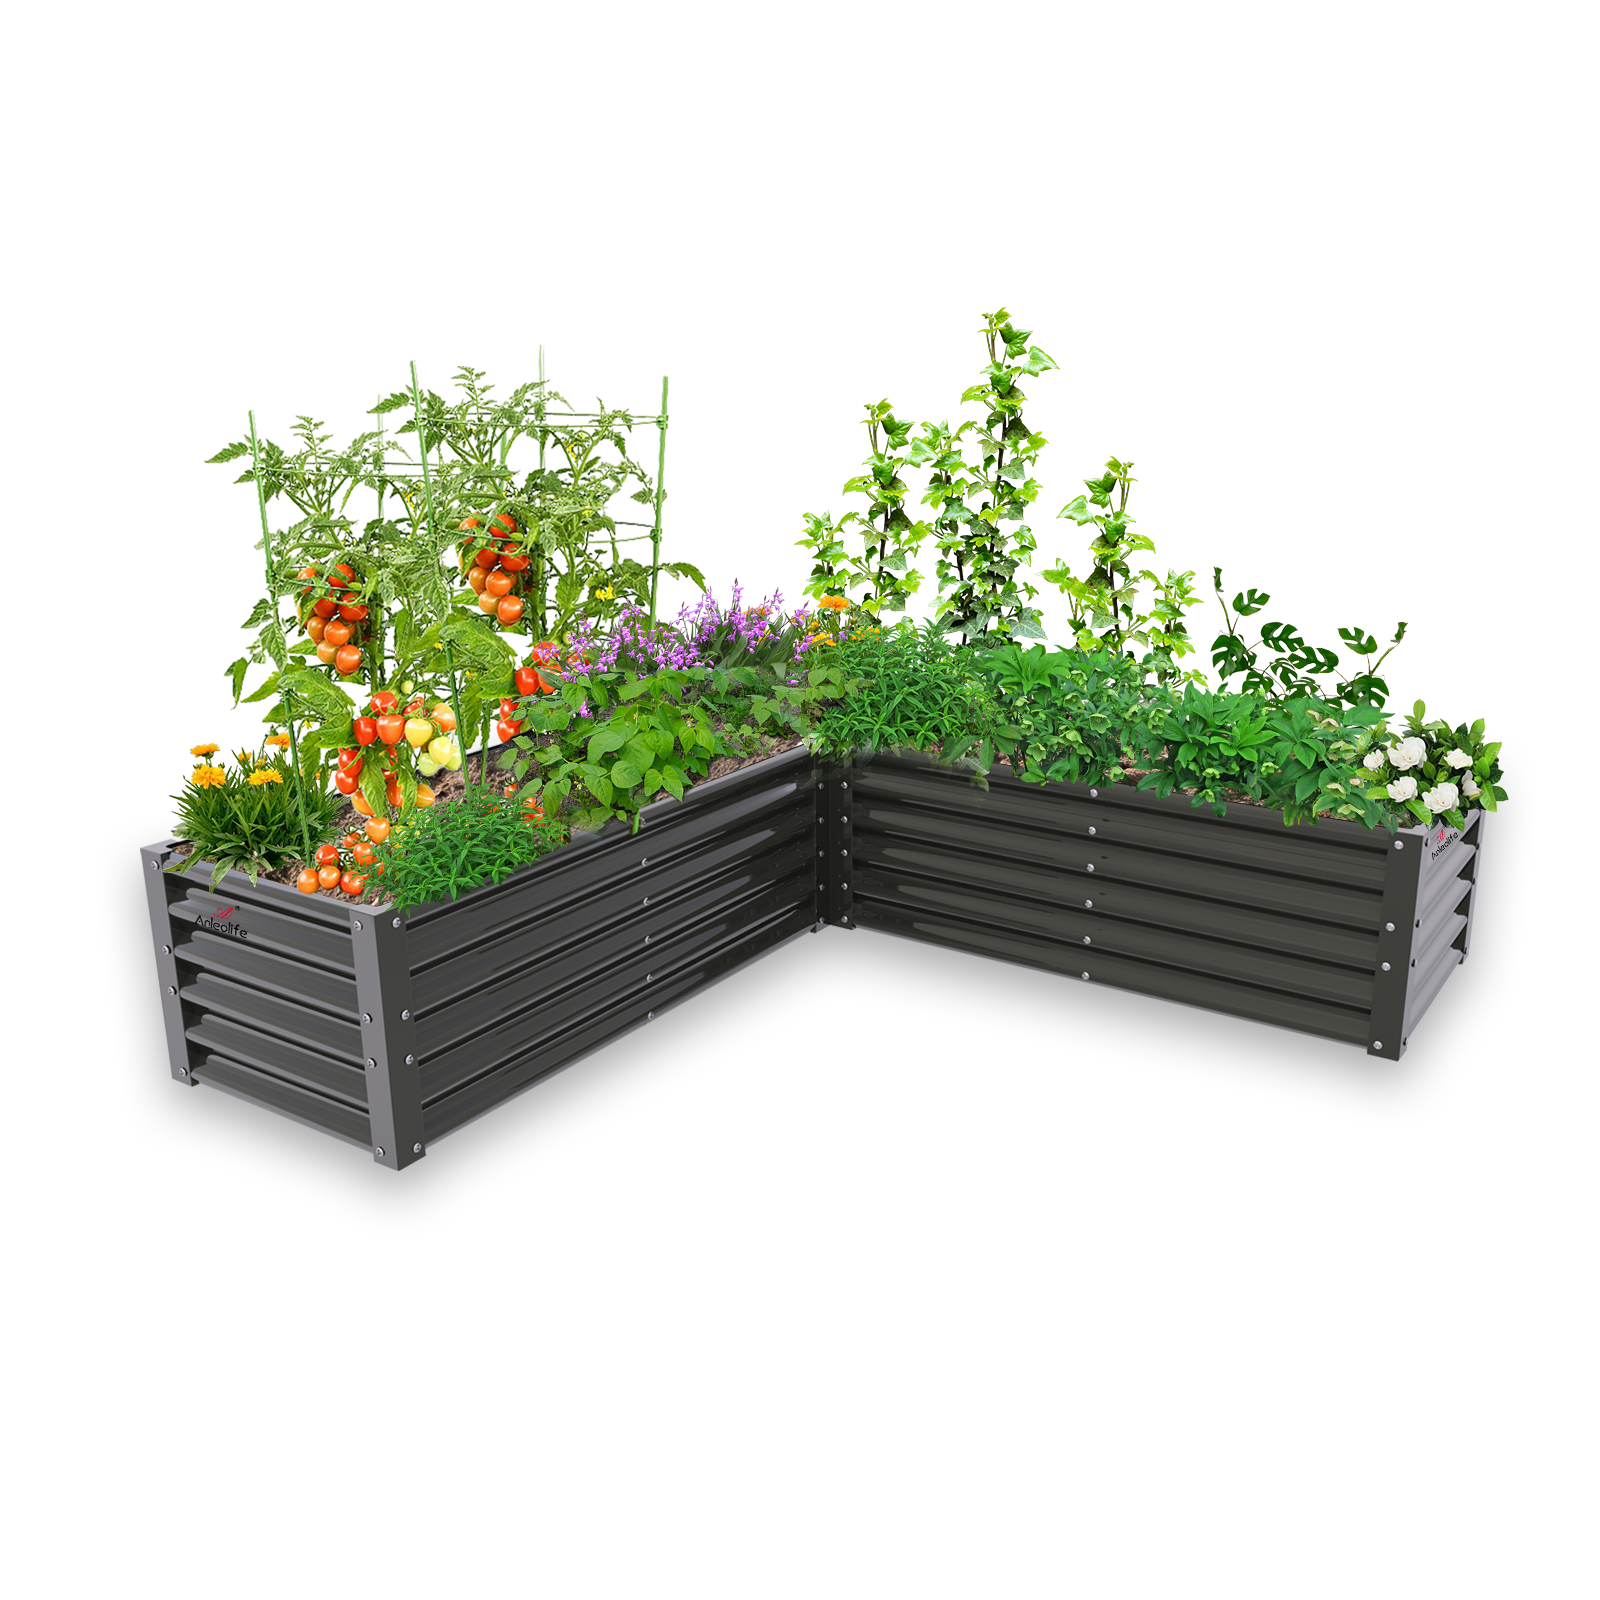
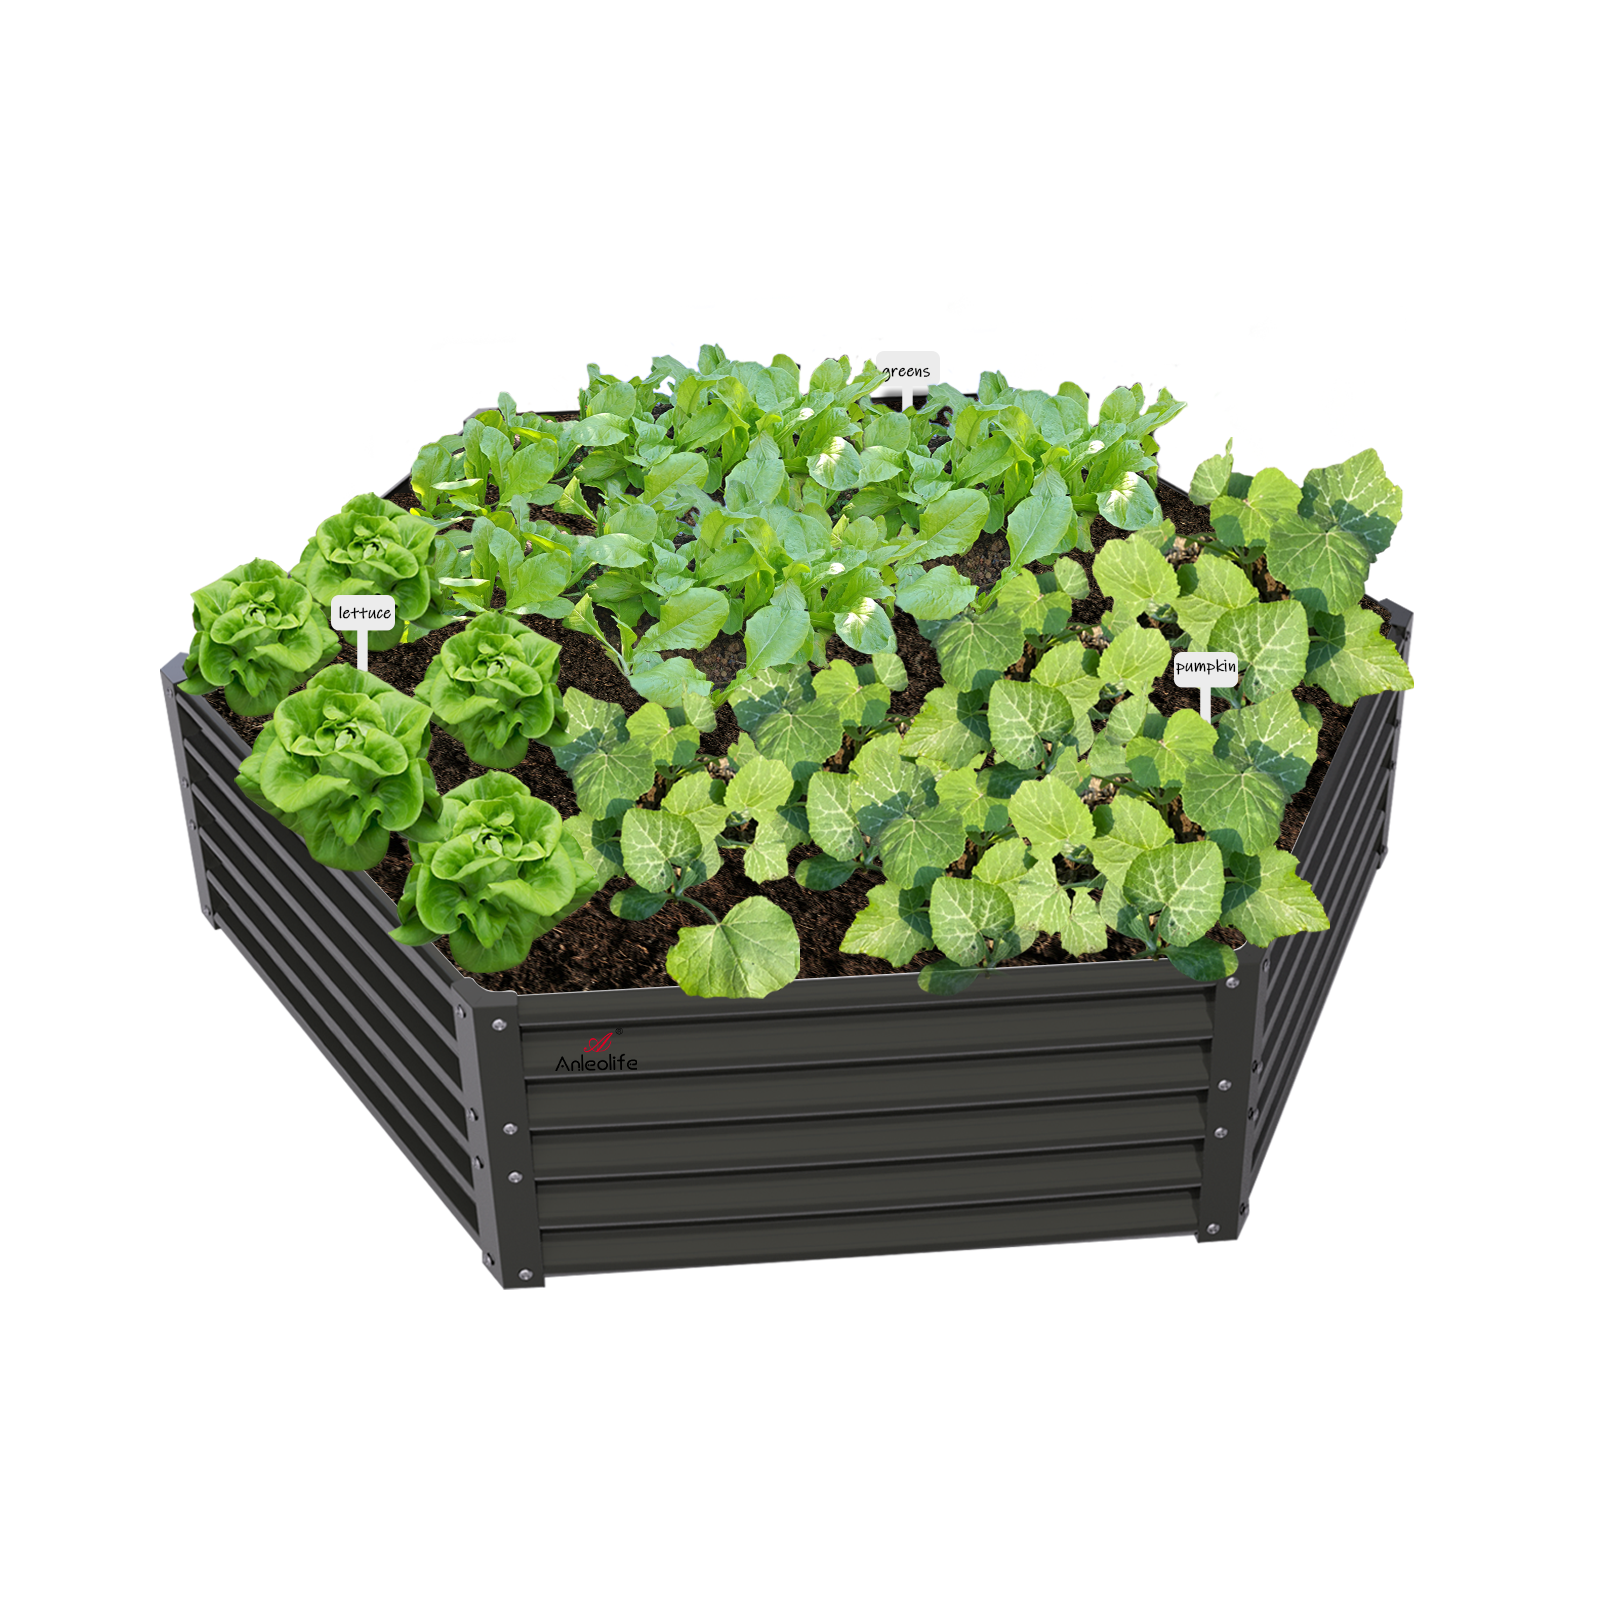
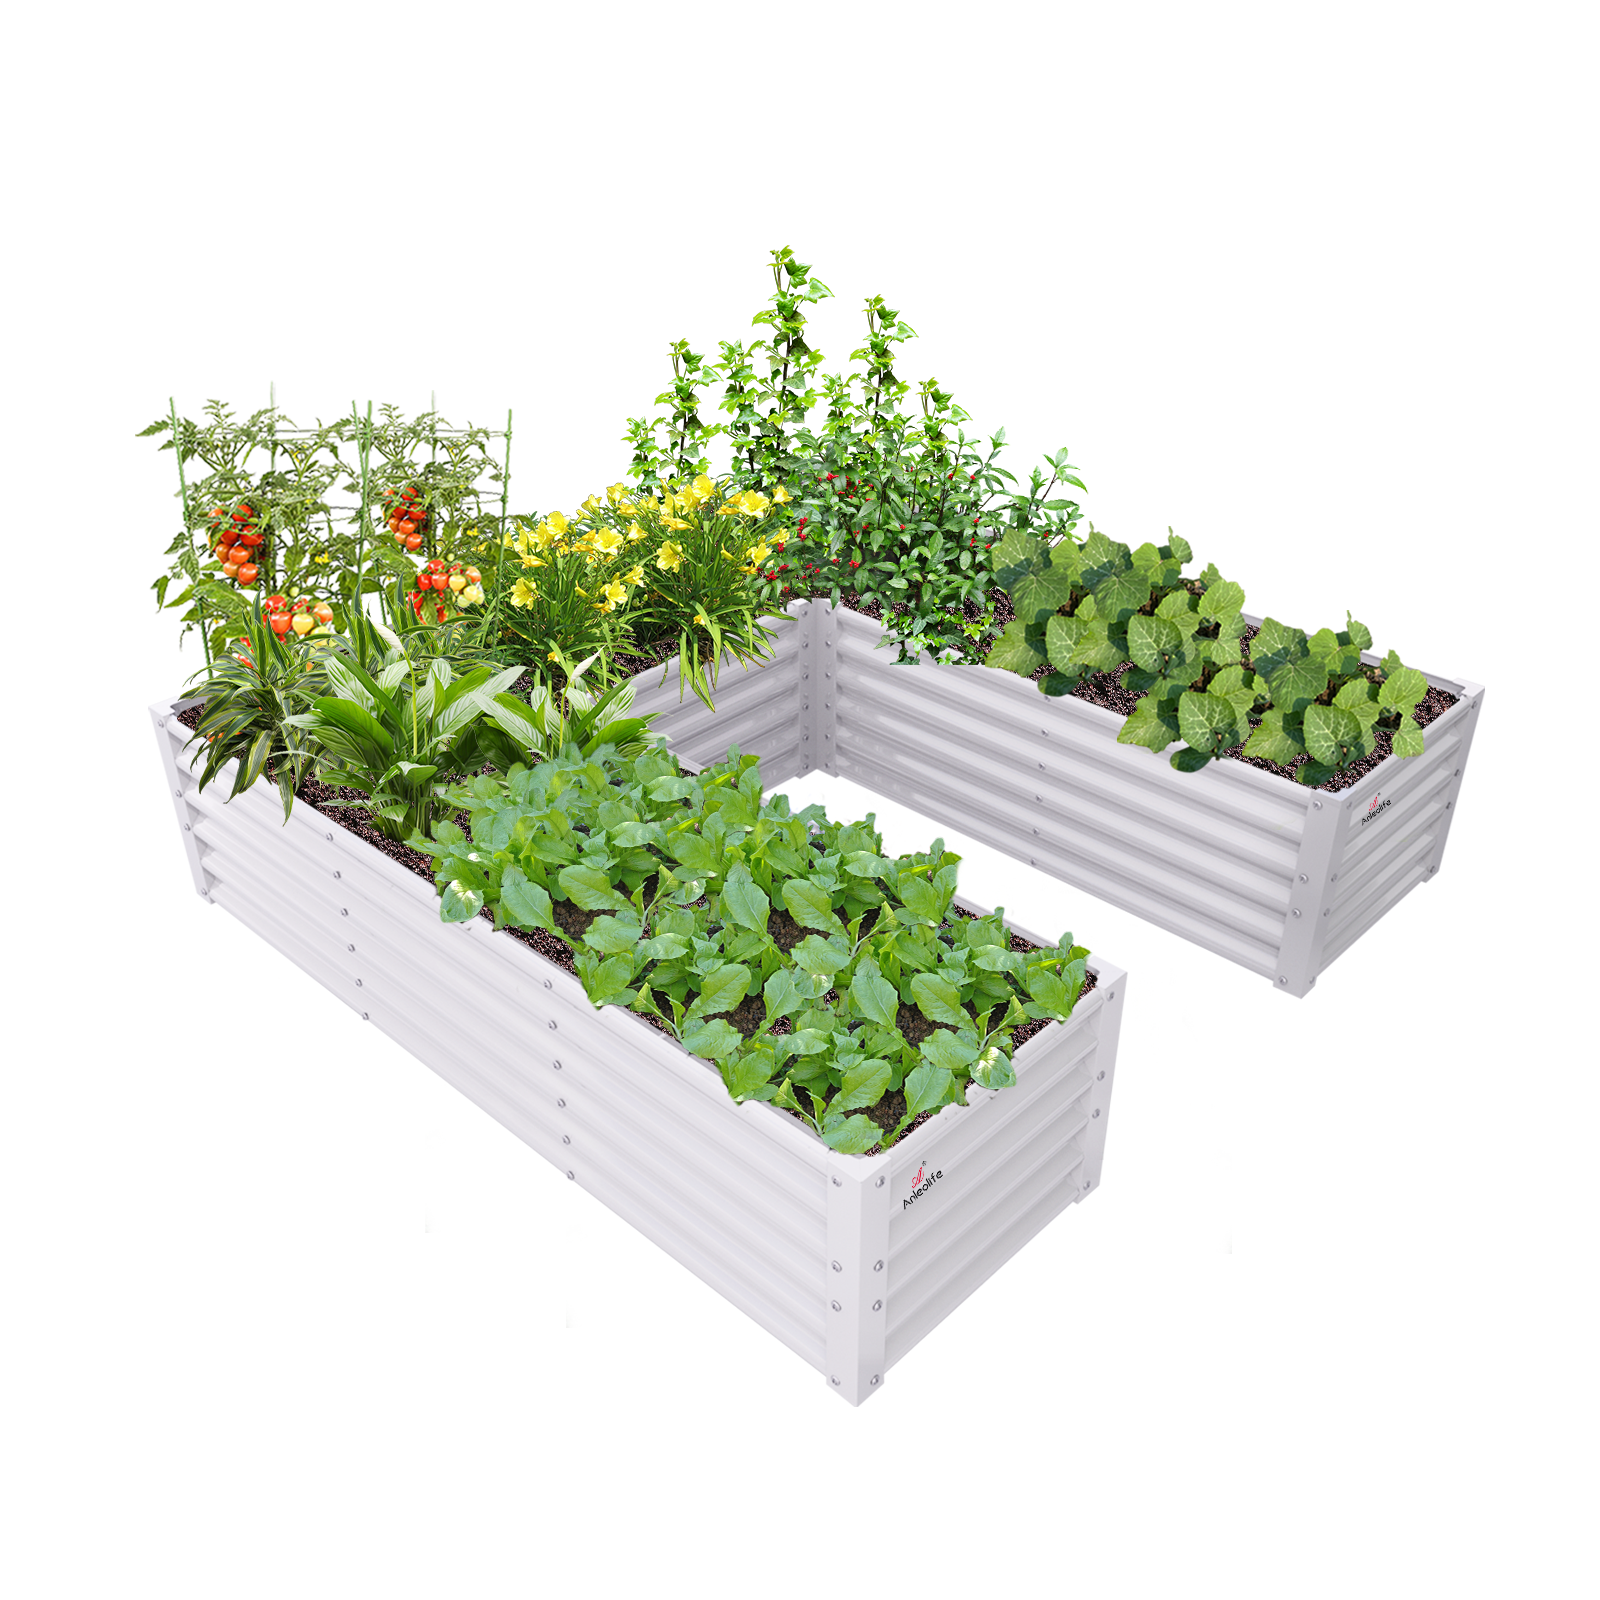

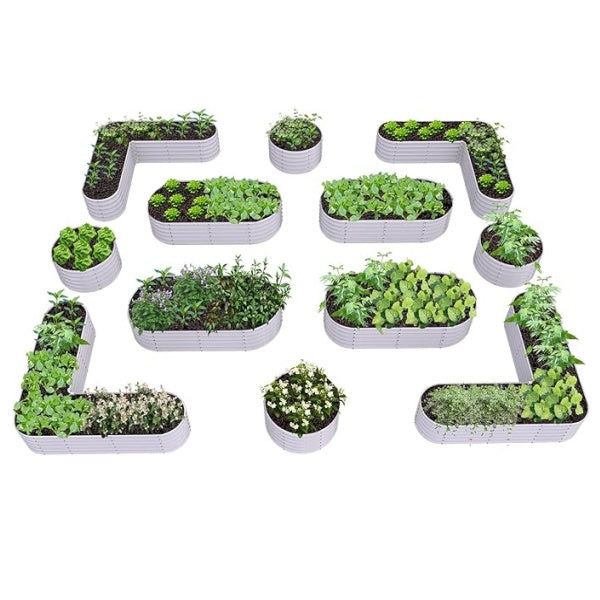


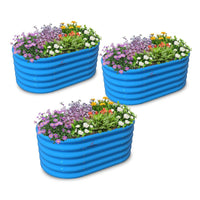
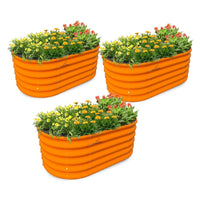
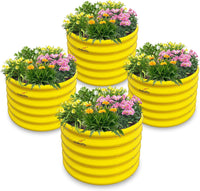
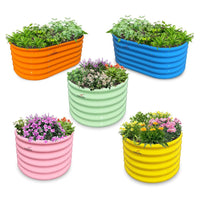



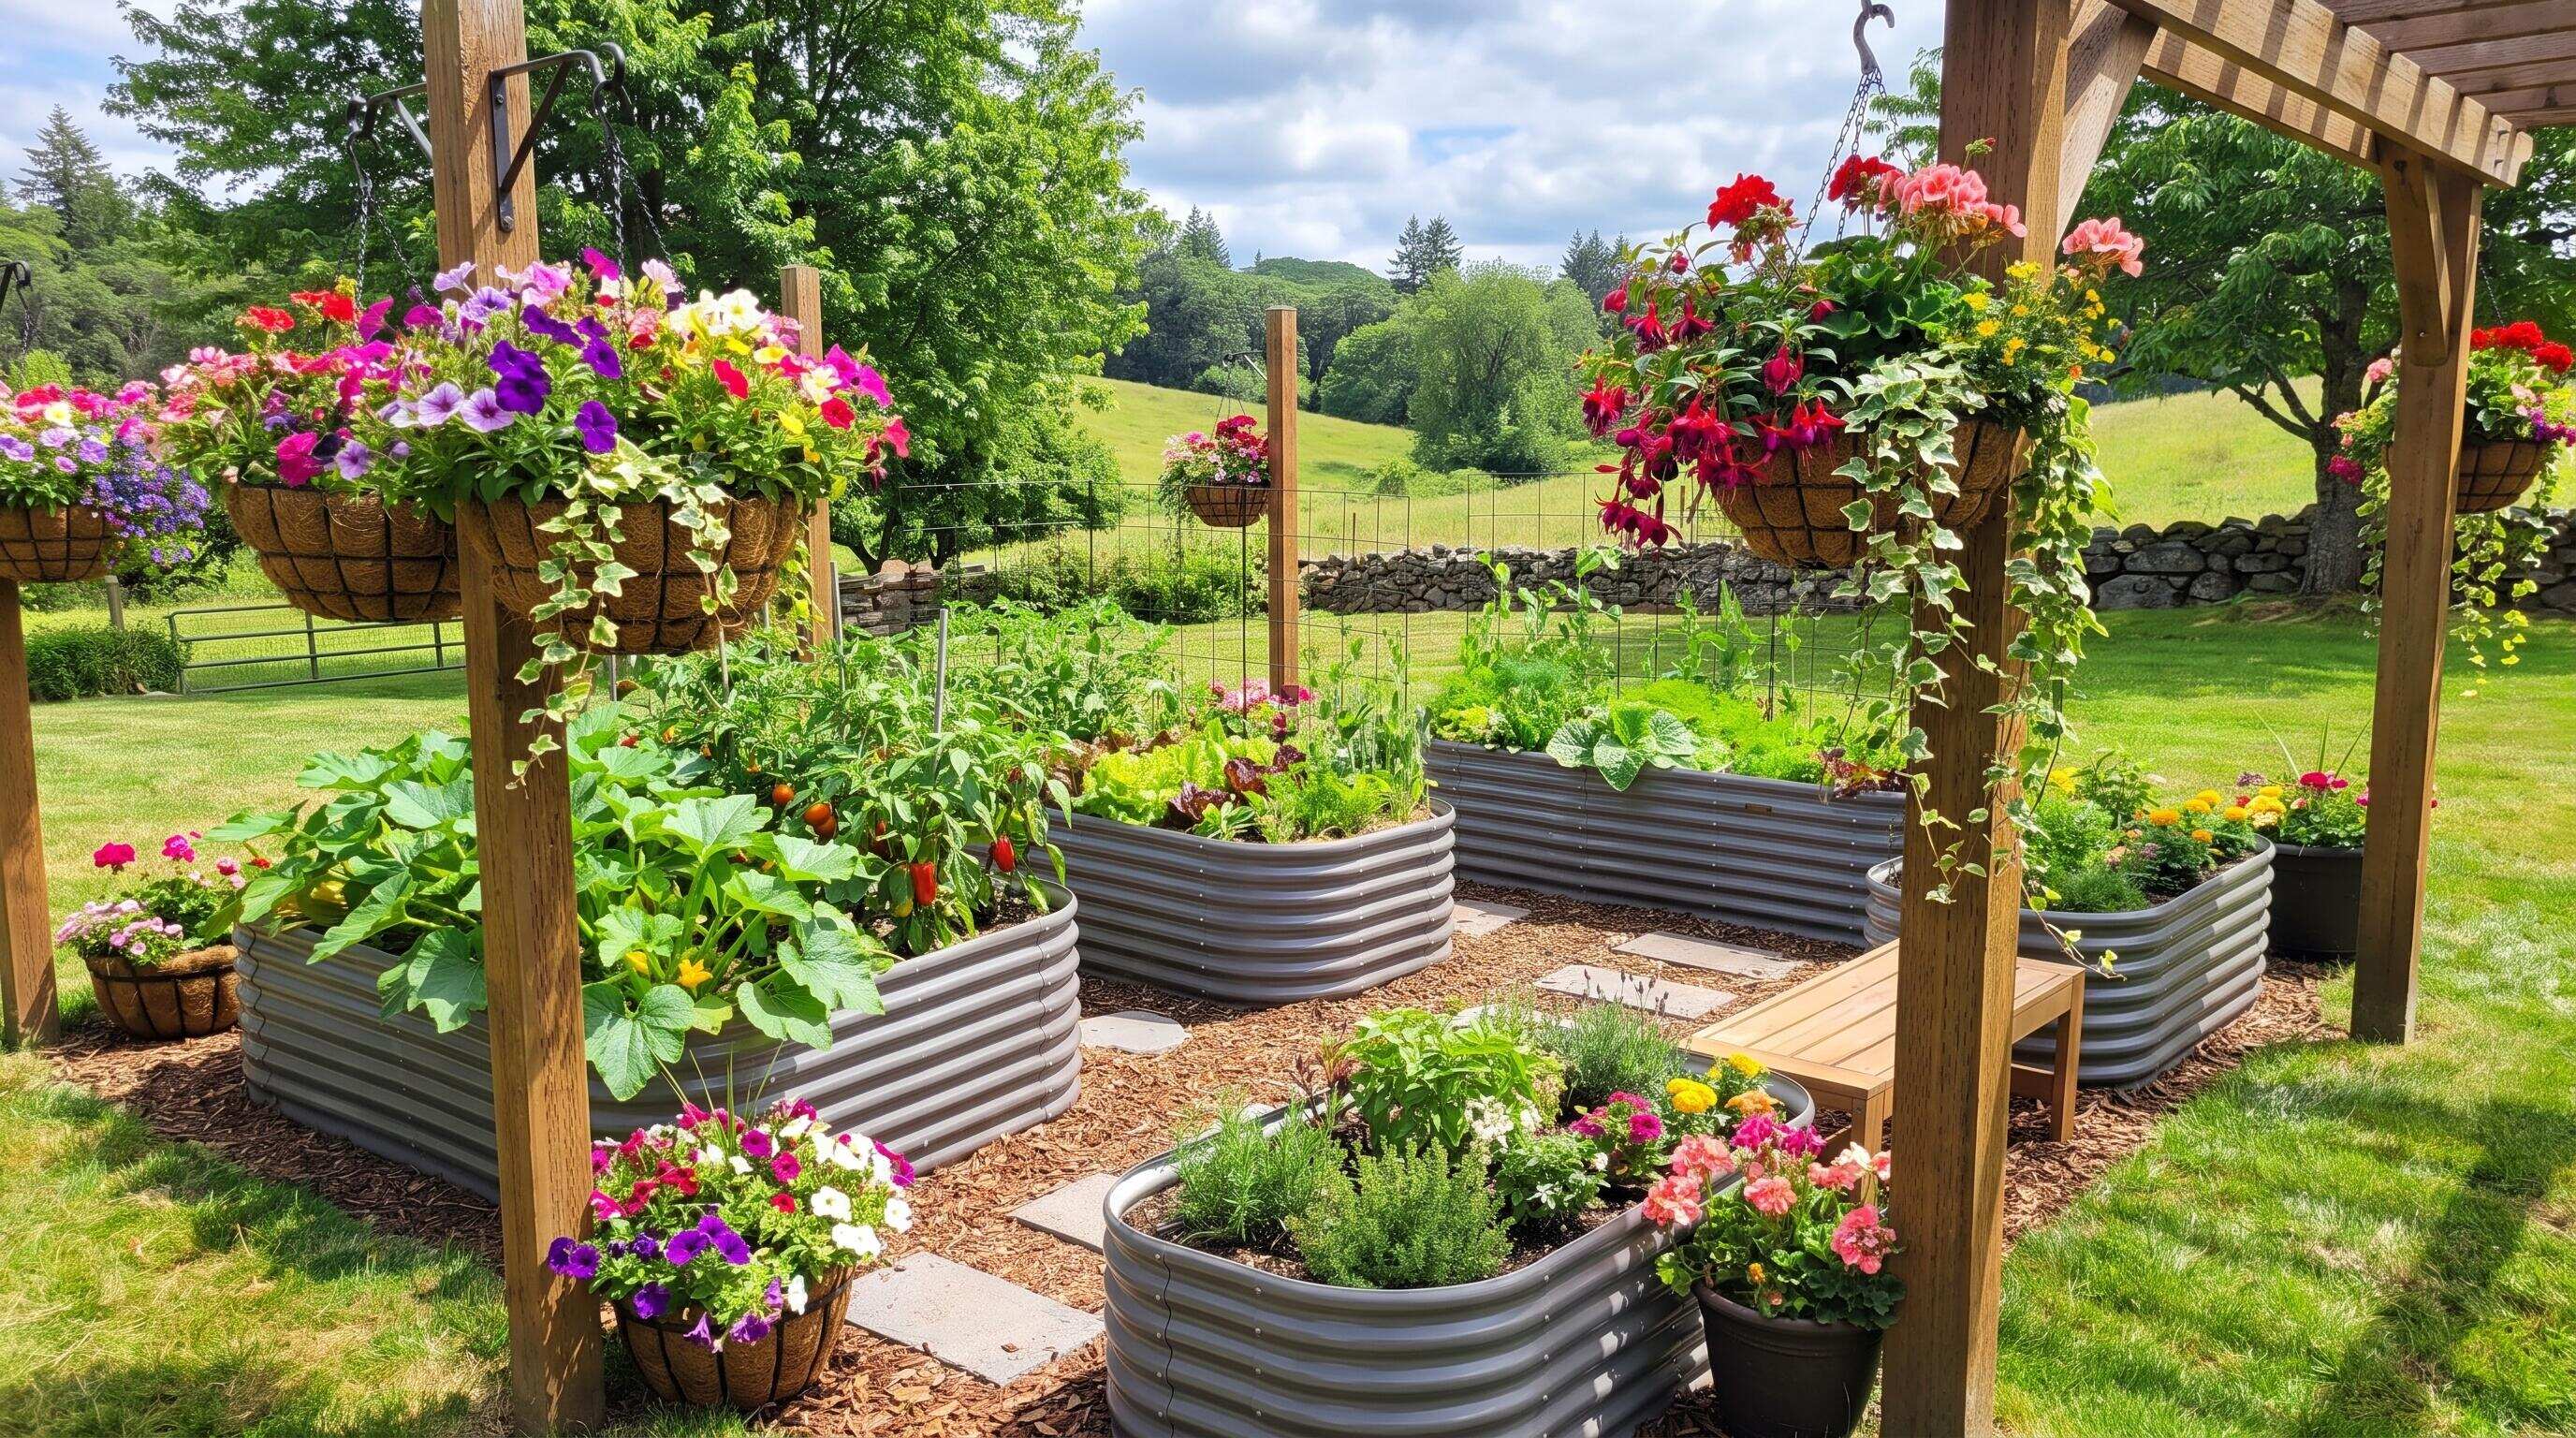
ALT: Multi-shape raised garden bed sets arranged in a custom backyard layout for home gardeners
Design Your Ideal Space: A Complete Guide to Raised Bed Garden Layout with Multi-Shape Bed Sets
A well-planned raised bed garden layout is one of the most satisfying investments a home gardener can make — and one of the most underestimated in its complexity. Walk through almost any established home garden, and you will notice a pattern we consistently see in our work with clients: the gardeners who started with a single rectangular bed and no clear plan eventually find themselves working around awkward dead zones, fighting for elbow room between beds, or wishing they had left space for a path. The ones who planned their raised bed planting layout from the beginning — thinking in shapes, zones, and flow — end up with gardens that feel intuitive to work in and beautiful to look at.
This guide is written for middle-class families who want more than a functional plot, for eco-conscious growers who are thinking about long-term soil health and crop rotation, for urban gardeners working with tight footprints, and for empty nesters who finally have the time and the yard to do this right. If you have been wondering how to combine rectangular beds, square beds, round beds, and modular configurations into a cohesive raised bed layout that actually works, you are in the right place.
Before You Start: Prerequisites and Preparation for a Custom Raised Bed Layout
Choosing a multi-shape bed set is not simply a matter of picking what looks appealing in a catalog. Before you can make smart decisions about bed shapes and their arrangement, you need to have a clear picture of your outdoor space, your growing goals, and the practical constraints that will shape every decision that follows.
Start by measuring your available garden area accurately — length, width, and any irregular edges or obstructions like trees, utility boxes, or fence posts. Sketch this footprint on paper or use a simple digital drawing tool. This becomes your working canvas. Note which directions are north and south, because sun exposure is the single most important environmental factor in raised bed garden layout planning. Most vegetable and herb crops need a minimum of six hours of direct sunlight daily, according to guidance published by cooperative extension programs at major U.S. land-grant universities.
Next, define your growing goals in concrete terms. Are you primarily growing food crops, ornamental plants, or a combination? Do you want a dedicated herb section? Are you planning to include a small animal-raising component — perhaps a chicken coop or rabbit hutch — that needs to coexist with your beds? Knowing this upfront prevents you from creating a layout that works for today but needs to be torn apart and rebuilt in two seasons.
Consider your budget for beds, soil, and amendments. A soil system that supports healthy plant roots — well-draining, rich in organic matter, and appropriately deep for the crops you are growing — is as important as the beds themselves and should be planned and budgeted separately from the hardware.
Checklist before starting:
- Accurate measurements and a scale sketch of your available space
- Clear sun-exposure map (which areas receive full sun, part sun, and shade throughout the day)
- A defined list of what you intend to grow, organized by crop type and space requirements
- Understanding of your local frost dates and growing season length
- A realistic budget covering beds, soil amendments, pathways, and any accessories
- Knowledge of local regulations regarding raised beds, especially in HOA communities
- A plan for water access — hose reach, drip irrigation feasibility, or proximity to a water source
Time and effort should be assessed honestly. A multi-bed layout involving several different shapes and zones is a moderate-to-significant installation project. Doing it thoughtfully over a weekend — or two — is far better than rushing it in an afternoon.
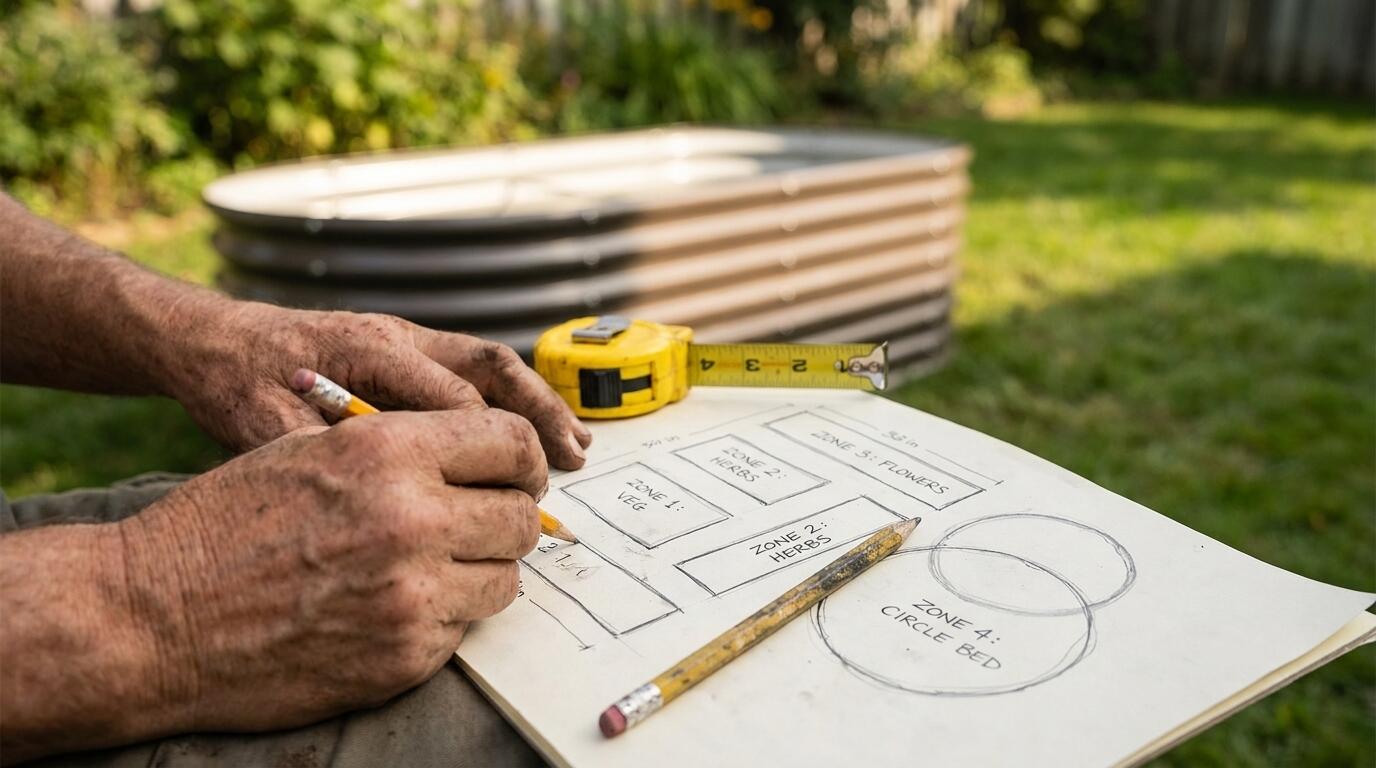
ALT: Gardener mapping out a multi-shape raised bed planting layout on paper with measuring tape and pencil in a backyard garden planning session
Step-by-Step Instructions for Choosing and Arranging Multi-Shape Bed Sets
Step 1: Understand What Each Bed Shape Offers in a Raised Bed Layout
The foundation of a successful raised bed garden layout is understanding that different shapes serve different functions — and choosing shapes based on function, not just aesthetics, produces a layout you will actually enjoy using for years.
Rectangular beds are the workhorses of raised bed gardening. Their long parallel sides make them efficient for row planting, easy to cover with row fabric or hoop systems, and straightforward to irrigate with drip lines. Beds in configurations like 12x3 ft or 8x4 ft offer generous growing area while keeping the center of the bed within comfortable arm's reach from either side — an ergonomic principle that cooperative extension horticulture programs consistently recommend for minimizing soil compaction from overreaching.
Square beds — such as a 4x4 ft or 6x6 ft configuration — excel at the corners of a layout or as dedicated single-crop zones. They are naturally suited to the square-foot gardening method, which divides the bed into a grid and assigns each cell to a specific plant variety. Square beds also act as visual anchors that give a layout a sense of symmetry and intentionality.
Round beds are perhaps the most underused shape in home garden design, yet they bring tremendous visual softness to an otherwise angular layout. A round bed placed at the center of a garden zone creates a focal point — ideal for a statement herb planting, a tall ornamental grass, or a climbing structure. Round beds work especially well for gardeners who approach their outdoor space as an extension of their home's aesthetic, not merely a production plot.
Modular beds are the most flexible category. A modular raised garden bed system allows you to configure and reconfigure growing areas as your needs evolve — adding sections, changing dimensions, or connecting units. This is the shape category to prioritize if you anticipate your garden growing over time or if you are working with an irregular space that does not accommodate standard fixed dimensions.
Tip: On your site sketch, mark each zone with a function first (herbs, leafy greens, root vegetables, flowers, climbing crops) before you assign a shape. The function will often tell you which shape fits best.
Step 2: Map Your Space and Assign Zones
With your sketch in hand and a clear sense of what each shape can do, the next step is to divide your garden footprint into functional zones and assign a bed shape to each zone.
A pattern we consistently see in successful multi-bed layouts is the use of a primary axis — a central pathway that runs through the garden space — with beds arranged on either side. This creates natural ergonomic access, clear visual order, and the ability to extend the layout in either direction as the garden grows. In a rectangular yard, this axis typically runs parallel to the longest fence line. In a square yard, it can radiate from a central focal point.
Place your tallest or most visually prominent beds — round center-piece beds or tall 24-inch to 30-inch extra-tall rectangular beds — toward the center or back of the layout where they will not shade shorter beds. Lower beds, such as standard 18-inch configurations, work well at the perimeter or along edges where they are easily accessible and do not interrupt sightlines. If you are building a layout that you want to reference visually as it develops, designing multi-bed layouts for continuous harvests is a practical companion resource for thinking through zoning and crop sequencing simultaneously.
Tip: Leave a minimum of 24 to 30 inches between beds for comfortable walking and kneeling access. For wheelbarrow or cart access, widen primary pathways to at least 36 inches.
Step 3: Select Bed Materials That Match Your Layout's Long-Term Goals
Shape and placement decisions are only as sound as the materials behind them. For a multi-bed raised bed layout that is meant to last, galvanized steel is the material of choice for most North American home gardeners — and for good reason.
Galvanized steel raised garden beds offer structural rigidity that maintains bed shape over time, even with the pressure of dense soil and seasonal freeze-thaw cycles. According to guidance from the ASTM International standards framework for metallic coatings, properly applied zinc coatings on steel provide meaningful corrosion resistance that translates directly to durability in outdoor applications. Anleolife's Galvanized Steel Raised Garden Beds are built around this principle and carry an expected lifespan of 20 years — a specification that makes them genuinely cost-effective when calculated on a per-year basis.
For gardeners in regions with higher humidity or coastal salt exposure, rust-resistant raised garden beds using alternative coating technologies offer an additional layer of protection. Anleolife's Rust-Resistant Raised Garden Beds are designed for these environments and come in a comparable range of dimensions to the galvanized line, so you are not limited in your layout options by the material choice.
Tip: When mixing bed heights in a single layout, keep the visual transition gradual — for example, pairing 18-inch standard beds with 24-inch extra-tall beds, rather than jumping from the shortest to the tallest in adjacent positions. This creates a stepped visual effect that reads as intentional design rather than an accident.
Step 4: Plan Your Soil System to Match Bed Depth and Crop Type
A raised bed planting layout is only as good as the soil within each bed. Different bed depths serve different crop families, and planning your soil system alongside your bed selection prevents the common mistake of underfilling a shallow bed with root crops or overfilling a deep bed with surface-rooting herbs.
Standard 18-inch beds accommodate the full range of common vegetable crops — tomatoes, peppers, squash, beans, and most root vegetables — when filled with an appropriate mix of topsoil, compost, and drainage amendments. Extra-tall 24-inch and 30-inch beds are particularly valuable for deep-rooting crops like carrots, parsnips, and potatoes, as well as for gardeners with mobility considerations who prefer to work at a standing height without bending. The University of California Cooperative Extension has documented that loose, well-amended growing media in raised beds consistently outperforms native in-ground soil for vegetable production in most residential settings, particularly in areas with compacted clay or sandy soil.
Plan your soil system as a separate line item in your project budget. A high-quality growing medium — often called a "mel's mix" or a structured blend of compost, peat or coco coir, and coarse drainage material — fills a deep bed significantly, and the volume required scales quickly as bed footprint and height increase.
Tip: Mark on your layout plan which beds will receive the deepest soil fill and prioritize those for crops that genuinely need it. This avoids the expense of over-filling beds used for herbs or shallow-rooted greens.
Step 5: Incorporate Modular Beds for Flexibility and Future Expansion
One of the smartest decisions you can make in a multi-shape raised bed layout is to designate at least one section of your garden as modular — built from beds that can be reconfigured, extended, or repositioned without starting from scratch.
Anleolife's Modular Raised Garden Bed system is designed exactly for this purpose. Starting with a single modular unit and connecting additional sections over time allows a garden to grow alongside the gardener's needs, budget, and available time. A gardener who starts with an 8x4 ft modular configuration can expand to a 12x4 or larger footprint by adding panels, without tearing out the original installation. This is particularly valuable for families whose gardening ambitions tend to expand year over year — a pattern we see very consistently among first- and second-season gardeners who discover how quickly they fill up their initial bed count.
For readers who want a deeper framework for thinking about this kind of staged expansion, planning a modular garden layout that grows with your family is an excellent resource that walks through the practical and experiential side of this approach.
Tip: When placing modular beds, leave extra clearance on at least two sides — more than you think you need — to allow for future section additions without having to relocate adjacent fixed beds.
Step 6: Design Your Pathway System and Aesthetic Elements
Pathways are not an afterthought in a well-designed raised bed garden layout — they are the framework that makes the layout functional and beautiful simultaneously. The surface material you choose affects drainage, weed pressure, maintenance load, and the overall visual character of the garden.
Gravel, decomposed granite, and stepping stone systems are all popular choices. Gravel drains well and suppresses weeds effectively when laid over a landscape fabric barrier, but it can shift over time and requires occasional topping up. Stepping stones provide a cleaner aesthetic and are forgiving of irregular spacing. Decomposed granite compacts over time into a firm, natural-looking surface that many gardeners find the most professional-looking option for formal layouts.
For gardeners who want to elevate the aesthetic dimension of their raised bed layout, decorative accessories — edging elements, trellises, and pathway systems — can transform a functional planting area into an outdoor living space that reflects a considered design sensibility. This is where the beautification layer of a full garden ecosystem begins to show real returns.
Tip: Use a consistent pathway material throughout your layout, even if beds vary in shape and height. Uniform pathways visually unify a diverse multi-shape layout and prevent it from looking disorganized.
Step 7: Review, Adjust, and Commit to Your Plan
Before ordering beds or breaking ground, take your finalized sketch and walk your actual outdoor space with it. Physically mark the corners of planned bed positions using stakes and string or garden hoses. This is the step where many gardeners catch layout problems they would not have caught on paper — a bed that is positioned closer to a fence than it appears on a sketch, a pathway that looks wide enough in a drawing but feels narrow in reality, or a sun-exposure issue that only becomes apparent when you are standing in the space at the relevant time of day.
Once the physical walkthrough confirms the layout, review your bed selections one more time with a critical eye on the total scope of the project. It is far better to start with a well-executed three-bed or four-bed layout and add to it thoughtfully over one or two seasons than to over-commit to a large, complex layout that exceeds your installation capacity or first-season maintenance bandwidth.
Tip: Photograph your marked layout from multiple angles, including from an elevated position if possible (an upstairs window is ideal). These photos are invaluable for confirming the visual balance of the layout before committing to installation.
Common Mistakes and Troubleshooting in Raised Bed Layout Planning
| Symptom | Likely Cause | How to Fix |
|---|---|---|
| Beds feel cramped and hard to work around | Insufficient pathway width between and around beds | Redesign spacing to allow at least 24–30 inches between beds; widen primary access paths to 36 inches |
| Taller crops shading shorter beds | Tall bed varieties or tall crops placed upwind/south of shorter ones | Reposition tallest beds to the north end of the layout so their shadow falls away from productive beds |
| Round or oddly shaped beds look visually disconnected from the layout | Round beds placed without a clear focal role or visual anchor | Position round beds at a defined center point or intersection; surround with low-profile rectangular beds to frame them |
| Soil sinking and beds partially collapsing inward | Insufficient structural support for deep or wide beds; poor material choice | Select beds with adequate gauge steel and reinforced corners; consider heavy-duty configurations for large footprints |
| Water pooling in pathways after rain | Inadequate drainage in pathway surface material | Add a layer of gravel or decomposed granite over landscape fabric; grade pathways to slope slightly away from beds |
| Garden layout feels overwhelming to maintain in the first season | Too many beds, shapes, and crops introduced simultaneously | Scale back to a focused core layout; phase remaining beds into the second or third season |
| Modular beds shifting or separating over time | Improper connection of modular panels; soft ground beneath | Ensure all panel connections are fully engaged; add corner anchors and level the ground surface before installation |
Pro Tips for Better Results in Your Raised Bed Garden Layout
Rotate crops annually within your layout, not just within individual beds. One of the most powerful advantages of a multi-bed raised bed garden layout is the ability to practice meaningful crop rotation across the entire garden — not just within one bed. Map your planned crops on your layout, and build in a rotation plan that moves nightshade crops (tomatoes, peppers, eggplant), legumes, brassicas, and root crops through different bed positions each season. This reduces pest and disease buildup in the soil and supports long-term soil system health.
Use bed height strategically for ergonomics, not just aesthetics. In our work with customers, we find that gardeners who select extra-tall bed configurations — 24-inch, 30-inch, or the waist-high 35-inch option — for their most frequently worked beds report dramatically less physical strain over a season. Reserve the tallest options for beds you will visit most often: the herb beds you harvest from daily, or the salad greens you are picking several times a week.
Think in terms of seasonal succession, not just spatial arrangement. A raised bed planting layout designed for year-round productivity treats each bed as a temporal unit, not just a spatial one. Some beds will be cleared and replanted multiple times in a season. Plan which beds will cycle quickly (salad greens, radishes, spinach) and which will be occupied by long-season crops (tomatoes, winter squash, peppers) for most of the growing season, and design your layout so that the fast-cycling beds are the most accessible.
Protect your beds from the start to ensure they last. Galvanized steel beds are built for durability — Anleolife's raised garden beds are rated for a 20-year lifespan — but simple seasonal maintenance habits extend that performance further. Maintaining galvanized steel raised beds for long-term durability is a practical reference for the maintenance steps that protect your investment season after season.
A common misconception worth addressing: Many gardeners assume that a larger garden layout is always more productive than a smaller one. In practice, a compact, well-planned four-bed layout with excellent soil, consistent watering, and thoughtful crop rotation will consistently outperform a sprawling twelve-bed layout that exceeds the gardener's capacity to maintain it. Start with the layout you can genuinely manage well, and expand it as your skill and available time grow.
Questions & Answers
Q1: How do I determine the right number and mix of bed shapes for my specific yard?
Choosing the right bed shapes for a raised bed garden layout starts with your functional zones, not your aesthetic preferences. Begin by listing what you want to grow, group crops by space and depth requirements, and assign a bed type to each group. Rectangular beds cover the most use cases; round beds serve as focal points; square beds anchor corners; modular beds handle growth and irregular spaces. In our experience, a three-to-five bed starting layout with one modular unit gives most households the flexibility they need without overwhelming them in the first season.
Q2: Are galvanized steel beds safe to use for growing food crops?
Galvanized steel raised garden beds are widely accepted as safe for food production. The zinc coating on galvanized steel occurs naturally in the environment and is found in trace amounts in many foods. The U.S. Environmental Protection Agency and multiple university extension programs have addressed this question and note that the zinc migration from galvanized steel into soil is minimal under typical garden conditions. Anleolife's galvanized steel beds are designed for long-term food garden use, with a rated lifespan of 20 years, making them a practical and safe long-term investment for home food growers.
Q3: How long does it realistically take to plan and install a multi-shape raised bed garden layout?
The planning phase — measuring, sketching, selecting beds, and confirming the layout physically on site — typically takes several evenings to a weekend depending on garden complexity. Installation time varies based on the number and size of beds and the pathway system chosen; most gardeners complete a three-to-five bed initial layout over one to two weekends. Anleolife ships from a nationwide U.S. warehouse network across California, Texas, Florida, New York, Illinois, and Washington, with delivery in 3–8 business days, so beds arrive quickly once ordered — allowing installation planning to begin well before materials arrive.
The Bottom Line
A multi-shape raised bed garden layout is one of the most rewarding garden investments a home grower can make — not because it is the simplest approach, but because it is the one that best reflects how gardens actually work: as dynamic, multi-functional spaces that serve different crops, different seasons, and different personal goals simultaneously.
Key Takeaways:
- Match bed shapes to functions first — rectangular beds for rows, square beds for grid planting, round beds for focal points, modular beds for flexibility and future growth.
- Pathway width and access are as important as bed placement — plan them before you finalize bed positions, not after.
- Soil system planning belongs in the raised bed layout process from the start — match soil depth and composition to the crops assigned to each bed.
- Modular beds are the smartest long-term investment in a multi-shape layout, allowing the garden to grow without requiring a full redesign.
- A focused, well-maintained smaller layout consistently outperforms an overextended larger one — plan to the scale you can genuinely sustain, then expand.
The next step is to take your measurements, sketch your zones, and start matching shapes to functions. Your ideal raised bed layout is closer than you think — it simply needs a plan.
Ready to bring your custom raised bed layout to life? Explore the full range of Anleolife raised garden beds — from galvanized steel and rust-resistant options to modular and heavy-duty configurations — at the Anleolife website, or find them on Amazon, Walmart, Home Depot, Lowe's, and Wayfair. With warehouse locations across California, Texas, Florida, New York, Illinois, and Washington, your order ships with delivery in 3–8 business days — so your garden transformation can start this season, not next year.
Sources
- U.S. Environmental Protection Agency. "Zinc Compounds — Overview."
https://www.epa.gov - ASTM International. "Standards for Metallic and Inorganic Coatings."
https://www.astm.org - University of California Agriculture and Natural Resources — Cooperative Extension. "Vegetable Gardening in California."
https://ucanr.edu - United States Department of Agriculture — National Institute of Food and Agriculture. "Home and Community Gardening Resources."
https://www.nifa.usda.gov - U.S. National Gardening Association. "Raised Bed Gardening Guide."
https://garden.org
Note: Standards and guidelines may be updated; please check the latest official documents or consult professional advisors.