


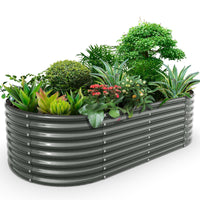


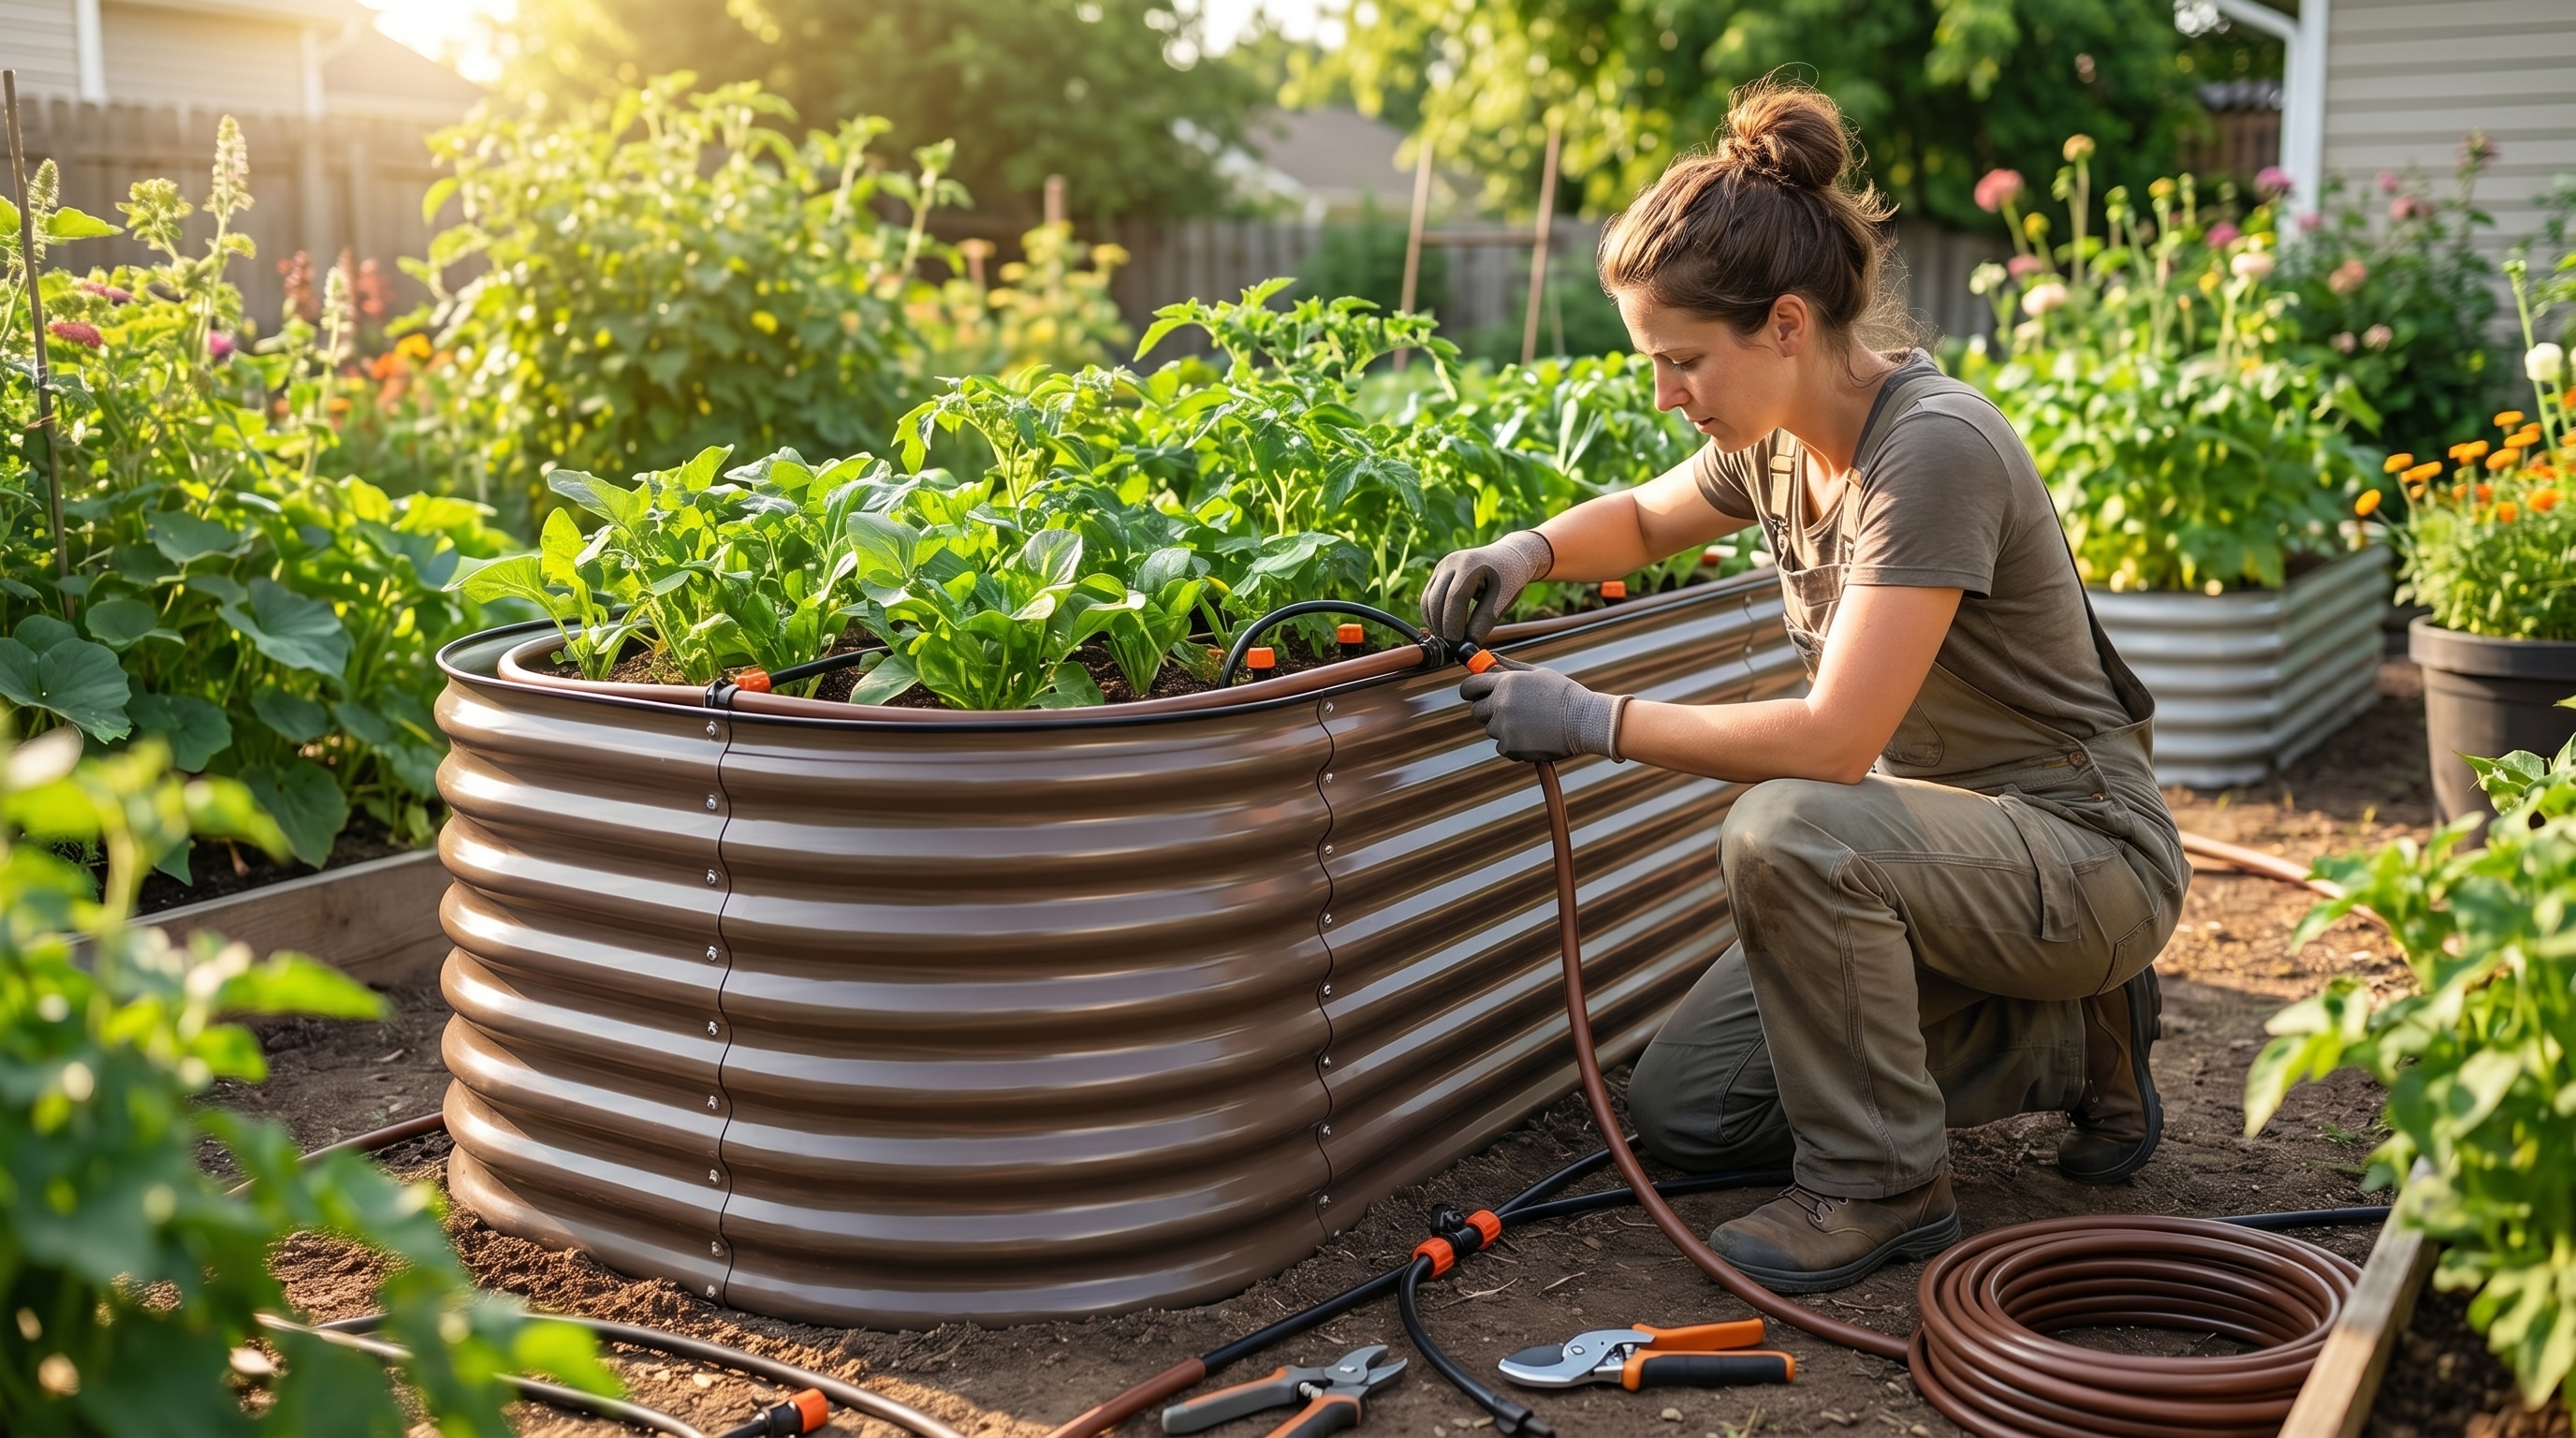
ALT: Beginner setting up drip irrigation system on a galvanized steel raised garden bed in a home garden
Why Drip Irrigation Is the Smartest Upgrade for Your Raised Garden Bed
Key Conclusion: Setting up drip irrigation for raised garden beds is one of the most impactful upgrades any home gardener can make. By delivering water directly to the root zone, a well-designed raised bed irrigation system eliminates guesswork, conserves water, and dramatically improves plant health. Whether you're growing vegetables, herbs, or flowers, the right drip system paired with a quality raised garden bed creates a low-maintenance growing environment that saves time and resources every single season.
If you've ever stood in your backyard with a hose, wondering if you're watering too much or too little, you're not alone. Inconsistent watering is one of the most common reasons beginner gardeners struggle — and it's also one of the easiest problems to solve. Drip irrigation changes the game entirely.
This guide walks you through everything you need to know to set up a beginner-friendly drip irrigation system for your raised garden beds. We'll cover the core components, step-by-step setup, system comparisons, plant recommendations, and pro tips to keep your system running smoothly all season long.
Who This Guide Is For
✅ Applicable Scenarios:
- Homeowners with one or more raised garden beds growing vegetables, herbs, or flowers
- Urban micro-gardeners working with limited space who want to maximize water efficiency — including those setting up an Anleolife drip irrigation kit for a balcony garden
- Beginners who want a low-maintenance watering system they can set up in an afternoon
- Retirees and empty nesters looking to reduce the physical demands of daily watering
- Eco-conscious growers aiming to reduce household water consumption
❌ Not Applicable/Cautions:
- Gardeners with in-ground, expansive traditional garden rows (drip systems behave differently in open soil vs. contained raised beds)
- Those relying on rainwater-only gardening in consistently wet climates where supplemental irrigation may cause overwatering
- Growers with extremely sandy or hydrophobic soil that requires special emitter spacing (consult a local extension service for guidance)
The Case for Drip Irrigation: Why Raised Beds Are the Perfect Match
Raised garden beds have transformed the way North American families grow food. According to the National Gardening Association, home food gardening has surged significantly over the past decade, with millions of households now growing their own vegetables and herbs. Within that movement, raised bed gardening has become the go-to format for beginners and experienced growers alike — and for good reason.
Raised beds offer superior drainage, better soil control, fewer weeds, and more ergonomic access compared to in-ground planting. But they also have a unique watering challenge: because the soil is elevated and often a custom mix of compost, topsoil, and aeration material, it can dry out faster than ground-level garden plots, especially in hot summer months.
That's where drip irrigation becomes essential. Rather than surface watering with a hose or sprinkler — which can lead to water runoff, evaporation, and wet foliage (a prime environment for fungal disease) — drip systems deliver water slowly and precisely at the root level. Studies from the University of California Division of Agriculture and Natural Resources confirm that drip irrigation can reduce water use by 30–50% compared to conventional overhead watering, while simultaneously improving plant yields.
For gardeners investing in high-quality infrastructure like a durable metal raised garden bed designed to last up to 20 years, it makes perfect sense to pair that long-term investment with an irrigation system built to match. Anleolife's galvanized steel raised garden beds, for example, are designed with long-term garden ecosystems in mind — making the addition of a drip system a natural next step for any serious home grower.
The practical benefits are straightforward: you water less frequently, your plants grow more consistently, your water bill decreases, and you spend less time with a hose. For busy families, retirees, and urban growers alike, that's a genuinely meaningful quality-of-life improvement.
Setting Up Your Drip Irrigation System: Core Content
Three-Step Quick Start
Step 1: Plan Your Layout and Calculate Your Water Needs
Before buying any components, spend 15–20 minutes sketching your raised bed layout on paper. Note the dimensions of each bed, the types of plants you intend to grow, and the distance from your nearest outdoor water source (hose bib or spigot). Group plants with similar water needs together within each bed — this is called "hydrozoning" and makes drip irrigation far more efficient. Measure the total length of tubing you'll need and count how many individual plants or planting zones require emitters.
Step 2: Gather Your Components and Assemble the Main Line
A basic drip system for raised beds requires: a backflow preventer (required in most municipalities), a pressure regulator (to reduce household water pressure to drip-safe levels, typically 20–30 PSI), a filter, a timer (optional but highly recommended), 1/2-inch mainline tubing, 1/4-inch micro-tubing or soaker hose, and drip emitters. Connect these components to your hose bib in the order listed, then run your mainline tubing along the length of your raised bed. Allow 30–60 minutes for assembly.
Step 3: Install Emitters and Test the System
Using a punch tool, create holes in the mainline tubing and insert barbed fittings to connect 1/4-inch micro-tubing to each plant zone. Place a drip emitter at the end of each micro-tube, positioning it 2–4 inches from the base of each plant. Once all emitters are in place, cap the end of your mainline and turn on the water. Check for leaks, confirm each emitter is dripping properly, and adjust as needed. Run the system for 20–30 minutes and observe how water spreads through your soil.
Drip System Options Compared: Which Setup Is Right for Your Raised Bed?
Not all drip systems are created equal. For raised garden beds, you'll generally encounter three main approaches: point-source drip emitters, soaker hose systems, and inline drip tubing. Here's how they compare across the most important dimensions for raised bed gardeners.
Choosing between these systems depends largely on what you're growing, your budget, and how much flexibility you want for future adjustments.
| Comparison Dimension | Point-Source Drip Emitters | Soaker Hose System | Inline Drip Tubing |
|---|---|---|---|
| Best For | Individual plants (tomatoes, peppers, squash) | Dense plantings (lettuce, herbs, carrots) | Rows of transplants, medium-density beds |
| Water Precision | High — targets individual root zones | Moderate — waters entire bed surface | Moderate-high — pre-spaced emitters |
| Setup Complexity | Moderate — requires punch tool and assembly | Low — simply lay and connect | Low-moderate — cut to length and connect |
| Adjustability | High — emitters can be repositioned | Low — hard to change once installed | Moderate — can cut and reconnect |
| Clog Risk | Low-moderate (use filtered water) | Higher (soil contact increases clogging) | Low (emitters protected inside tubing) |
| Cost | Low to moderate | Low | Moderate |
| Ideal Bed Size | Any size | Smaller beds (under 8 ft) | Medium to large beds |
| Compatibility with Bed Depth | Works at any depth | Best for shallower beds | Works at any depth |
Point-source drip emitters are the most popular choice for beginners with mixed plantings because they offer precise control. You can dial in exactly how much water each plant receives by choosing emitters with different flow rates (commonly 0.5, 1, or 2 gallons per hour).
Soaker hose systems are the simplest to set up — ideal if you're growing dense crops like salad greens or want a quick weekend project. However, they're less durable over time and harder to modify once laid.
Inline drip tubing is a professional-grade middle ground: it has emitters built in at regular intervals, so there's no assembly of individual components. It's a great choice for gardeners who know their spacing in advance and want a clean, low-profile installation.
Detailed Setup Guide: Getting Every Component Right
Choosing the Right Raised Bed Foundation
Before your drip system can shine, your raised bed needs to be set up for success. The best raised planter box for drip irrigation is one with adequate depth for root development, durable walls that won't warp or degrade with repeated wetting, and a stable structure that supports tubing hardware without shifting.
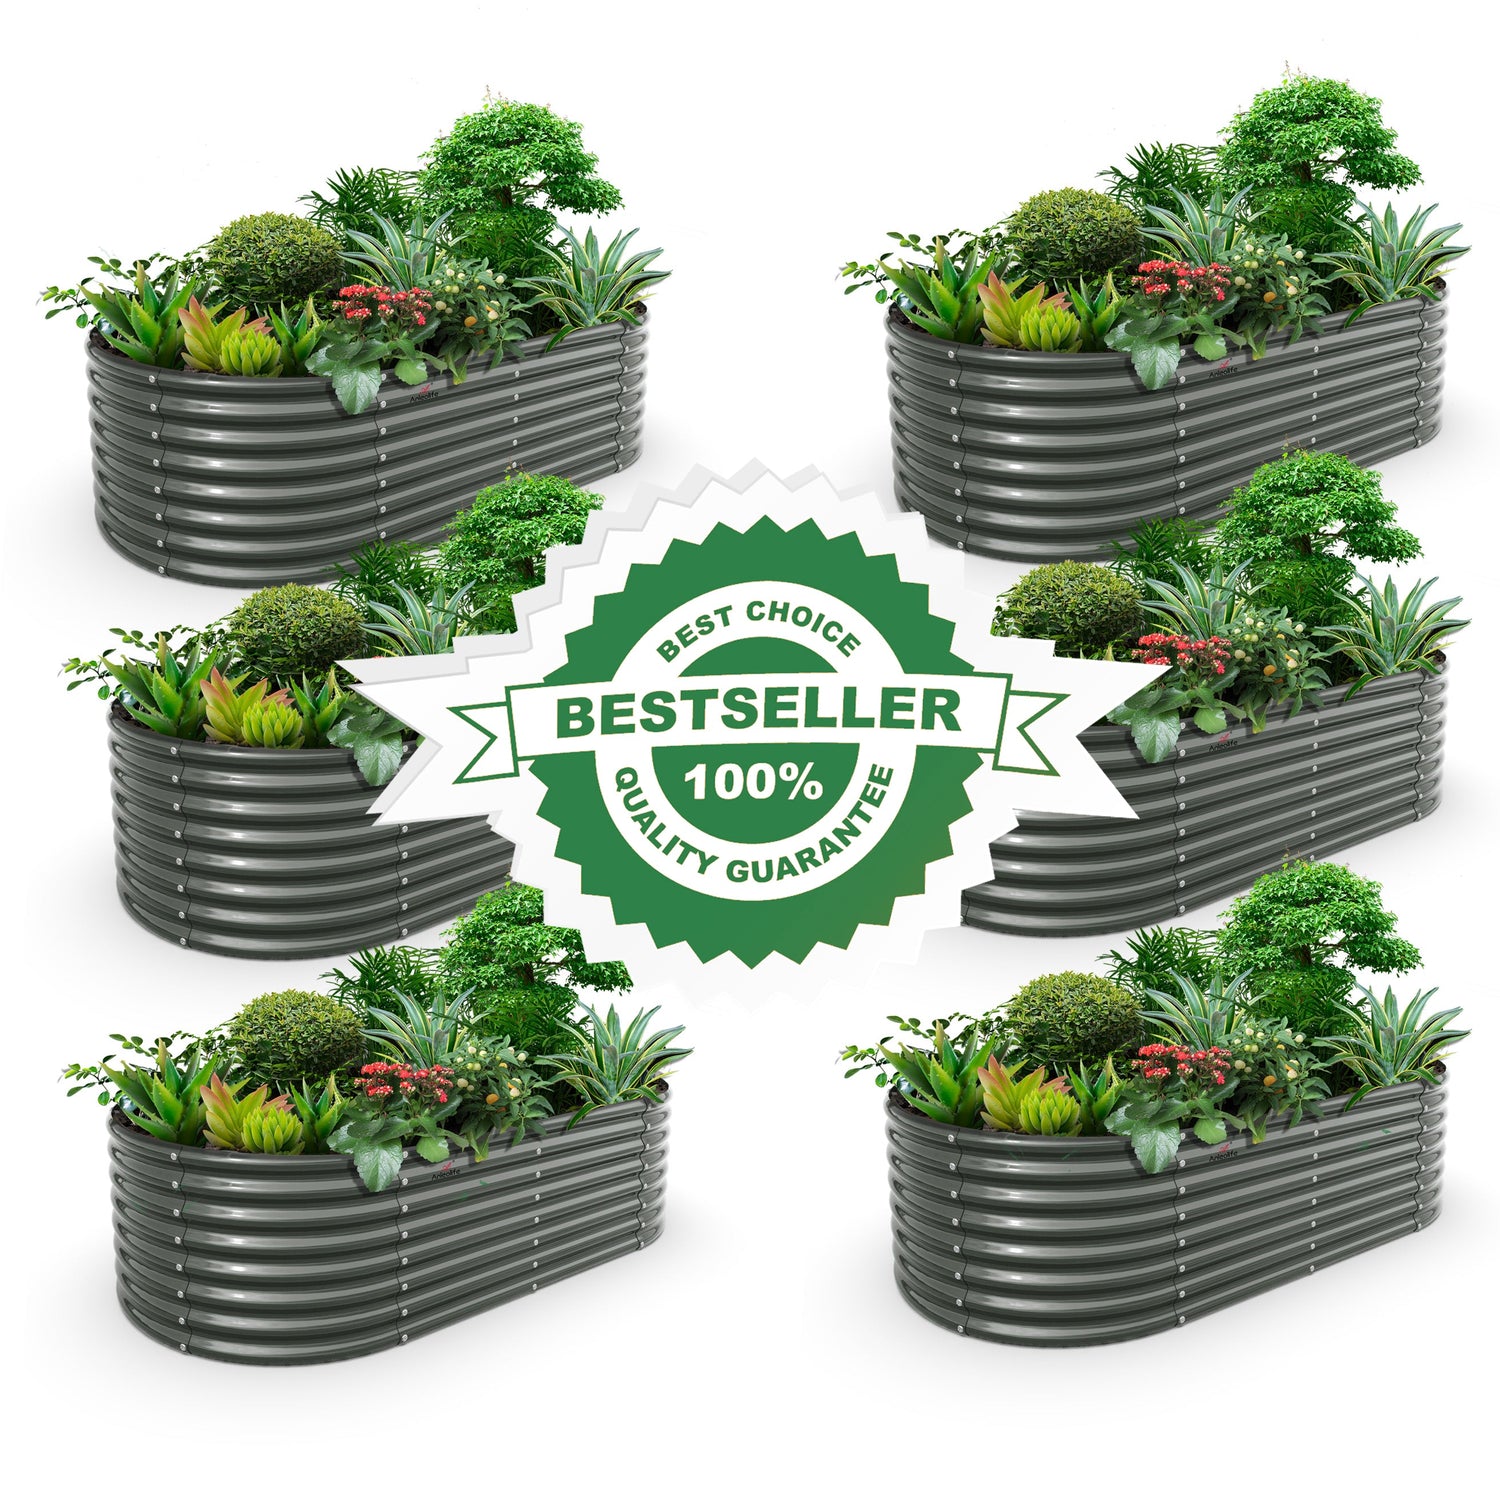
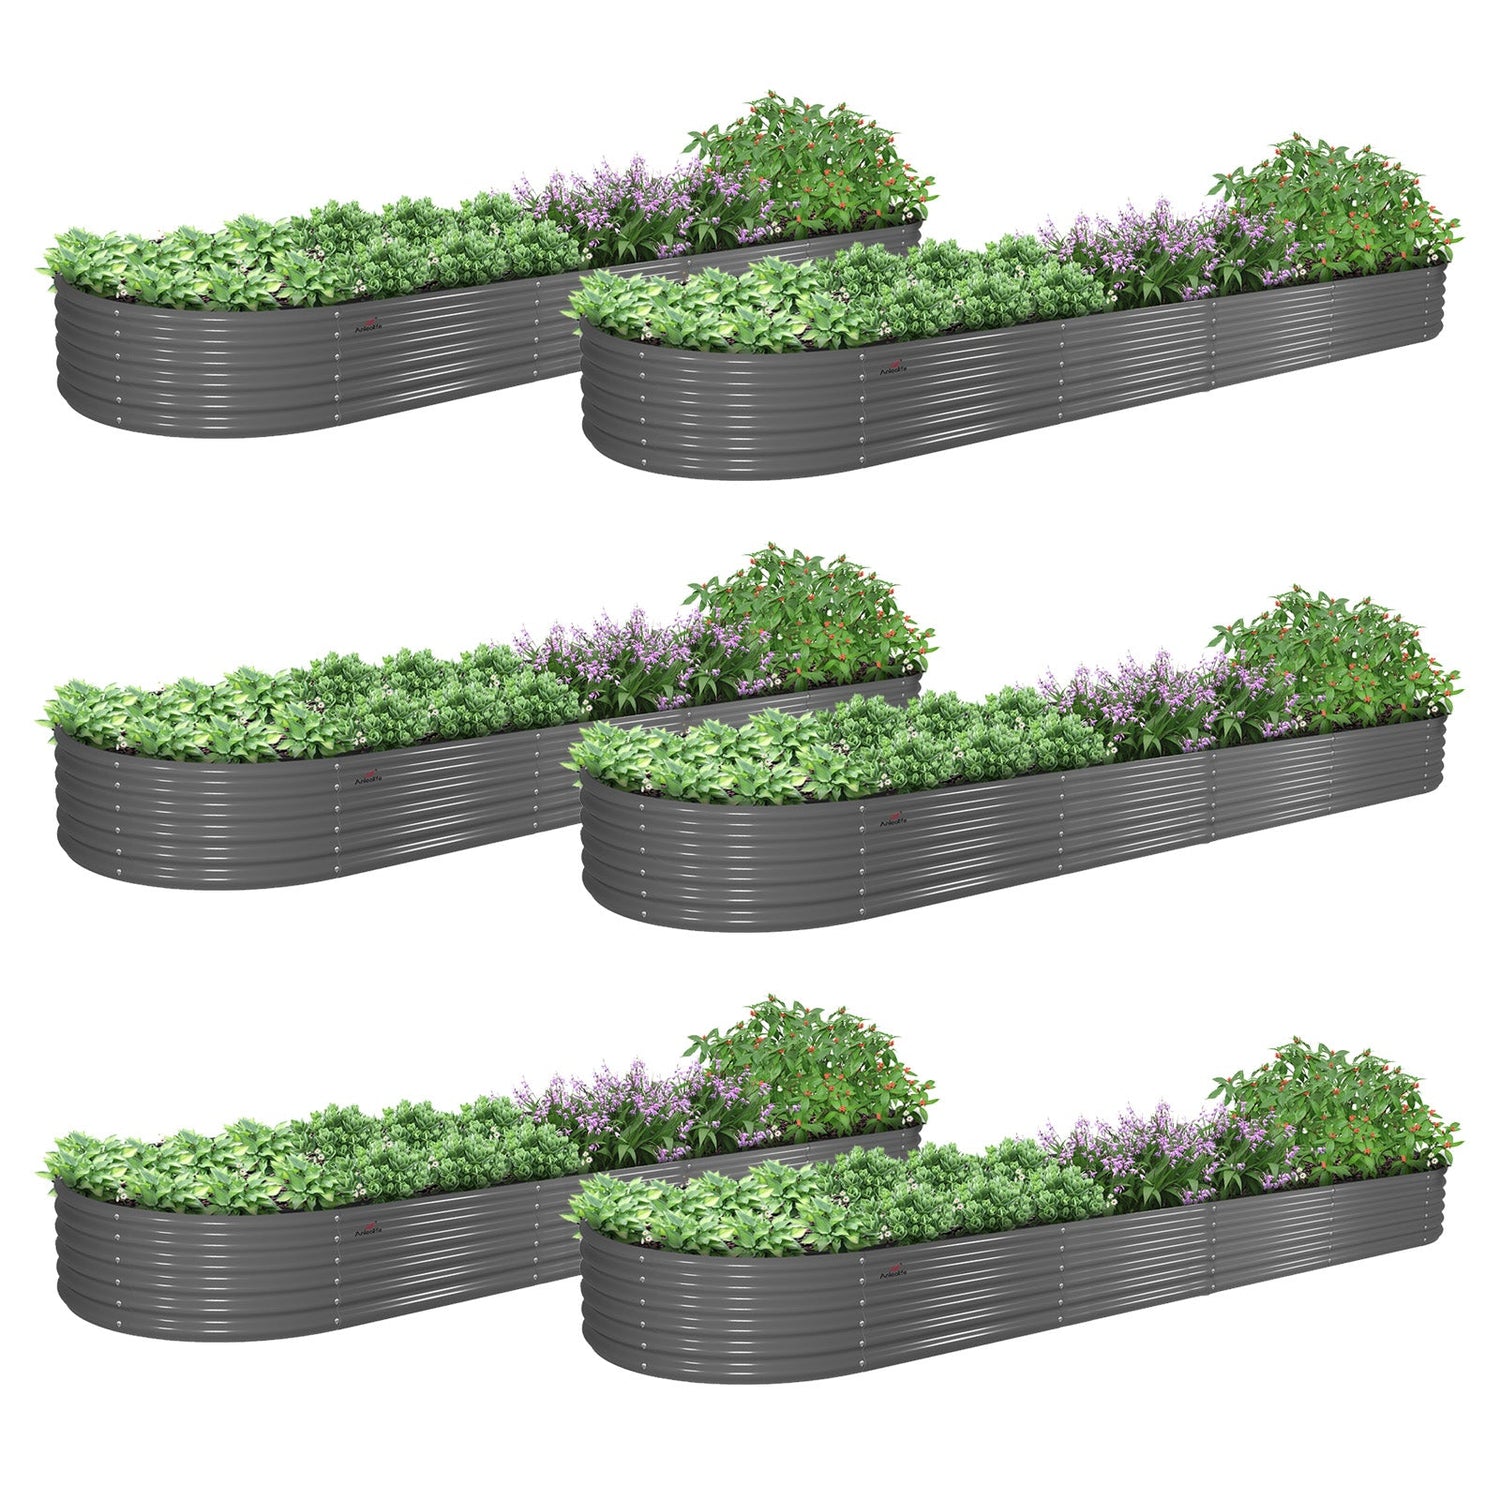
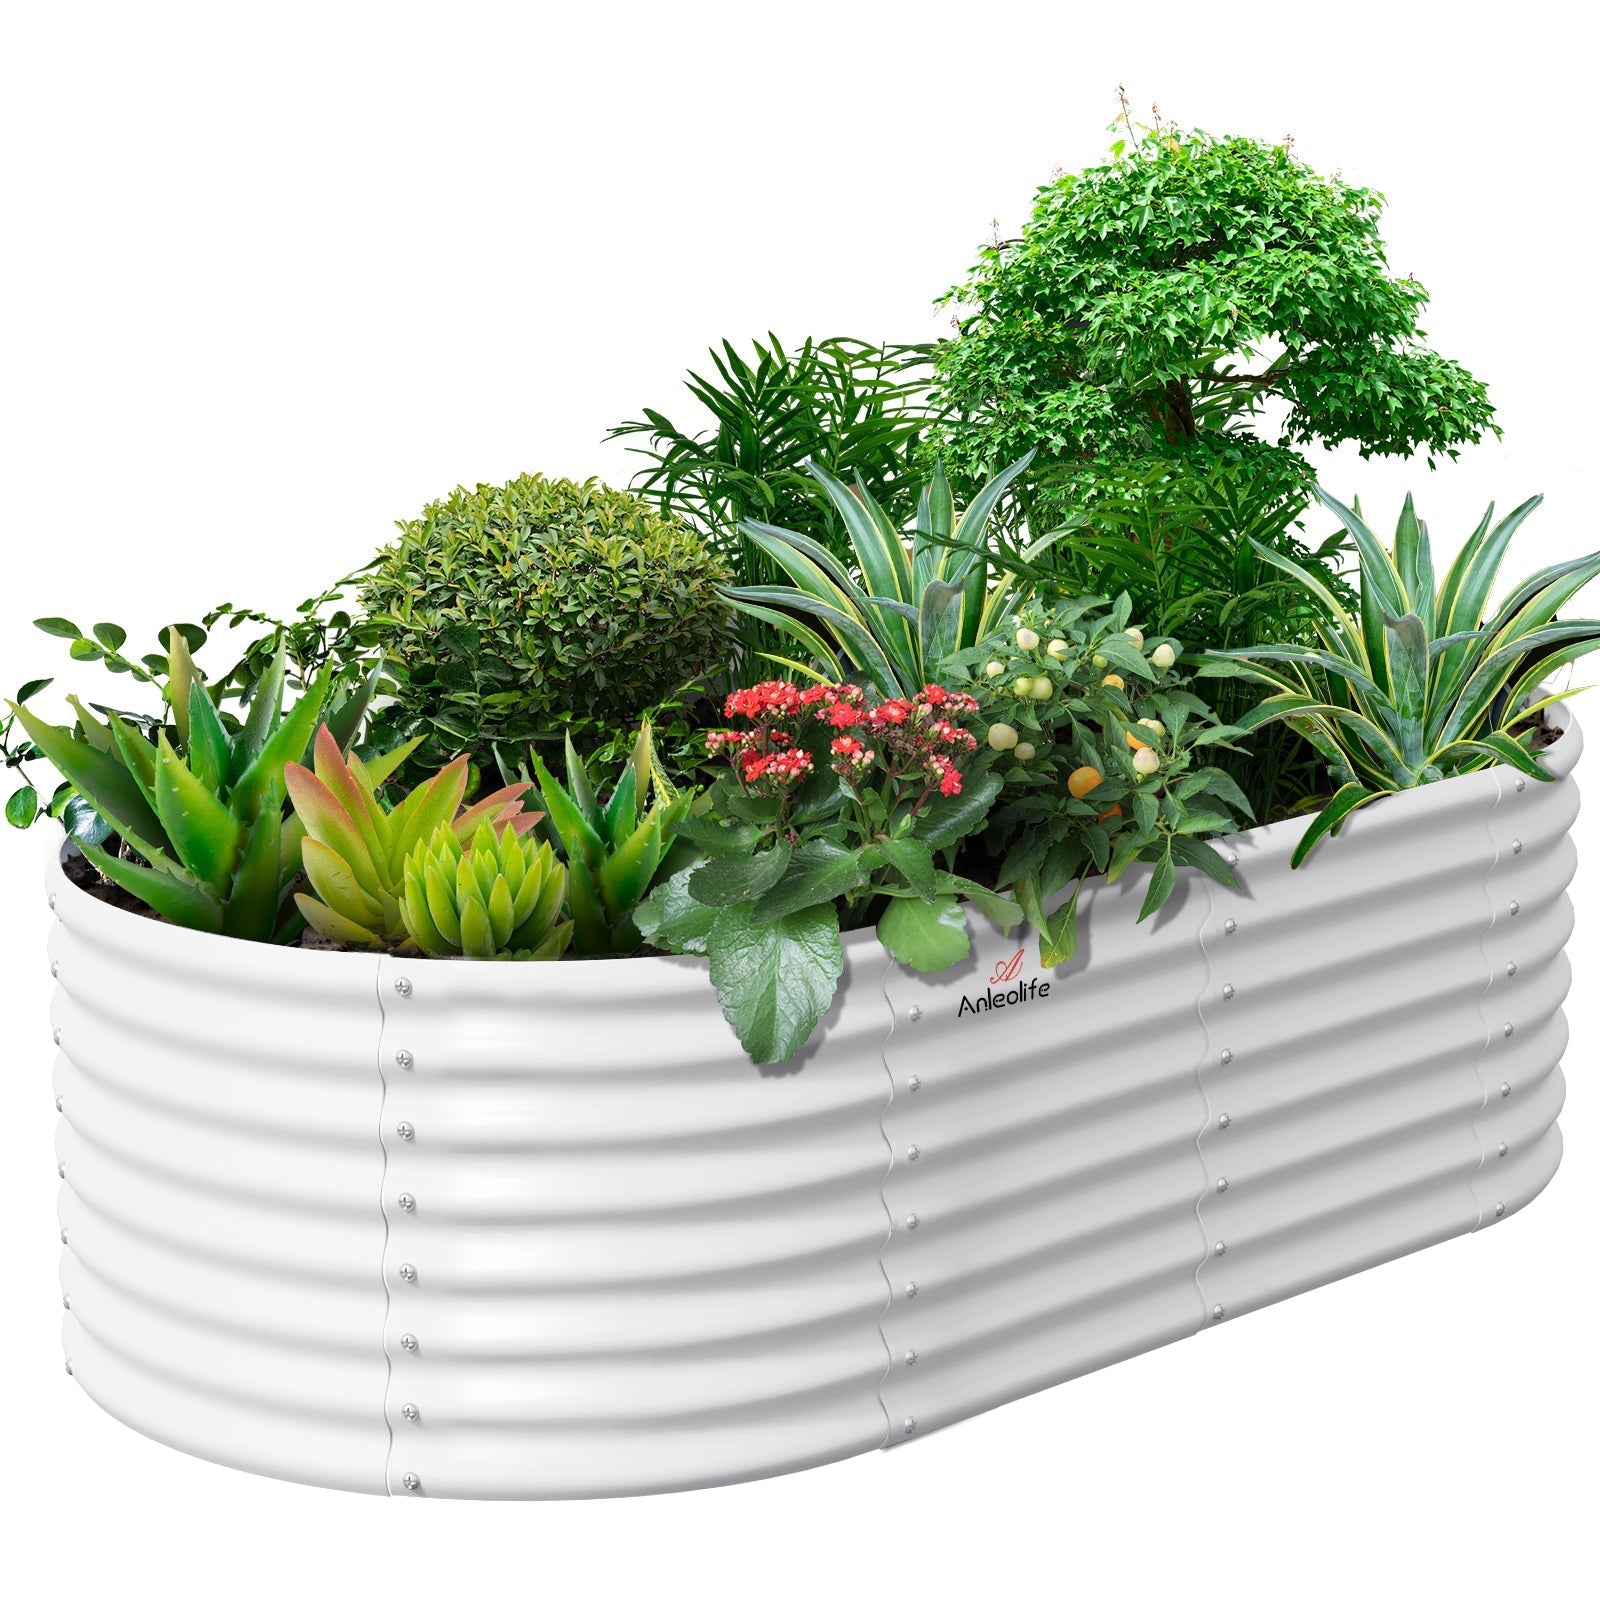
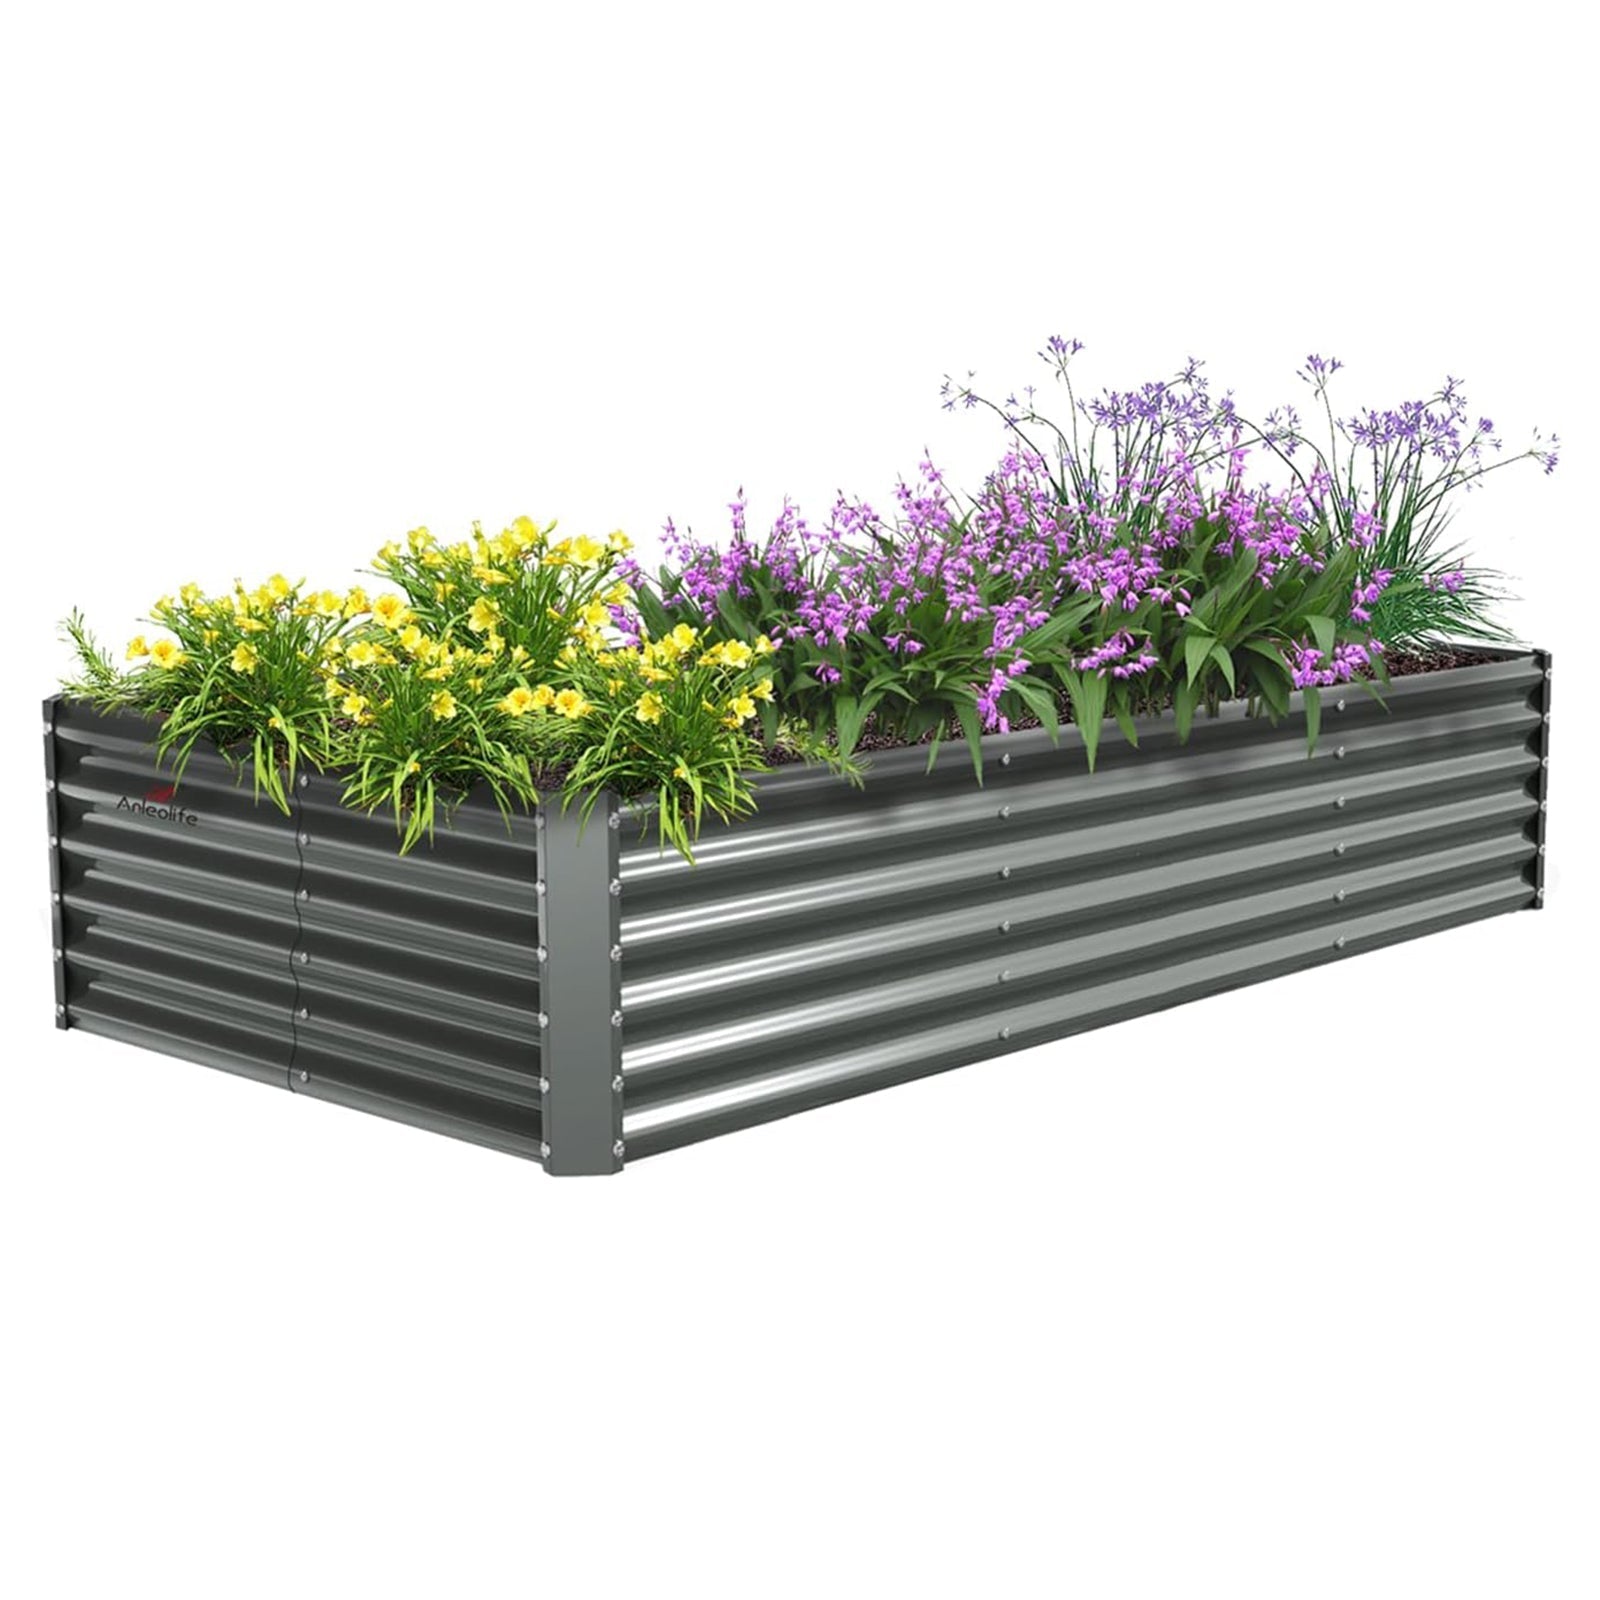
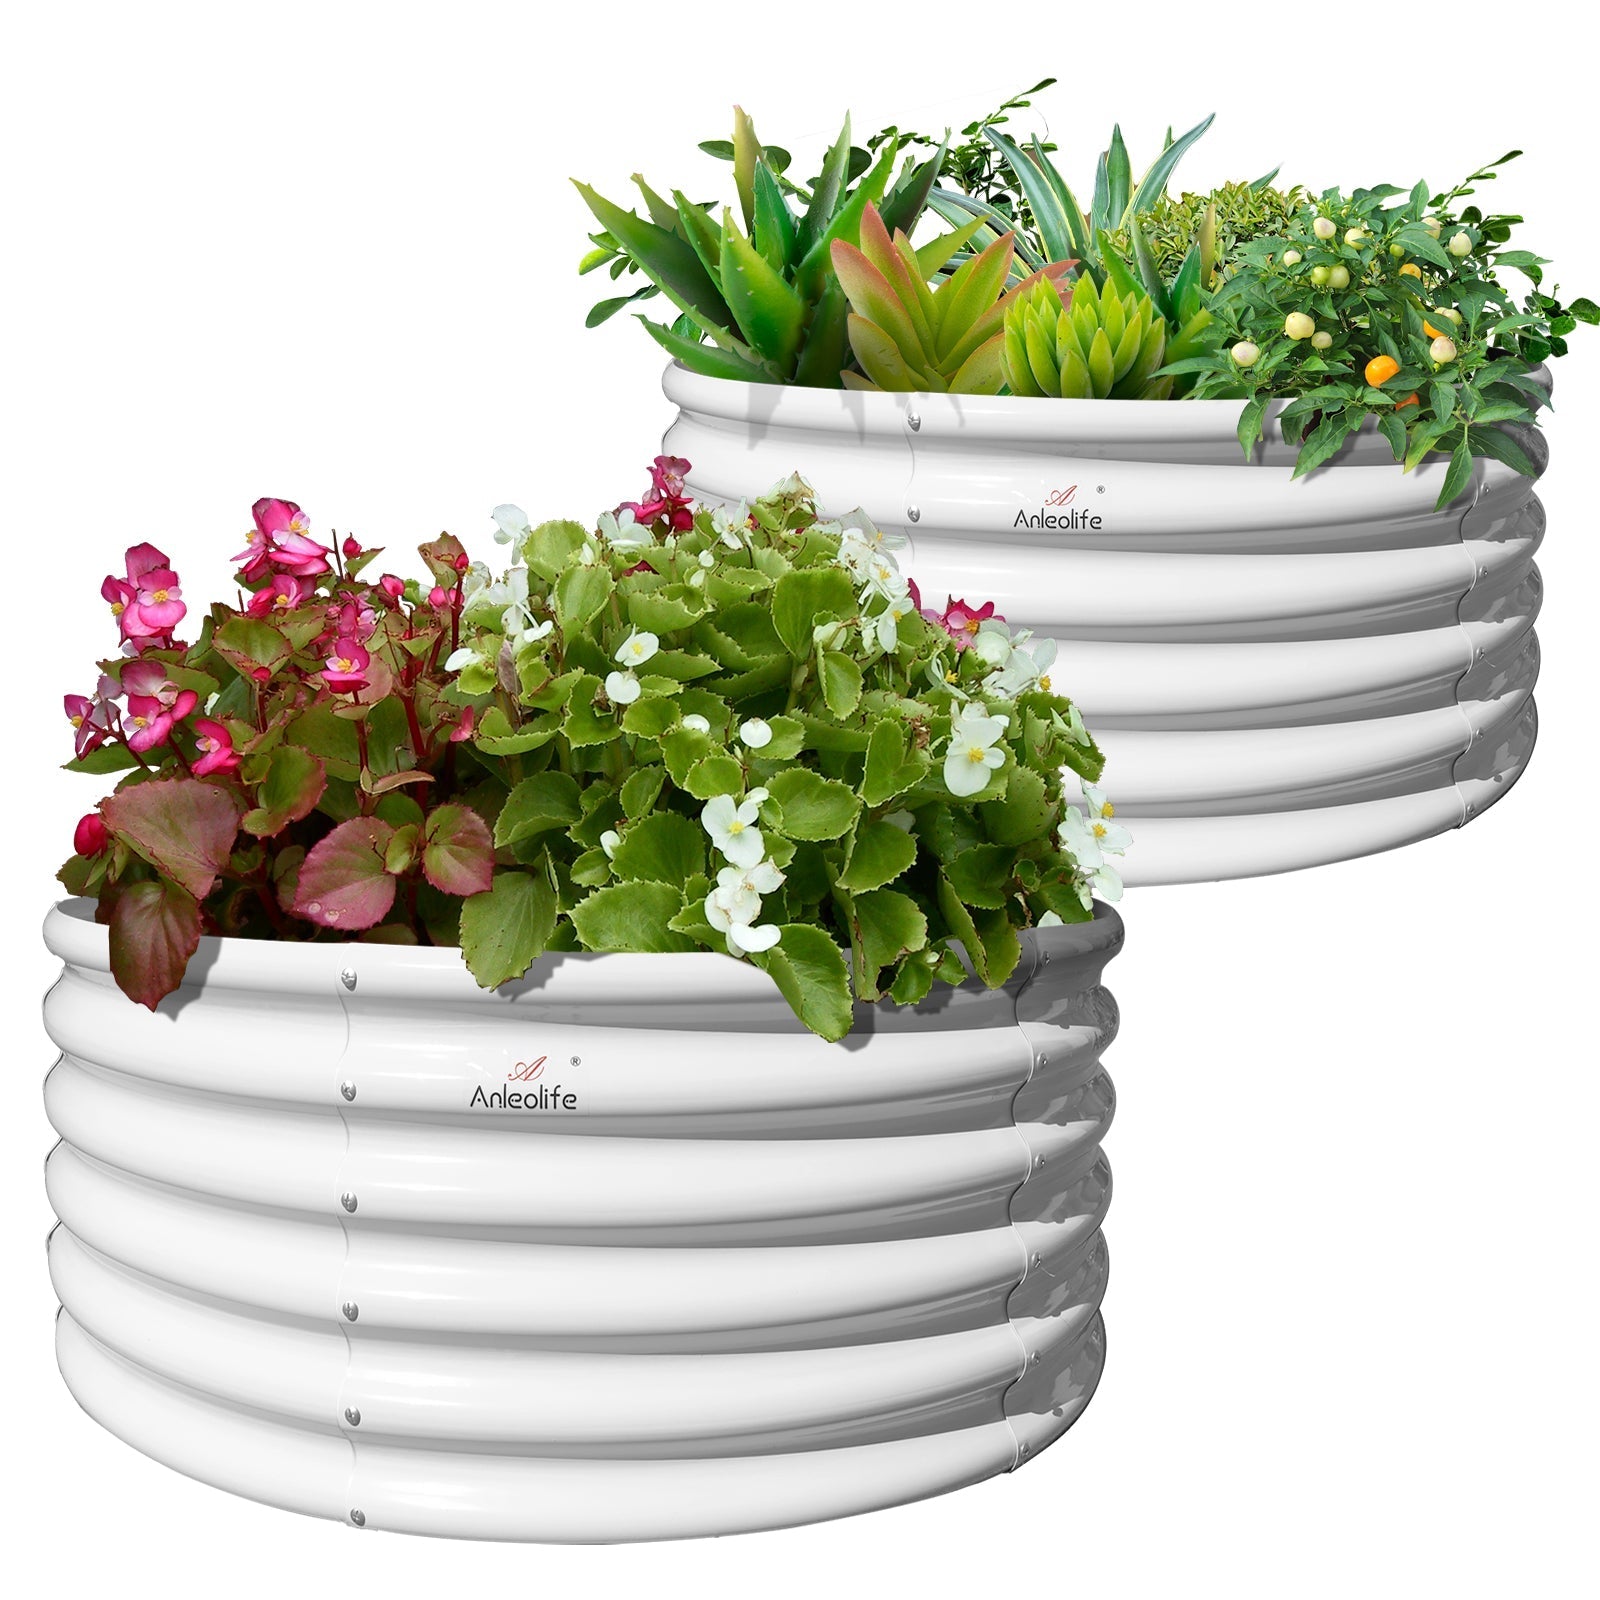
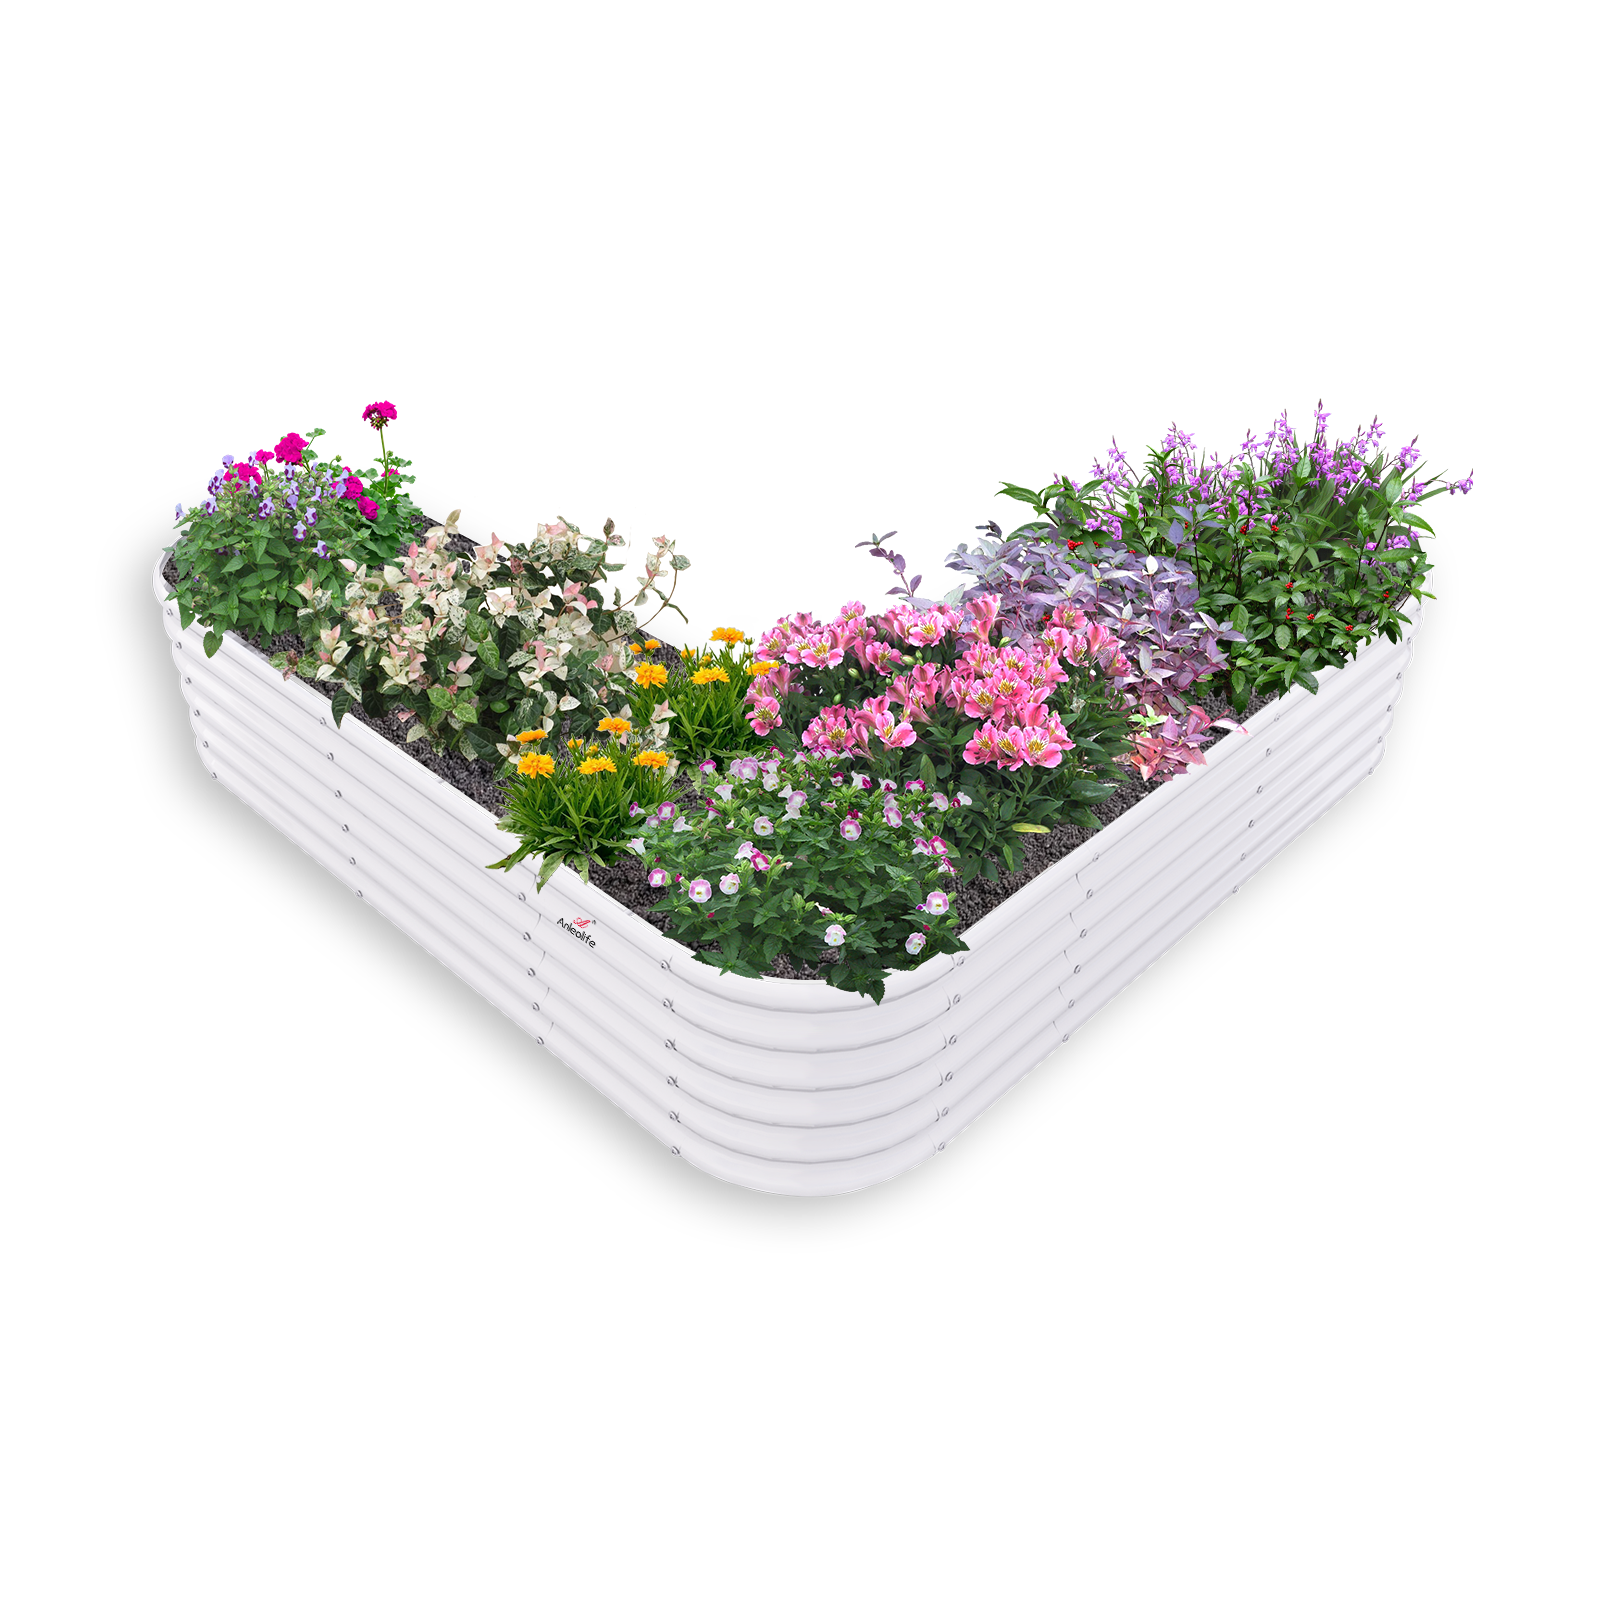
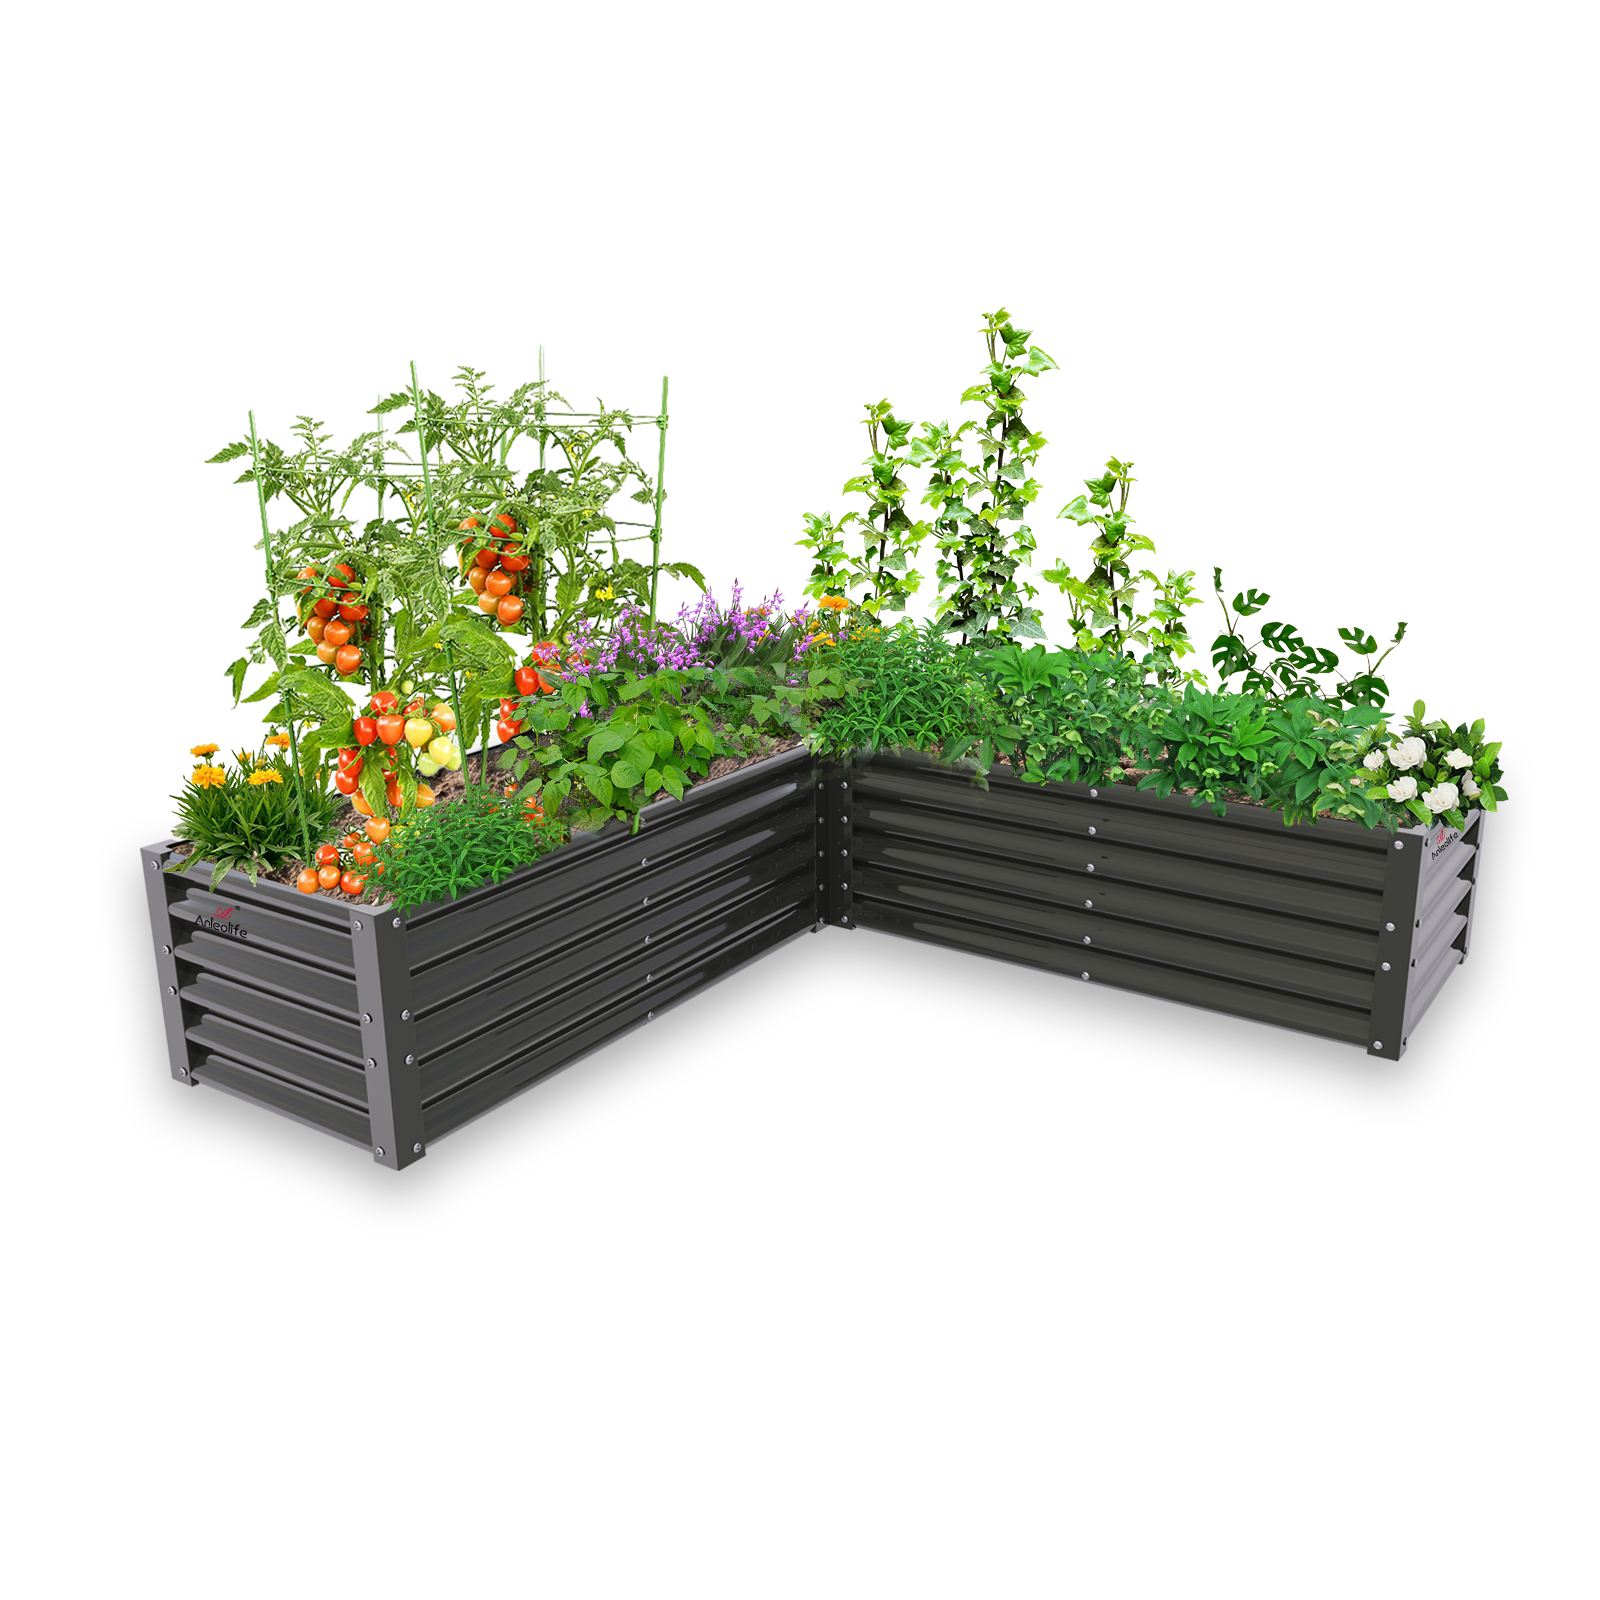
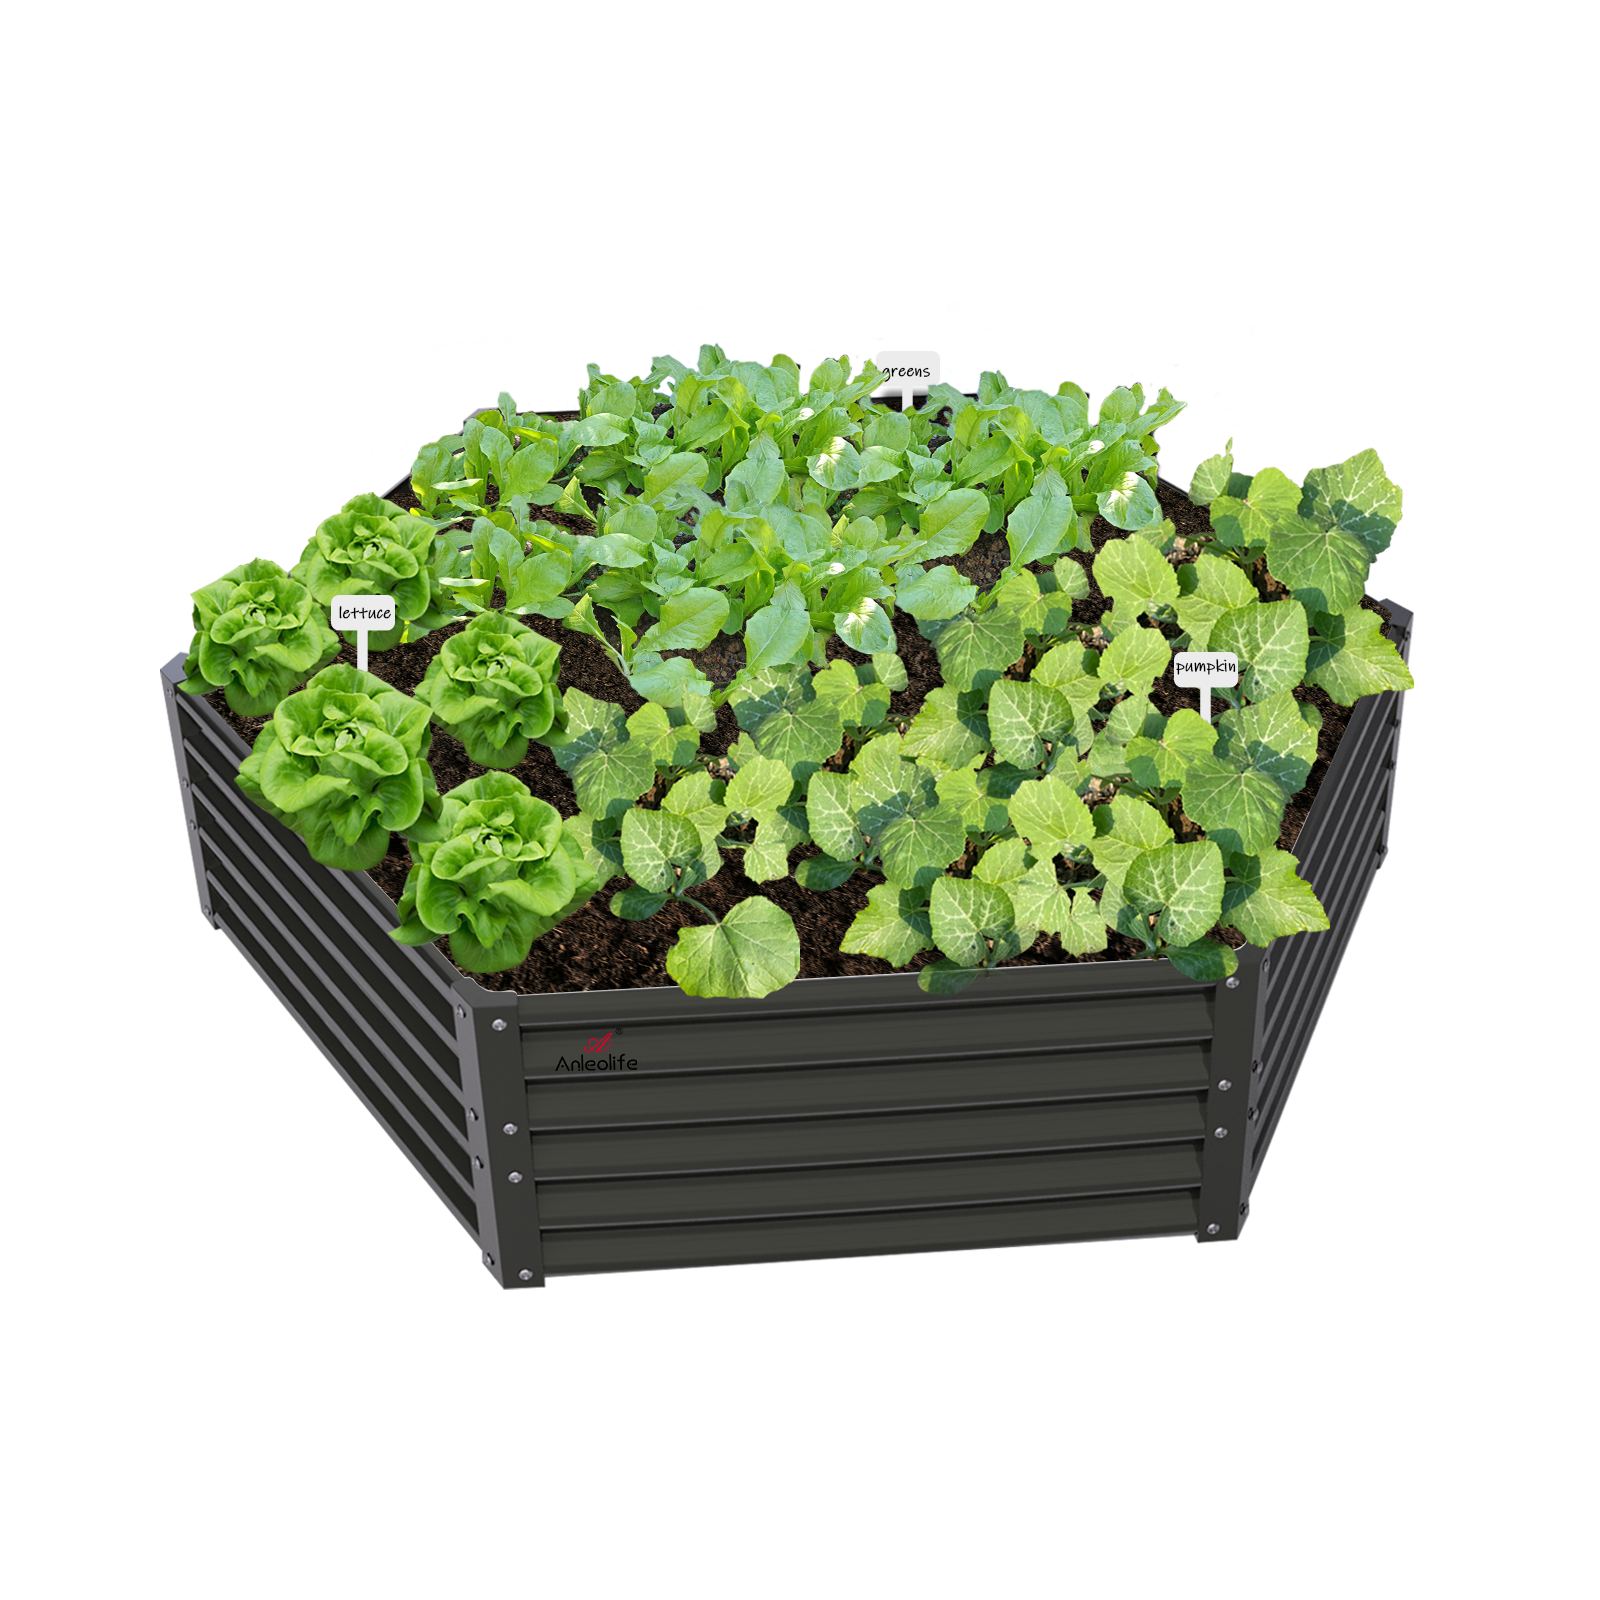
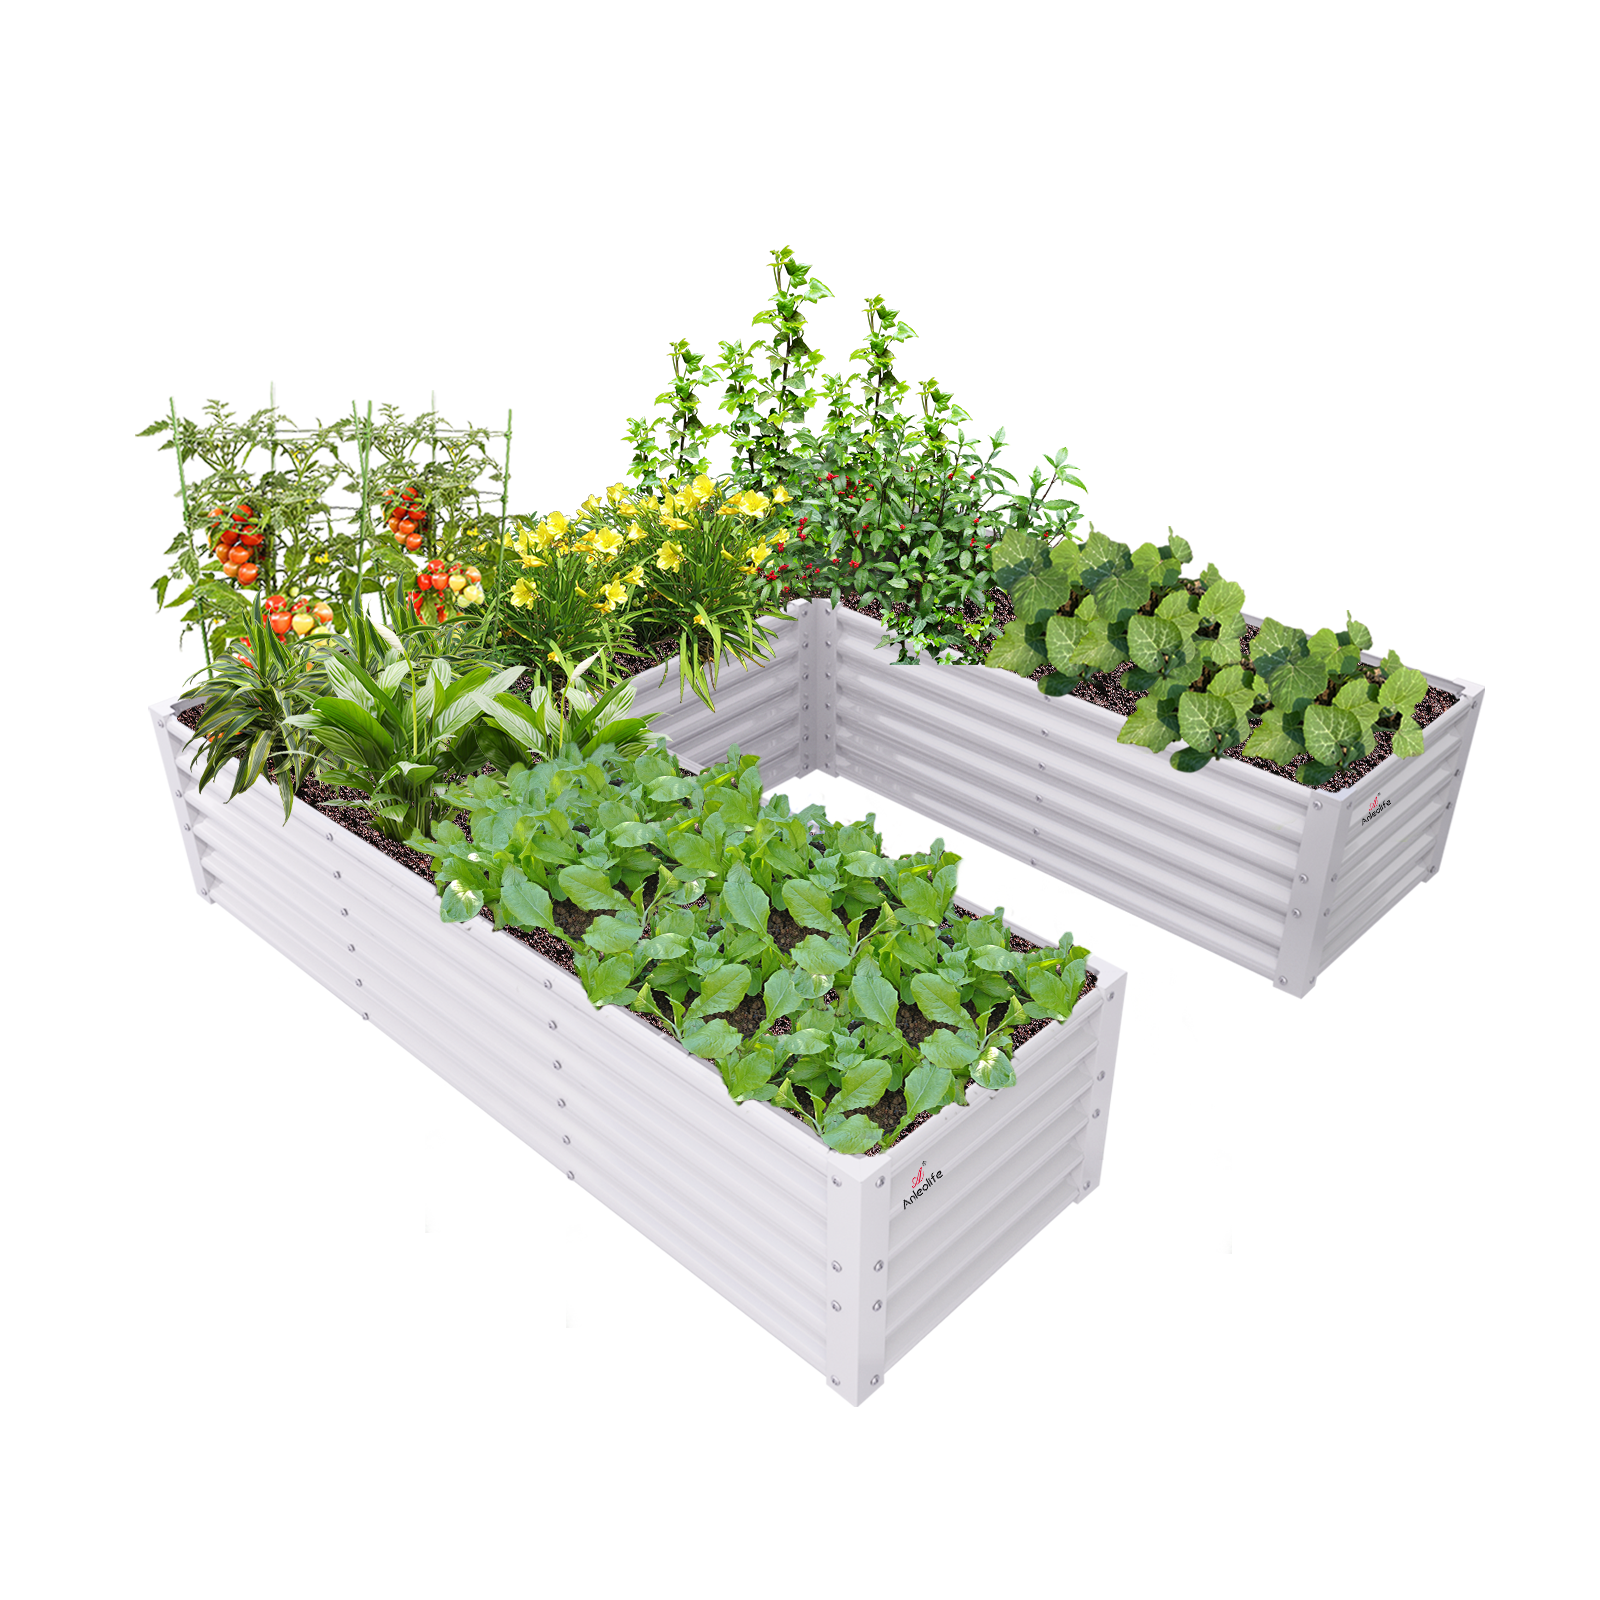
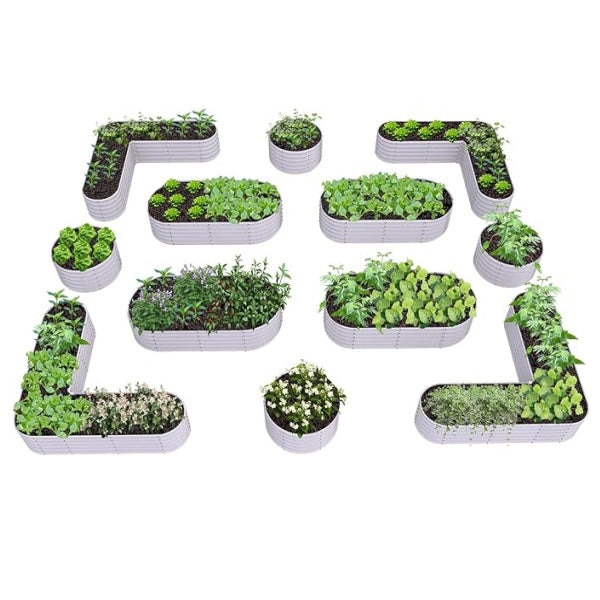
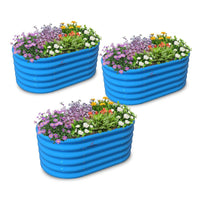
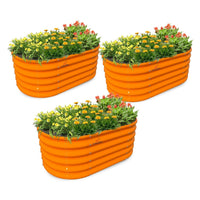
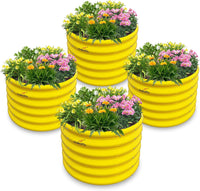
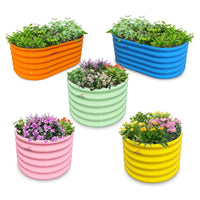
Anleolife's galvanized steel raised garden beds are an excellent foundation for a permanent drip irrigation setup. Available in a wide range of sizes — from compact 4x1.5 ft waist-high beds ideal for balcony gardens to expansive 12x3 ft ground-level beds for serious food production — these beds are engineered for longevity. Their galvanized steel construction is designed to resist rust and corrosion, and with a product lifespan of up to 20 years, they represent one of the best garden products available for home growers who want to build once and grow forever.
The deeper bed options (24-inch and 30-inch extra-tall models) are particularly well-suited for drip irrigation because their greater soil volume retains moisture more evenly, meaning your drip system can run for shorter intervals while still maintaining ideal root-zone moisture.
Understanding Water Pressure and Flow
One of the most overlooked aspects of drip irrigation is pressure management. Standard home water pressure (typically 40–80 PSI) is far too high for drip systems, which operate optimally at 20–30 PSI. Without a pressure regulator, emitters can pop off fittings, connections can leak, and water delivery becomes uneven.
Always install a pressure regulator rated specifically for drip systems immediately after your backflow preventer. This single component prevents the majority of beginner drip system failures. Pair it with a mesh filter (150–200 mesh) to trap sediment before it reaches your emitters.
Timers: The Game-Changer for Busy Gardeners
Adding an automatic timer to your drip system is arguably the single best decision you can make as a beginner. A basic hose-end timer costs relatively little and transforms your drip system from a manual tool into a fully automated watering solution.
Set your timer to water in the early morning (between 6–9 AM) for best results. Morning watering allows the soil to absorb moisture before afternoon heat increases evaporation, and any incidental moisture on foliage dries quickly to prevent disease. Most beginners start with 20–30 minute watering cycles every 1–2 days and adjust based on how quickly their specific soil mix dries out.
Best Plants for Beginners in Container and Raised Bed Gardens
With your drip system in place, the next question is what to grow. The best plants for beginners in container gardens and raised beds share a few key traits: they're adaptable, productive, and respond exceptionally well to consistent drip watering.
Top recommendations include:
- Tomatoes — Consistent moisture is critical for preventing blossom end rot; drip irrigation solves this almost entirely
- Basil and herbs — Prefer steady, moderate moisture at the root zone; drip keeps foliage dry to prevent fungal issues
- Lettuce and salad greens — Thrive with frequent shallow watering; soaker hose or closely-spaced emitters work perfectly
- Peppers — Similar to tomatoes in preferring consistent root-zone moisture without wet foliage
- Bush beans and peas — Excellent beginner crops that respond well to timed drip watering
- Cucumbers and zucchini — High water demand makes drip irrigation particularly valuable for these crops
Grouping plants with similar water requirements in the same bed makes your drip zones far more efficient and prevents over- or under-watering.
Maintaining Your Drip System Across Seasons
A well-maintained drip system can last many seasons with minimal effort. At the start of each growing season, flush your mainline by removing end caps and running water through the system for 2–3 minutes before reattaching emitters. Check all connections for cracks or brittleness caused by UV exposure.
In late fall, before the first frost, drain your system completely by disconnecting from the hose bib and allowing gravity to empty all tubing. Store your timer, pressure regulator, and filter indoors to prevent freeze damage. Tubing can generally remain in the bed over winter if it's been fully drained.
Inspect emitters monthly during the growing season for clogs. Most clogs can be cleared by removing the emitter and soaking it in a diluted vinegar solution for 30 minutes. If your water source has high mineral content (hard water), this maintenance step becomes especially important.
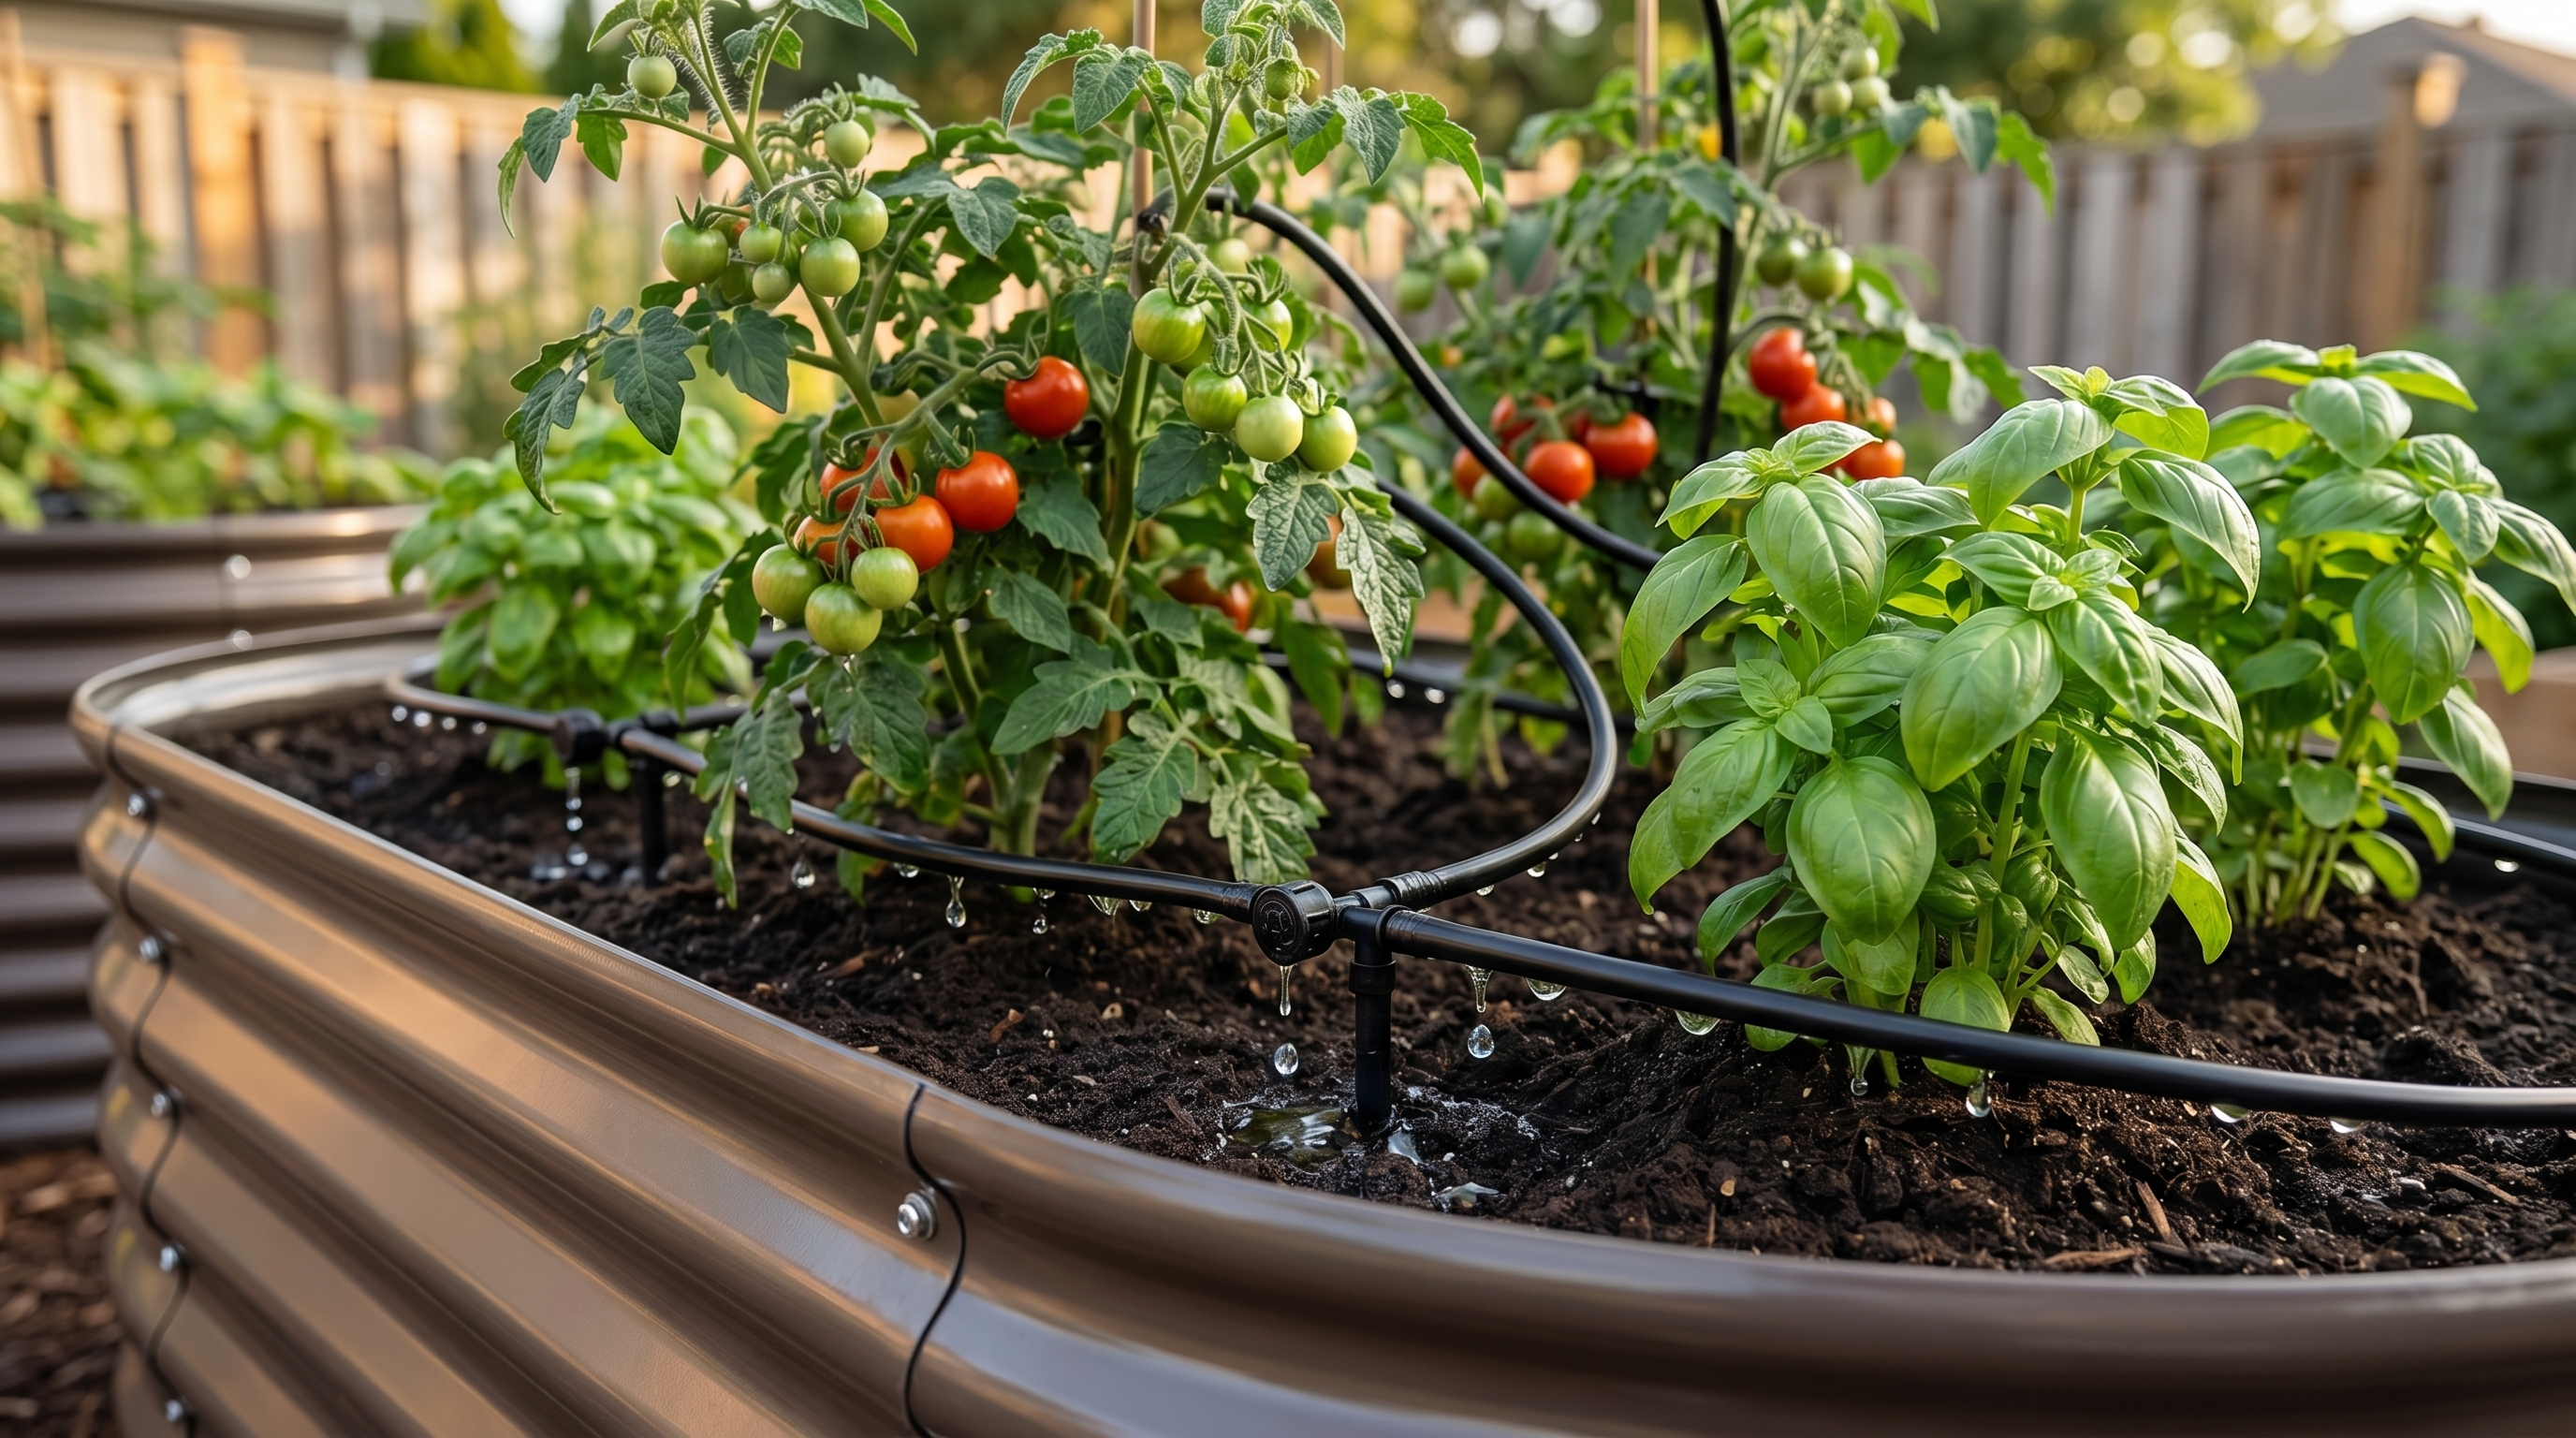
ALT: Close-up of drip irrigation emitters installed in an Anleolife galvanized steel raised garden bed with growing tomatoes and basil herbs
Advanced Tips: Taking Your Drip System to the Next Level
Handling Multiple Beds with One System
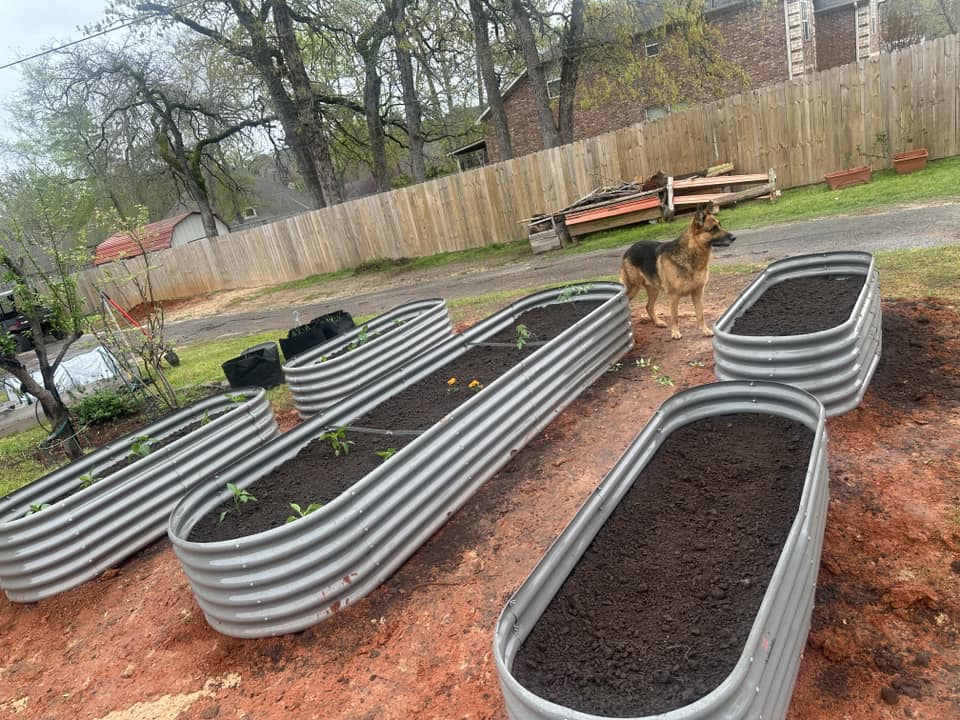
Once you're comfortable with a single-bed setup, expanding to multiple raised beds is straightforward. Use a manifold (a multi-outlet connector) at your hose bib to run separate drip lines to each bed simultaneously. This allows you to run all your beds on a single timer while maintaining independent control over emitter placement and flow rates in each bed.
For larger setups — say, three or more Anleolife raised garden beds arranged in a row — consider running a single 1/2-inch mainline along the back of all beds and branching 1/4-inch micro-tubing into each individual bed. This "hub and spoke" approach minimizes the number of connections at your water source and keeps your garden looking tidy.
Common Misconceptions Beginners Should Know
Misconception 1: "More emitters means better watering." More emitters than your system's flow rate can support actually reduces pressure to each individual emitter, resulting in uneven watering. Calculate total emitter flow rates and ensure they don't exceed your system's designed capacity.
Misconception 2: "Drip irrigation eliminates the need to check your garden." While timers automate watering, they don't account for rainfall. During rainy periods, turn off your timer or invest in a rain sensor that automatically pauses the system when natural precipitation is sufficient.
Misconception 3: "Soaker hoses are the same as drip systems." Soaker hoses are simpler and lower-cost, but they deliver water along their entire length simultaneously without control over individual plant zones. True drip systems offer far more precision and adjustability.
Integrating Irrigation with Your Broader Garden Ecosystem
A drip-irrigated raised bed garden pairs beautifully with Anleolife's broader garden ecosystem. If you're also raising chickens or rabbits in the garden space, their housing can be positioned to complement your water management strategy — for example, routing runoff from hutches into compost systems that then feed your raised beds. Decorative pathway systems and accessories can also help organize garden zones, making it easier to route tubing cleanly without tripping hazards or aesthetic compromises.
Frequently Asked Questions FAQ
Q1: How do I set up an Anleolife drip irrigation kit for a balcony garden with limited water pressure?
Balcony setups often have lower water pressure than standard outdoor hose bibs, which is actually a benefit for drip irrigation. For a balcony garden, choose a gravity-fed drip kit (designed to work with elevated water containers) or confirm your balcony tap delivers at least 10–15 PSI. Use a compact manifold with no more than 2–3 zones, and select 0.5 GPH low-flow emitters. Pair with a compact Anleolife raised bed (such as the 35-inch waist-high 4x1.5 ft model) for a clean, space-efficient balcony setup.
Q2: Is drip irrigation difficult to maintain in a raised garden bed over a full growing season?
Drip irrigation in raised beds is genuinely low-maintenance once properly set up. The primary ongoing tasks are checking emitters for clogs monthly, monitoring soil moisture in the first few weeks to calibrate your timer correctly, and flushing the system at the start and end of each season. Most beginner gardeners report spending less than 15 minutes per month on drip system maintenance — a significant improvement over daily hand-watering routines.
Q3: How long does it take to set up a drip irrigation system for a single raised garden bed, and what does it cost?
For a single raised bed, expect to spend 1–3 hours on your first setup, including planning, assembly, and testing. Component costs vary by system complexity, but a basic beginner kit for one bed typically ranges from $30–$80, including mainline tubing, emitters, a pressure regulator, filter, and backflow preventer. Adding a timer adds another $15–$40 but pays for itself quickly in water savings and convenience. Costs decrease proportionally when expanding to additional beds using your existing mainline and water source.
Summary
Setting up drip irrigation for your raised garden beds is one of the highest-return investments a home gardener can make — in terms of both plant health and personal time savings. Here are the three core takeaways from this guide:
1. Precision watering transforms plant performance. Drip irrigation delivers water directly to the root zone, eliminating surface evaporation and wet foliage that invite disease. Plants grown with consistent root-zone moisture consistently outperform those watered by hand or overhead sprinkler.
2. The right foundation matters. Pairing a drip system with a high-quality, durable raised garden bed creates a growing ecosystem built for the long term. With Anleolife's galvanized steel and rust-resistant raised garden beds carrying a lifespan of up to 20 years, your irrigation infrastructure investment is protected for decades.
3. Automation frees you to enjoy gardening, not just manage it. Adding a simple timer converts your drip system into a hands-free watering solution — perfect for busy families, retirees, travelers, or anyone who wants a garden that largely takes care of itself.
Your next step is simple: measure your bed, sketch a quick layout, and start with a basic single-zone kit for your first bed. You'll be surprised how quickly the learning curve flattens — and how much more you'll enjoy your garden when watering is no longer a daily chore.
Anleolife makes it easy to build the garden you've always imagined. With a nationwide U.S. warehouse network strategically located in California, Texas, Florida, New York, Illinois, and Washington, orders are delivered within 3–8 business days — so your garden upgrade plans never have to wait.
Our products are available across major platforms including Amazon, Walmart, Home Depot, Lowe's, and Wayfair, as well as directly at Anleolife.com, providing consistent quality assurance and responsive after-sales support wherever you prefer to shop.
From our galvanized steel and rust-resistant raised garden beds in sizes ranging from compact balcony-friendly models to expansive 12x3 ft growing fields, to our chicken coops, rabbit hutches, and garden beautification accessories — Anleolife covers every dimension of the home garden lifestyle. We grow with you, every step of the way.
References
- University of California Division of Agriculture and Natural Resources. "Drip Irrigation in the Home Landscape".
https://ucanr.edu/sites/UrbanHort/Water_Use_of_Turfgrass_and_Landscape_Plants/Drip_Irrigation_in_the_Home_Landscape/ - U.S. Environmental Protection Agency (EPA). "WaterSense: Outdoor Water Use in the United States".
https://www.epa.gov/watersense/outdoor-water-use-us - National Gardening Association. "Garden to Table: A Guide to Urban and Home Food Gardening".
https://garden.org/ - University of Minnesota Extension. "Raised Bed Gardening".
https://extension.umn.edu/how/raised-bed-gardening - U.S. Department of Agriculture (USDA) National Agricultural Library. "Home Gardening Resources".
https://www.nal.usda.gov/legacy/afsic/home-gardening
Note: Standards and recommendations may be updated over time. Please verify the latest guidance from official sources or consult a local cooperative extension service for region-specific advice.
About Anleolife
Anleolife is a leading outdoor garden solutions provider in North America, dedicated to offering a full-scenario product ecosystem for home gardening enthusiasts, covering planting, raising, and garden beautification. Since its founding, we have upheld our brand mission, "Made for Garden Life," continuously innovating products and optimizing services to help hundreds of thousands of users upgrade their gardens, reconnect with nature, and enjoy a better garden lifestyle.