


























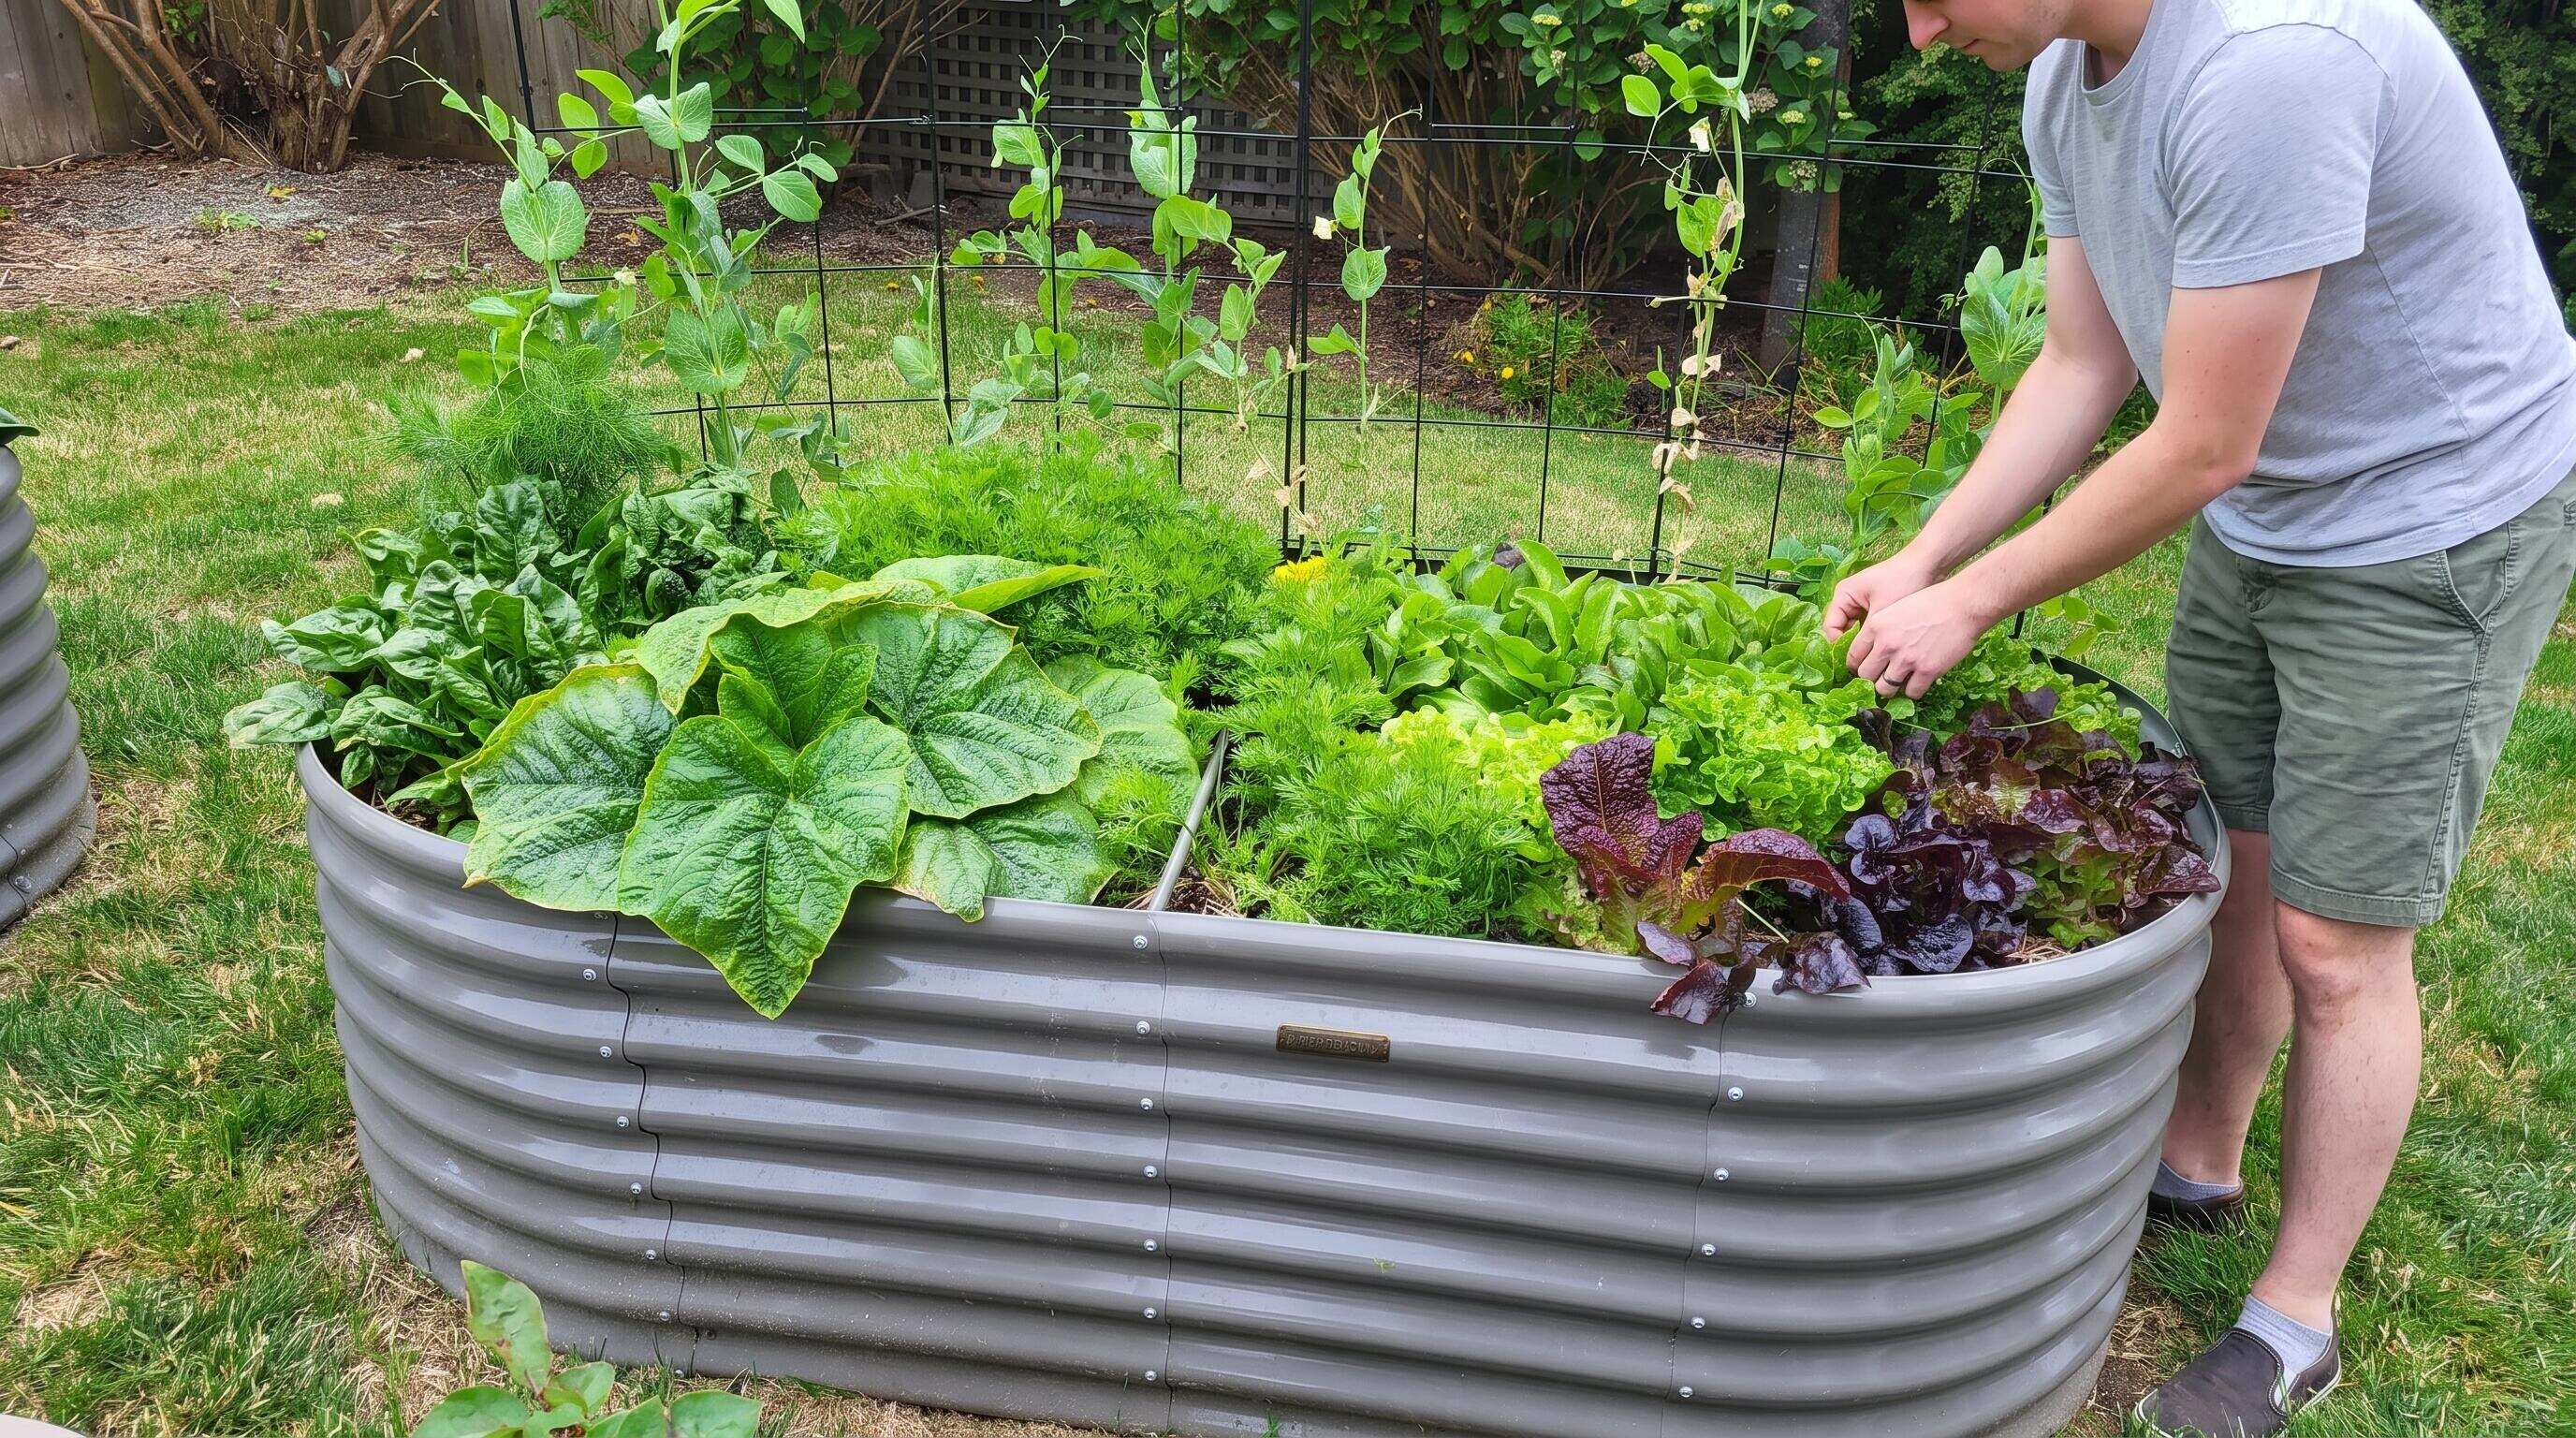
ALT: Ergonomic raised garden bed height matching physical needs for comfortable raised bed gardening
Choose the Right Raised Bed Height and Garden Layout for Your Body
Key Conclusion: Matching your raised garden bed layout to your physical needs is the single most impactful decision you can make for long-term gardening comfort and productivity. A well-planned raised bed planting layout reduces strain on your back, knees, and wrists, extends your time in the garden, and improves both yield and enjoyment. Whether you are designing your first raised bed layout or refining an established growing space, this guide will help you align height, reach, and arrangement to your unique body and lifestyle.
Gardening should be a source of joy, not pain. Yet in our work with clients across North America, one of the most consistent patterns we see is that people invest considerable thought into what they grow but very little into how the physical design of their garden bed supports — or undermines — their ability to tend it comfortably. The wrong bed height forces awkward bending, deep squatting, or uncomfortable overreaching. Multiply those movements across an entire growing season and the cumulative toll on joints and muscles becomes significant. This guide is written for home growers of every age and physical ability who want a raised bed garden layout that works with their body, not against it.
Before You Start: Prerequisites and Preparation
Designing an ergonomic raised bed layout requires a small but deliberate investment of time upfront. Before you choose a bed, order soil, or plan a planting layout, there are a few things worth gathering and considering so that your decisions are grounded in your actual physical reality rather than what looks appealing in a catalog.
Understand your primary physical constraints. The most important input to any ergonomic raised bed garden layout is an honest assessment of your body. Consider your height, your comfortable bending range, whether you experience lower back discomfort, and whether you have knee or hip limitations that affect squatting or kneeling. If you use a wheelchair or mobility aid, your working height and side-reach envelope will differ meaningfully from a standing adult.
Know your available garden space. Measure the footprint where your beds will go. Note which sides will be accessible and which will back against a wall, fence, or structure. A raised bed layout you can access from all four sides allows a wider planting footprint than one accessible from two sides — and this directly influences how deep you can make the bed before reaching becomes a problem.
Think about your primary gardening activities. Seeding, transplanting, pruning, harvesting, and watering each involve different postures. Someone who primarily harvests root vegetables needs different ergonomic priorities than someone who focuses on trellised tomatoes or leafy greens.
Estimate the time investment. Planning an ergonomic garden layout is not a lengthy project. A focused session of measuring your space and reflecting on your physical needs, followed by a deliberate product selection, is all that stands between you and a significantly more comfortable growing experience. Most gardeners complete this planning phase in a single afternoon.
Checklist before starting:
- Measure your available garden footprint, including which sides will be accessible
- Note any chronic joint or back issues that affect how you bend, kneel, or squat
- Identify whether you will be working primarily standing, seated, or from a wheelchair or mobility aid
- Decide whether you prefer a single large raised bed or a modular multi-bed layout
- Confirm your soil sourcing plan, since bed height directly determines soil volume requirements
- Review local drainage conditions, as taller beds may be especially beneficial on poorly drained sites
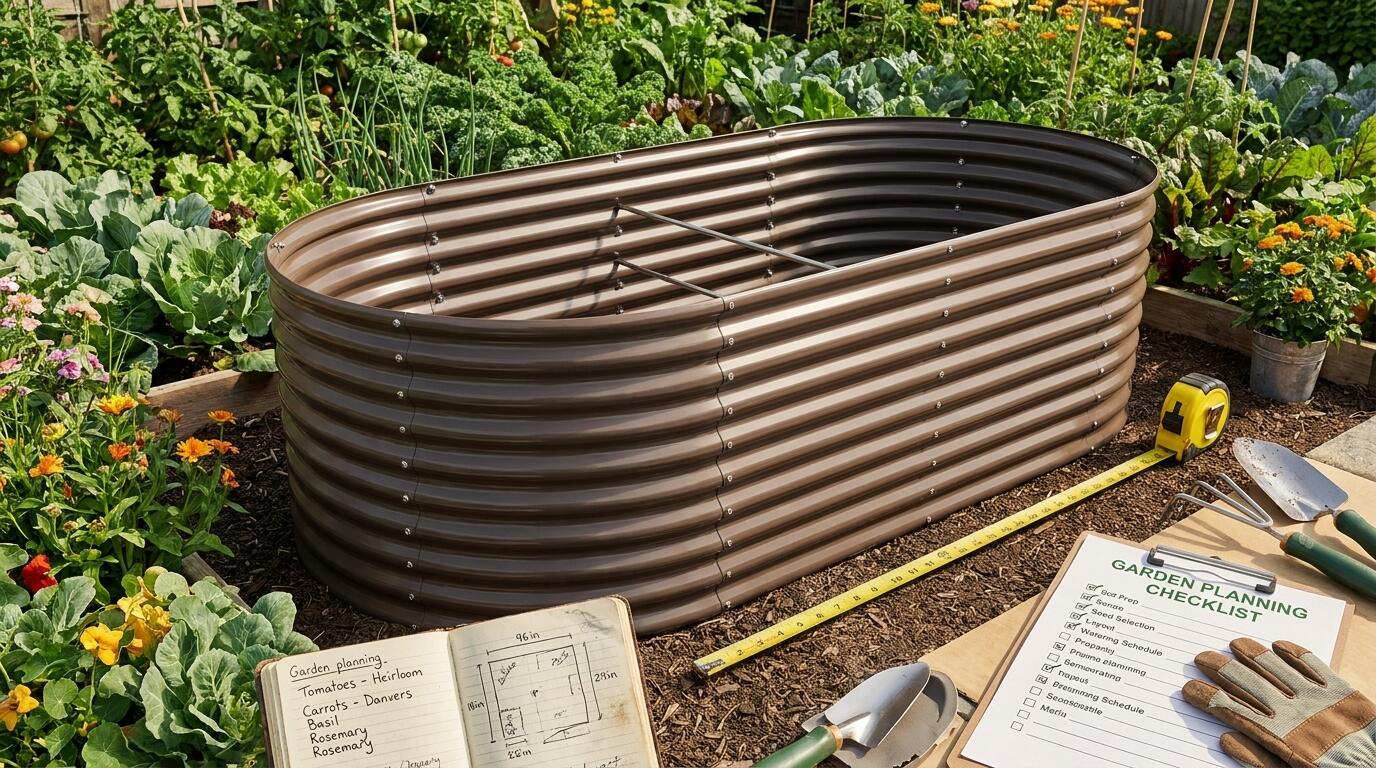
ALT: Measuring tape and notebook beside a galvanized steel raised garden bed for ergonomic raised bed garden layout planning
Step-by-Step Guide to Matching Raised Bed Height to Your Physical Needs
Step 1: Determine Your Ideal Working Height Using Your Body as the Benchmark
The ideal raised bed height for a standing gardener is the height at which your hands rest comfortably at or just below hip level without bending your spine. For most adults this falls in a range where the top edge of the bed meets somewhere between mid-thigh and hip height. For shorter individuals this may be lower; for taller gardeners it may be higher.
A practical method: stand in a relaxed upright posture and let your arms hang naturally. The height at which your knuckles rest when your elbows are very slightly bent is approximately your optimal working surface height. This is the elevation at which planting, weeding, and harvesting can be done with a neutral spine — the single most important ergonomic variable in garden bed design.
For gardeners who work from a seated position or use a wheelchair, the optimal raised bed height shifts. The goal becomes aligning the top of the bed with comfortable elbow-level reach from the seated position, and ensuring the bed is not so wide that central plants require leaning forward beyond a comfortable torso angle.
Tip: If you are unsure, err on the side of taller rather than shorter. It is far easier to add a small step stool for occasional access to a taller bed than it is to spend a full season bent at the waist over a bed that is too low.
Step 2: Match Available Bed Heights to Your Physical Profile
Once you have identified your approximate ideal working height, the next step is matching that to the bed heights available in the product range you are considering. At Anleolife, the raised bed lineup spans a broad height range — from standard 18-inch tall beds suited to general-purpose standing gardeners, through 24-inch Extra Tall options that serve taller adults and those who prefer reduced bending, to 30-inch Extra Tall beds that genuinely function as near-waist-height growing stations, and up to the 35-inch Waist-High format designed specifically for gardeners who need maximum accessibility.
This range exists because bodies differ, and a one-size approach to raised bed height fails a significant portion of gardeners. As a general orientation:
- An 18-inch raised bed height works well for gardeners of average height with good flexibility who are comfortable with moderate forward lean during fine tasks like seeding and transplanting.
- A 24-inch Extra Tall raised bed meaningfully reduces lumbar flexion for most adults and is a strong choice for anyone who has noticed lower back fatigue after extended gardening sessions.
- A 30-inch Extra Tall raised bed approaches true working height for many adults, allowing fine-motor tasks like planting seedlings to be done with a nearly neutral back position.
- The 35-inch Waist-High raised bed is purpose-designed for accessibility, making it appropriate for seated gardeners, wheelchair users, and older adults for whom kneeling or forward bending is contraindicated.
Tip: Do not default to the shortest bed to save on soil costs. A taller bed that keeps you gardening comfortably for years is a far better value than a low bed that leads to avoidance or injury. Anleolife's galvanized steel raised garden beds are built for a lifespan of 20 years — the right height decision will serve you for decades.
Step 3: Design Your Raised Bed Layout Around Reach, Not Just Footprint
The raised bed planting layout — the actual arrangement of plants within the bed — must respect the geometry of your reach, not just the visual appeal of a planting plan. The core ergonomic principle here is that every plant in the bed should be reachable without requiring you to place your torso weight onto the bed frame or stretch your arm to a point where your shoulder rotates beyond a comfortable range.
For a standing gardener with good mobility, a comfortable one-sided reach is typically around 24 inches from the accessible edge of the bed. This means a bed accessible from one side only should ideally be no deeper than about 24 inches front to back. A bed accessible from both long sides — the classic arrangement in a freestanding raised bed layout — can be twice as deep because each side is reachable from its own edge.
This principle directly governs which bed dimensions work ergonomically for which gardeners:
- A narrower bed (such as a 3-foot or 4-foot wide layout) is accessible to nearly all gardeners from two sides without overreaching.
- Wider square configurations, such as a 6x6 or 8x8 footprint, require comfortable four-sided access and may present a challenge for gardeners with limited reach or those working from one direction only.
When designing your raised bed garden layout at the planning stage, sketch not just where the beds will sit but which sides of each bed will be accessible, and cross-check that against your comfortable reach distance.
Tip: Mark your comfortable reach distance on a piece of string and use it as a physical probe when standing in your garden space. This makes the abstract concept tangible and prevents overreach surprises after the bed is installed and filled with soil.
Step 4: Plan Pathways and Spacing as Part of the Ergonomic Layout
An ergonomic raised bed layout is not only about the beds themselves — the pathways between beds are equally important. A pathway that is too narrow forces you to stand awkwardly close to a bed edge, compromising your balance and posture while working. A pathway wide enough to walk comfortably, turn around, and kneel beside a bed if needed makes every gardening task easier.
In our experience working with home gardeners, pathway width is one of the most consistently underestimated elements of raised bed garden layout planning. When beds are arranged with minimal spacing to maximize growing area, the resulting tight corridors often lead to posture compensations — leaning across beds, reaching at angles, or twisting the spine — that accumulate into discomfort over a season.
For a single gardener working alone, a minimum pathway width of about 18 inches allows comfortable standing access. A 24-inch pathway allows easier movement and some room to set down tools or a harvest basket. If you use a wheelbarrow or garden cart, pathways of 30 inches or more will save you repeated frustration. If a wheelchair is part of your garden reality, standard ADA guidance from the U.S. Access Board recommends pathways sufficient for chair navigation — typically 36 inches or wider.
Tip: Mulched or paved pathways between beds also reduce the need to bend down to manage path weeds, adding another layer of ergonomic benefit to your raised bed layout design.
Step 5: Integrate Soil Depth into Your Raised Bed Planting Layout Planning
The height of a raised bed is inseparable from the soil depth it provides, and soil depth directly shapes what you can grow and how. A deeper soil column accommodates longer root vegetables — carrots, parsnips, beets — without the roots hitting native ground. It also retains moisture more effectively, which reduces the frequency of watering tasks that require bending or extended time in an awkward posture.
From a raised bed planting layout perspective, taller beds with deeper soil systems give you more planting flexibility. Shallow roots like lettuce, herbs, and radishes thrive even in modest soil depths. But tomatoes, peppers, squash, and deep-rooted perennials genuinely benefit from the kind of root run that only a 24-inch, 30-inch, or 35-inch bed can provide without hitting compacted native subsoil.
According to guidance from University Cooperative Extension programs across the United States — including resources published by land-grant universities — a minimum of 6 to 8 inches of quality soil depth supports most annual vegetables, while deeper root crops and high-productivity planting configurations benefit from 12 inches or more. Taller Anleolife raised beds make it straightforward to meet or exceed these thresholds while simultaneously delivering the ergonomic height benefits outlined in earlier steps.
Tip: When filling taller beds, consider a layered soil system rather than filling entirely with premium mix. A base layer of coarser organic material topped with high-quality growing medium is a cost-effective approach that supports deep root development without dramatically increasing your soil budget.
Step 6: Consider Modular Expansion and Long-Term Layout Evolution
An ergonomic raised bed garden layout is rarely a static, one-time decision. Gardens evolve as physical needs change, as gardeners gain experience, and as household dynamics shift. A modular approach to your raised bed layout allows the garden to grow and adapt without requiring a complete redesign.
Anleolife's modular raised garden bed systems are specifically designed with this evolution in mind. Starting with a manageable footprint — perhaps a single 8x4 bed — and expanding incrementally into a multi-bed layout as confidence and physical stamina develop is a pattern we consistently see produce the most satisfying long-term outcomes for home gardeners. Each bed can be positioned, oriented, and combined to suit the changing ergonomic needs of the gardener over time.
This is particularly relevant for empty nesters and retirees who may find that a layout that suited them in their fifties needs adjustment in their sixties and seventies as joint flexibility evolves. Building with modular components means that adding a taller bed to replace a shorter one, or introducing a waist-high bed as a primary working station, is an incremental upgrade rather than a wholesale reconstruction.
Tip: When planning your initial raised bed layout, leave intentional space for at least one additional bed. This foresight costs nothing at the planning stage and avoids the common frustration of having to reorganize an already established garden to accommodate growth.
Step 7: Validate the Layout Before You Fill and Plant
Before committing to a final raised bed layout by filling beds with hundreds of pounds of soil, do a physical walkthrough of the empty bed arrangement. Stand at each working position, simulate the motions of planting and harvesting, and check that pathways feel comfortable, that you can reach the center of each bed without strain, and that the working height feels right for your body.
This validation step takes very little time but prevents the much more significant effort of rearranging filled, heavy beds after the fact. If something feels off during the walkthrough — a pathway that is tighter than expected, a bed that still requires noticeable forward lean — adjust the plan before it is locked in by soil weight.
Tip: Invite another gardener or a family member to observe your posture as you simulate gardening tasks at each bed. An outside eye often catches compensatory postures — a dropped shoulder, a slightly twisted spine — that you may not notice from inside the movement.
Common Mistakes and Troubleshooting in Ergonomic Raised Bed Layout Design
| Symptom | Likely Cause | How to Fix |
|---|---|---|
| Lower back pain after gardening sessions | Bed height is too low, requiring consistent forward flexion of the lumbar spine | Transition to a taller bed — 24-inch Extra Tall or 30-inch Extra Tall — that allows a more neutral spine position during common tasks |
| Shoulder or neck strain when tending plants at the back of a wide bed | Bed is too wide for comfortable single-sided reach, forcing arm extension beyond a neutral shoulder position | Reduce effective bed width by ensuring four-sided access, or choose narrower bed configurations; consider 3-foot or 4-foot wide layouts |
| Knee pain from kneeling beside low beds | Inadequate working height forces kneeling as a compensation strategy | Increase bed height so tasks can be performed standing; add kneeling pads as a short-term measure |
| Crowded pathways making it difficult to move tools or harvest baskets | Pathway width was not factored into the initial raised bed layout plan | Reorganize bed arrangement to widen pathways; this may mean reducing the number of beds or shifting them further apart |
| Plants in the center of large square beds consistently underperform | Central plants are being underwatered or under-tended because they are difficult to reach comfortably | Restructure the raised bed planting layout to use rectangular configurations that allow full access from long sides; break large squares into paired rectangular beds |
| Wrist and hand fatigue during fine planting tasks | Working surface is too high, causing upward wrist flexion; or bed wall edge is uncomfortable to lean against | Adjust working height; add edge padding; reconsider bed height relative to the specific tasks being performed |
Pro Tips for Better Results in Ergonomic Raised Bed Garden Design
Layer your bed heights intentionally across the garden. Rather than installing all beds at the same height, consider a tiered approach where the primary working bed — where you spend the most time — is at your optimal ergonomic height, and secondary or overflow beds may be at different heights. This reduces the monotony of a single posture and distributes physical effort across your body over the course of a gardening session.
Account for tool ergonomics alongside bed ergonomics. A bed at the right height is only part of the picture. Long-handled tools, ergonomic grip designs, and kneelers for lower-height work all complement a well-designed raised bed layout. The bed height sets the foundation; the tools refine the ergonomic environment.
Revisit your layout seasonally. Physical capacity changes through the year, and so do the tasks demanded by different crops. A layout that serves you well for spring seeding may need adaptation for summer harvest of tall crops. Treating your raised bed garden layout as a living design that you actively evaluate and refine, rather than a fixed installation, produces the best long-term results.
Use companion planting and spatial efficiency to reduce reach frequency. A well-planned raised bed planting layout, such as the square foot method or companion planting configurations discussed in resources like those at Savvy Gardening, groups plants by height, harvest frequency, and root competition. This approach means you are reaching into different zones of the bed at predictable times rather than constantly moving across the full bed surface.
Common misconception: taller beds are only for elderly or disabled gardeners. This is incorrect and worth addressing directly. Taller raised beds are ergonomically beneficial for virtually all standing gardeners. Reducing unnecessary spinal flexion during repetitive garden tasks is a genuine physical benefit regardless of age or ability level. The notion that a standard low bed is the default and a tall bed is a concession to physical limitation reflects an outdated view of ergonomic design. A well-designed raised bed layout at the right height is simply better — for everyone.
Frequently Asked Questions FAQ
Q1: How do I know which raised bed height is right for me if I have never gardened with a raised bed before?
The most reliable starting point is the knuckle test: stand upright, let your arms hang naturally with a very slight elbow bend, and note the height at which your knuckles rest. This approximates your neutral working surface height. From there, match that measurement to the available bed heights — standard 18-inch, 24-inch Extra Tall, 30-inch Extra Tall, or 35-inch Waist-High — choosing the option closest to your natural knuckle height. If between sizes, choosing the taller option is generally the safer ergonomic choice, as working slightly above knuckle height is typically more comfortable than consistently bending to work below it.
Q2: Is a wide square raised bed layout less ergonomic than a rectangular one?
Yes, for most gardeners a wide square raised bed layout presents more ergonomic challenges than a rectangular configuration of equivalent planting area. A square bed with a large footprint — such as a 6x6 or 8x8 — requires comfortable access from all four sides and still may leave central plants difficult to reach without overextending. A rectangular bed of comparable area, particularly one oriented so the short dimension (the width you reach across) stays within your comfortable reach zone, is generally more ergonomic. Planting layout resources such as the Raised Bed Layout Template from Journey with Jill illustrate how rectangular configurations maximize accessible planting zones.
Q3: How long does it typically take to notice the ergonomic difference after switching to a taller raised bed?
The difference is typically immediate and noticeable within the first gardening session. Gardeners who transition from a low bed to a 24-inch or 30-inch raised bed consistently report that tasks that previously caused lower back fatigue feel noticeably more comfortable from the first use. The cumulative benefit — reduced muscle soreness after long gardening days, and the ability to spend more time in the garden without physical discomfort — tends to compound positively over the growing season. Because Anleolife's galvanized steel raised garden beds are designed for a 20-year lifespan, the ergonomic investment you make in choosing the right height pays forward across many seasons.
Final Thoughts
Ergonomic raised bed design is not a luxury or a niche concern — it is the foundational decision that determines how much you actually use and enjoy your garden over the long term. The right raised bed height, combined with a thoughtfully planned raised bed garden layout that respects your reach geometry and pathway needs, transforms gardening from a physically taxing obligation into a genuinely restorative activity.
Key Takeaways:
- Match raised bed height to your neutral standing or seated working height — the knuckle test is a practical starting benchmark.
- Design your raised bed layout around comfortable reach distance, ensuring every plant is accessible without spinal flexion or shoulder overextension.
- Pathway width is as important as bed height — allocate sufficient space for comfortable movement, tool handling, and postural variety.
- A modular layout approach allows your garden to evolve alongside your physical needs over time, without costly full redesigns.
- Taller raised beds are ergonomically beneficial for virtually all gardeners, not only those with mobility limitations — a 20-year investment in the right height is worth making thoughtfully.
The next step is practical: measure your comfortable working height, map your garden footprint, and identify which raised bed configuration aligns with both your body and your growing goals. Approach the layout as a design problem with your physical wellbeing as the primary design constraint, and you will build a garden you return to willingly — season after season, year after year.
Ready to find the raised bed height and layout that fits your body and your garden? Browse the full range of ergonomic raised bed options — from standard 18-inch heights to 35-inch Waist-High beds — at the Anleolife website, or find Anleolife products on Amazon, Walmart, Home Depot, Lowe's, and Wayfair. With a nationwide warehouse network spanning California, Texas, Florida, New York, Illinois, and Washington, your order arrives in 3–8 business days so your garden plans move forward without delay. Whether you are starting with a single 8x4 bed or expanding into a full planting-and-raising ecosystem, Anleolife grows with you every step of the way.
References
- Savvy Gardening. "4x8 Raised Bed Vegetable Garden Layout Ideas".
https://savvygardening.com/4x8-raised-bed-vegetable-garden-layout/ - Journey with Jill. "Raised Bed Layout Template".
https://journeywithjill.net/wp-content/uploads/2023/04/Raised-Bed-Layout-Designs.pdf - U.S. Access Board. Accessibility Guidelines and Standards for Outdoor Developed Areas.
https://www.access-board.gov/ - Pinterest — Alethead74. "Raised Garden Bed Ideas".
https://www.pinterest.com/alethead74/raised-garden-bed-ideas/
Note: Standards and guidelines may be updated; please check the latest official documents or consult professional advisors.








