


























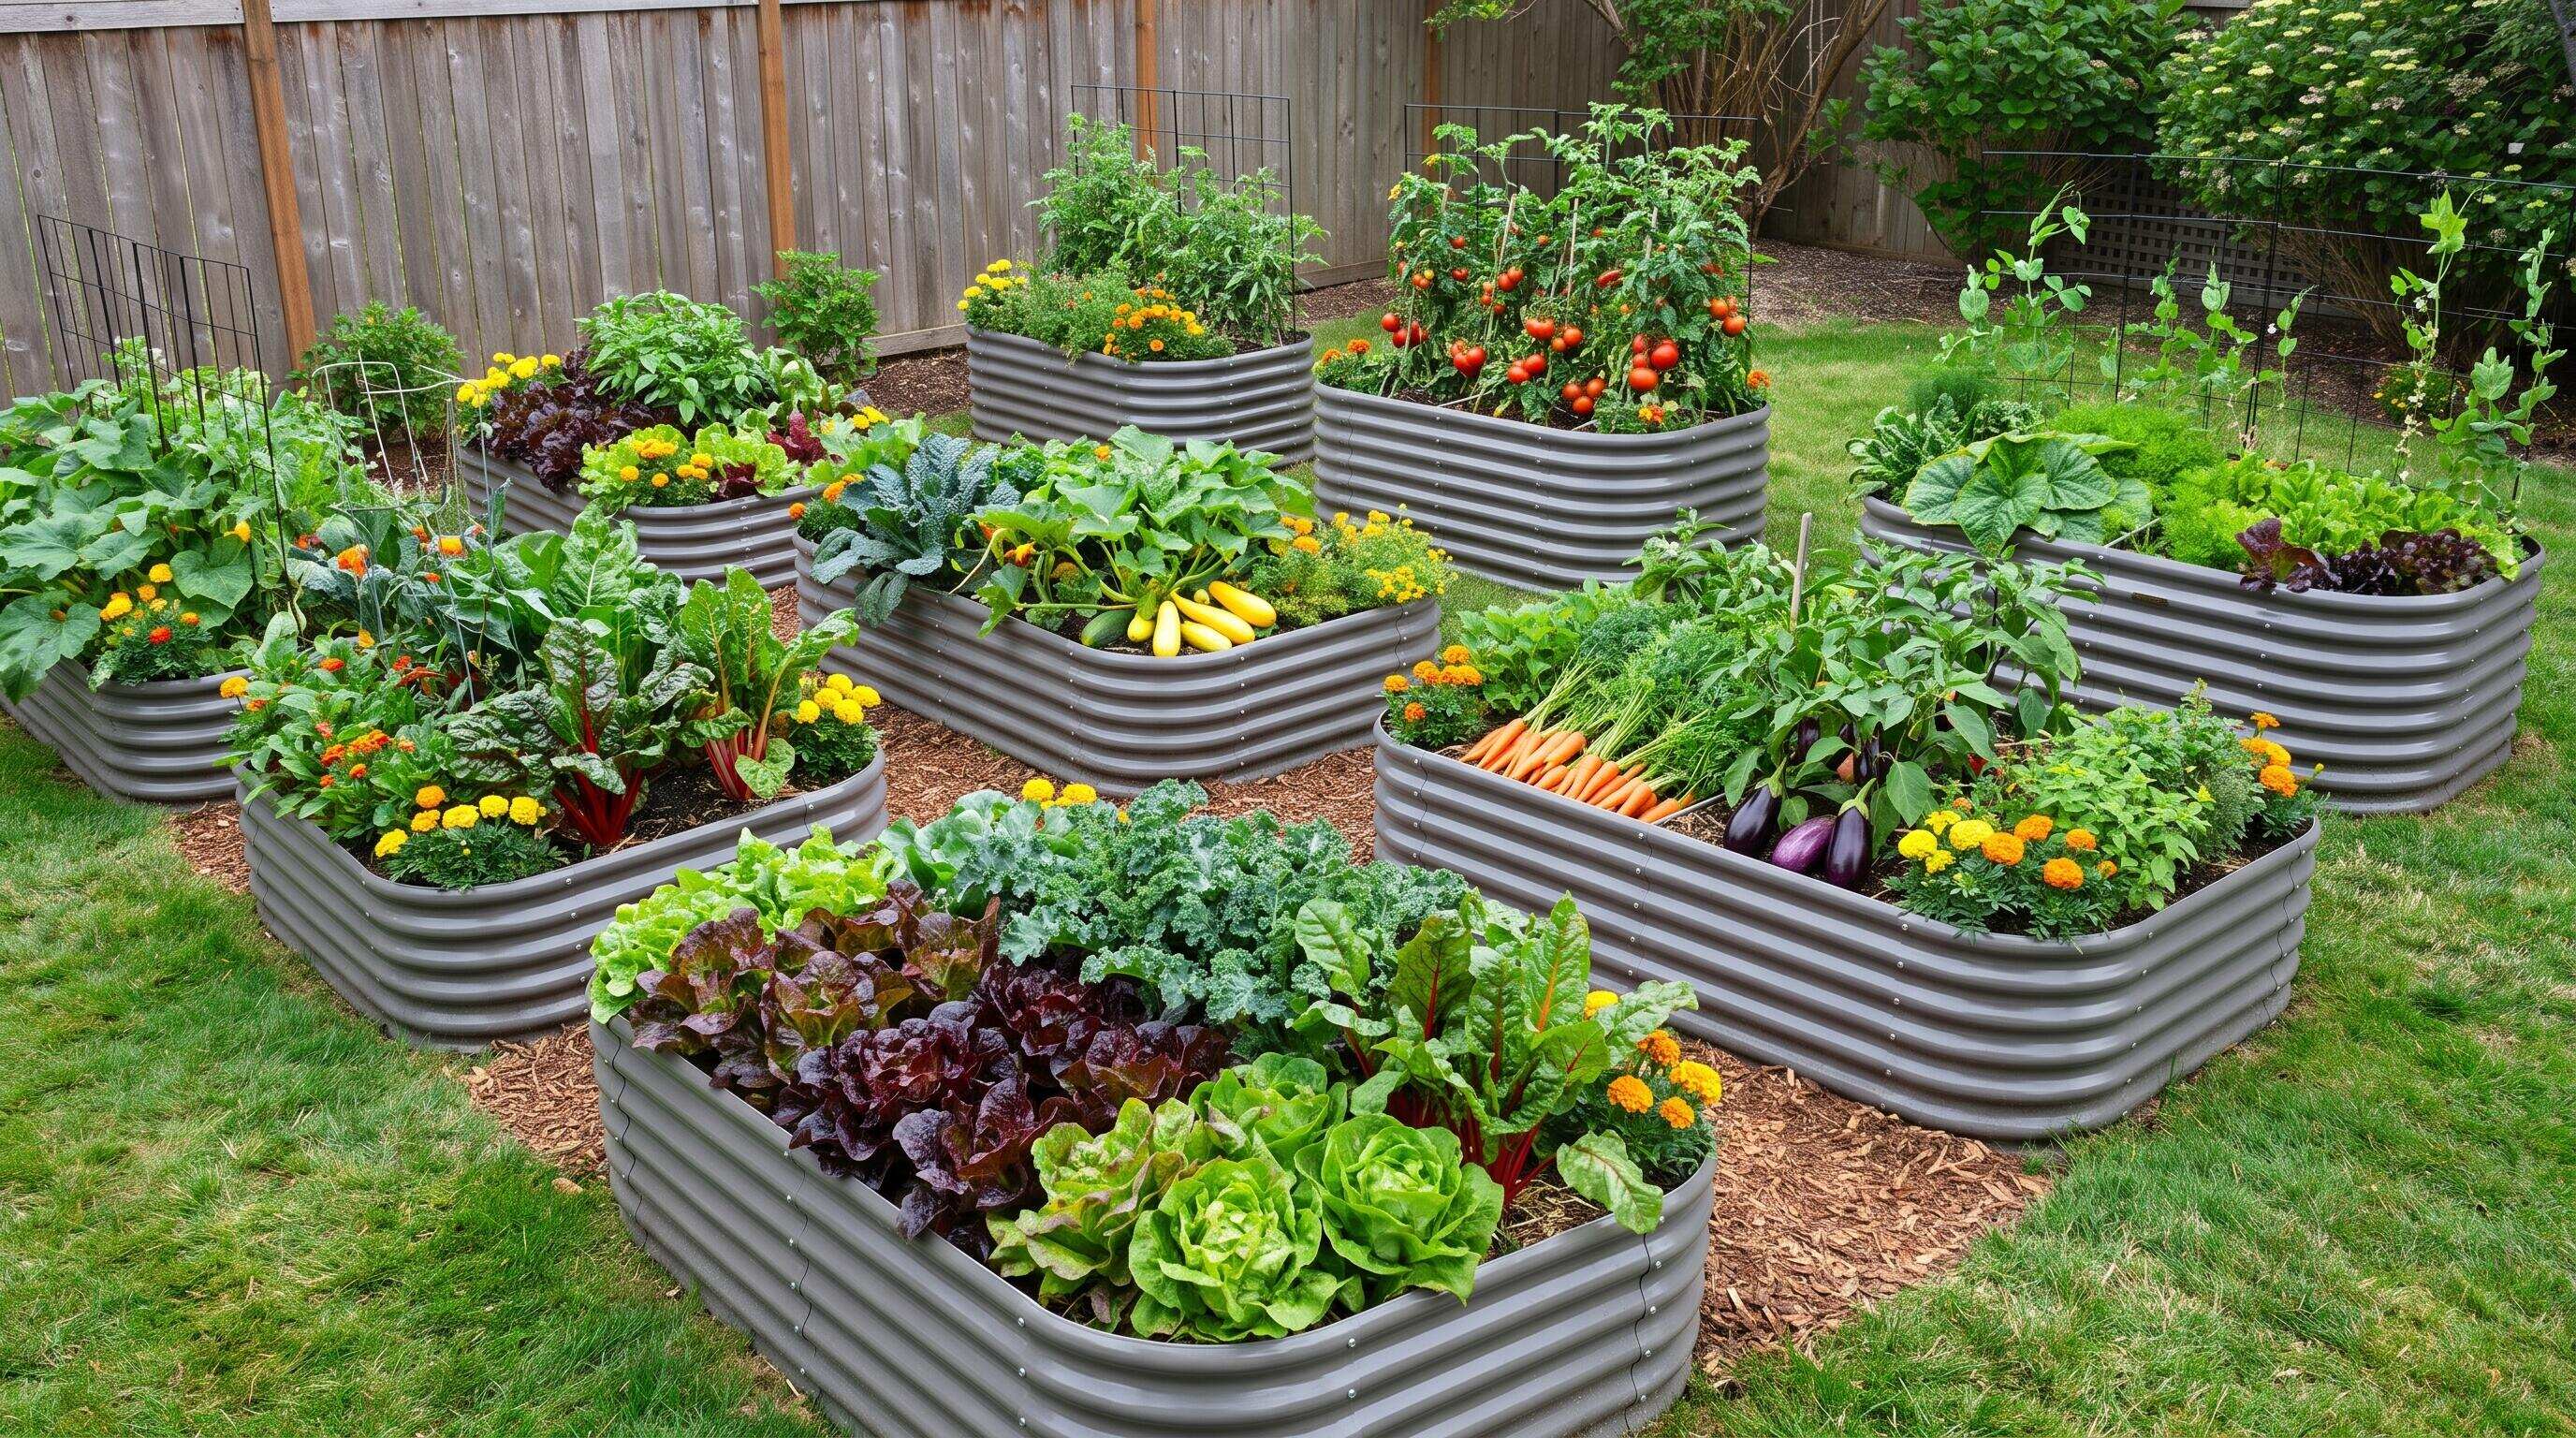
ALT: Small backyard raised bed garden layout maximizing productivity in under 200 square feet
Build a Productive Raised Bed Garden Layout in Under 200 Square Feet
Picture this: a backyard, a narrow side yard, or even a sunny patio — less than 200 square feet of usable space — and a genuine desire to grow real food this season. In our work with clients across North America, this is one of the most common starting points we encounter, and it is also one of the most rewarding to help solve. With a well-planned raised bed garden layout, 200 square feet is not a limitation; it is more than enough to grow a meaningful harvest of vegetables, herbs, and edible flowers from spring through fall.
This guide is written for anyone who wants to stop guessing and start growing — whether you are a first-time gardener with a modest backyard, a health-conscious family looking to control what goes on your plate, or a retiree ready to turn an underused corner of your property into something productive and beautiful. By the end, you will have a clear, step-by-step raised bed planting layout plan you can act on this season.
Before You Start: Prerequisites and Preparation for Your Raised Bed Layout
A successful raised bed garden layout begins long before a single seed goes into the ground. The preparation phase is where most beginners either set themselves up for an easy, enjoyable season — or unknowingly create problems they will spend months troubleshooting. Invest an hour or two here, and everything that follows becomes significantly easier.
What you need to assess before building your layout:
- Sunlight: Most vegetables require a minimum of six hours of direct sun daily. Walk your space at different times of day and note which areas receive consistent sun and which fall into shade from buildings, fences, or trees. Your raised bed placement should follow the sun, not the other way around.
- Access to water: A garden bed that is difficult to water consistently will underperform. Identify your nearest outdoor water source and plan bed placement so you can reach every corner with a hose or drip line without stretching across other beds.
- Ground condition: Raised beds are forgiving of poor native soil, but you still need a relatively level surface to set them on. Check for slopes greater than a few inches across your planned footprint and plan to level the ground or adjust bed placement accordingly.
- Local climate and frost dates: Knowing your first and last frost dates determines your planting calendar. The Old Farmer's Almanac, which publishes regional planting guides for North American growers, is a reliable starting point for this information.
- Materials and tools: You will need a measuring tape, stakes and string (for marking bed positions), a soil calculator or notepad for estimating fill volumes, a level, and a rubber mallet or drill depending on your bed assembly method.
- Time estimate: From planning on paper to having beds assembled and filled, most gardeners working a sub-200-square-foot layout can complete the physical setup over a single weekend, with planting following shortly after.
Checklist before starting:
- Confirmed at least six hours of direct daily sun in your chosen location
- Identified water access point and planned irrigation approach
- Measured and sketched your total available square footage
- Researched local last frost date to time your planting
- Decided on raised bed type, size, and material
- Sourced or planned your soil system
- Accounted for pathways and working access around each bed
Step-by-Step Instructions: Building Your Raised Bed Garden Layout
Step 1: Map Your Space and Set Layout Goals
A raised bed garden layout is a deliberate spatial plan — an arrangement of growing beds, pathways, and support structures designed to maximize yield and minimize wasted effort within a fixed footprint. Start by measuring your total available area and sketching it to scale on paper or using a free digital planner.
Within 200 square feet, you have more flexibility than you might expect. A common and highly efficient configuration is two 8x4 ft raised beds placed parallel to each other with an 18-to-24-inch working pathway between them — that single pair already gives you 64 square feet of growing surface. Alternatively, three 6x3 ft beds arranged in an L-shape around a corner fit neatly into an irregular space and feel less institutional than a strict grid.
Write down what you actually want to grow before you finalize bed positions. Your plant selection will inform the depth of bed you need, the spacing between beds, and whether you need vertical growing support. A layout designed around what you genuinely want to eat is always more motivating than one designed around abstract efficiency.
Tip: According to the planning resources at the Old Farmer's Almanac, grouping plants with similar water and sun needs into the same bed significantly reduces maintenance time throughout the season — plan your bed assignments by plant family or water needs, not just by what fits.
Step 2: Choose the Right Raised Bed Size and Depth for Your Layout
Raised bed size and depth are not cosmetic choices — they directly determine what you can grow, how deeply roots can develop, and how much you will water. The standard rule of thumb from experienced growers is that no bed should be wider than you can comfortably reach to the center from either side, which for most adults means a maximum of 4 feet wide. This keeps the entire growing surface accessible without stepping in and compacting soil.
For depth, shallow-rooted crops like lettuce, herbs, and radishes can thrive in a bed as shallow as 12 inches, while root vegetables such as carrots and parsnips, and most fruiting plants like tomatoes and peppers, benefit significantly from 18 to 24 inches or more of growing depth. Anleolife's raised garden bed lineup addresses this directly: the galvanized steel raised garden bed range spans from 18-inch standard depth up to 24-inch extra-tall and 30-inch extra-tall configurations, with waist-high options at 35 inches — a real advantage for gardeners with mobility concerns who want to avoid bending.
If your 200-square-foot plan includes a mix of crops, consider pairing a shallower bed (great for greens and herbs) with a deeper extra-tall bed for tomatoes, squash, or climbing beans. This layered approach to depth within the same overall layout stretches your planting versatility considerably. If you are still deciding on dimensions, the guide to sizing a raised garden bed kit is a practical starting point for first-time buyers.
Tip: In a space-constrained layout, taller beds are almost always worth the small additional investment. Deeper soil stays consistently moist longer, reduces watering frequency, and gives roots room to develop fully — all of which translates directly into better yields per square foot.
Step 3: Select Your Raised Bed Material
The material your raised beds are made from affects durability, appearance, soil temperature, and long-term maintenance requirements. In our experience working with home growers across different climates and regions, galvanized steel and rust-resistant steel are the two most consistently high-performing materials for raised bed gardening.
Galvanized steel raised beds — like those in Anleolife's core lineup — absorb and retain heat effectively, which extends your growing season in cooler climates by warming soil faster in spring and holding warmth longer into fall. Galvanized steel also offers exceptional structural rigidity, meaning beds maintain their shape under the pressure of dense, wet growing mix without bowing or splitting. The Anleolife galvanized steel raised garden beds are built for a lifespan of up to 20 years, making them a genuinely long-term investment rather than a seasonal purchase.
For gardeners in high-humidity environments or coastal regions where moisture exposure is near-constant, rust-resistant steel beds offer an additional layer of protection. Anleolife's rust-resistant raised garden bed range comes in a variety of dimensions to match different layout configurations, including 8x4 ft, 6x3 ft, and extra-tall options for deep-rooting crops.
Wood is frequently suggested for raised beds, and it can work well for a season or two, but untreated wood degrades relatively quickly under repeated wet-dry cycles, and treated lumber has historically raised concerns about chemical leaching — a consideration worth weighing if you are growing food. Per guidance from the U.S. Environmental Protection Agency, gardeners using older pressure-treated wood should evaluate the specific preservative chemicals involved before contact with edible crops. Steel eliminates that variable entirely.
Tip: If aesthetics matter to your outdoor space — and for most families and retirees working to beautify a visible area, they do — galvanized steel beds have a clean, modern appearance that holds up over years without painting, staining, or sealing.
Step 4: Plan Your Raised Bed Planting Layout Crop by Crop
A raised bed planting layout is the internal crop map for each individual bed — which plants go where within the bed, at what spacing, and in what combination. Getting this right is what separates a productive garden from an overcrowded or underproductive one.
The most practical organizing framework for a small-space layout is companion planting combined with square-foot gardening principles. Square-foot gardening, popularized by Mel Bartholomew and now widely used by North American home growers, divides each bed into one-foot grid squares, assigning a specific number of plants to each square based on mature plant size. For example, one tomato plant per square foot, sixteen radishes per square foot, nine bush bean plants per square foot.
Companion planting takes this further by considering which plants actively support each other when grown in proximity. Classic combinations include tomatoes with basil (which may deter aphids), the Three Sisters grouping of corn, climbing beans, and squash (where each plant benefits the others structurally and nutritionally), and carrots interplanted with onions. According to resources compiled by the University of California Cooperative Extension, companion planting can reduce pest pressure and improve overall bed productivity — a meaningful benefit in a small-space layout where a pest outbreak in one bed can quickly affect the whole garden.
For a 200-square-foot layout, a practical raised bed planting layout might look like this: one 8x4 ft bed dedicated to warm-season crops (tomatoes, peppers, basil, a squash plant trained vertically), a second 8x4 ft bed for cool-season and fast-maturing crops (lettuce, spinach, radishes, green onions), and a 6x3 ft bed for root vegetables (carrots, beets) and perennial herbs (thyme, sage, chives) that come back season after season.
Resources like the Raised Bed Garden Layout Plans from the Old Farmer's Almanac offer beginner-friendly visual guides to crop arrangement and spacing, and they are worth consulting as a complement to your own site-specific planning.
Tip: Always plant tall crops — tomatoes, trellised cucumbers, pole beans — on the north side of the bed so they do not shade shorter plants as the season progresses.
Step 5: Build and Fill Your Soil System
The soil system inside a raised bed is entirely within your control — unlike native ground soil, which you inherit. This is one of the core advantages of raised bed gardening, and it is worth investing in properly from the start.
A high-performing raised bed soil mix is typically composed of roughly equal parts quality compost, topsoil or loam, and a drainage-improving amendment such as coarse perlite or aged bark fines. Compost delivers biological activity and nutrients; topsoil provides structure and weight; perlite prevents compaction and improves drainage so roots are never waterlogged. Some growers add a small amount of biochar or aged manure to improve water retention in sandy conditions or fertility in low-nutrient soils.
Avoid filling raised beds with straight garden soil dug from the ground — it compacts under irrigation, drains poorly, and often carries weed seeds or soil-borne pathogens. The point of a raised bed soil system is a fresh, optimized growing medium, not a relocated version of your existing ground.
For deeper beds in the 24-to-30-inch extra-tall range, the bottom several inches can be filled with coarse woody material, straw, or logs in a technique sometimes called hugelkultur — the decomposing material generates gentle warmth and retains moisture. The upper 12 to 18 inches should still be your premium growing mix where roots will actually be active.
Tip: Wet your soil mix thoroughly before planting and allow it to settle for a day. Fresh-filled beds often drop several inches as the mix compresses, and planting into settled soil gives seedlings a more stable environment than planting immediately after filling.
Step 6: Add Vertical Structure and Pathways
Vertical growing is the single most effective technique for multiplying yield per square foot in a small raised bed layout. Any crop that naturally vines or climbs — cucumbers, pole beans, indeterminate tomatoes, peas, small-fruited squash — can be grown upward rather than outward, freeing the bed's horizontal surface for lower-growing companions.
A simple cattle panel arch, bamboo A-frame, or sturdy trellis netting attached to the bed's long sides can support a surprising amount of vertical growth. In a 200-square-foot layout, one or two trellised beds can effectively double your functional growing area without expanding the physical footprint.
Pathways between beds deserve equal planning attention. A minimum of 18 inches between parallel beds allows comfortable access for planting, weeding, and harvesting. If you use a wheelbarrow or have any mobility consideration, widen this to 24 to 30 inches. Pathway surfaces — compressed gravel, stepping stones, wood chips, or permeable ground cloth — prevent weeds, reduce mud, and make the garden genuinely pleasant to work in through the whole season.
For apartment patios and compact urban spaces where vertical growing is the primary strategy, vertical garden structures for patios and rooftops offer additional design ideas worth exploring alongside your raised bed layout.
Tip: Install your vertical structures before you plant, not after. Driving stakes or securing trellis panels into a fully planted bed risks disturbing roots and damaging seedlings.
Step 7: Install Irrigation and Set Up a Maintenance Routine
Consistent moisture is the variable that most directly separates a productive raised bed from an underperforming one. Raised beds drain more freely than ground soil, which is good for root health but means they require more frequent watering — especially in summer heat or when filled with younger plants that have not yet established deep root systems.
Drip irrigation is the most water-efficient approach for raised bed gardening. A simple timer-connected drip line or soaker hose running through each bed delivers water directly to the root zone, reduces foliar disease (wet leaves in humid conditions encourage fungal problems), and cuts water use compared to overhead sprinklers. Many gardeners in our network have told us that switching from hand-watering to a basic drip setup was the single change that most improved their garden's consistency.
If hand-watering is your preference or your only option, water deeply and less frequently rather than shallowly and often. Deep watering encourages roots to grow down toward moisture rather than staying near the surface, which makes plants more resilient during brief dry spells.
Set a brief weekly maintenance rhythm from the start: check for pest activity, remove weeds before they establish, side-dress heavy-feeding plants with compost or a balanced fertilizer, and harvest crops promptly. Unharvested, overripe produce signals the plant to stop producing. In a small raised bed layout, a twenty-minute weekly walkthrough is usually enough to keep things on track.
Tip: Keep a simple garden notebook — even just a few notes per week on what you planted, what is performing well, and what is struggling. A single season of notes becomes an invaluable planning resource for next year.
Common Mistakes and Troubleshooting in Raised Bed Garden Layouts
| Symptom | Likely Cause | How to Fix |
|---|---|---|
| Plants yellowing despite regular watering | Overwatering combined with poor drainage; roots sitting in saturated soil | Reduce watering frequency; ensure bed has adequate drainage by checking soil mix for compaction; add perlite if needed |
| Crops stunted or slow to grow | Nutrient-poor or low-biology soil mix; beds filled with straight topsoil without compost | Side-dress with quality compost; apply a balanced liquid fertilizer; amend soil at season's end with compost |
| Tall plants shading out shorter neighbors | Planting layout did not account for mature plant height and sun direction | Reposition tall plants to the north end of beds; stake or trellis to keep growth vertical and off neighboring plants |
| Persistent pest pressure on one crop type | Monoculture planting in a single bed; no companion plants to deter pests | Interplant with known companion plants (basil with tomatoes, alliums near brassicas); rotate crops next season |
| Soil level dropping significantly mid-season | Fresh growing mix settling naturally after irrigation | Top-dress with additional compost; plan to slightly overfill new beds at setup to account for expected settling |
| Weeds appearing despite raised bed setup | Gaps in pathway coverage; weed seeds in low-quality compost | Cover pathways with wood chips or weed fabric; source compost from reputable suppliers with hot-composting protocols |
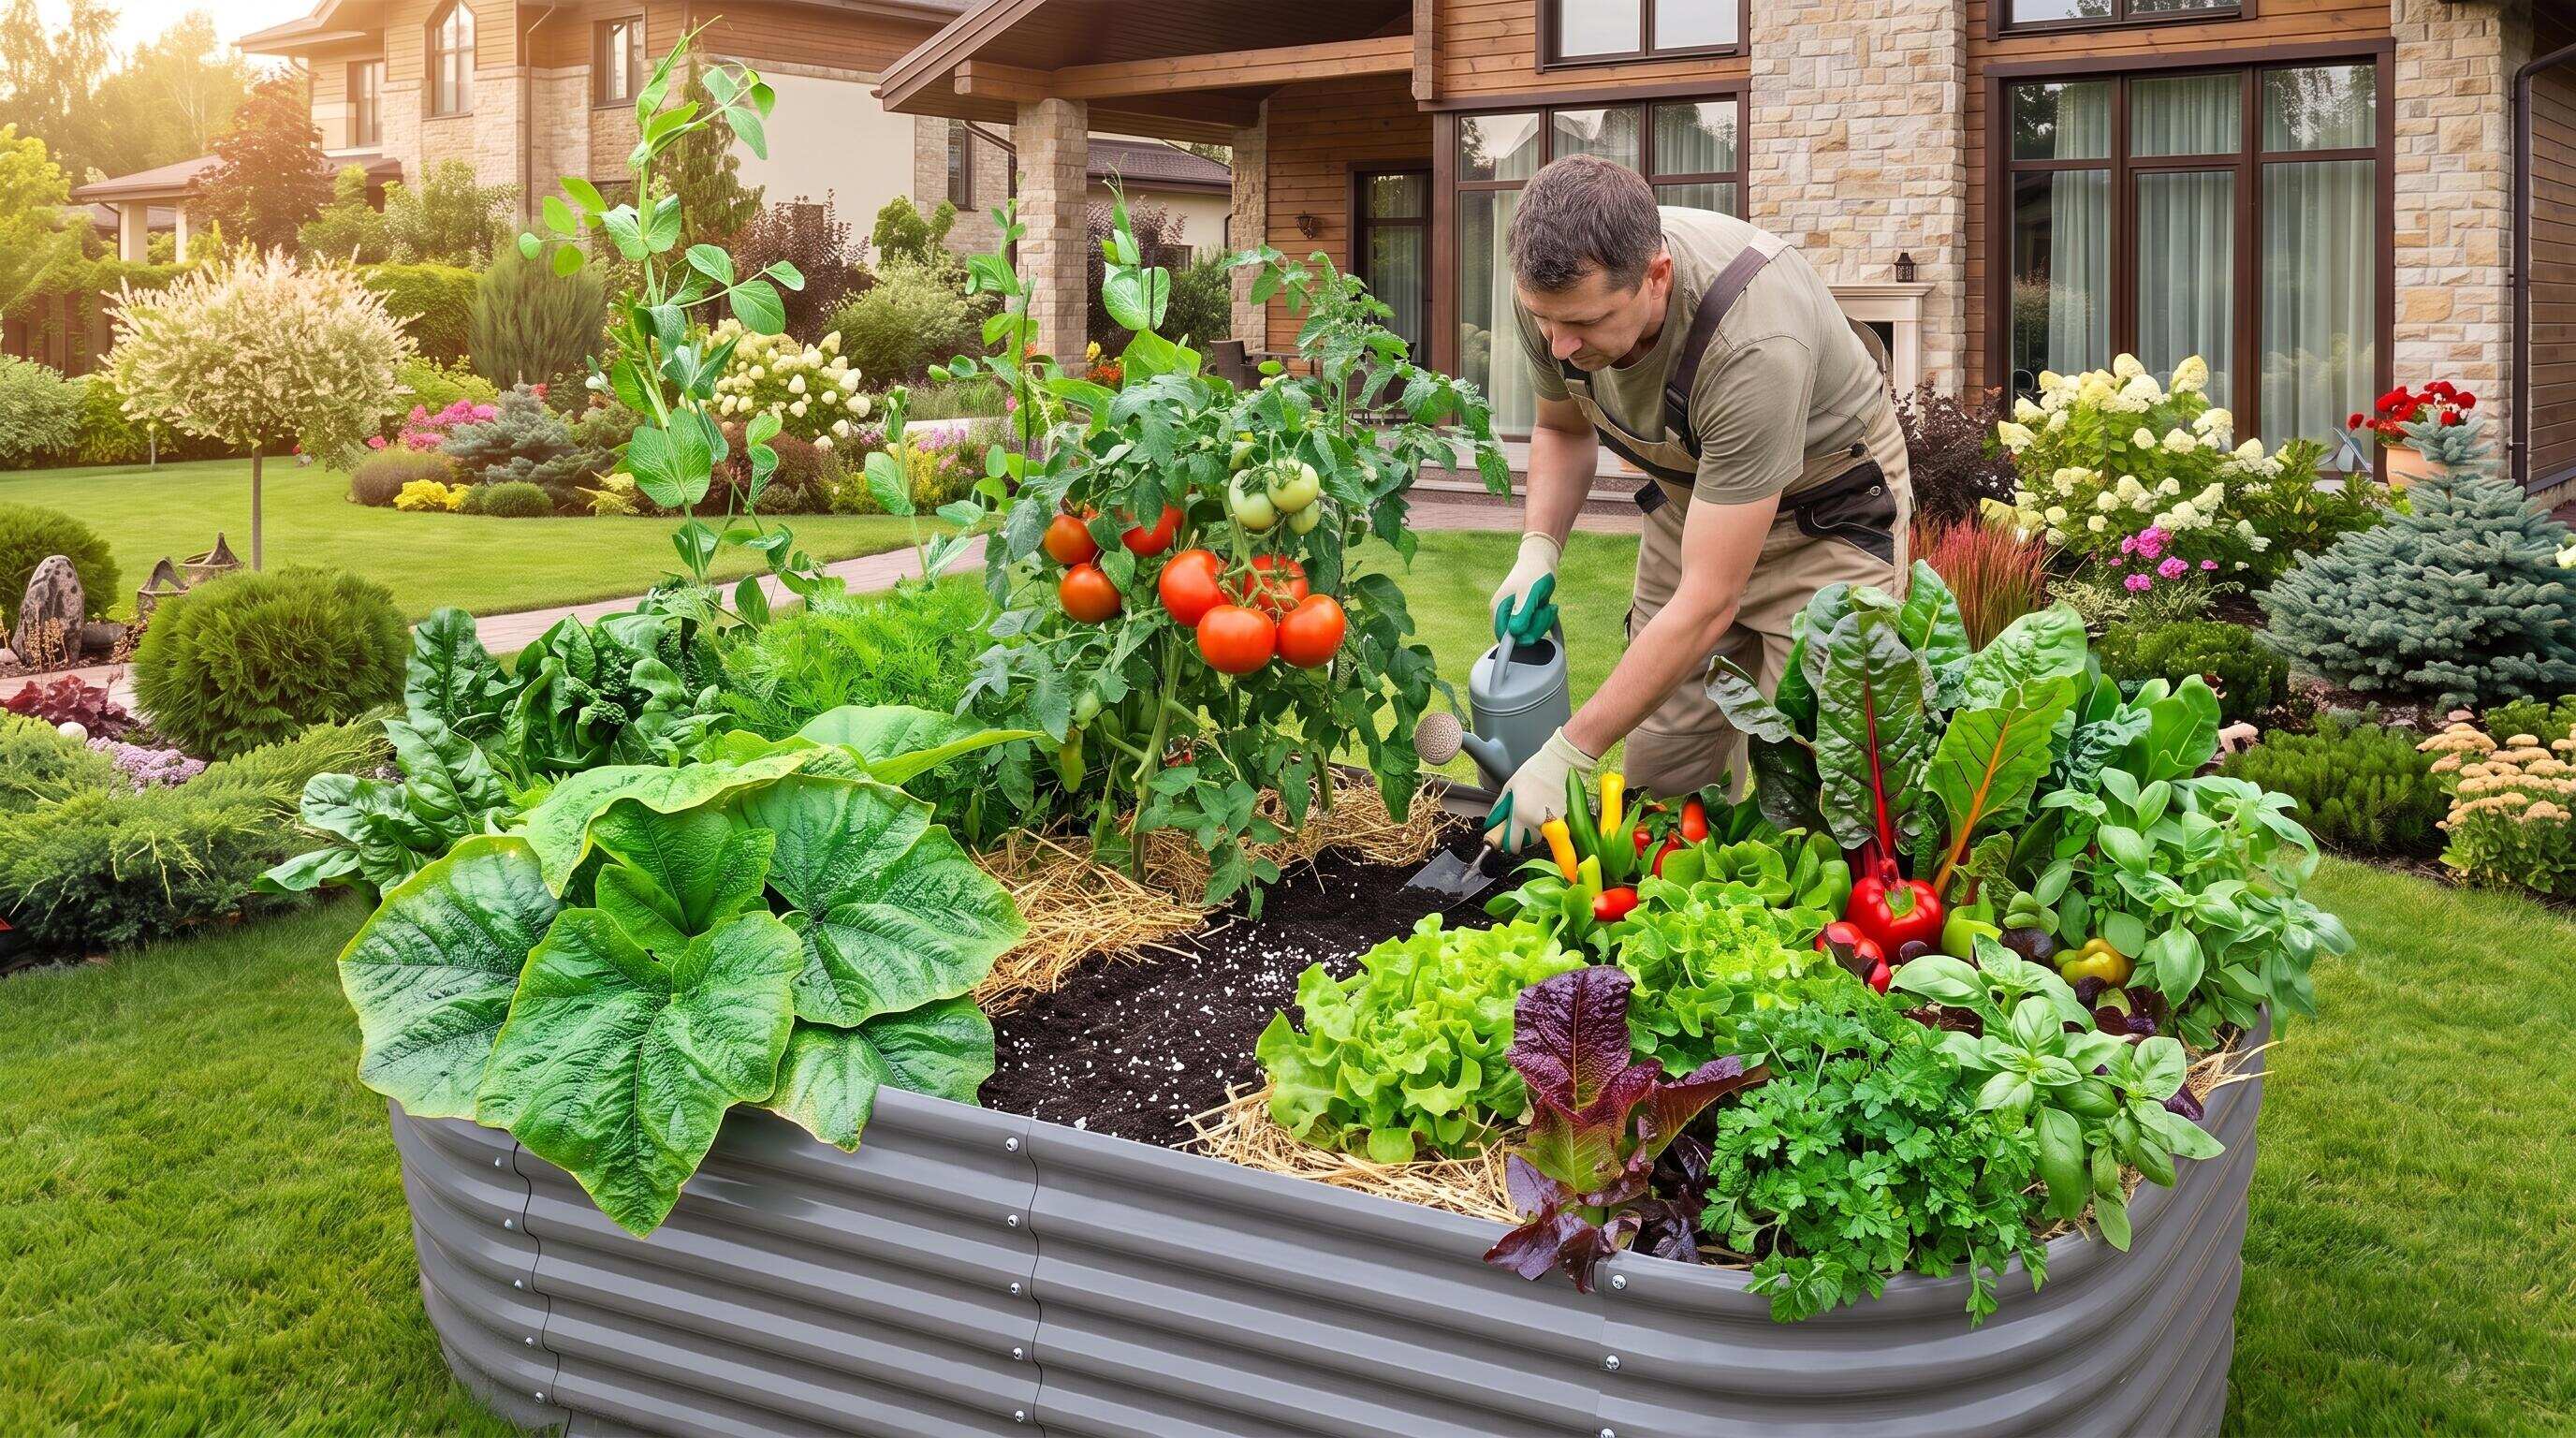
ALT: Gardener adjusting raised bed planting layout to troubleshoot shading and soil drainage issues in a compact backyard garden
Pro Tips for Better Results in Your Raised Bed Layout
Rotate crops between beds each season. Even within a small raised bed layout, rotating plant families between beds year to year meaningfully reduces the build-up of soil-borne diseases and pest populations that specialize in particular crop families. A bed that grew tomatoes and peppers this year should grow leafy greens or roots next year. This single habit, practiced consistently, keeps beds productive for many seasons without requiring chemical intervention.
Succession plant fast-maturing crops. Crops like lettuce, radishes, spinach, and cilantro mature in four to eight weeks. Rather than planting an entire bed at once and having a glut followed by nothing, stagger plantings every two to three weeks through the appropriate season. In our experience, this is the habit that most consistently surprises new gardeners — a small bed can produce continuously from spring through fall when succession planting is applied thoughtfully.
Use your bed edges intentionally. The perimeter of a raised bed receives more sun exposure than the interior, and the edges warm up faster. Trailing plants like thyme, cascading nasturtiums, or strawberries placed along the outer edge make use of this microclimate while spilling attractively over the bed walls — a small detail that connects function to aesthetics.
Match your bed configuration to your lifestyle, not an ideal. A pattern we consistently see among growers who stay engaged season after season is that they built a layout they can realistically maintain. Two well-tended beds outperform six neglected ones every time. For new gardeners especially, starting with a two-bed layout and expanding thoughtfully is always a better plan than scaling to maximum capacity in year one.
Common misconception to address: Many beginners assume that more plants per square foot means more yield. In practice, overcrowding does the opposite — it creates competition for light, water, and nutrients, increases humidity and fungal disease risk, and often results in smaller, lower-quality harvests than a properly spaced planting would produce. Follow recommended spacing guidelines on seed packets and plant tags; they are based on what that plant actually needs to thrive, not on conservative assumptions.
For guidance on keeping galvanized steel beds performing at their best across many seasons, maintaining galvanized steel raised beds for decades of use is a worthwhile read once your layout is established.
Frequently Asked Questions FAQ
Q1: How do I decide what to plant first in a new raised bed garden layout?
Start with what you genuinely enjoy eating and what is appropriate for the current season in your climate zone. For a first-season layout, focus on a small number of reliable, fast-producing crops — lettuce, herbs, bush beans, cherry tomatoes — rather than attempting every vegetable at once. Consulting a regional planting calendar, such as those published by the Old Farmer's Almanac, helps you sequence crops correctly so nothing goes in the ground too early or too late. Confidence builds quickly when your first few crops succeed.
Q2: Is a raised bed garden layout suitable for a rental property or temporary space?
Raised beds are well-suited to rental or temporary situations, particularly modular and freestanding metal designs that can be disassembled and moved if needed. Anleolife's modular raised garden bed options are specifically designed for this kind of flexibility, allowing growers to reconfigure or relocate their setup without permanent ground disturbance. Always check your lease terms regarding outdoor structures, but in most cases a freestanding metal raised bed sits on the surface without requiring digging or permanent installation.
Q3: How long does it take to set up a raised bed layout, and when will I see results?
Physical setup of a two-to-three-bed layout — assembling beds, leveling, filling with growing mix, and initial planting — typically takes one to two days for most gardeners working at a comfortable pace. Fast-maturing crops like radishes and lettuce can be ready to harvest in four to six weeks from transplant. Warm-season crops like tomatoes and peppers generally take two to three months from transplanting to first significant harvest. Planning your layout with a mix of fast and slow crops means you will be eating from your garden within weeks of planting, not months.
Key Takeaways
Building a productive garden in under 200 square feet is entirely achievable — and the raised bed format is what makes it practical. Three points stand out as genuinely foundational:
First, layout planning comes before any physical work. Mapping your space, understanding your sun exposure, and matching bed size to the crops you want to grow prevents the most common and costly mistakes new gardeners make. Resources like the 4x8 raised bed vegetable garden layout ideas from Savvy Gardening offer useful visual references for how different configurations play out in practice.
Second, material and bed depth matter more than most beginners expect. A high-quality galvanized steel bed with appropriate depth for your target crops, filled with a proper soil system, will outperform a shallow, poorly filled alternative regardless of how well everything else is planned. The right investment at setup pays dividends across every season that follows.
Third, small spaces reward management, not just setup. Succession planting, crop rotation, vertical growing, and consistent irrigation are the habits that keep a compact raised bed layout producing steadily from early spring through late fall — season after season.
Your next step is to measure your available space, sketch your layout, and choose beds that match your goals. Once you have a plan on paper, the physical steps move quickly.
Ready to turn your layout plan into a real garden? Explore the full range of raised garden beds, soil systems, and garden accessories at Anleolife — available on Amazon, Walmart, Home Depot, Lowe's, and Wayfair, with delivery in 3–8 business days through a nationwide warehouse network spanning California, Texas, Florida, New York, Illinois, and Washington. Whether you are starting with your first bed or expanding into a full planting-and-raising ecosystem, Anleolife's modular product design grows with you every step of the way.
References
- Old Farmer's Almanac. "Raised Bed Garden Layout Plans".
https://www.almanac.com/raised-bed-vegetable-garden-layouts-beginners - Savvy Gardening. "4x8 Raised Bed Vegetable Garden Layout Ideas".
https://savvygardening.com/4x8-raised-bed-vegetable-garden-layout/ - Gardener's Supply Company. "Pre-Planned Gardens".
https://www.gardeners.com/pages/kitchen-garden-planner-preplanned-gardens
Note: Standards and guidelines may be updated; please check the latest official documents or consult professional advisors for current recommendations.








