


























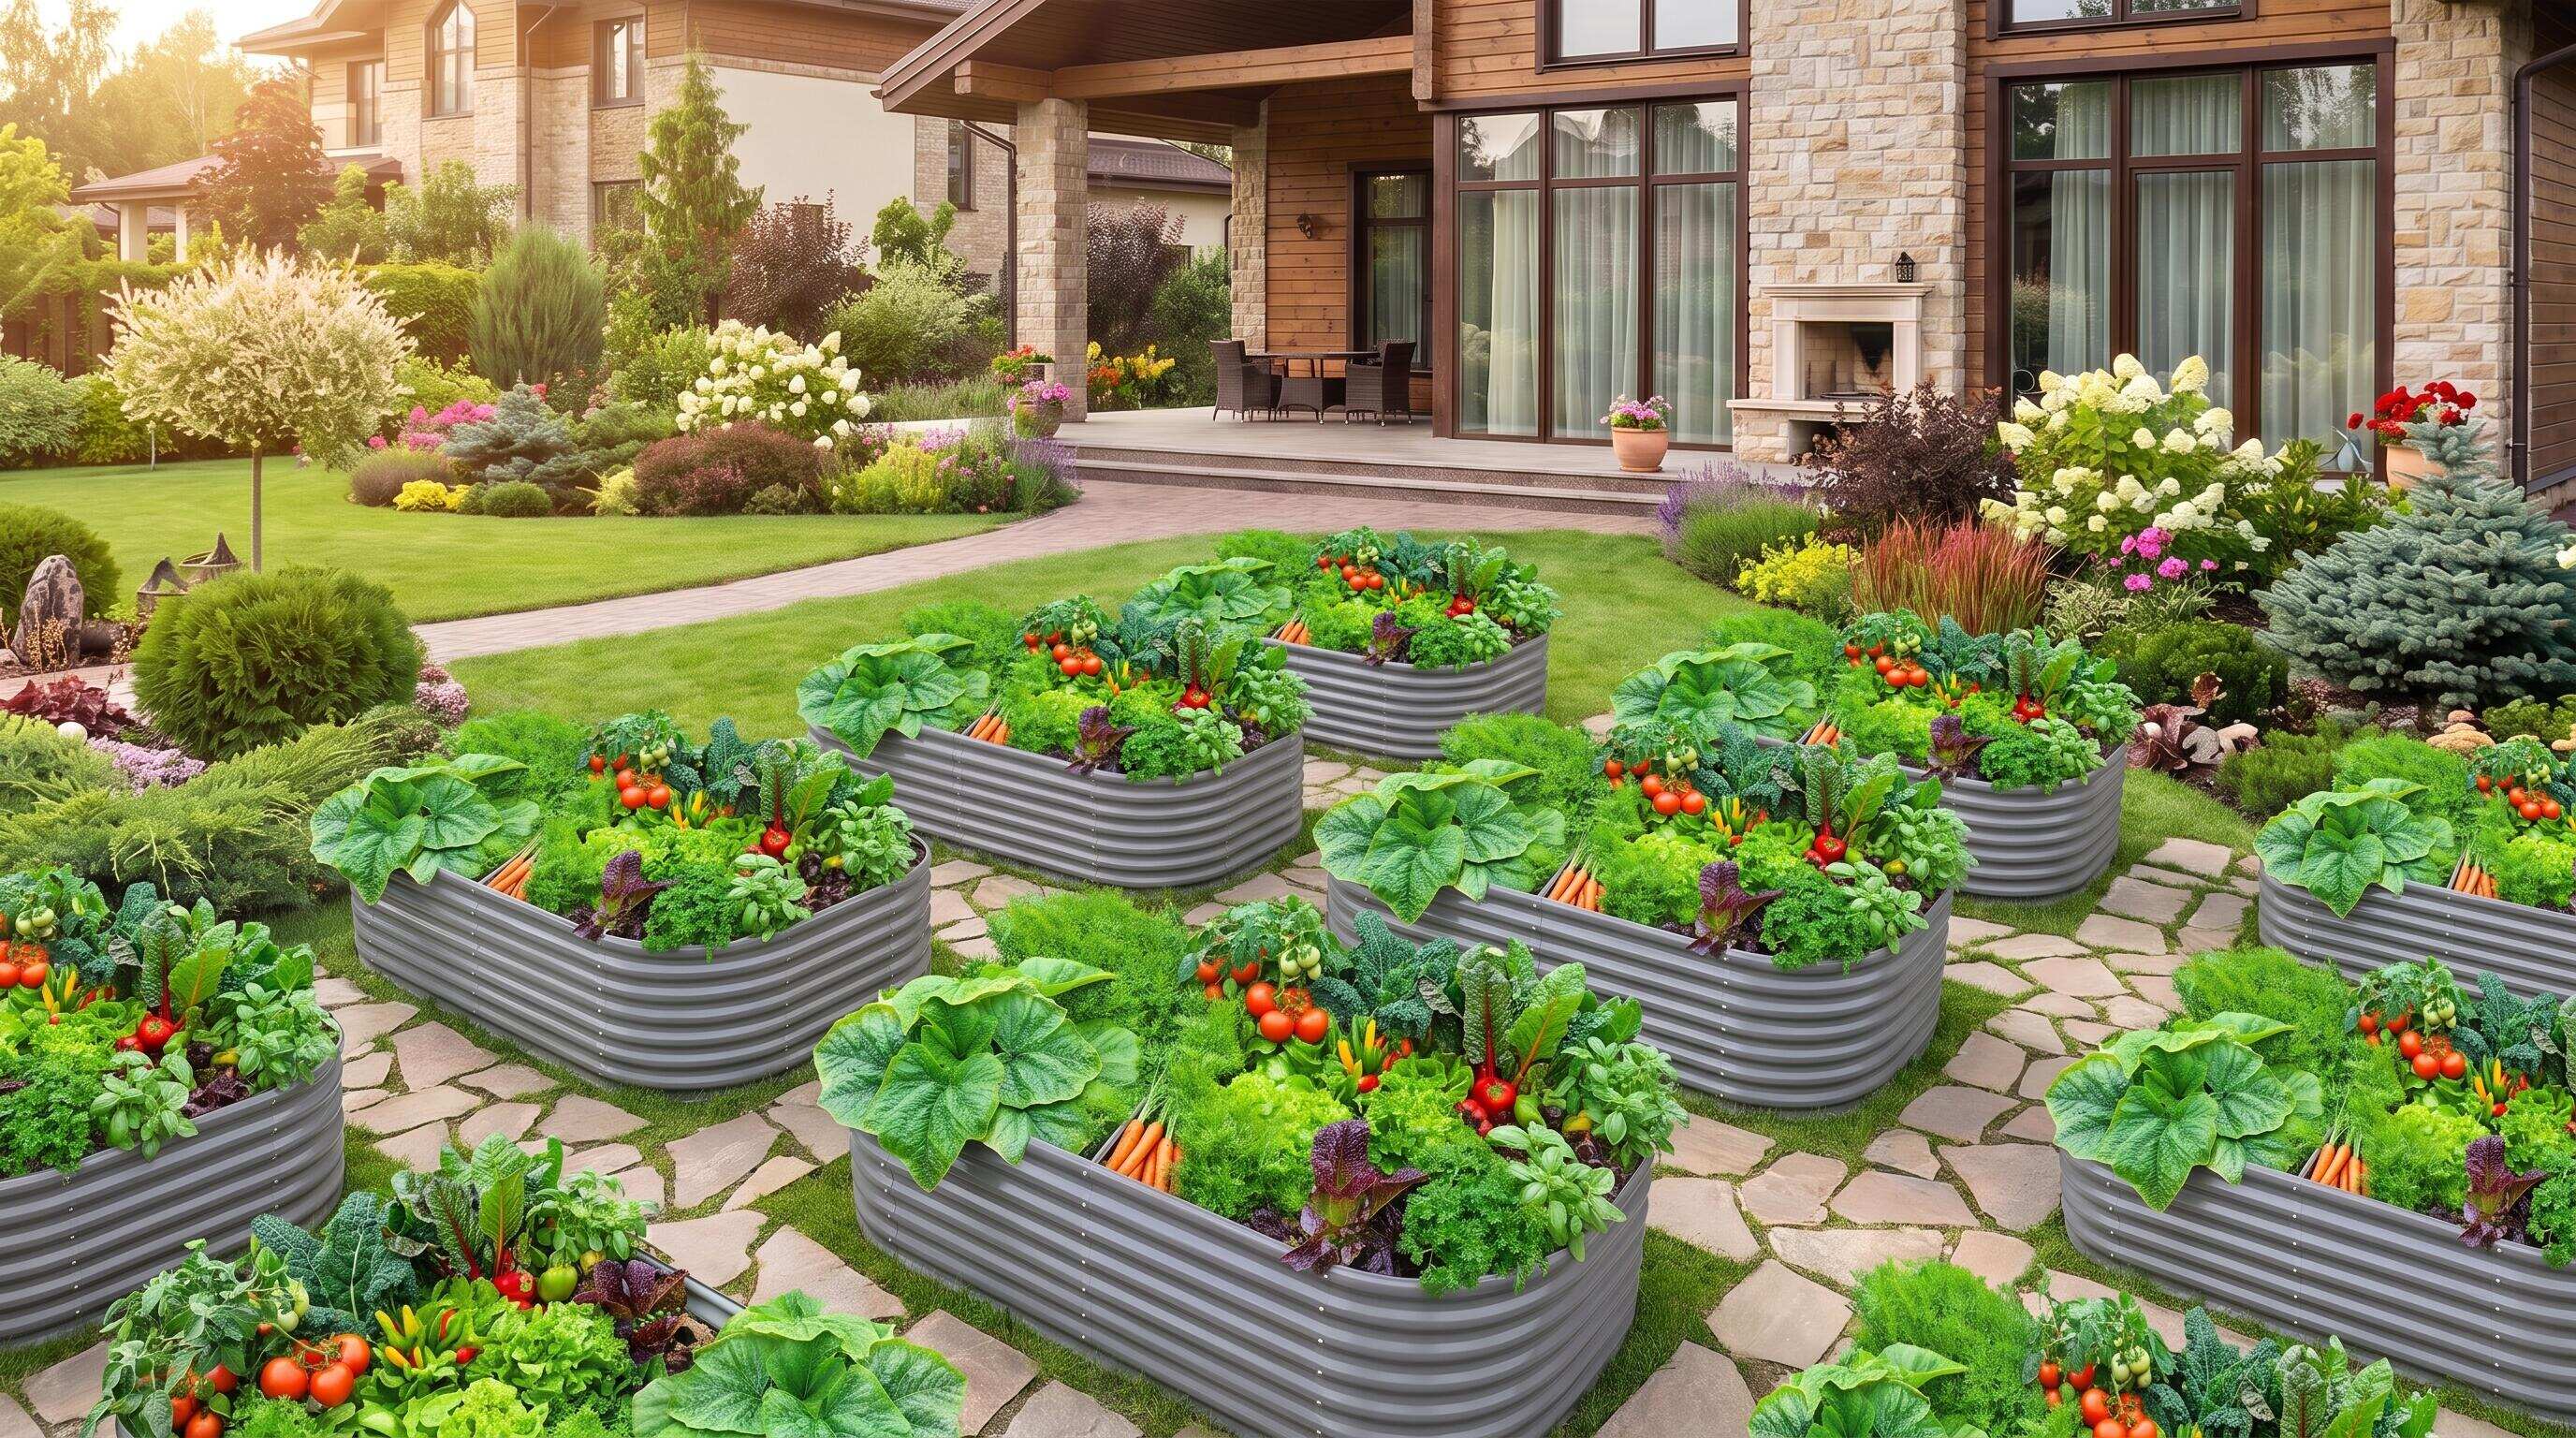
ALT: Modular raised garden beds arranged in a cohesive backyard layout with vegetables and pathways
Design a Backyard That Actually Works: The Complete Guide to a Cohesive Raised Bed Garden Layout
How do you take several individual raised beds and turn them into a backyard that looks and functions like a single, intentional design? The answer is a planned raised bed garden layout — one that accounts for plant spacing, foot traffic, sunlight, aesthetics, and future growth all at once. By the end of this guide, you will have a concrete process for combining modular beds into one unified outdoor space that is as practical as it is beautiful.
This guide is for home gardeners who already own or are planning to purchase modular raised beds and want more than a collection of isolated boxes in the yard. Whether you are a retiree reclaiming a neglected lawn, a family looking to grow your own produce, or an eco-conscious gardener optimizing every square foot, these steps will help you move from scattered intention to a cohesive raised bed layout that rewards you season after season.
Before You Start: Prerequisites and Preparation for Your Raised Bed Layout
A cohesive backyard design does not happen by accident. Before you move a single bed or dig a single post hole, there is groundwork — literal and figurative — that makes the difference between a garden that grows beautifully and one that creates constant problems. In our work with clients across North America, the gardens that succeed long-term are the ones where the owner spent time planning before planting.
What you need before starting:
- A measured sketch or diagram of your backyard, noting existing structures, fences, trees, and any utilities underground
- A clear understanding of sun exposure throughout the day — which areas receive full sun (6+ hours), partial sun, or shade
- A list of what you intend to grow, since different crops have very different space, light, and companion planting requirements
- Your modular bed components on hand or on order, with delivery confirmed (Anleolife's warehouse network covers California, Texas, Florida, New York, Illinois, and Washington, with delivery in 3–8 business days, so factor that into your timeline)
- Basic tools: tape measure, garden stakes, string line, level, and a notepad or garden planning app
- Knowledge of your local frost dates and current growing season, which affects what to plant immediately versus what to plan for later
- A realistic estimate of how much maintenance time you can commit weekly
Time and effort: The planning phase for a multi-bed layout is best treated as a half-day project done before any physical work begins. The physical installation of a modular system can range from an afternoon for a small two-bed arrangement to a full weekend for a larger integrated layout. Give yourself the time to do it thoughtfully — rushing the layout phase creates problems that take whole seasons to undo.
Checklist before starting:
- Yard measurements recorded and sketched
- Sun and shade zones identified by observation (not assumption)
- Crop selection finalized, at least for this season
- Modular bed inventory confirmed or ordered
- Soil system planned, including amendments appropriate for your region
- Pathway and access routes mapped out
- Water source and irrigation strategy identified
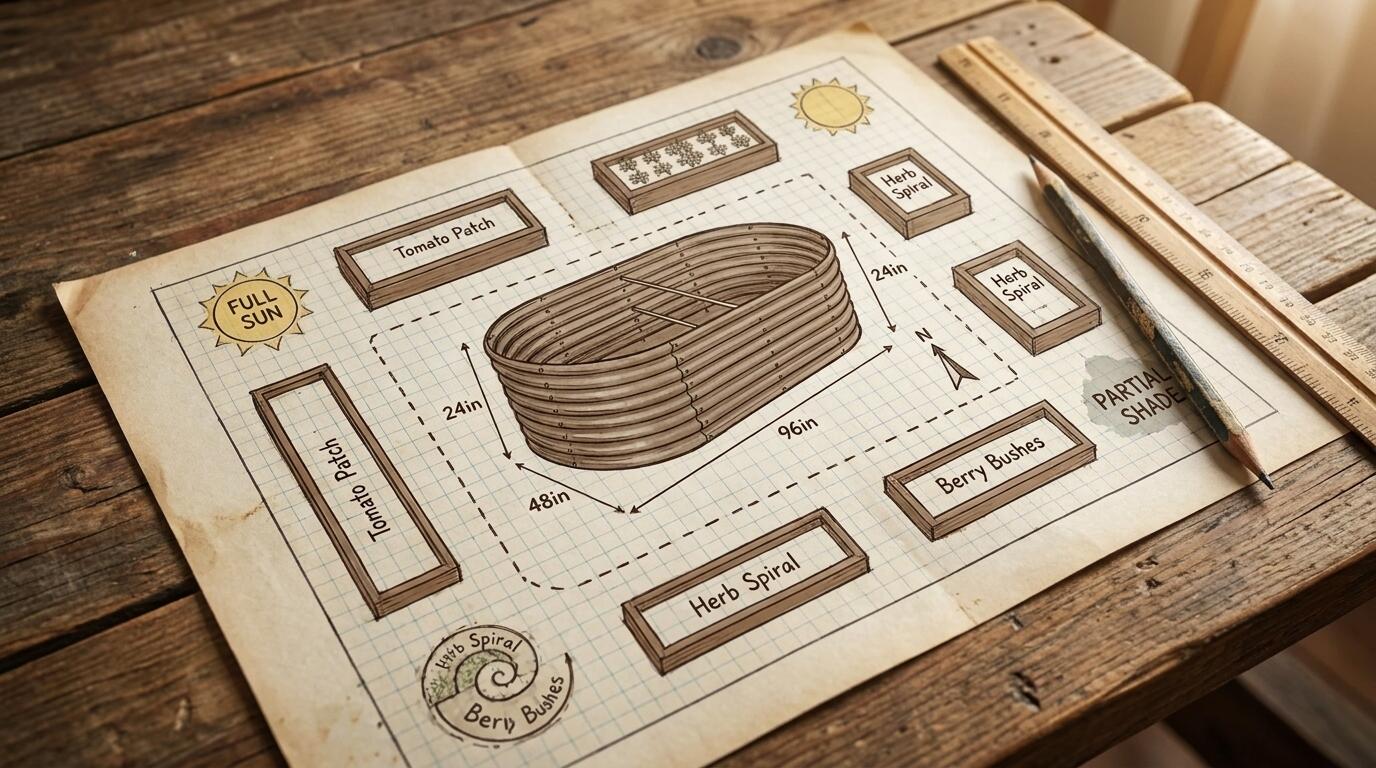
ALT: Garden planning sketch showing modular raised bed layout with pathways, sun zones, and planting areas in a backyard
Step-by-Step: How to Combine Modular Beds Into One Cohesive Backyard Design
Combining modular raised beds into a unified design is a process, not a single decision. The steps below reflect the method we consistently apply when helping gardeners transform a collection of beds into a landscape that looks like it was designed by a professional — because it was designed, with care and intention.
Step 1: Map Your Yard and Identify Your Zones
Start by drawing your backyard to scale on graph paper or using a free garden planning tool. Mark every fixed element: the house wall, any existing trees or shrubs, fences, gates, outdoor furniture areas, and utility access points. Then observe — ideally over a full day — where sunlight falls and for how long.
Divide your yard into zones based on sun exposure. Full-sun zones are your primary planting areas for fruiting crops like tomatoes, squash, and peppers. Partial-shade zones work well for leafy greens, herbs, and root vegetables that bolt in intense heat. Shaded areas can serve as walkways, compost stations, or seating nooks that complement the garden without competing with it.
Tip: Do not rely on memory for sun patterns. Take photos of your yard at 8 a.m., noon, and 4 p.m. on a clear day. These three snapshots reveal sun movement more reliably than mental estimates and prevent you from placing a sun-loving bed in a spot that turns shady by early afternoon.
Step 2: Choose a Layout Configuration That Fits Your Space and Goals
A modular raised bed garden layout is most effective when the configuration serves both function and flow. The four most common configurations for home gardens are linear (beds in a row), parallel rows with central pathways, L-shaped or U-shaped clusters, and grid arrangements. Each has trade-offs.
Linear arrangements are simple to install and suit long, narrow yards or side gardens along a fence. Parallel rows work well in open rectangular spaces and allow for efficient irrigation runs. L-shaped configurations are excellent for corner lots or for framing an existing patio or seating area, creating a sense of enclosure. Grid layouts maximize planting density and create a formal, structured aesthetic that suits many suburban homes.
Consider the size relationships between beds. Mixing bed dimensions thoughtfully — for example, pairing a large 12x3 ft growing bed with a more compact 4x4 ft accent bed nearby — creates visual rhythm rather than monotony. Anleolife's modular raised bed range, including configurations such as 18" tall 6x2 ft, 18" tall 8x4 ft, 18" tall 12x3 ft, 24" extra tall 8x4 ft, and 30" extra tall 8x4 ft, gives you meaningful variation in both footprint and height to build a layered, dimensional design.
Tip: Taller beds (24" and 30" heights) work well as focal points or anchor pieces in a design, while standard 18" beds can fill in the surrounding space. Varying heights is one of the most underused tools in raised bed garden design — it adds visual interest without requiring any additional planting.
Step 3: Plan Pathways and Access Before You Place Beds
Pathways are not an afterthought — they are a structural element of your raised bed layout. A common pattern we see in gardens that frustrate their owners: beds placed without accounting for how a person with a wheelbarrow, a child, or aging knees will actually move through the space.
Primary pathways (the main routes through your garden) should be wide enough for comfortable two-way movement or for a garden cart to pass. Secondary pathways between beds should allow you to reach the center of every bed without stepping into the soil — a standard guideline supported by the University Cooperative Extension services across the U.S., which consistently recommend keeping beds narrow enough that you never need to compact the growing area underfoot.
Choose pathway materials that suit your aesthetic and maintenance tolerance. Crushed gravel is affordable and drains well. Stepping stones create a classic look and require minimal upkeep. Bark mulch is comfortable underfoot and breaks down into soil amendment over time. Concrete pavers give a more formal finish and suit gardens that lean toward the structured, designed end of the spectrum.
Tip: Mark out your pathways with stakes and string before placing any beds. Walk through the staked layout as if you were gardening — bend down to reach the center of where a bed would be, push a cart through the passage. This five-minute test prevents months of frustration.
Step 4: Arrange Beds by Height, Function, and Companion Planting Logic
Once your zones and pathways are mapped, it is time to decide which bed goes where based on what you are growing. According to the National Gardening Association, companion planting — the practice of grouping mutually beneficial plants together — significantly improves garden productivity and can reduce pest pressure without chemical intervention.
Tall crops like corn, sunflowers, or trellised tomatoes belong on the north side of your layout (in the Northern Hemisphere) so they do not shade shorter plants. Group heavy feeders — tomatoes, squash, cucumbers — in beds where you can invest in a rich soil system with added compost and organic fertilizers. Place herbs near the kitchen-facing end of the garden for easy harvesting. Separate crops that compete for the same nutrients or that attract the same pests.
If you are raising chickens or rabbits alongside your garden (Anleolife's Raising ecosystem covers both), position your poultry or hutch area downwind of the vegetable beds and close enough that manure composting is convenient, but far enough that foot traffic from the animal area does not compact the garden soil.
Tip: Sketch your companion planting groups before assigning them to specific beds. It is much easier to adjust a drawing than to transplant established seedlings because you realized tomatoes and fennel do not belong next to each other.
Step 5: Install Beds Systematically, Starting From the Back or Far End
Physical installation should move from the farthest point of your design toward the entry point of the garden. This approach means you are never stepping over finished work or moving materials through a completed section. It also lets you adjust the layout as you go — the real yard never exactly matches the sketch, and working from back to front gives you flexibility in the final positions.
For modular beds, follow the manufacturer's assembly instructions carefully. Ensure each bed is level before filling — an unlevel bed looks informal (unless that is intentional) and can cause uneven water distribution. Use a long level or a piece of lumber with a level on top to check across the full length of larger beds.
Galvanized steel raised beds from Anleolife, including the heavy duty options in 18" tall, 24" extra tall 6x3 ft, and 30" extra tall 10x3 ft configurations, are built for long-term outdoor use with a manufacturer-specified lifespan of 20 years. That longevity matters when you are designing a permanent layout — these are not seasonal structures you will dismantle; they are infrastructure that shapes your yard for decades.
Tip: After leveling each bed and before adding soil, take a photograph from your intended primary viewing angle — typically from the house or patio. This view check often reveals that a bed is slightly off-position or that the spacing looks different in reality than it did on paper.
Step 6: Build a Unified Soil System Across All Beds
One of the most overlooked elements of a cohesive raised bed planting layout is consistency in the soil system. Gardeners often fill each bed with whatever mix was available at the time, resulting in dramatic variation in drainage, fertility, and structure from one bed to the next. This makes managing the whole garden much harder than it needs to be.
A structured soil approach for raised beds typically layers coarse drainage material at the bottom, a blend of quality topsoil and compost in the middle, and a refined, fine-textured growing medium at the top where seeds and transplants establish. The exact ratio can be adjusted for what you are growing in each bed, but the layering principle should be consistent across the whole garden.
According to cooperative extension guidelines published by land-grant university programs across the U.S., raised bed soil mixes should generally consist of a significant proportion of compost to support the biological activity that feeds plants. A higher compost ratio than you would use in in-ground planting is the norm, because raised beds drain freely and organic matter depletes faster.
Plan your soil purchasing at the same time you finalize your bed layout — you will need to know the volume of each bed to order accurately, and buying for all beds at once is often more cost-effective and ensures batch consistency.
Tip: Label each bed with its intended crop family from the start. This makes crop rotation in subsequent seasons straightforward and prevents the common mistake of planting the same family in the same bed year after year, which depletes specific nutrients and encourages soil-borne disease.
Step 7: Add Beautification Elements to Tie the Design Together
A truly cohesive backyard raised bed layout is more than functional — it has visual and spatial coherence that makes the space enjoyable to be in, not just efficient to garden in. This final step is where the design thinking pays off visually.
Consistent materials and colors across your beds create immediate visual unity. If all your beds are galvanized steel, they share a common material language that reads as intentional. Mixing different materials — galvanized, wood, plastic — in the same sightline tends to look fragmented unless done with real care.
Add non-plant elements that reinforce the design: garden edging along pathways, matching planter stakes or trellis systems, a uniform mulch color in pathways, and lighting if the garden is visible from indoor living spaces in the evening. Anleolife's Beautification range — covering decorative accessories and pathway systems — is designed to integrate with the raised bed ecosystem without requiring you to source materials from multiple brands and hope they coordinate.
Consider vertical elements. A trellis on the back of a tall bed, a simple arch between two beds in a pathway, or a small focal structure at the end of a garden row draws the eye through the space and makes the overall design feel complete rather than flat.
Tip: Step back and look at the garden from the windows of your home. This is the most common viewing angle for most homeowners, and a design that reads well from inside the house — even in winter when beds are empty — has succeeded at the landscape level, not just the gardening level.
Common Mistakes and Troubleshooting in Raised Bed Garden Layout
Even experienced gardeners run into problems when combining multiple beds into one design. The table below captures the issues we see most frequently and how to address them.
| Symptom | Likely Cause | How to Fix |
|---|---|---|
| Beds feel cramped and pathways are hard to navigate | Pathways were planned too narrow on paper and not tested with actual movement | Remove or reposition one bed to widen the main circulation route; gravel pathways can be widened relatively easily |
| One bed grows poorly while adjacent beds thrive | That bed is in a shade zone that was not detected during planning | Relocate the bed or use it for shade-tolerant crops like lettuce, spinach, or herbs |
| The garden looks cluttered and disorganized despite having good plants | Beds are different materials, heights, and orientations without a unifying design logic | Standardize materials, align bed orientations consistently, and add uniform pathway surface to create visual order |
| Water pools between beds after rain | Yard has low spots or compacted soil that was not addressed before installation | Improve drainage with gravel sub-base in pathways; consider slight grading adjustments between beds |
| Soil levels dropping significantly within the first season | Soil mix had too much organic material that compressed as it broke down | Top-dress with quality compost each season; plan for this annual top-up as part of ongoing maintenance |
| Tall crops in one bed are shading neighboring beds more than expected | Tall plantings were placed without considering their summer height and shadow arc | Relocate tall-growing beds to the northernmost position in the garden; plan crop heights before planting, not after |
Pro Tips for Better Results in Modular Raised Bed Garden Design
These recommendations go beyond the standard setup advice and address the nuances that separate a good raised bed garden from an excellent one.
Treat the first season as a calibration year. No matter how carefully you plan, the real garden will behave differently than the design. Light shifts as neighboring trees leaf out. Wind patterns affect which beds dry faster. One corner may drain better than another. Use the first full growing season as an observation period and make notes about what to adjust for the following year. Gardeners who iterate outperform those who plan and assume.
Standardize your bed height for your primary users. If the garden is used primarily by someone with limited mobility or back issues, 30" waist-high beds make a meaningful difference in comfort and encourage more frequent interaction with the garden. If children are involved, lower standard heights (18") allow them to reach across and engage independently. Matching bed height to the person is not aesthetic — it is ergonomics that determines whether the garden gets used or neglected.
Use the north-south orientation rule for sun-facing rows. Raised bed rows oriented north to south receive more even sun exposure throughout the day than east-west rows, where the north-facing side of taller plants consistently shades the south side. The north-south orientation is supported by horticulture research and is a practical default for most North American latitudes where the sun arc crosses a significant portion of the sky.
Plan for expansion from day one. A modular bed layout should never be designed as a closed system. Leave access on at least one side of your garden footprint for future beds, a compost area, or raised beds dedicated to perennials. In our experience, the gardens that started with room to grow are the ones whose owners are still enthusiastically expanding five years later, while gardens designed to fill every inch from the start often feel confining within a couple of seasons.
Common misconception: more beds always means more harvest. The most frequent misunderstanding we encounter is that adding more beds linearly increases food production. In reality, production is limited by the weakest link — typically soil quality, water consistency, or time available for maintenance. A smaller number of well-managed, properly fed beds with a disciplined soil system will outproduce a larger collection of under-maintained beds every time. Quality of care matters more than quantity of space.
Questions & Answers
Q1: How do I decide what size modular raised beds to use in my layout?
Bed size selection in a raised bed garden layout should be driven by three factors: the width of your reach (most adults can comfortably reach 24" from one side, making 4 ft the standard maximum width for accessible beds), the length of your available space, and the crops you intend to grow. Longer beds suit row crops and allow more companion planting variety. Shorter, wider beds are better for intensive square-foot planting methods. Mixing sizes intentionally adds visual interest and functional diversity to the overall design.
Q2: Is it necessary to have all raised beds at the same height in a cohesive backyard design?
Matching bed heights is not required, but varying heights should be intentional rather than random. In a well-planned raised bed layout, taller beds (such as 24" or 30" models) serve as focal points or anchor pieces, while standard-height beds fill the surrounding space. Using two or three heights maximum creates a layered, designed look. Mixing many different heights without a visual logic tends to make the garden feel ad hoc rather than planned, regardless of how good the planting is.
Q3: How long does a well-installed modular raised bed layout last, and what maintenance does it require?
Galvanized steel modular beds, such as those in the Anleolife range, are built with a stated lifespan of 20 years under normal outdoor conditions. Annual maintenance for the layout itself is minimal: check that beds remain level, inspect connections or fasteners on modular panels, and top-dress soil with compost each spring to replenish organic matter lost to decomposition. Pathway surfaces (gravel, mulch, stepping stones) typically need refreshing every one to three years depending on traffic and weather. The soil system requires the most consistent attention — annual amendments are the single highest-impact maintenance task.
Summary
Combining modular raised beds into one cohesive backyard design is fundamentally a planning discipline before it is a gardening discipline. The physical work of assembling and filling beds is straightforward; the design thinking that makes those beds work together as a unified system is where most gardeners underinvest.
Key Takeaways:
- Map your yard carefully before placing any beds — sun zones, pathways, and access routes must be determined in advance, not adjusted around bed positions after the fact.
- A raised bed garden layout succeeds when bed size, height, and configuration are chosen with specific crops and specific users in mind, not selected arbitrarily.
- Pathway design is structural, not decorative — width, surface material, and flow determine whether the garden is genuinely usable season after season.
- A unified soil system across all beds is as important to design coherence as visual elements like matching materials and aligned orientations.
- Plan for expansion from day one; a modular system's greatest advantage is its ability to grow with you over time without requiring you to start over.
The clearest next step is to sketch your yard to scale, mark your sun zones, and identify which bed configuration fits your space before ordering or moving anything. A thirty-minute planning session now prevents a season of frustration later.
Ready to build a raised bed layout that lasts? Explore the full range of modular beds, soil systems, and beautification accessories at Anleolife — available through Amazon, Walmart, Home Depot, Lowe's, Wayfair, and the official Anleolife website, with delivery in 3–8 business days from strategically located warehouses across California, Texas, Florida, New York, Illinois, and Washington. Whether you are starting with your first bed or expanding into a full planting-and-raising ecosystem, Anleolife grows with you every step of the way.
Sources & Further Reading
- Growing The Home Garden. "My Vegetable Garden Layout Part 2 (Raised Beds)".
https://growingthehomegarden.com/my-vegetable-garden-layout-part-2/ - Instagram / Gardening Community. "Vegetable Garden Layout Raised Beds".
https://www.instagram.com/popular/vegetable-garden-layout-raised-beds/ - National Gardening Association. Raised Bed and Companion Planting Guidance.
https://garden.org - U.S. Department of Agriculture — National Institute of Food and Agriculture. Home Gardening and Soil Health Resources.
https://www.nifa.usda.gov
Note: Standards and guidelines may be updated; please check the latest official documents or consult professional advisors for current recommendations.








