


























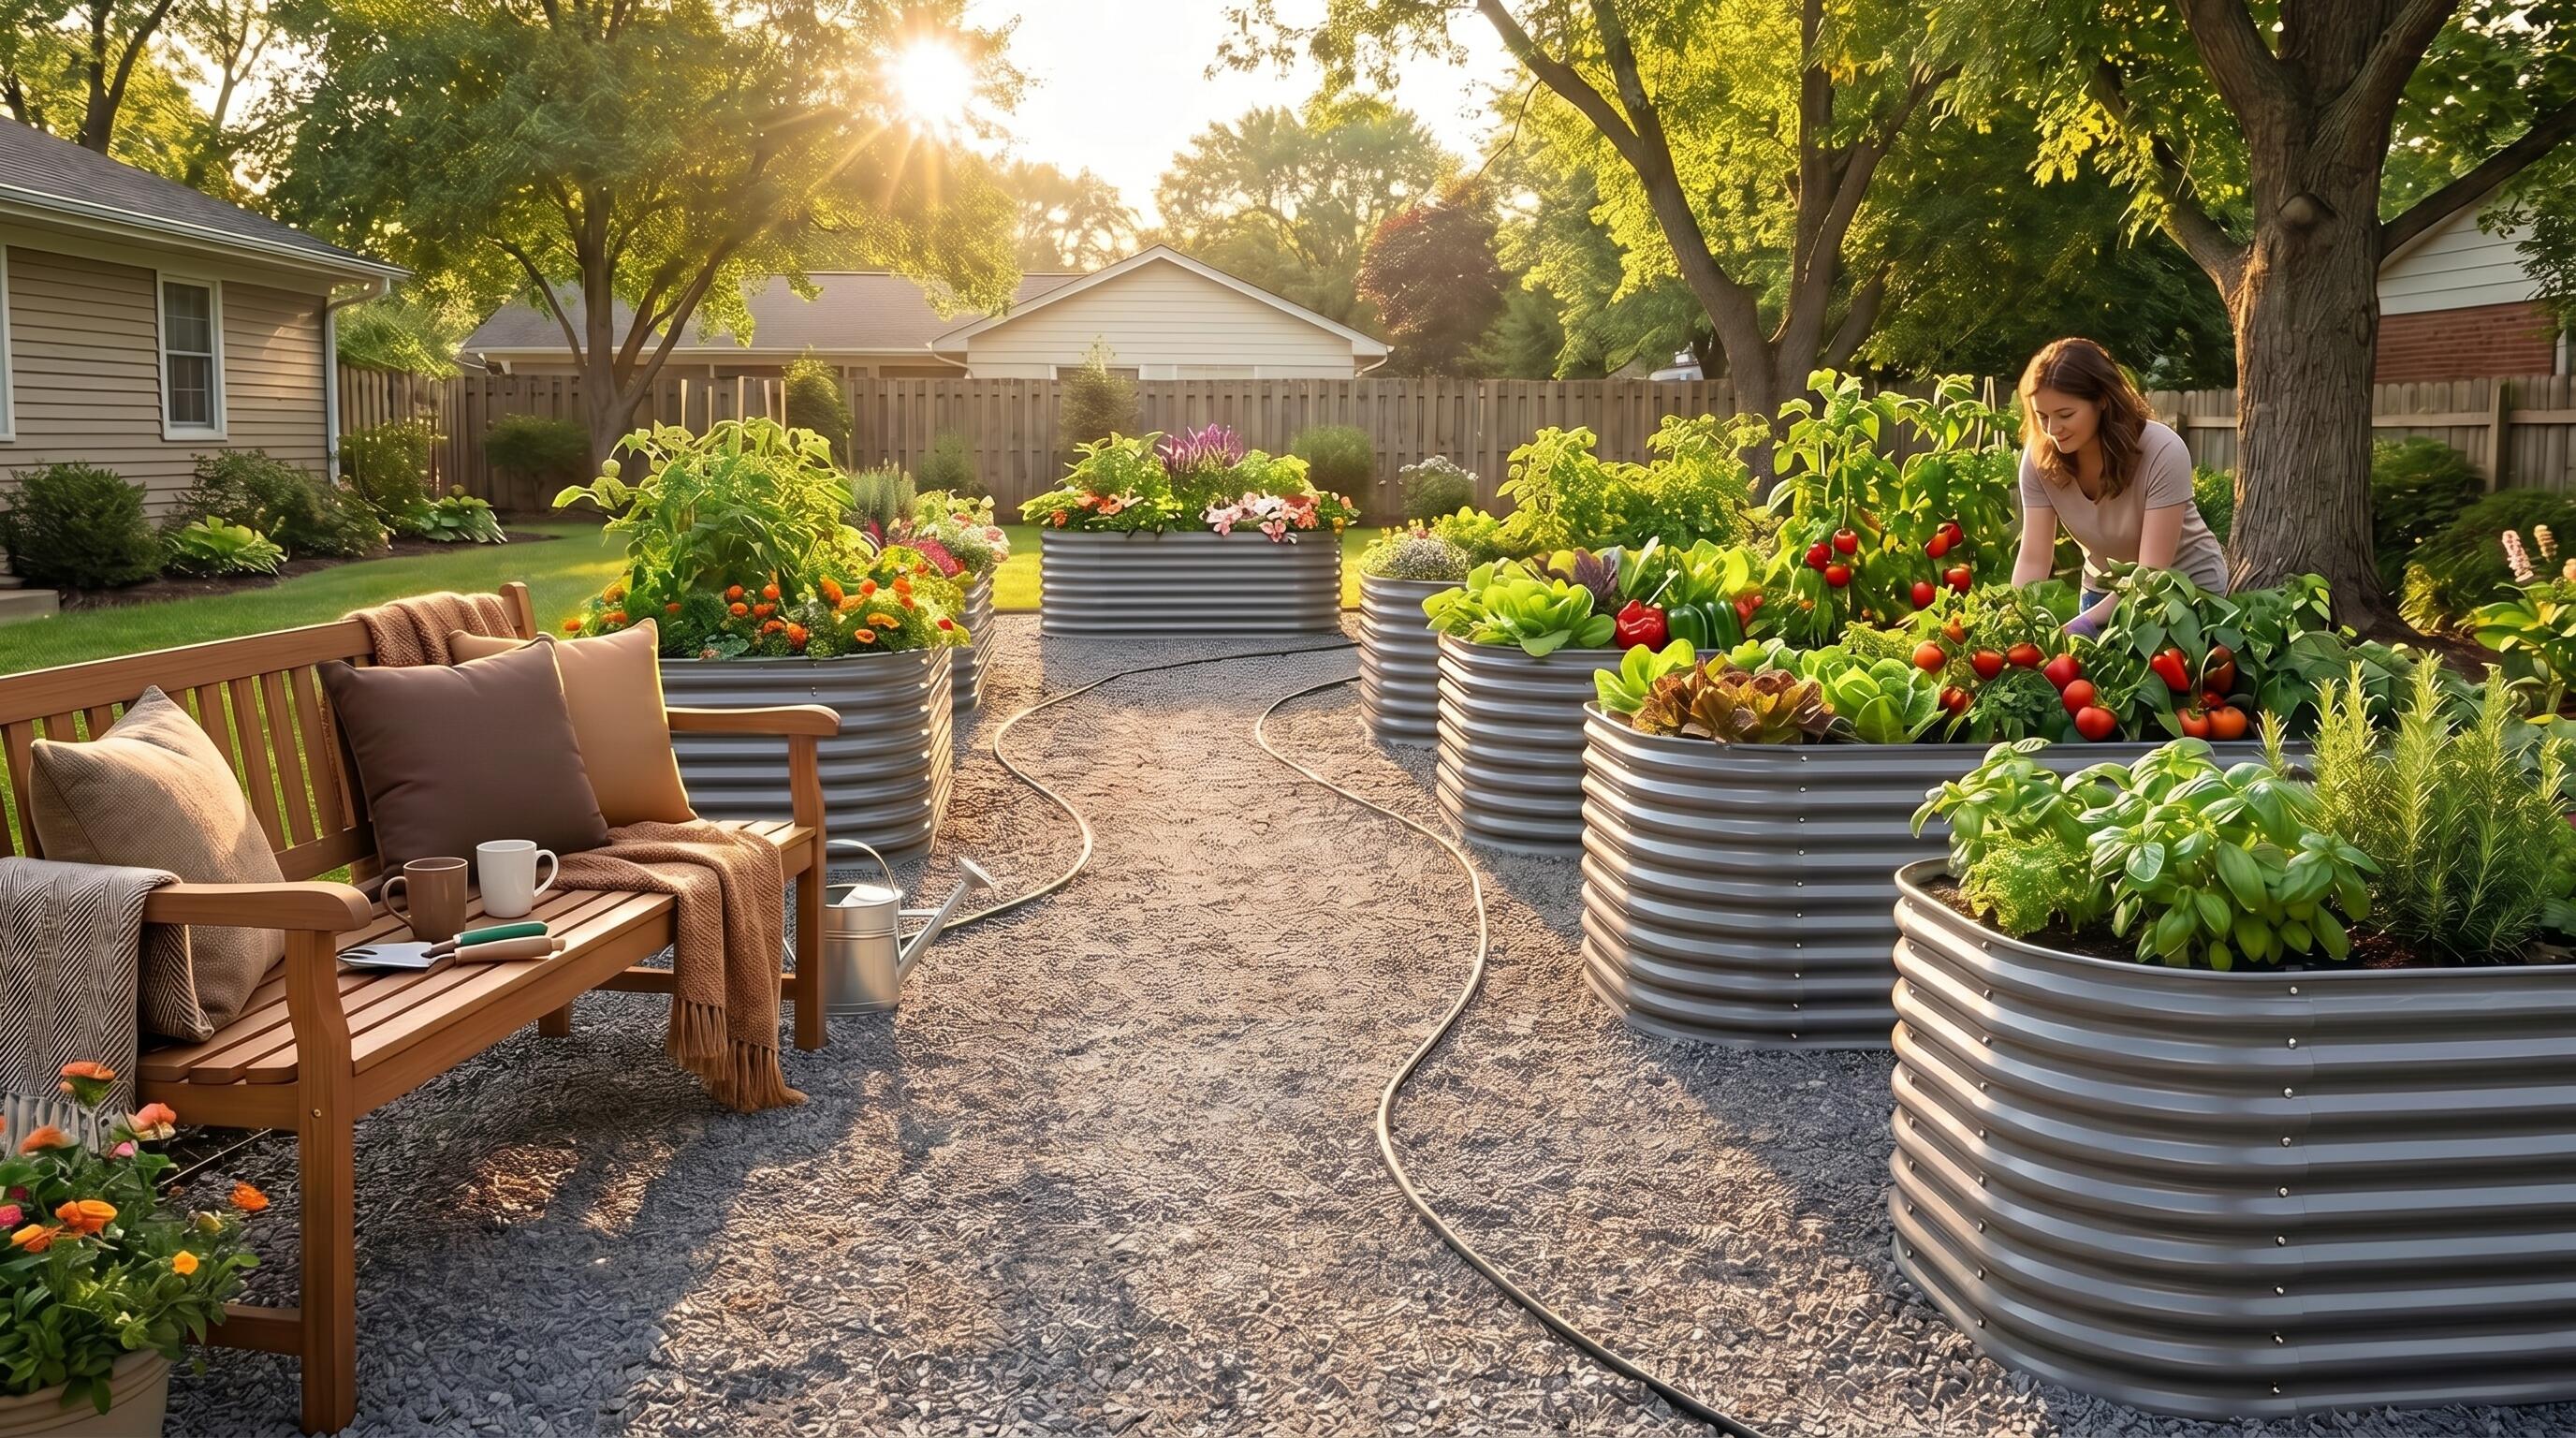
ALT: Small backyard raised bed garden layout with productive planting beds on a compact lot
Design a Raised Bed Garden Layout That Actually Works on a Small Lot
Picture this: you have a narrow backyard, maybe a side yard or a modest patio strip, and you want to grow real food — not just a token tomato plant in a pot. You've been circling the idea of a raised bed garden layout for months, unsure where to start or whether your lot is even large enough to make it worthwhile. The good news is that thoughtful planning can turn almost any small outdoor space into a consistently productive kitchen garden.
This guide walks you through every decision you'll face — from measuring your lot and selecting the right raised bed layout to choosing plants, setting up pathways, and avoiding the missteps that quietly kill a first-season garden. Whether you're a suburban homeowner squeezing production out of a 400-square-foot backyard, a retiree looking to spend more time growing and less time troubleshooting, or an eco-conscious family that wants homegrown food without a sprawling estate, this article is written for you.
Before You Start: Prerequisites and Preparation
A productive raised bed planting layout begins long before a single seed goes into the ground. Skipping the preparation phase is one of the most consistent patterns we see in new gardeners — they dive into buying beds and soil before they've assessed what their specific space actually needs. A little upfront work saves significant frustration later.
What you'll need before starting:
- A measuring tape and a simple sketch of your outdoor space (graph paper works well)
- A compass or a smartphone compass app to identify the direction your yard faces
- Basic knowledge of your local frost dates (available through your regional cooperative extension service or the U.S. Department of Agriculture plant hardiness zone map)
- A sense of your water source — where is the outdoor tap, and how far will a hose reach?
- A realistic estimate of how much time per week you can commit to watering, weeding, and harvesting
- A budget range for beds, soil, and amendments
Time and effort estimate:
Planning itself takes a weekend afternoon. Installation of one or two beds — including filling them with soil — is typically a half-day to full-day project for a pair of adults. The first growing season requires moderate, consistent attention: watering frequency depends on your climate and the season, but expect to be in the garden several times a week during peak summer months.
Checklist before starting:
- Outdoor space measured and sketched to rough scale
- Sun exposure assessed over at least one full day (track shade movement from structures and trees)
- Nearest water source identified
- Local frost dates noted
- Soil and amendment budget estimated
- Bed type and size shortlisted based on your available space
Step-by-Step Instructions for Planning Your Raised Bed Garden Layout
Step 1: Map Your Space and Identify Sunlight Patterns
The foundation of any effective raised bed garden layout is an honest assessment of available sunlight. Most vegetables — including tomatoes, peppers, beans, cucumbers, and leafy greens — require a minimum of six hours of direct sun per day, according to guidance from the University of California Cooperative Extension. Before you decide where any bed will go, spend one clear day watching how sunlight moves across your yard.
Walk the space in the morning, at midday, and in the late afternoon. Note which areas receive full sun (six or more hours), partial sun (three to six hours), and full shade. Mark these zones on your sketch. Structures like fences, walls, and the house itself cast significant shadows that shift with seasons — in winter the sun is lower, casting longer shadows, and in summer it tracks higher and more overhead.
Once you know your sun map, you can match plant types to zones. Full-sun areas get your fruiting crops; partial-sun spots work beautifully for lettuce, spinach, herbs, and brassicas that actually benefit from afternoon shade in hot climates.
Tip: Use stakes and string to simulate where you're thinking of placing each bed before you commit. Walk around them. Ask yourself whether you can comfortably reach the center of the bed from either long side without stepping into it — this is how you determine the appropriate bed width for your reach.
Step 2: Choose Bed Dimensions That Match Your Body and Your Space
Raised bed layout efficiency comes down to ergonomics as much as square footage. A bed you can't comfortably weed from both sides becomes a bed you avoid. As a general rule, beds should be no wider than you can reach comfortably to the center from either long side — typically around four feet for most adults, or narrower if you're placing a bed against a fence or wall where you can only access it from one side.
Length is more flexible. Longer beds maximize growing area and reduce the proportion of space taken up by pathways, but they also require more soil and more structural integrity from the bed frame. Anleolife's range of galvanized steel raised garden beds includes options from compact sizes ideal for patio corners up to generous configurations suited for a dedicated garden zone — including the 8x4 ft and 12x3 ft footprints that work especially well in narrow lots where length is available but width is constrained.
Height matters too, and it's often underestimated. Standard 18-inch-tall beds suit most in-ground conditions, but if your native soil is compacted, poorly draining, or contaminated (a real concern in older urban lots), stepping up to a 24-inch or even a 30-inch extra-tall bed eliminates the problem entirely — your plants' roots never reach native soil at all. For gardeners with limited mobility, a 35-inch waist-high bed makes gardening genuinely accessible without bending.
Tip: For a first raised bed planting layout on a small lot, start with one or two beds rather than filling the entire space immediately. You'll learn how the light, water, and your own routines interact with the space before committing to a full installation.
Step 3: Plan Pathways Between Beds
Pathways are not wasted space — they are infrastructure. A raised bed layout that doesn't account for comfortable passage between beds becomes impassable once plants are mid-season and spilling over the sides. According to guidance from the National Gardening Association, pathways between raised beds should be wide enough to allow comfortable passage while carrying a watering can or small harvest basket — a minimum of 18 inches for tight configurations, with 24 to 36 inches preferred if you use a wheelbarrow or garden cart.
On a small lot, the temptation is to minimize pathways to maximize growing area. Resist this. Narrow pathways that look fine on paper become impractical when full-grown tomato plants arch outward in midsummer. Instead, plan for slightly wider paths and use that edge space intentionally — low-growing herbs like thyme and chamomile planted at bed edges effectively extend your growing area into the pathway zone without blocking movement.
Pathway surfacing is worth planning in advance. Bare soil pathways become muddy and weedy. Mulched pathways (wood chips, straw) are low-cost and effective. Gravel provides a cleaner, more permanent look. Stepping stones or pavers in a mulched base combine practicality with aesthetics and hold up well through multiple seasons.
Tip: Mark your planned pathways on your sketch with a consistent width and walk the layout on the ground before building anything. Adjust wherever the path feels tight or awkward.
Step 4: Select a Bed Arrangement Pattern That Maximizes Your Lot Shape
Different lot shapes call for different raised bed layout patterns. The three arrangements we recommend most consistently for small lots are the linear row layout, the U-shaped configuration, and the L-shaped layout — each has distinct advantages depending on your yard's geometry.
A linear row layout works best for narrow rectangular yards or side yards. Beds are placed in parallel rows running the length of the yard, with a consistent pathway between each row. This pattern is easy to extend incrementally — add one bed at a time as your confidence and budget grow.
A U-shaped configuration — three beds arranged in a U around a central workspace — is extremely efficient for small square yards. The center becomes a permanent working zone where you can set down tools, a harvest basket, or a soil amendment bag. It's particularly popular among gardeners who want to feel "inside" their garden rather than working around its edges.
An L-shaped layout suits corner yards or spaces where one boundary is a fence and the other is a wall. Place longer beds along the two boundary walls and leave the corner open as a potting station or composting area.
For gardeners planning a more ambitious multi-bed system, the step-by-step guide to planning a multi-bed backyard garden transformation covers how to sequence beds over multiple seasons without disrupting what's already growing.
Tip: On paper, U-shaped layouts look like they consume more space than linear rows — but because the central workspace is shared rather than duplicated between beds, the total footprint is often more compact than three separate parallel beds with individual pathways.
Step 5: Choose the Right Bed Material for Long-Term Performance
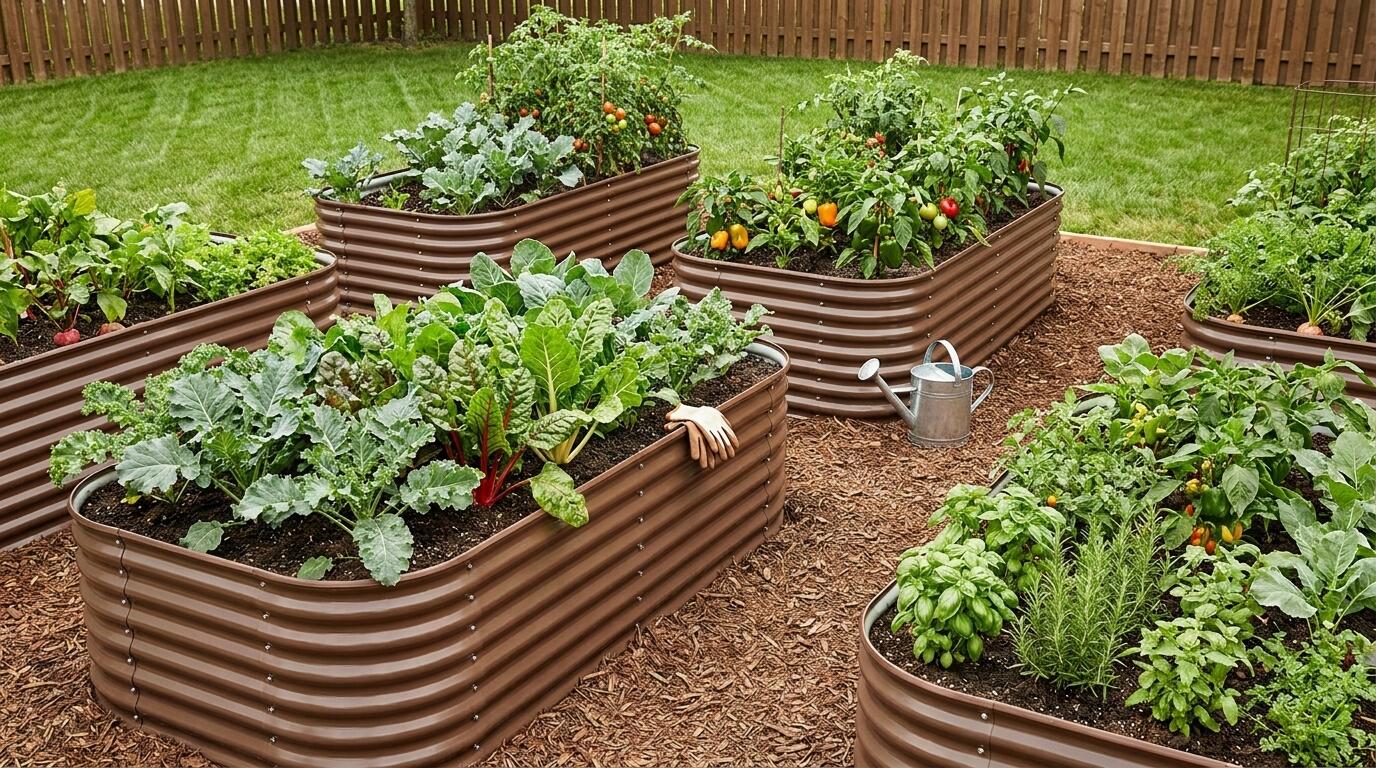
ALT: Galvanized steel raised garden beds arranged in a small backyard showing durable raised bed layout and planting configuration
Raised bed material determines not just aesthetics but structural integrity, longevity, and the safety of your soil environment. The main categories are wood (typically cedar or pine), composite lumber, and galvanized steel — each with distinct trade-offs.
Wood is familiar and easy to work with, but untreated pine degrades within a few seasons and even rot-resistant cedar requires replacement within a decade in most climates. Composite lumber is more durable but often more expensive and can leach plasticizers depending on the formulation.
Galvanized steel is currently the dominant material choice among serious home gardeners, and for good reason. When properly zinc-coated, galvanized steel resists rust, handles freeze-thaw cycles, and maintains structural integrity across decades of use. Anleolife's galvanized steel raised garden beds are engineered for a rated lifespan of 20 years — substantially longer than most wood alternatives. The zinc coating acts as a sacrificial barrier, meaning the steel beneath remains protected even as the outer layer slowly weathers. For a deeper look at material trade-offs, this analysis of eco-friendly raised garden bed materials covers sustainability considerations that matter for health-conscious and environmentally aware growers.
Per guidance from the ASTM International standards for zinc coatings on steel, adequate coating thickness is a key determinant of corrosion resistance — a factor to verify when comparing beds across brands.
Tip: If your lot is in a region with hard winters or coastal salt air, galvanized steel outperforms wood significantly in those conditions. It also resists burrowing pests more effectively when the bottom of the bed is secured.
Step 6: Build Your Soil System
The most perfectly planned raised bed layout will underperform if the soil inside the beds is poor. Raised beds offer a significant advantage here: you control the growing medium entirely. Unlike in-ground gardening, where you're improving existing soil incrementally over years, a raised bed lets you start with an optimized mix from day one.
A high-quality raised bed soil mix typically combines three components: a structural base (such as topsoil or aged compost), an aeration component (perlite, coarse vermiculite, or aged bark), and a fertility component (well-rotted compost, worm castings, or a slow-release organic fertilizer). The ratio varies by recommendation, but the goal is a mix that retains moisture without becoming waterlogged and drains freely without drying out within hours of watering.
For deep beds — 24 inches or taller — a technique called "lasagna filling" or "hugelkultur-lite" can reduce the cost of filling: the bottom portion of a deep bed can be filled with logs, branches, straw, and aged organic matter, which breaks down slowly and feeds the soil over multiple seasons. The top foot or so is filled with finished, plantable growing mix.
Once your soil system is established, top-dressing with compost at the start of each growing season maintains fertility without disrupting plant roots. According to the USDA Natural Resources Conservation Service, consistent organic matter addition is the single most reliable practice for building and sustaining productive garden soil over time.
Tip: Buy soil in bulk if you're filling multiple beds — bag-by-bag purchasing adds up quickly in both cost and effort. Local landscape supply companies often deliver bulk compost and topsoil at a meaningful discount over bagged retail.
Step 7: Plan Your Planting Layout Within Each Bed
With your beds built and filled, the final step is organizing what grows where — the raised bed planting layout inside each individual bed. This is where the payoff becomes tangible: the right plant placement maximizes yield per square foot, minimizes pest pressure, and simplifies your seasonal workflow.
The most practical system for small-lot raised bed gardening is square-foot gardening — a method popularized by Mel Bartholomew that divides each bed into a grid of one-foot squares, with each square planted at a density appropriate to the crop. Large plants like tomatoes or peppers occupy a full square; medium plants like bush beans or chard occupy a quarter; small crops like radishes or lettuce can be planted in a 4x4 or even 6x6 grid within a single square.
Layer plants by height to use vertical space. Place taller crops (tomatoes, trellised cucumbers, pole beans) on the north or east side of the bed so they don't shade shorter crops. Mid-height plants go in the center. Low-growing crops and ground covers go on the south-facing edge where sun is most direct.
Companion planting is a useful secondary organizing principle. Basil alongside tomatoes, nasturtiums at the edge of any bed to deter aphids, and marigolds as a border planting are all well-documented combinations that bring practical benefit. The goal isn't mystical synergy — it's using the available space to accomplish multiple functions simultaneously.
Tip: Map your planting layout on paper before you plant. It forces you to think through spacing, succession planting windows, and which beds need which amendments. A paper plan you can mark up is far easier to adjust than a bed full of half-planted seedlings.
Common Mistakes and Troubleshooting
| Symptom | Likely Cause | How to Fix |
|---|---|---|
| Plants are leggy, pale, and slow-growing | Insufficient sunlight — the bed location receives fewer hours of direct sun than the plants require | Relocate the bed if possible, or switch to shade-tolerant crops (leafy greens, herbs) in that spot |
| Soil dries out within hours of watering | Soil mix lacks moisture retention; perlite or sand content too high, or organic matter too low | Top-dress with finished compost and work in coco coir; consider a drip irrigation system to maintain even moisture |
| Weeds appear quickly despite raised bed setup | Weed seeds in low-quality fill soil, or wind-borne seeds landing in the open surface | Use a high-quality, well-composted soil mix; mulch the surface of the bed with straw or wood chip to suppress germination |
| Beds feel crowded mid-season and airflow is poor | Plants spaced too close together, or tall crops shading everything else | Revisit spacing guidelines and succession-plant in smaller batches; train vertical crops on a trellis to free up horizontal space |
| Beds showing rust or structural softening after one or two seasons | Low-quality or inadequately coated steel, or untreated wood reaching its service life | Replace with properly galvanized steel beds rated for long-term use; Anleolife's galvanized beds are rated for 20 years of service |
| Pathways become muddy and difficult to walk through | Bare soil pathways without surfacing | Add a layer of wood chips, gravel, or stepping stones to create a stable, all-weather surface |
Pro Tips for Better Results
Install irrigation before you plant, not after. Once beds are filled and seedlings are in the ground, retrofitting a drip system becomes a frustrating tangle. Run your drip lines along the interior edges of each bed before the first seed goes in. For guidance on selecting the right system, this guide to choosing a drip irrigation system for raised garden beds covers the key variables for small-lot setups.
Think in seasons, not just one harvest. A small-lot raised bed layout should be working all year, or at least three seasons in most North American climates. As spring crops (lettuce, peas, radishes) finish in early summer, that space becomes available for a second planting of warm-season crops. In late summer, warm crops wind down and make way for fall brassicas. Succession planting — sowing small quantities every two to three weeks rather than all at once — keeps beds productive and prevents the feast-or-famine harvest cycle common among first-season gardeners.
Use vertical structures as a design element, not an afterthought. Trellises, cattle panels, and A-frame supports extend your growing volume dramatically without consuming additional ground footprint. A single 8x4 ft bed with a sturdy trellis at its north end can support pole beans, cucumbers, or indeterminate tomatoes — essentially doubling or tripling the productive volume of that bed.
Label everything and keep a seasonal log. This sounds tedious until your second season, when you're trying to remember which tomato variety performed brilliantly and which one underdelivered. A simple notebook with sowing dates, plant varieties, and yield notes is more valuable than any gardening book for your specific microclimate.
Dispelling a common misconception: Many new gardeners believe that a larger total bed area automatically means more food. In practice, one well-managed, properly fed, consistently watered 8x4 ft bed will outproduce a poorly managed 20x10 ft ground-level plot. Intensive management of a small, well-designed raised bed garden layout — good soil, consistent water, timed feeding, and proper succession — is what drives yield. Scale comes later, once your routines are established.
Questions & Answers
Q1: How many raised beds do I need for a productive small backyard garden?
For a household of two to four people supplementing (not replacing) grocery shopping with homegrown vegetables, two to four raised beds of 8x4 ft or similar dimensions typically provide a meaningful harvest across three seasons. The key factor is not raw bed count but soil quality, sun exposure, and consistent management. Start with one or two beds, learn how your specific space performs, and expand incrementally rather than installing every bed at once.
Q2: Is galvanized steel safe for growing vegetables in raised beds?
Galvanized steel raised garden beds are widely considered safe for vegetable growing. The zinc coating that gives galvanized steel its rust resistance does not leach into soil in quantities that pose a risk at garden scale — a position consistent with guidance from the U.S. Environmental Protection Agency on zinc as a micronutrient. In fact, zinc is an essential plant micronutrient. The concern sometimes raised about cadmium or lead is associated with older industrial-grade galvanizing, not modern consumer-grade garden beds, which are manufactured under current safety standards.
Q3: How long does it take to see a productive return from a new raised bed garden layout?
Most vegetables begin producing a harvestable yield within six to twelve weeks of transplanting or direct sowing, depending on the crop. Fast crops like radishes, lettuce, and spinach can be harvested in as few as four to six weeks. Slower crops — tomatoes, peppers, winter squash — require a full season. A well-designed raised bed planting layout that includes both quick-turnover crops and slower main crops will produce something harvestable from as early as week five or six in a typical spring season.
Wrapping Up
Designing a productive raised bed garden layout for a small lot is fundamentally an exercise in honest planning: knowing your sun, knowing your reach, knowing your water, and knowing your time. The gardeners who get the most from a compact backyard aren't those with the most beds or the most elaborate systems — they're the ones who matched their layout to their real-life constraints and then maintained it consistently.
Three things to take away from this guide: first, sunlight and soil quality determine yield more than bed count — prioritize those before adding more growing space. Second, pathways and ergonomics are not luxuries; a layout you can work comfortably is one you'll actually use through the whole season. Third, durable materials pay off over time — a galvanized steel bed rated for 20 years of use is a once-in-a-generation investment for most home gardens.
Your next step is concrete: sketch your space, mark your sun zones, and identify the one or two locations that get the most consistent daily light. From there, pick a bed size that fits your reach and your lot, and start with that. Everything else — additional beds, irrigation, trellises, succession planting — follows naturally once the first bed is in and producing.
Ready to turn your plan into a garden? Browse the full range of galvanized steel raised garden beds and outdoor garden solutions at the Anleolife website, available with delivery in 3–8 business days through a nationwide warehouse network spanning California, Texas, Florida, New York, Illinois, and Washington. Anleolife products are also available on Amazon, Walmart, Home Depot, Lowe's, and Wayfair wherever you prefer to shop. Whether you're starting with a single bed or building out a full planting-and-raising ecosystem, Anleolife's modular product system grows with you — start where you are, expand at your own pace.
Sources & Citations
- University of California Cooperative Extension. "Vegetable Gardening in California."
https://ucanr.edu - USDA Natural Resources Conservation Service. "Soil Health and Organic Matter Management."
https://www.nrcs.usda.gov - ASTM International. "Standards for Zinc Coatings on Iron and Steel Products."
https://www.astm.org
Note: Standards may be updated; please check the latest official documents or consult professional advisors.








