





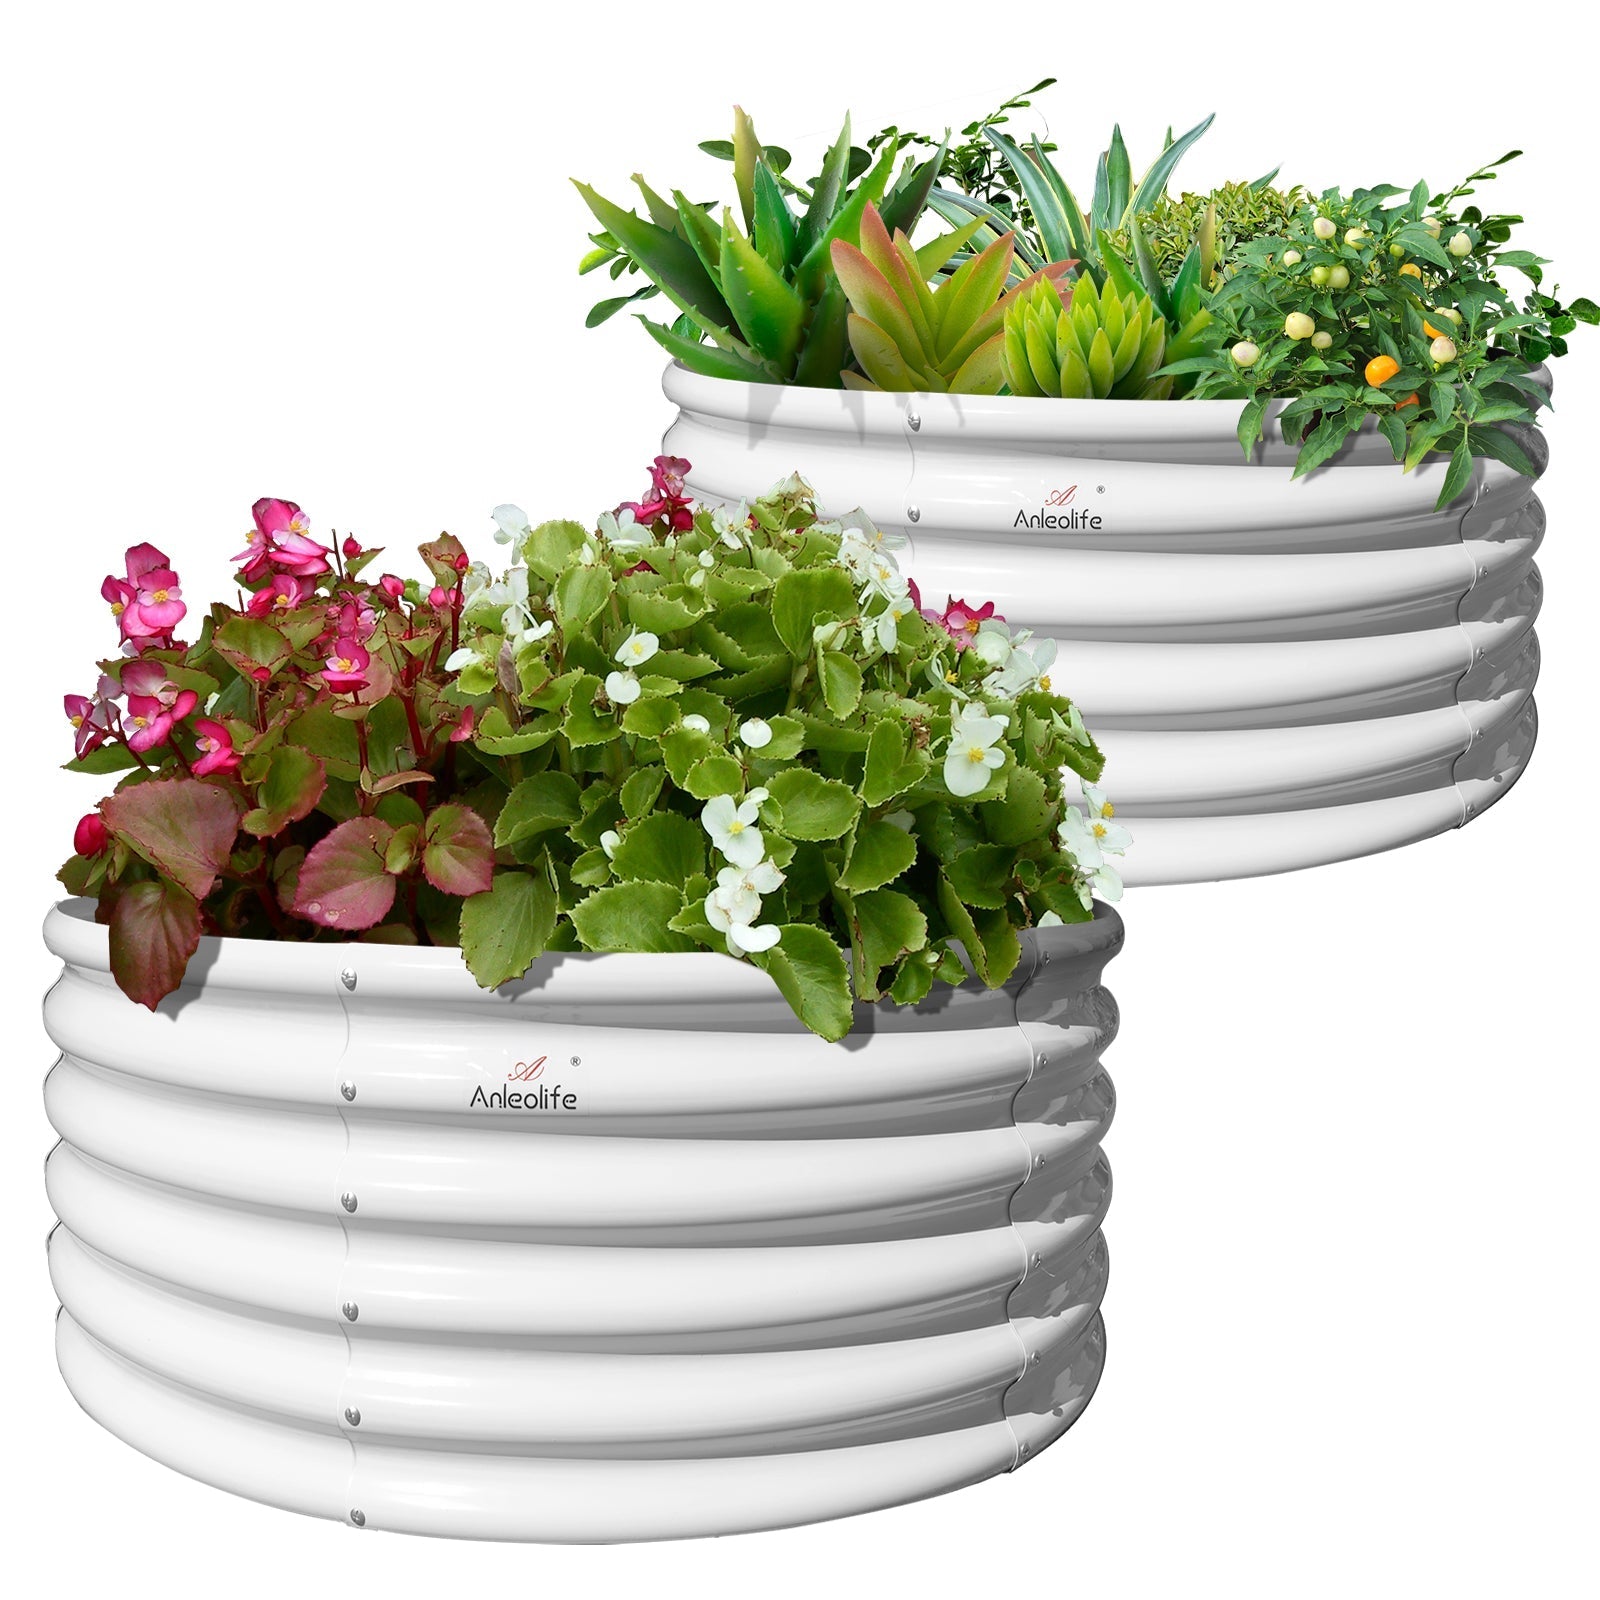







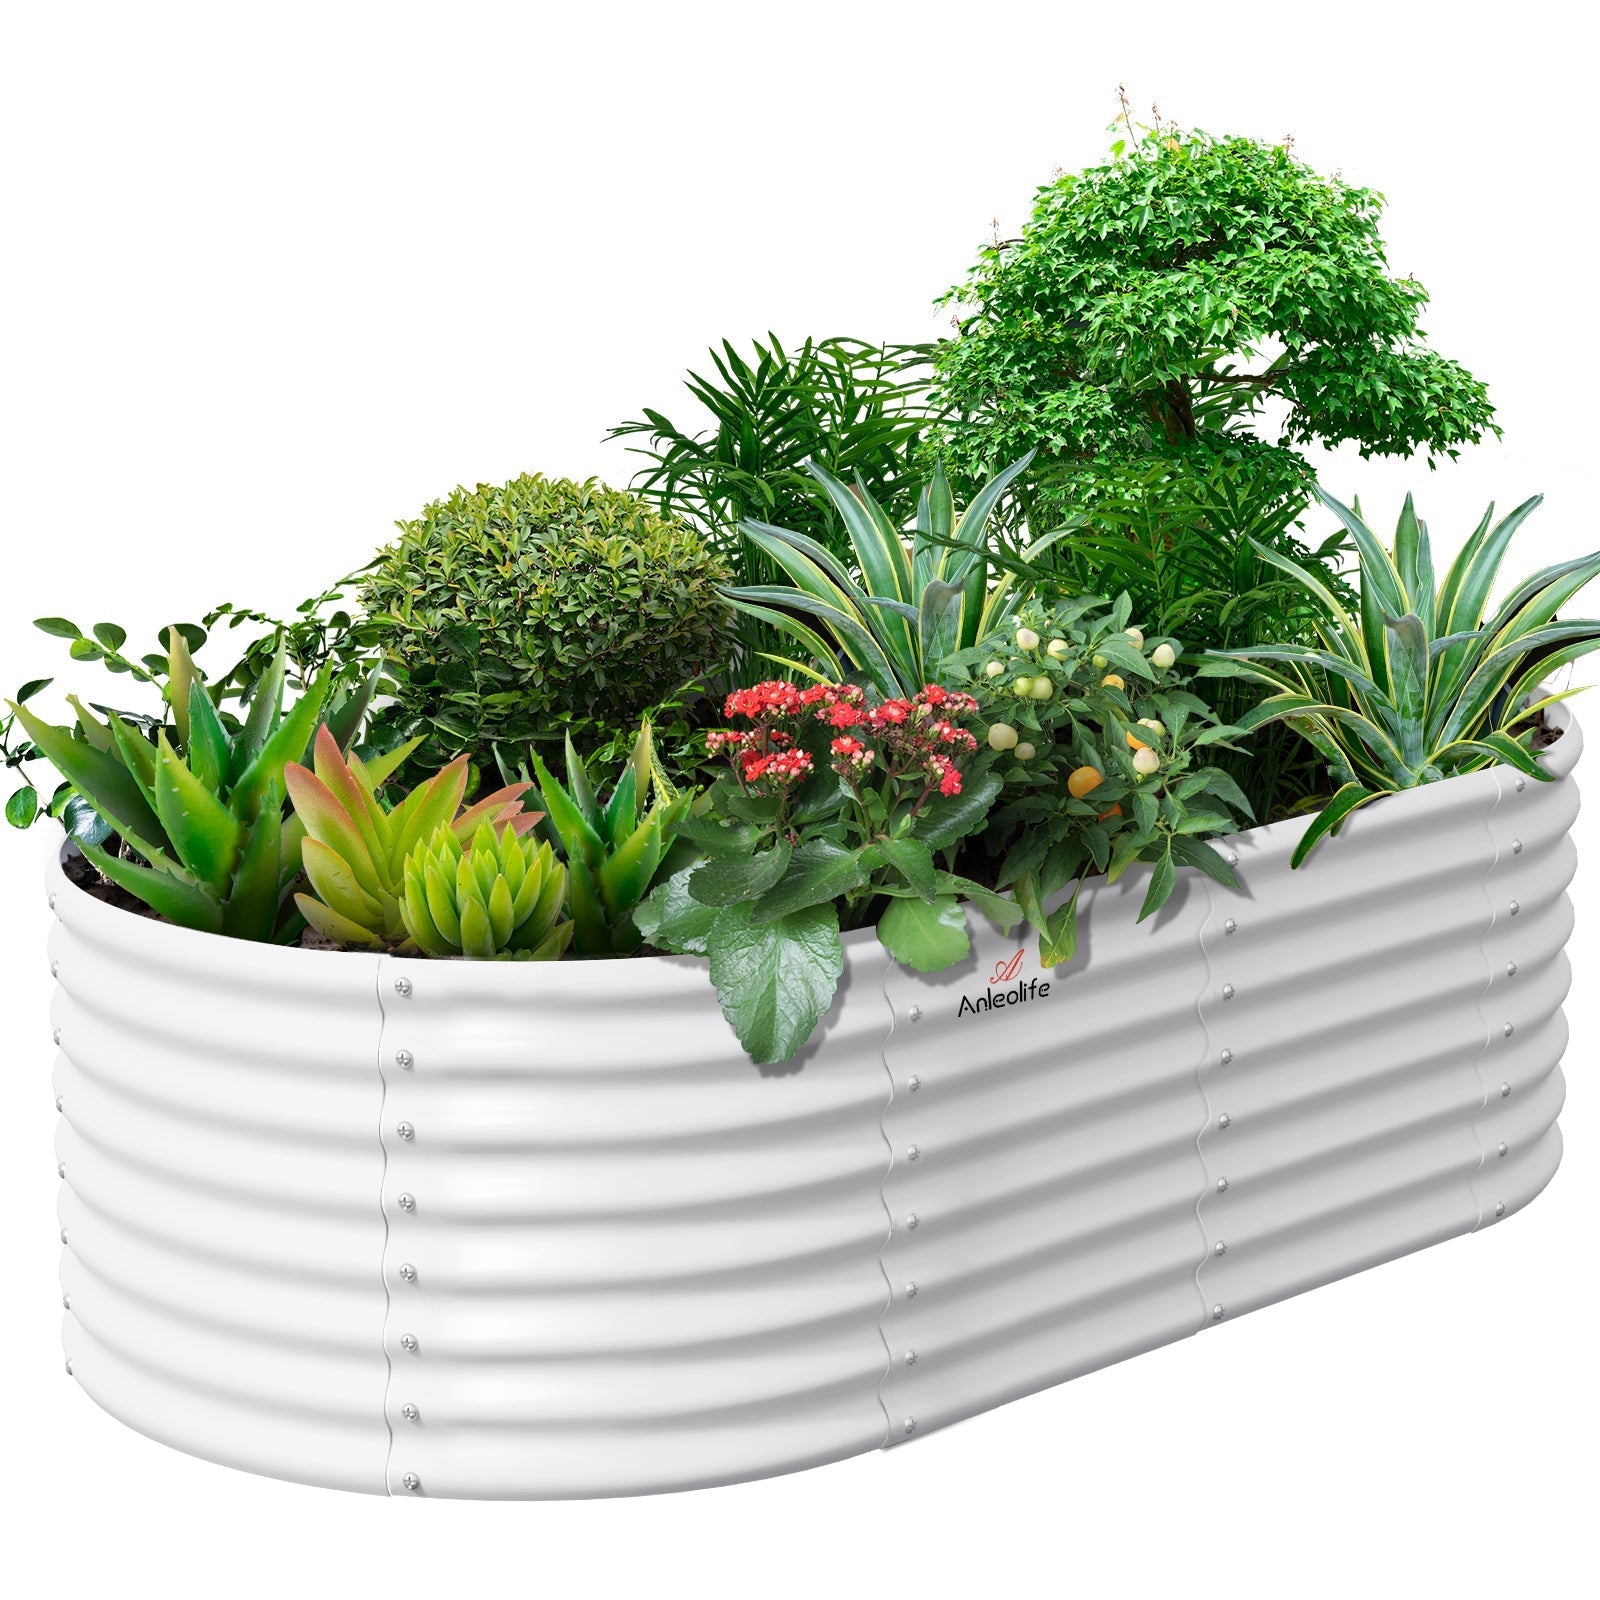














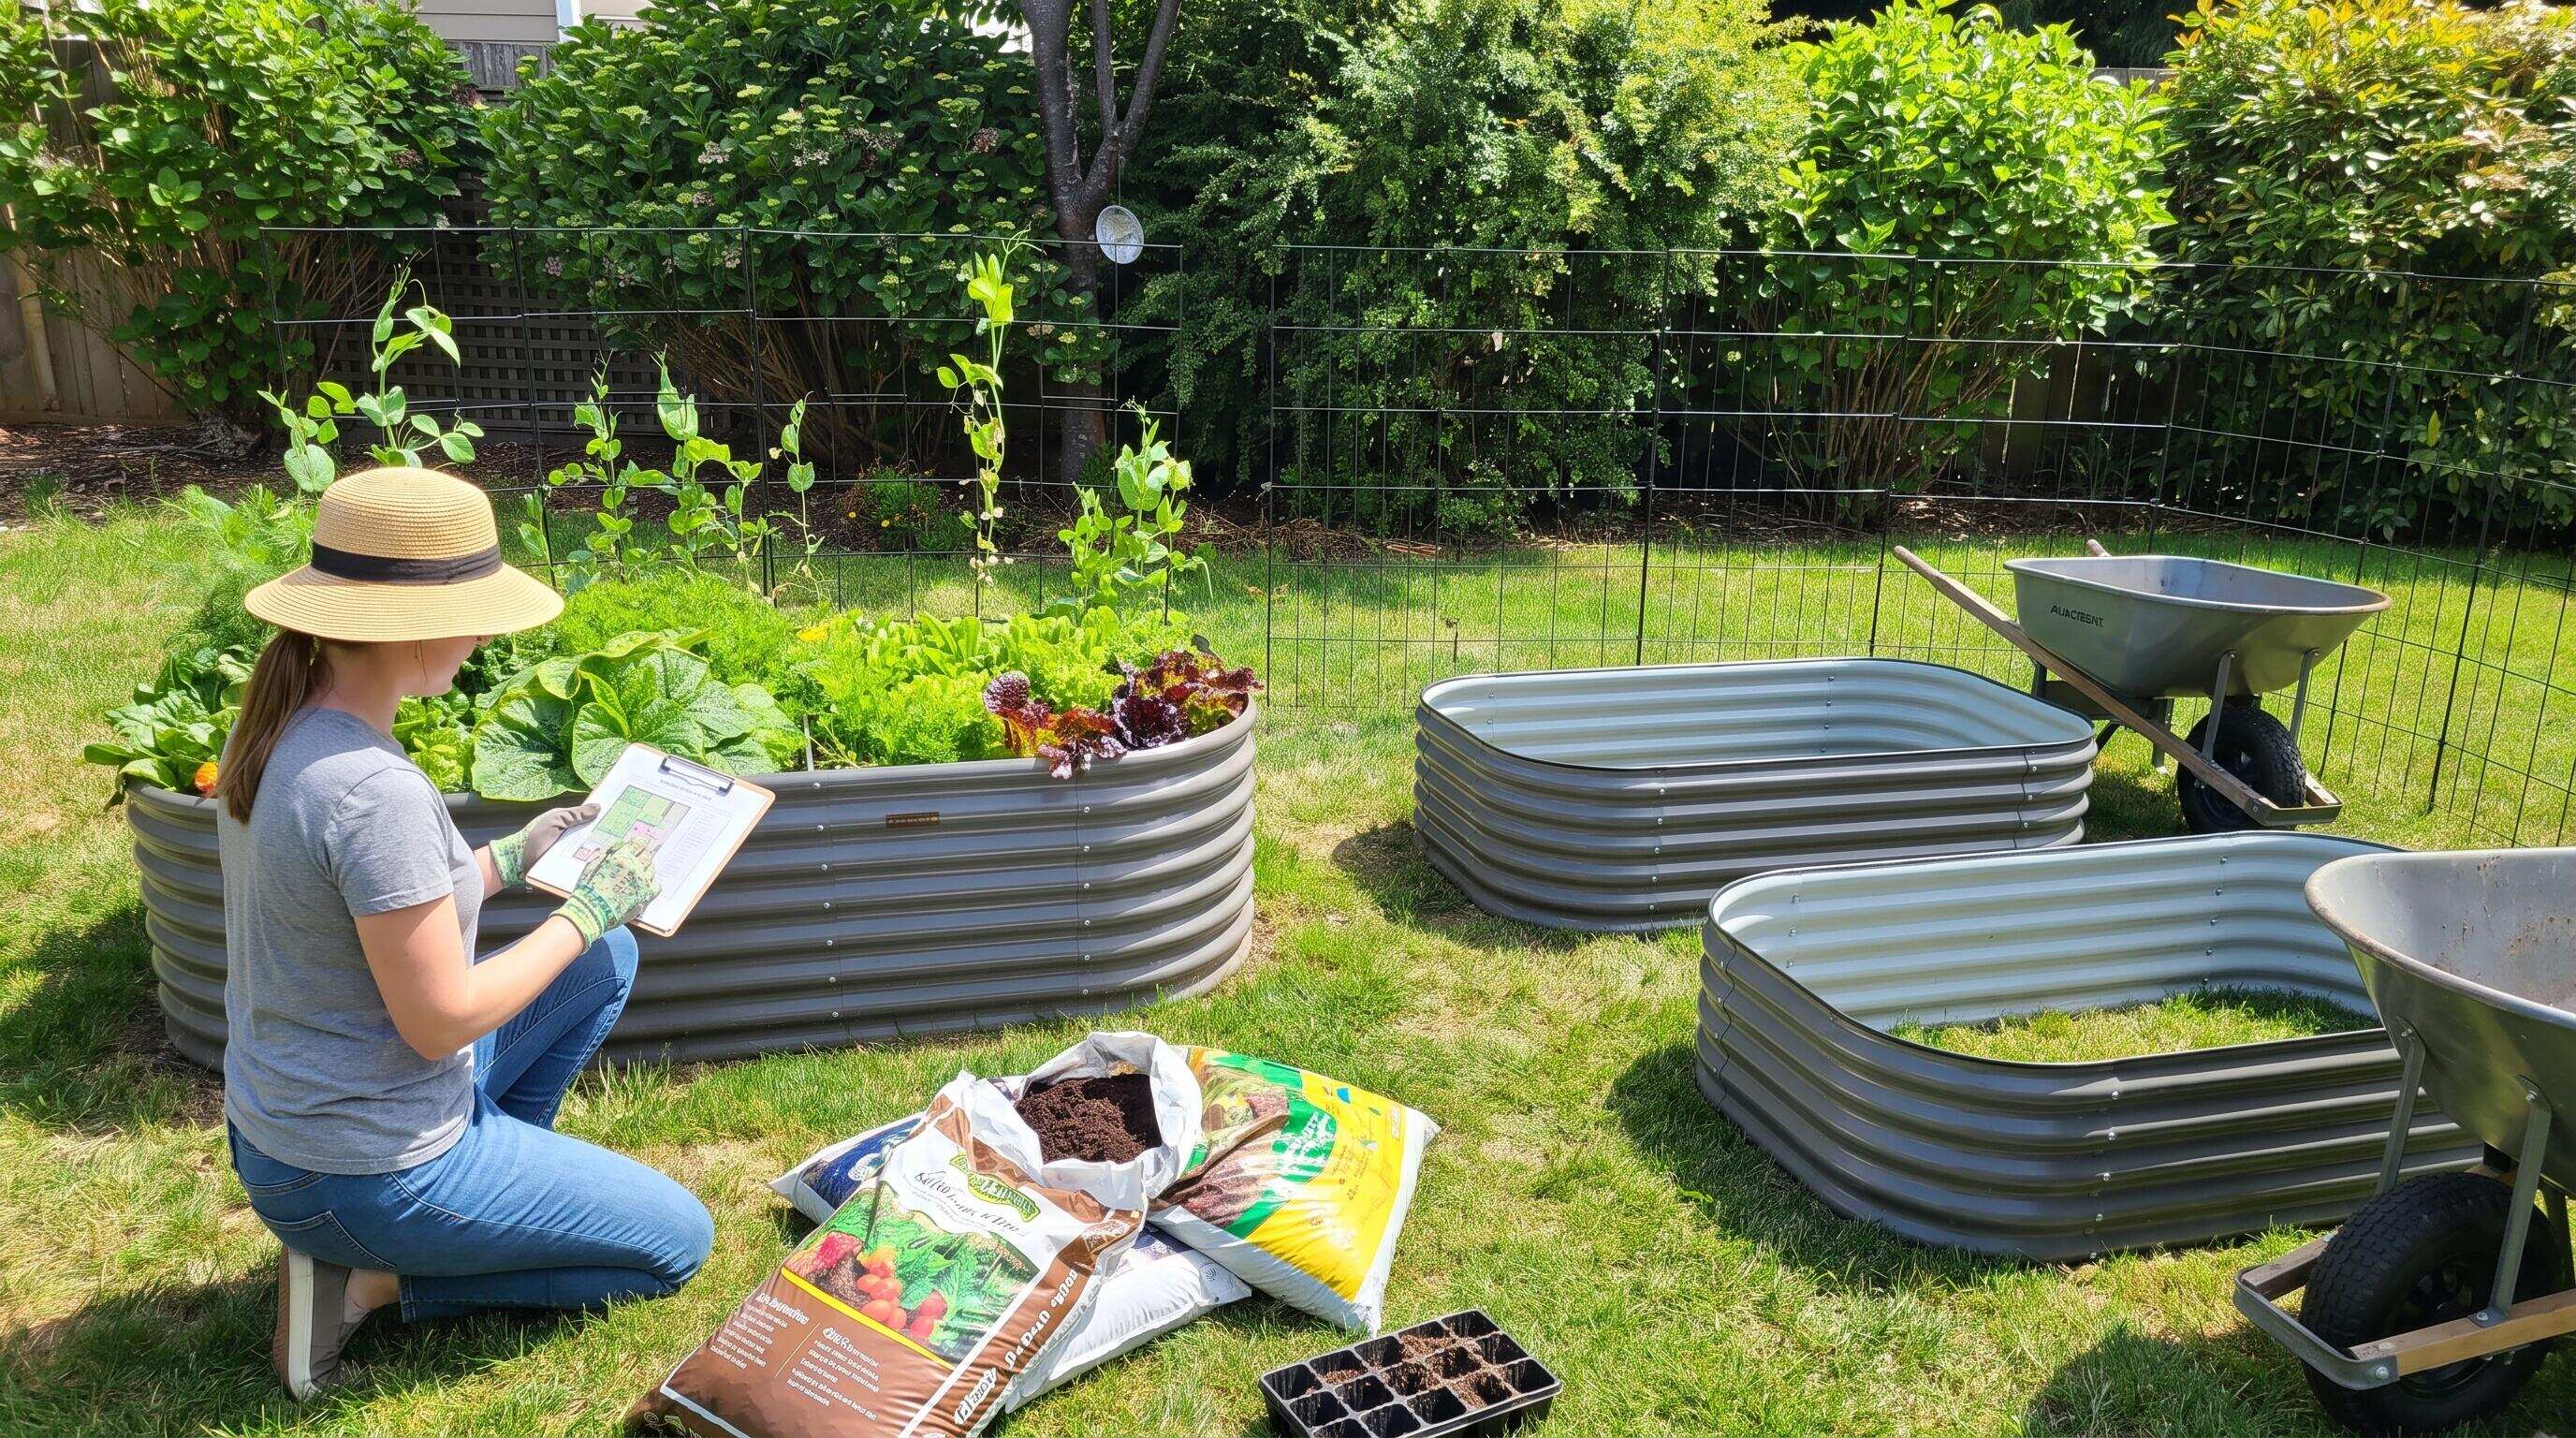
ALT: Home gardener planning companion planting zones across multiple raised bed garden layouts with herbs and vegetables
Design Your Raised Bed Garden Layout for Maximum Companion Planting Success
Key Conclusion: A well-planned raised bed garden layout transforms a collection of individual planting containers into a coordinated ecosystem where plants actively support one another. By mapping companion planting zones across multiple beds, you create a raised bed planting layout that suppresses pests naturally, improves pollination, maximizes soil health, and dramatically increases yield per square foot. This guide walks you through the complete process of building a raised bed layout that works as a unified, living system — not just a row of boxes in your backyard.
Most gardeners start with one raised bed and a handful of favorite plants. Then comes a second bed, a third, and suddenly there are four or five beds with no clear relationship to one another — tomatoes planted next to tomatoes every year, herbs scattered randomly, and pest pressure building season after season because the planting logic was never intentional. This guide is for anyone who wants to fix that: homeowners building out a productive backyard garden, retirees looking to get the most from a limited but meaningful growing space, and health-focused families who want to know exactly where their food comes from. The goal is a coherent, season-long plan that treats every bed as one piece of a larger, purposeful whole.
Before You Start: Prerequisites and Preparation for Multi-Bed Companion Planning
Effective companion planting across multiple raised beds begins with an honest assessment of what you already have and what you need before putting a single seed in the ground. Skipping this preparation phase is the most common reason gardeners end up with a layout that looks intentional on paper but fails in practice.
What you need before beginning:
- A measured sketch or photo of your current bed arrangement, including dimensions and orientation (north-south-east-west)
- Knowledge of your USDA hardiness zone and average last frost date, both available through the U.S. Department of Agriculture's official plant hardiness resources
- A list of the crops you actually want to grow this season — not an aspirational wish list, but a realistic one based on your household's eating habits
- Basic understanding of which plants are heavy feeders versus light feeders, and which families (nightshades, brassicas, alliums, legumes, cucurbits) tend to produce beneficial or inhibitory effects on their neighbors
- Your soil amendment and soil system notes from last season, if available — knowing what's already in your beds saves money and prevents over-correction
Time and effort estimate: Planning a multi-bed companion layout is a moderate-effort task that pays back many times over in reduced pest management labor and higher yields. Expect to invest meaningful time upfront — a weekend afternoon for initial mapping, and another session to finalize plant assignments and rotation logic before you begin transplanting.
Checklist before starting:
- Confirm the number of beds, their dimensions, and their sun exposure hours per day
- Identify any permanent or semi-permanent plants already in place (perennial herbs, fruit bushes, established alliums)
- Research which companion pairings are relevant to your chosen crops
- Gather your soil amendment materials and confirm your raised bed structures are in good repair
- Decide whether you're planning for one season or building a multi-year rotation framework
If you're working with new beds or expanding your setup, this is also the moment to assess your infrastructure. Raised beds that are structurally sound, well-draining, and sized to allow comfortable reach from both sides make companion planning significantly easier to execute — because you can actually get to every plant without compacting soil or disrupting root zones.
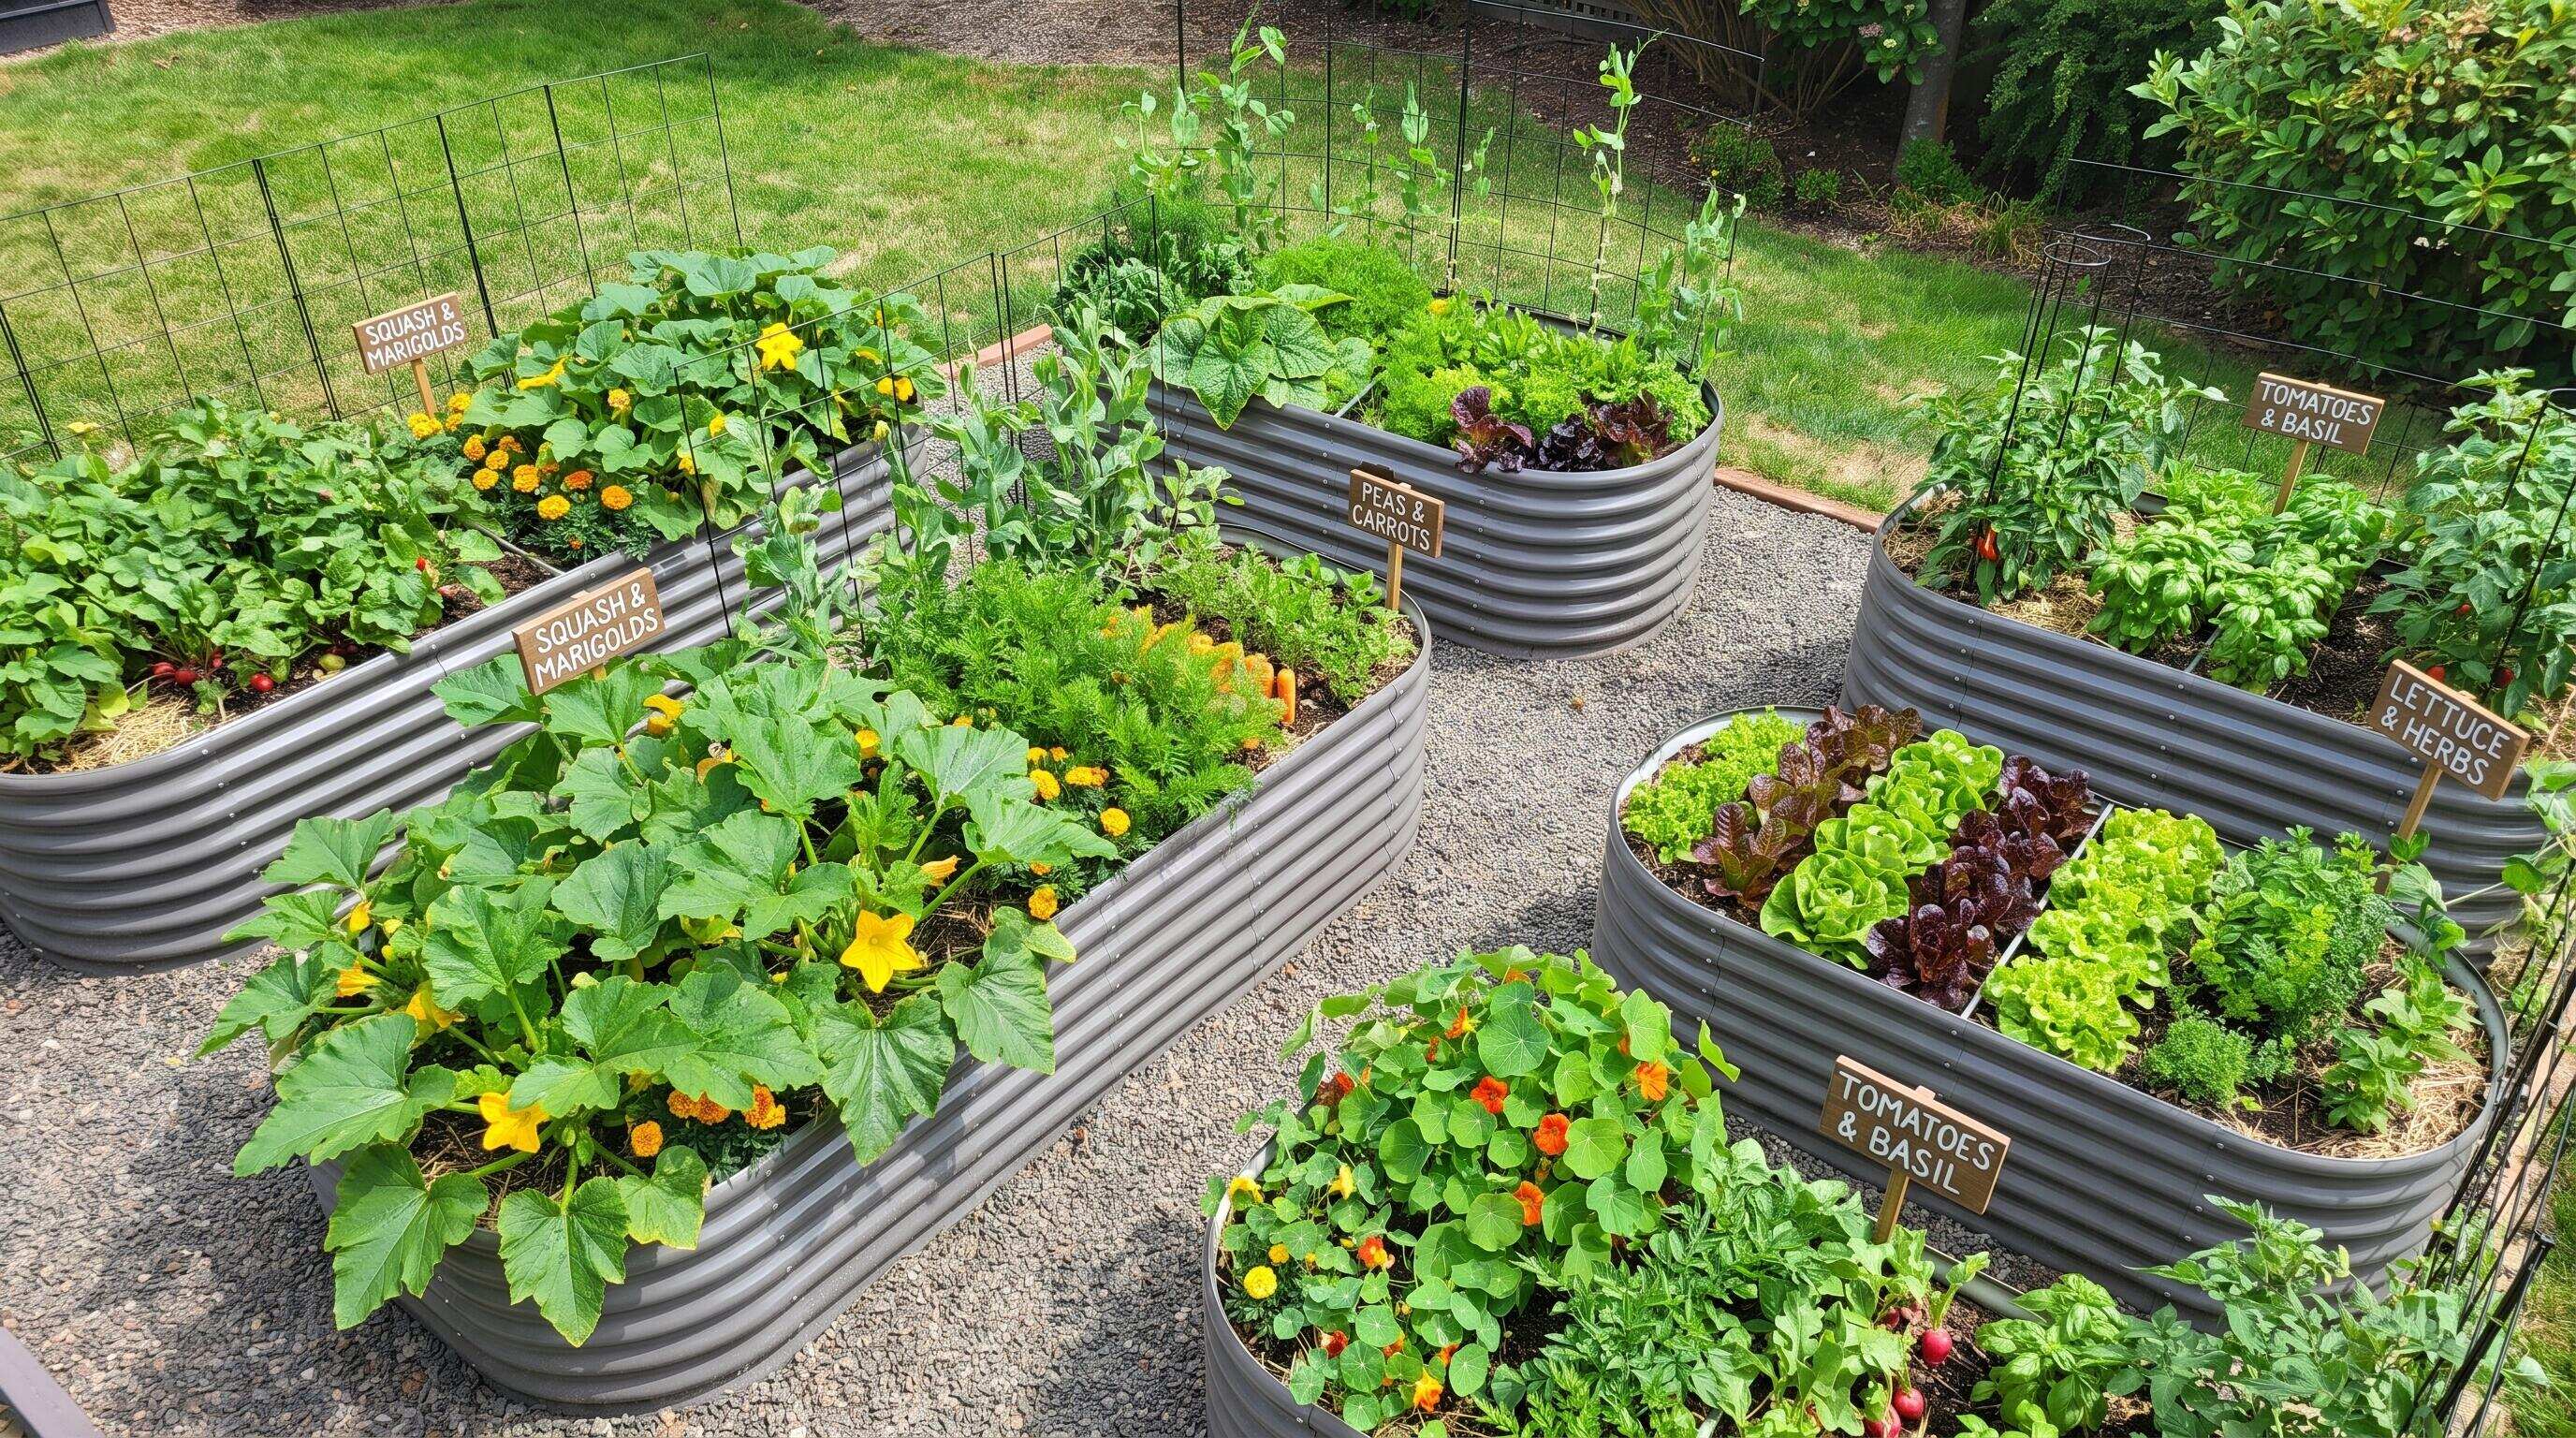
ALT: Overhead view of multiple raised garden beds arranged in a companion planting layout with labeled plant zones and pathways
Step-by-Step Instructions: How to Plan Companion Planting Zones Across Your Raised Beds
Step 1: Map Your Existing Raised Bed Layout and Sun Exposure
The first step in designing a companion planting plan is understanding the physical reality of your space. Companion planting recommendations are only useful if they account for the micro-conditions each bed actually experiences.
Walk your garden at different times of day — morning, midday, and late afternoon — and note which beds receive full sun (six or more hours of direct sunlight), partial sun, or significant shade. Record this on a simple hand-drawn or digital sketch. Note the orientation of each bed relative to tall structures, fences, or neighboring plantings that might cast shadows. Sun-loving crops like tomatoes, peppers, and squash will anchor your sunniest beds, while shade-tolerant companions like lettuce, parsley, and cilantro can be positioned where light is less intense.
Label each bed with a number or letter. This becomes your reference system throughout the planning process. According to the U.S. Department of Agriculture's guidance on home food production, matching crops to their optimal light conditions is one of the highest-leverage decisions a home grower can make — it affects yield more than almost any other single factor.
Tip: Take photos of your garden from an elevated angle if possible. This bird's-eye perspective reveals spacing, traffic patterns, and bed relationships that aren't obvious from ground level.
Step 2: Assign Plant Families to Beds Based on Rotation Logic
Before you place a single companion pair, you need a rotation-first framework. Crop rotation — the practice of moving plant families to different beds each season — prevents the buildup of soil-borne diseases and nutrient depletion that occur when the same family occupies the same ground year after year.
Divide your plant list by family: nightshades (tomatoes, peppers, eggplant), brassicas (cabbage, kale, broccoli, radishes), legumes (beans, peas), cucurbits (cucumbers, squash, melons), alliums (onions, garlic, leeks), and root vegetables (carrots, beets, parsnips). Assign each family to a bed, then map out where each family will move in subsequent seasons. A simple four-bed rotation — nightshades → brassicas → legumes → roots, cycling forward one position each year — is the standard framework recommended by university cooperative extension programs across North America.
This rotation framework is the skeleton. Companion planting is the flesh you add on top of it: the specific pairings within each bed that amplify the rotation's benefits.
Tip: Write your rotation plan on a card and keep it with your garden tools. A plan that isn't accessible tends not to get followed.
Step 3: Identify Your Core Companion Pairings for Each Bed
Companion planting is the practice of growing two or more plant species in deliberate proximity because they provide measurable benefits to one another — pest deterrence, pollinator attraction, nitrogen fixation, or physical support. Once your beds are assigned by family, you populate each bed with strategic companions.
Some of the most reliable and well-documented pairings include:
- Tomatoes and basil: basil is widely reported to repel aphids and thrips while improving the flavor of neighboring tomatoes. Interplant basil at the bed edges and between tomato cages.
- The Three Sisters (corn, beans, squash): a companion system developed by Indigenous North American farming traditions in which corn provides vertical structure for beans, beans fix atmospheric nitrogen for corn and squash, and squash leaves shade the soil to retain moisture and suppress weeds. This system works beautifully in a larger bed.
- Brassicas and dill or nasturtiums: dill attracts beneficial wasps that parasitize cabbage worms; nasturtiums act as trap crops, luring aphids away from your brassicas and onto themselves where they're easier to manage.
- Carrots and onions: the strong scent of alliums confuses carrot flies, while carrots aerate soil around onion bulbs. This pairing is one of the most practical in a multi-bed raised bed planting layout.
- Legumes as universal neighbors: beans and peas fix nitrogen and improve soil for any subsequent heavy-feeder crop. Position them adjacent to beds that will host tomatoes or corn the following season.
For visual inspiration and community-tested layout ideas, resources like 4x8 Raised Bed Vegetable Garden Layout Ideas offer a useful starting point for thinking about spatial arrangement within individual beds.
Tip: Limit yourself to two or three proven companion pairings per bed in your first season of intentional companion planning. A focused layout you can monitor is more valuable than a complex arrangement you can't evaluate.
Step 4: Plan Your Bed Dimensions and Reach Zones
The physical dimensions of your raised beds determine how many companion plants you can fit, how easily you can tend them, and whether inter-planting is logistically practical. A raised bed garden layout that looks ideal on paper but requires you to step into the soil to reach the center defeats one of the core advantages of raised bed gardening.
The standard guideline — supported by decades of extension research — is that beds should be no wider than twice your comfortable arm reach from one side, typically around four feet. This allows you to weed, harvest, and transplant companion plants in the bed's center without soil compaction. Length is more flexible and can be adapted to your space.
Anleolife's line of galvanized steel raised garden beds is built around these practical principles. Their 8x4 ft configurations — available in heights ranging from 18 inches to a 24-inch extra tall option — allow gardeners to work from both long sides without ever setting foot inside the bed. For gardeners who want to minimize bending, the ergonomic garden bed design principles behind taller bed heights (30 inches and 35-inch waist-high options) make companion planting tasks like pinching, harvesting, and transplanting companions dramatically less physically demanding — a genuine quality-of-life consideration for retirees and anyone managing joint issues.
Tip: In beds wider than four feet, use a kneeler board laid across the bed frame to access the center without compacting the soil mix. This preserves the loose, aerated soil that companion root systems depend on.
Step 5: Plan Inter-Bed Spacing and Pathways for Pollinator Flow
Companion planting does not end at the edge of a single bed. The space between your beds — the pathways, the edges, the vertical structures — is part of the planting system. Pollinators and beneficial insects move through your entire garden, not just one bed at a time.
Plan pathways wide enough for comfortable movement with a watering can or wheelbarrow (typically at least 18 to 24 inches). Along pathway edges, plant low-growing pollinator attractors — alyssum, phacelia, calendula — that bloom across a long season and bridge the ecological gap between beds. These "corridor plantings" guide beneficial insects from one bed to the next and create the kind of biodiversity that keeps pest populations in check across your entire raised bed layout.
Consider the visual and ecological flow between adjacent beds. If your brassica bed is next to your nightshade bed, plant dill on the shared border — it attracts the parasitic wasps that protect both crops. According to the National Sustainable Agriculture Information Service (ATTRA), border plantings of insectary species are among the most cost-effective investments a home grower can make in integrated pest management.
Tip: Tall companion plants like dill, borage, and sunflowers should be positioned on the north side of beds (in the Northern Hemisphere) so they don't shade shorter companions during the peak growing season.
Step 6: Build Your Soil System to Support Companion Planting
Companion planting strategies only deliver their full benefit when soil quality supports the whole system. Different companions have different fertility needs, and a well-designed soil system accounts for this variation across beds.
Heavy-feeding nightshades need a rich, well-amended soil high in organic matter and balanced fertility. Legumes, by contrast, prefer leaner soil — over-fertilizing a bean bed suppresses the very nitrogen fixation that makes legumes valuable companions. Root vegetables need loose, low-nitrogen soil to form properly shaped roots. Understanding these differences lets you build bed-specific soil profiles rather than applying a one-size-fits-all mix.
For gardeners building out their soil system, the best soil composition for organic vegetable raised beds is a critical companion resource to this planning guide. Starting with the right foundation in each bed — rather than amending reactively mid-season — saves significant money and prevents the nutritional imbalances that undermine companion pairing results.
Tip: Topdress your legume bed with compost rather than fertilizer at the start of the season. This maintains a moderate fertility level that encourages, rather than suppresses, biological nitrogen fixation.
Step 7: Document Your Layout and Set Seasonal Checkpoints
A companion planting plan that exists only in your head will erode over the course of a busy growing season. Documenting your raised bed planting layout — even simply with a labeled diagram and a planting date log — gives you the feedback data you need to improve next season.
Create a simple record for each bed: what was planted, when, what companions were used, and what you observed (pest pressure, yield, plant health, pollinator activity). Note which pairings seemed to work and which produced no observable benefit or created crowding problems. This is the kind of first-hand observational data that transforms a gardener from a follower of received wisdom into someone who genuinely understands their own microclimate and soil system.
Pre-planned garden templates — such as those offered by resources like Gardeners.com's Pre-Planned Gardens — can serve as useful starting frameworks for beginners who want a structured template before adapting it to their own conditions.
Set seasonal checkpoints: an early-season assessment (four to six weeks after planting) to check companion spacing and address any overcrowding, a mid-season review to evaluate pest pressure and pollinator activity, and an end-of-season documentation session before you clear beds for winter or succession planting.
Tip: Photograph each bed at the same time every two weeks. Visual records of plant relationships, crowding, and companion health are far more informative than written notes alone, and they're fast to create.
Common Mistakes and Troubleshooting in Multi-Bed Companion Layouts
| Symptom | Likely Cause | How to Fix |
|---|---|---|
| Companion plants are outcompeted and stunted | Aggressive neighbors (squash, tomatoes) were planted too close without accounting for their mature spread | Replan spacing using mature plant dimensions, not transplant size; use physical dividers or wider spacing in future seasons |
| Pest pressure remains high despite companion planting | Companion species were planted too late to establish before pest populations peaked | Start companion seeds early (especially insectary flowers) so they're blooming before primary crops are vulnerable |
| Nitrogen deficiency in beds following legumes | Legume residue was removed rather than incorporated into the soil | Cut legume plants at soil level and leave roots to decompose in place; roots carry the nitrogen-fixing nodules |
| Allelopathic inhibition — some crops fail to thrive | Incompatible species were planted in proximity (e.g., fennel near most vegetables, walnut-adjacent beds) | Research family-level incompatibilities before finalizing layout; fennel should be isolated in its own container or bed section |
| Overcrowding mid-season reduces air circulation | Companion planting was planned at transplant density, not mature density | Succession-plant compact companions (radishes, lettuce) that complete their cycle and exit the bed before primary crops reach full size |
| Pollinators not visiting beds despite insectary plantings | Insectary plants are isolated from each other, breaking the pollinator corridor | Redistribute flowering companions to create continuous color and scent across the garden's pathway edges |
Pro Tips for Better Results Across Your Companion Planting System
Think in vertical layers, not just horizontal zones. A sophisticated raised bed garden layout uses height as a planning dimension. Low-growing herbs like thyme and marjoram occupy the soil surface and suppress weeds. Mid-height companions like basil and marigolds fill the intermediate zone. Tall structure plants like tomato cages, bean trellises, or corn provide vertical habitat for climbing insects and beneficial spiders. Planning all three layers in each bed multiplies the ecological services each square foot delivers.
Use trap crops as a budget-friendly pest management tool. Rather than spending money on pesticides that disrupt your beneficial insect populations, plant nasturtiums, mustard greens, or blue Hubbard squash as deliberate decoy crops at the bed edges. These plants attract aphids, flea beetles, and squash vine borers preferentially, concentrating pest populations where you can address them manually or allow natural predators to handle them. This is one of the highest-ROI practices in home-scale companion planting.
Plan for succession and overlap, not simultaneous planting. A common misconception about companion planting is that all companions must be planted at the same time. In practice, many of the best companion relationships are sequential — cool-season alliums planted in fall protect and pre-condition soil for spring tomato transplants. Radishes planted early in a bed break up compacted soil and are harvested before cucumbers need the space. Planning your raised bed layout as a time-based sequence, not just a spatial map, nearly doubles your productive capacity without adding a single new bed.
Match bed depth to root architecture, not just plant height. Shallow-rooted companions like lettuce, radishes, and herbs coexist well in the same bed as deep-rooted primary crops because they occupy different soil strata — there's no root competition. This principle supports one of the most practical space-saving strategies in a multi-bed system: using vertical space above and root space below simultaneously in the same footprint.
Invest in infrastructure that compounds value over time. A pattern we consistently see in our work with home gardeners is that the people who get the most from companion planting are those who invested in durable, well-designed raised bed structures from the outset. Beds that are the right height, the right width, and made from materials that resist corrosion and structural degradation allow you to refine your planting layout year after year without having to account for infrastructure failure. Anleolife's galvanized steel beds are engineered for a 20-year lifespan, which means your companion planting system has two full decades to develop in the same reliable physical framework — a genuine long-term value proposition that inexpensive alternatives rarely match. For gardeners weighing material options, the comparison between galvanized steel versus recycled plastic raised beds is worth reading before making a purchase decision.
People Also Ask
Q1: How do you plan a companion planting layout across multiple raised beds without it becoming overwhelming?
Start by assigning one plant family per bed and building your rotation framework before adding companions. Once each bed has a clear primary crop identity, companion pairings become simple additions rather than a complex puzzle. Use no more than two or three proven companion species per bed in your first season. Document what works and build complexity gradually. A simple, well-observed layout outperforms an elaborate one you can't manage or interpret at the end of the season.
Q2: Are there companion planting combinations that actually reduce the need for pesticides in raised bed gardens?
Yes, several well-documented combinations show measurable pest-suppression effects. Basil alongside tomatoes reduces aphid and thrips pressure. Nasturtiums as trap crops concentrate aphid populations away from primary vegetables. Dill and fennel (kept isolated) attract parasitic wasps that prey on caterpillars and aphids. These biological services reduce the need for chemical interventions — which is both ecologically beneficial and genuinely cost-saving over a full season. According to the National Sustainable Agriculture Information Service (ATTRA), diversified plantings are among the most evidence-supported strategies in organic pest management.
Q3: How long does it take to see results from a companion planting strategy in raised beds?
Within-season benefits — particularly pest deterrence from aromatic herbs and trap crops — often appear within four to six weeks of establishment, once companion plants are large enough to produce their chemical signals. Soil-level benefits from legume nitrogen fixation typically show up most clearly in the subsequent season, when crops planted in rotation after legumes show noticeably stronger early growth. The cumulative biodiversity benefits — stronger pollinator activity, reduced pest pressure, improved soil biology — build meaningfully over two to three seasons of consistent companion-focused planning.
The Bottom Line
Planning companion planting zones across multiple raised beds is one of the highest-leverage investments a home gardener can make, both in terms of productivity and in terms of the long-term health of their growing space. Three core principles make it work:
First, rotation-before-companions: establish your bed-by-family rotation framework before layering in companion species. Rotation is the foundation; companion planting is the refinement built on top of it.
Second, treat the whole garden as one system: pathways, borders, soil profiles, and vertical structure all contribute to how well companion relationships function. A raised bed layout that treats each bed as an isolated unit loses most of the cross-bed ecological benefits that make companion planting genuinely powerful.
Third, document and iterate: the gardeners who see the most dramatic improvements season over season are those who treat their raised bed planting layout as a living document — observed, adjusted, and refined with each growing season's data.
If you're building your companion planting system from the ground up, the most practical next step is to assess your current bed infrastructure — its dimensions, materials, and long-term condition — and make sure it can support 20 or more seasons of intentional, evolving practice.
Ready to build a raised bed system designed to last as long as your gardening ambition? Explore Anleolife's full range of galvanized steel raised garden beds at the Anleolife website, or find them on Amazon, Walmart, Home Depot, Lowe's, and Wayfair. With a nationwide warehouse network spanning California, Texas, Florida, New York, Illinois, and Washington, your order arrives in 3–8 business days — so your companion planting plan can move from paper to soil this season, not next.
References
- U.S. Department of Agriculture (USDA). "Plant Hardiness Zone Map and Home Food Production Resources."
https://www.usda.gov/ - National Sustainable Agriculture Information Service (ATTRA). "Companion Planting and Insectary Plantings for Integrated Pest Management."
https://attra.ncat.org/ - Gardeners.com. "Pre-Planned Gardens — Kitchen Garden Planner."
https://www.gardeners.com/pages/kitchen-garden-planner-preplanned-gardens - Savvy Gardening. "4x8 Raised Bed Vegetable Garden Layout Ideas."
https://savvygardening.com/4x8-raised-bed-vegetable-garden-layout/ - University of California Cooperative Extension (UC ANR). "Home Vegetable Gardening — Crop Rotation and Soil Management."
https://ucanr.edu/
Note: Standards and horticultural guidance may be updated; please check the latest official documents or consult professional advisors for current recommendations.









