


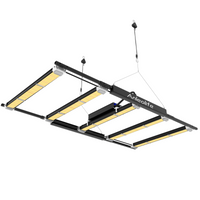
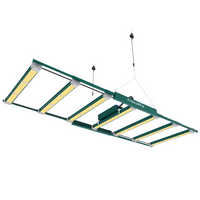

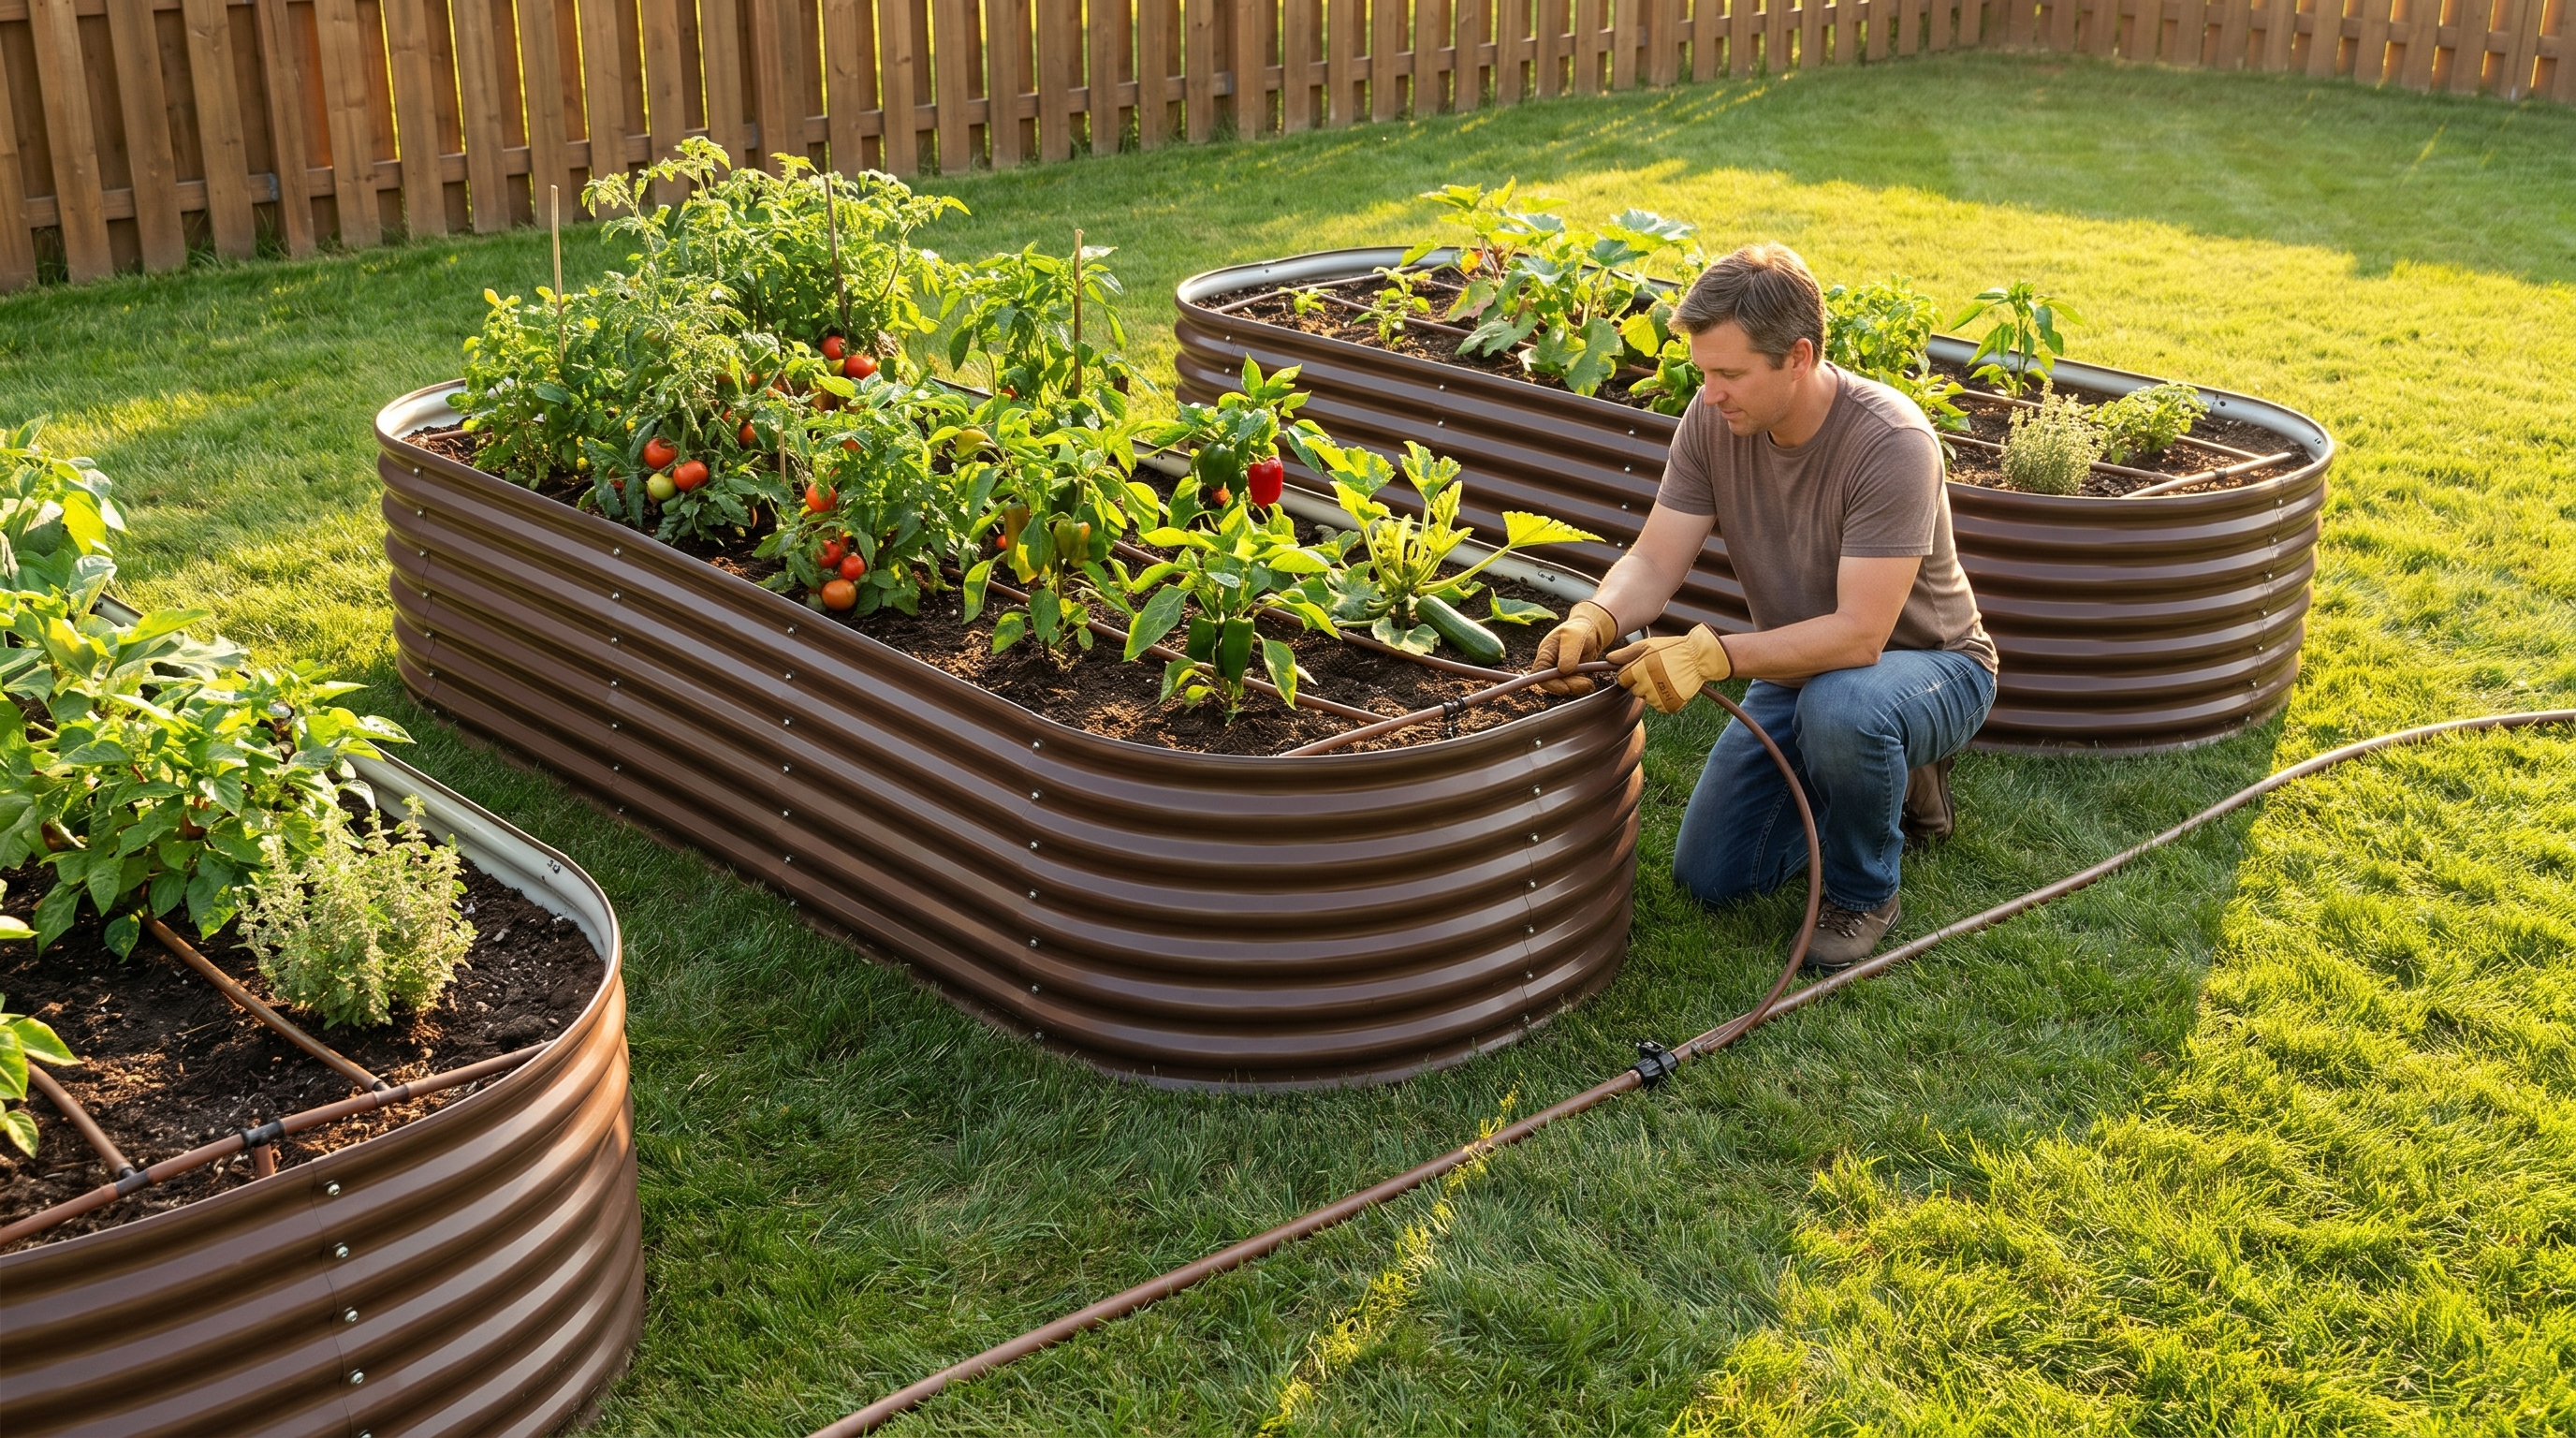
ALT: Drip irrigation system setup for multiple raised garden beds in a summer backyard garden
Why Drip Irrigation Is the Smartest Upgrade for Your Raised Bed Garden This Summer
Key Conclusion: Setting up a drip irrigation system for your raised bed garden layout is one of the highest-impact improvements you can make this summer. By delivering water directly to plant roots, drip irrigation systems reduce water waste by up to 50%, prevent foliar disease, and free you from daily watering chores. Whether you manage two beds or twelve, the right irrigation system transforms your garden from a weekend project into a consistently productive, low-maintenance growing space.
Summer gardening is deeply rewarding — but it comes with a real challenge: keeping multiple raised beds consistently and efficiently watered through the hottest months of the year. Overhead watering is time-consuming, uneven, and encourages the fungal diseases that thrive on wet foliage in warm weather. Drip irrigation solves all three problems at once.
The good news is that a well-designed drip system is far more approachable than most gardeners expect. With the right planning, basic tools, and a few hours of your weekend, you can build a system that waters every bed on a timer — even while you're at work or on vacation. This guide walks you through every step, from mapping your garden layout to connecting your final emitter, so you can spend less time holding a hose and more time harvesting.
Who This Guide Is For
✅ Applicable Scenarios:
- Home gardeners managing two or more raised beds who want consistent, automated watering this summer
- Urban and suburban growers working with galvanized steel or metal raised garden beds on patios, decks, or backyard spaces
- Eco-conscious gardeners looking to reduce water consumption while maintaining healthy, productive crops
- Retirees and empty nesters who want a low-effort maintenance routine without sacrificing garden output
- Gardeners who've already completed their step-by-step raised bed garden layout planning and are now ready to optimize their infrastructure
❌ Not Applicable/Cautions:
- Gardeners with a single small container planter who don't need automated irrigation infrastructure
- Properties with very low water pressure (below 20 PSI) without a pressure regulator — drip systems require stable, regulated pressure to function correctly
- Setups where beds are extremely spread out across uneven terrain without access to a central water source — additional planning and pressure compensation will be needed
The Case for Drip Irrigation in Raised Bed Gardens: Why Now Is the Time to Act
Summer heat doesn't just stress your plants — it stresses your watering routine. As temperatures climb, raised beds dry out faster than in-ground gardens because they have less soil mass to retain moisture. The faster drainage that makes raised beds so excellent for root development and aeration also means you can't rely on once-a-week hand watering when July arrives.
According to the U.S. Environmental Protection Agency's WaterSense program, conventional garden watering methods are highly inefficient, with a significant portion of water lost to evaporation, runoff, and overspray before it ever reaches plant roots. Drip irrigation, by contrast, delivers water slowly and directly to the root zone, dramatically improving efficiency.
The rise of home food gardening has accelerated in recent years, and with it, the interest in sustainable, water-smart techniques. More gardeners are investing in raised bed irrigation systems not just as a convenience, but as part of a broader commitment to resource-conscious growing. If you've already thought carefully about the best soil recipe for your raised garden beds, the next logical step is making sure that carefully prepared soil gets just the right amount of moisture — consistently, every day.
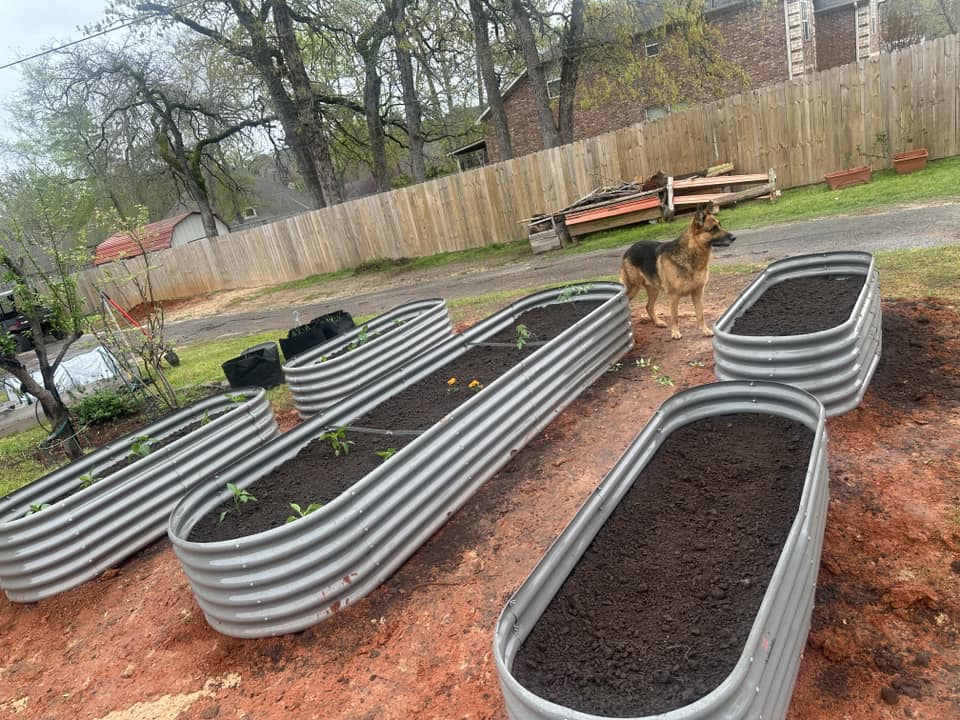
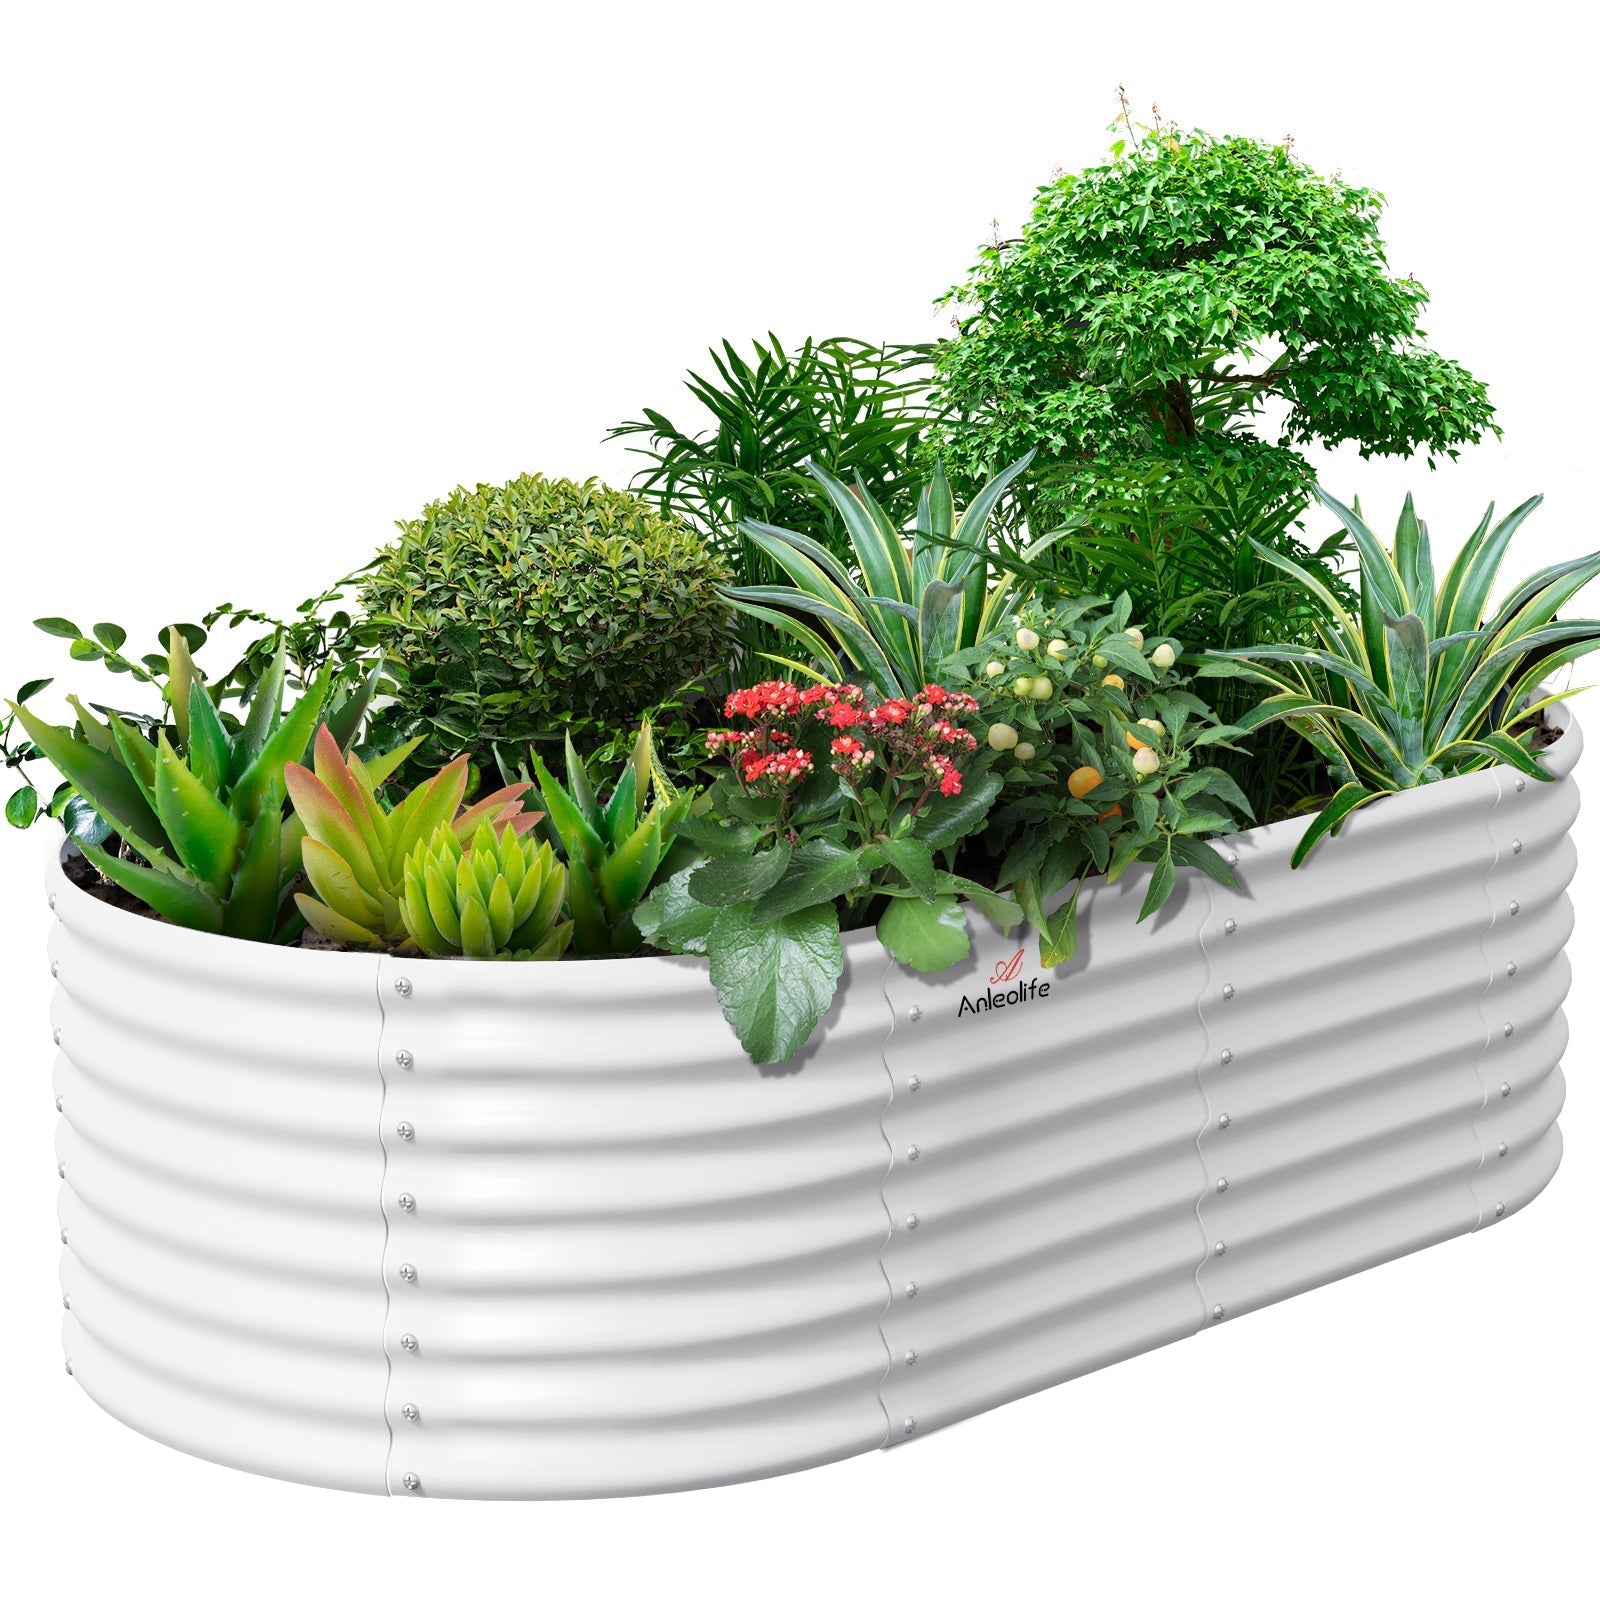
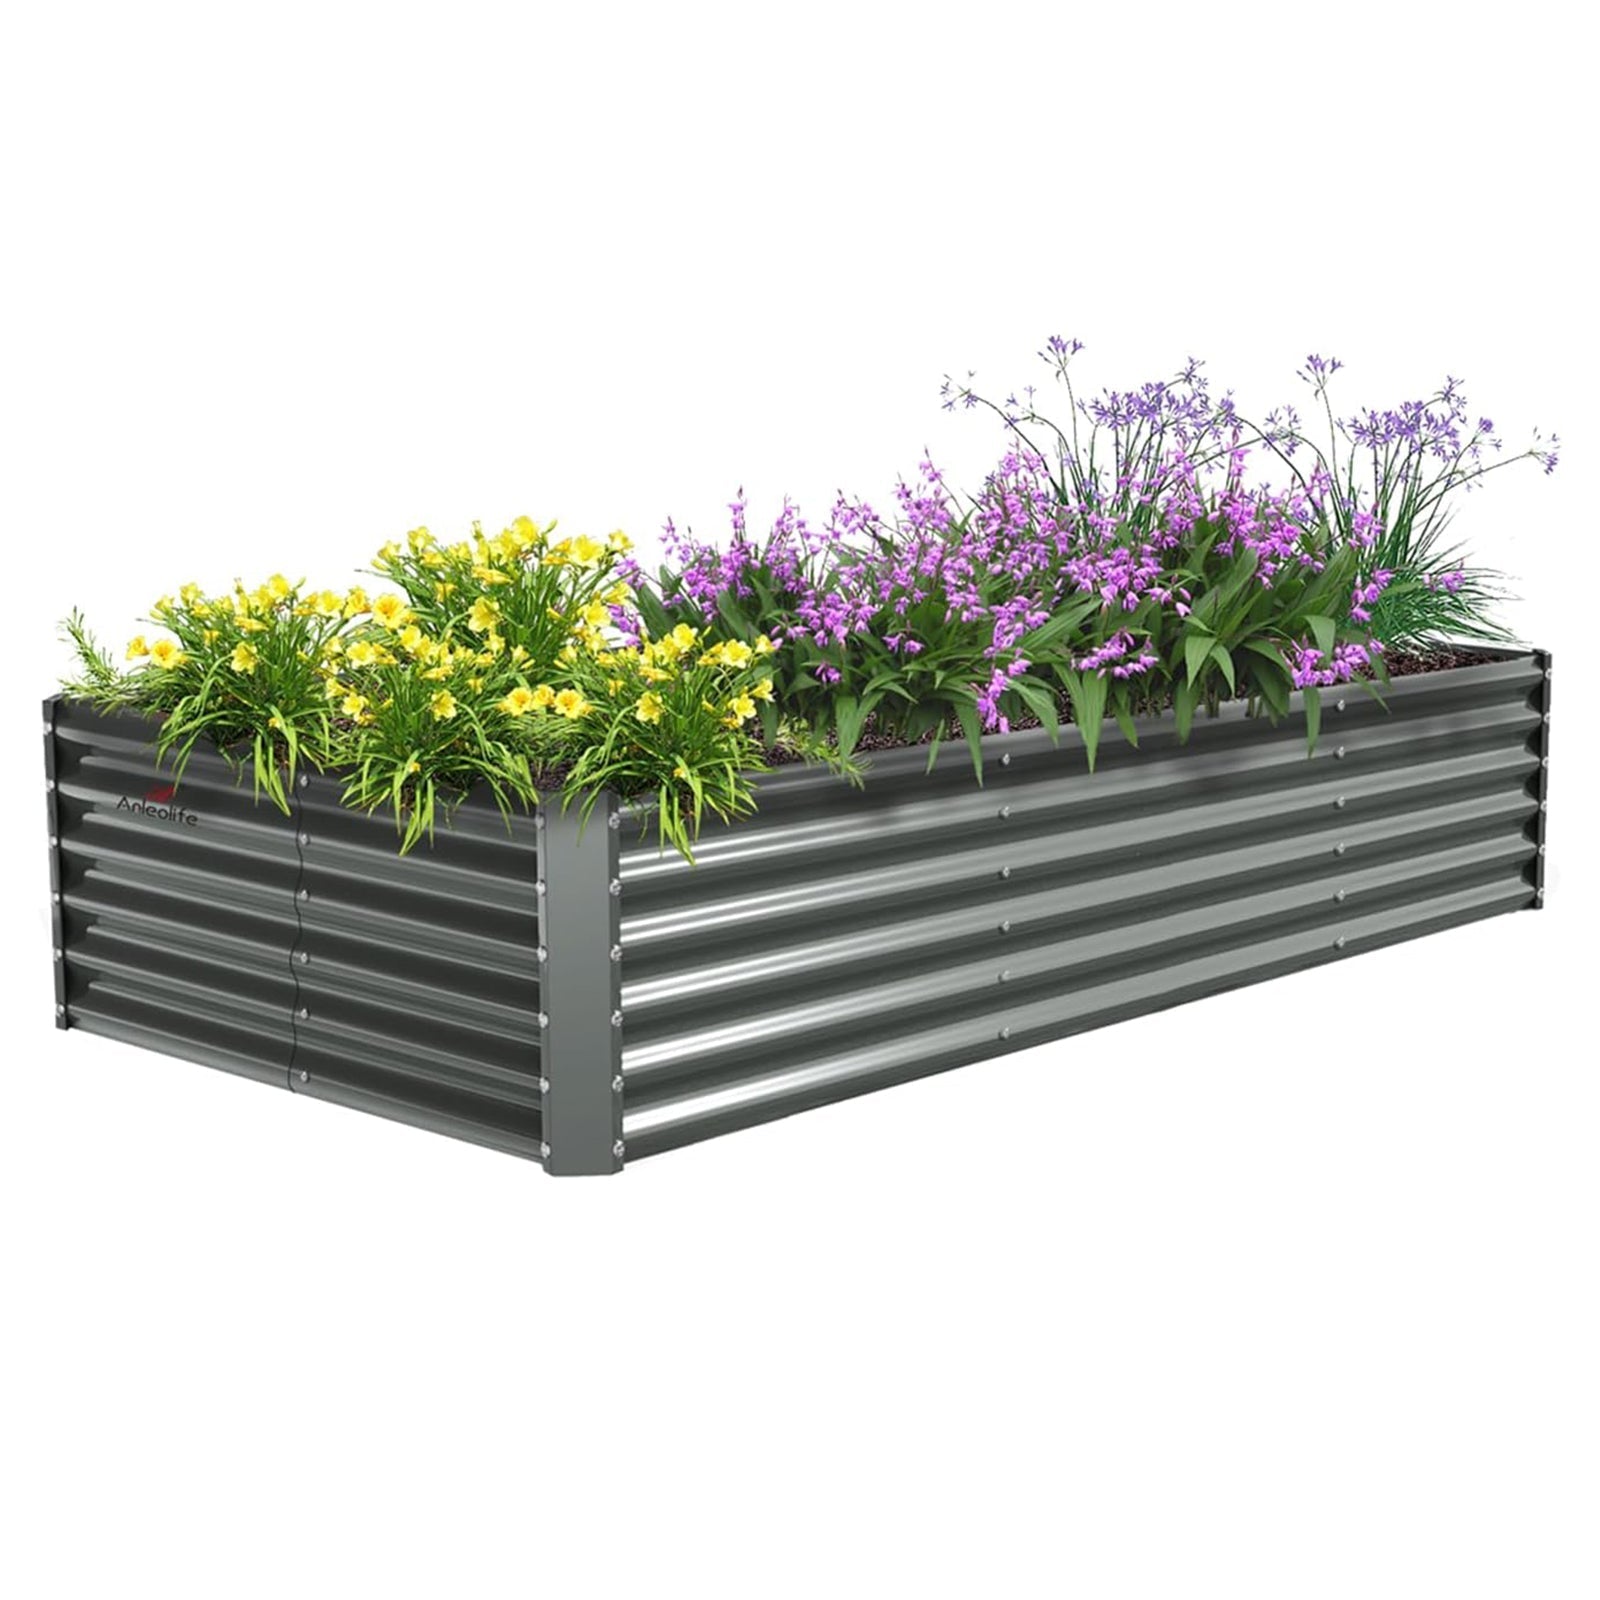
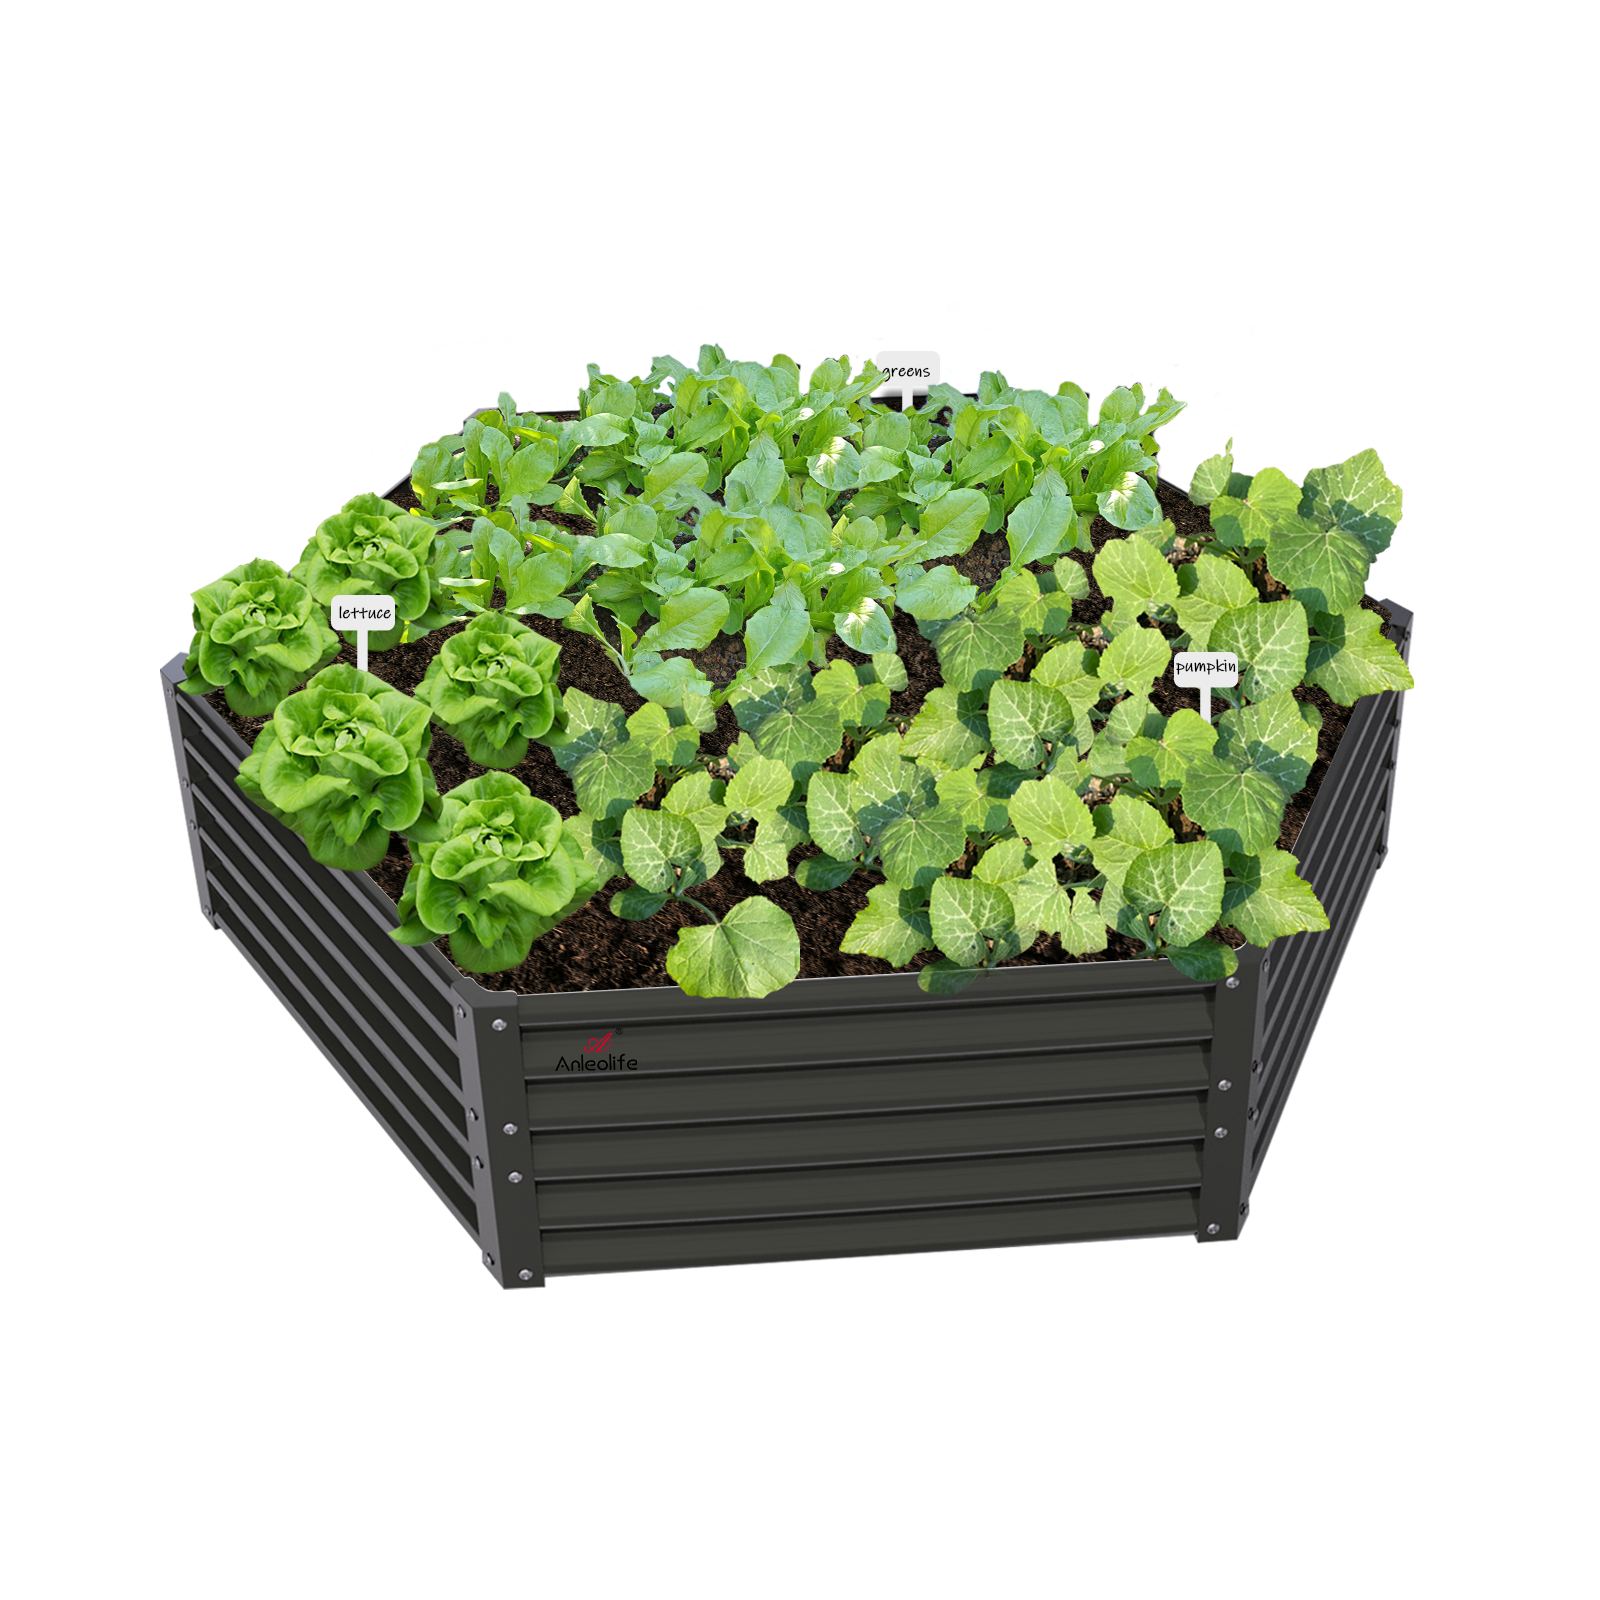
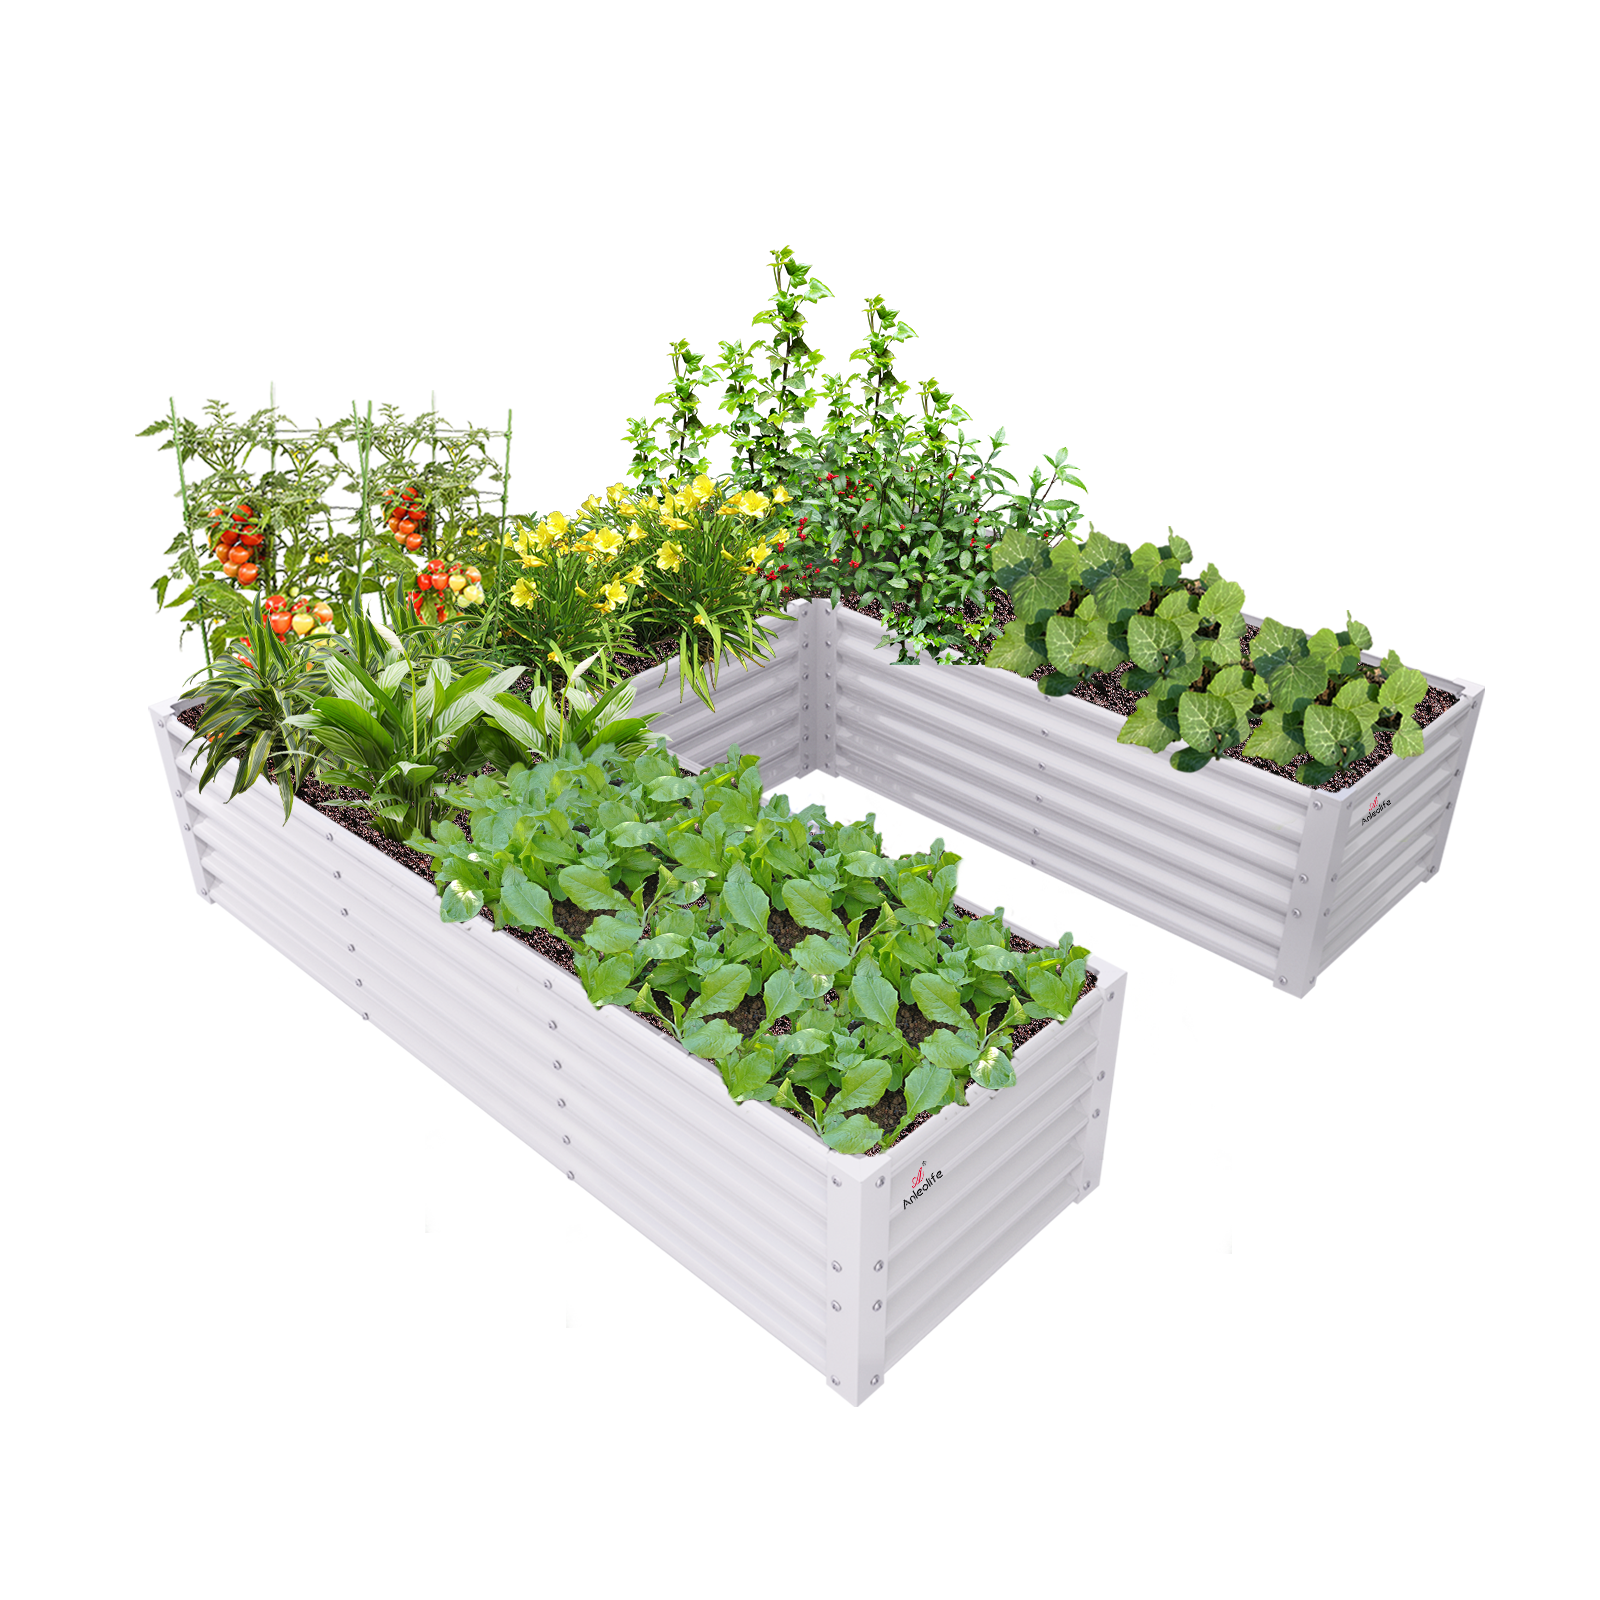
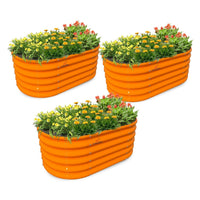
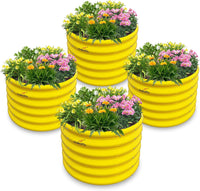
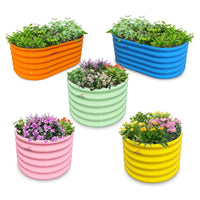
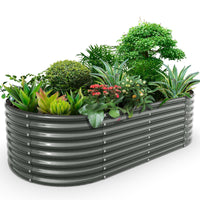
Metal raised garden beds, like Anleolife's galvanized steel and rust-resistant options, are particularly well-suited to drip irrigation because of their clearly defined borders and elevated structure. Their rigid walls make it easy to route tubing cleanly around the perimeter, and their depth — ranging from 18-inch standard beds to 30-inch extra-tall waist-high options — allows roots to reach down into consistently moist soil. For a deeper look at why metal is the material of choice for summer growing, see Galvanized Steel Raised Beds: 7 Reasons They Outperform Wood for Summer Gardening.
A practical drip setup isn't just about saving water — it's about growing better food with less effort. When plants receive steady, targeted moisture at the root level, they grow more vigorously, produce more consistently, and show significantly less disease pressure than plants watered from above. For apartment dwellers wondering, can I use an Anleolife raised garden bed on an apartment patio? — the answer is yes, and drip irrigation makes patio gardening even more manageable, since you can connect a timer to an outdoor spigot and automate the entire process.
Setting Up Your Drip Irrigation System: A Complete Step-by-Step Guide
Three-Step Quick Start
Step 1: Map Your Garden Layout and Calculate Water Demand
Before you purchase a single fitting, sketch your garden layout on paper. Note the location of each raised bed, the distance between beds, and where your water source is located. Measure the total linear footage of tubing you'll need to connect all beds. Also consider what you're growing — leafy greens and herbs need less water than tomatoes, squash, and peppers. This planning stage takes roughly 30–60 minutes but prevents costly mistakes and ensures your system will actually meet your garden's needs from day one.
Step 2: Assemble Your Core Components
A complete drip system for multiple raised beds requires a few essential components: a backflow preventer to protect your home water supply, a pressure regulator to bring line pressure down to the 15–25 PSI range that drip systems prefer, a filter to prevent emitters from clogging, a timer (highly recommended for automation), a main supply line (typically ½-inch polyethylene tubing), distribution lines (typically ¼-inch tubing) that branch into each bed, and drip emitters or soaker lines installed at plant level. Lay all components out before you begin connecting anything — this assembly phase typically takes 1–2 hours.
Step 3: Install, Test, and Adjust
Run your main supply line from the water source to each bed, using stakes to keep tubing tidy and off the ground where possible. Branch ¼-inch distribution tubing into each bed and position emitters near each plant's root zone. Turn on the water at low pressure initially and walk the entire system looking for leaks, misdirected emitters, or dry spots. Adjust emitter placement and flow rates as needed. Run the system for a full cycle, then check soil moisture 30 minutes later. This testing and fine-tuning phase is crucial — plan for 1–2 hours the first time.
Comparing Drip System Configurations for Multiple Raised Beds
Choosing the right configuration depends on how many beds you have, their layout, and your comfort with DIY assembly. Here's a comparison of the three most common approaches for home gardeners:
| Comparison Dimension | Basic Linear System | Zone-Based System | Smart Timer System |
|---|---|---|---|
| Best for | 2–4 beds in a row | 4–12 beds in multiple locations | Any size garden, tech-comfortable users |
| Setup complexity | Low | Moderate | Moderate to High |
| Automation capability | Manual or basic timer | Zone timers per group | Full app-controlled scheduling |
| Water efficiency | Good | Very Good | Excellent |
| Estimated cost range | Budget-friendly | Mid-range | Higher upfront investment |
| Expandability | Limited | Moderate | High |
| Ideal bed type | Same-size beds in a line | Mixed sizes and locations | Any configuration |
| Maintenance requirement | Low | Low to Moderate | Low (with occasional app check) |
A basic linear system is ideal for beginners who have just a few beds aligned along a fence or wall. A zone-based system makes more sense once you have beds in different areas of your yard — for example, a vegetable section near the back and an herb cluster near the kitchen door. A smart timer system is the premium option that allows you to set different watering schedules for different plant types, receive alerts on your phone, and adjust remotely if rain is in the forecast.
Detailed Installation Guide: From Water Source to Plant Root
Choosing the Right Emitters for Your Crops
Drip emitters are not one-size-fits-all. For raised beds growing a mix of crops, you'll typically want adjustable emitters that allow you to dial up the flow rate for thirsty plants like tomatoes and dial it down for herbs like rosemary and thyme. Standard fixed emitters are available in flow rates ranging from 0.5 to 2 gallons per hour — a useful range to work with for most vegetables.
For dense plantings of salad greens or herbs, inline drip tape or a soaker line run along the bed's length often provides more uniform coverage than individual emitters. Many gardeners use a hybrid approach: soaker lines for densely planted crops and individual emitters for widely spaced plants like squash or peppers. If you're growing primarily herbs outdoors, drip tape is one of the best solutions, since it delivers gentle, consistent moisture without waterlogging the shallow root zones that herbs prefer.
Routing Tubing Through and Between Beds
The structural advantages of metal raised garden beds pay off here. Galvanized steel beds have clean, flat top rails and solid walls, which make it easy to route tubing over the edge and into the bed neatly. You can use small rubber grommets or tubing clips to keep ¼-inch distribution lines from slipping.
When connecting multiple beds, run your ½-inch main line parallel to the beds rather than weaving between them. Use T-fittings or barbed connectors at each bed location to branch off a ¼-inch distribution line. Keep main line runs as short and direct as possible — the longer your run, the more pressure drop you'll experience at the far end of the system.
For patio setups or apartment gardeners using Anleolife beds on a balcony or deck, a compact drip kit connected to a single outdoor faucet can serve multiple containers and smaller raised beds. A timer at the faucet makes this completely hands-free — a genuine game-changer for anyone who travels or works long hours.
Setting Your Watering Schedule
Getting your irrigation schedule right takes a few days of observation and adjustment. As a general starting point for summer:
- Leafy greens and herbs: 1–2 short daily cycles, keeping the top few inches of soil consistently moist but not soggy
- Tomatoes, peppers, eggplant: Deep, longer cycles every 1–2 days to encourage deep root growth
- Squash, cucumbers, melons: Consistent daily watering, especially during fruit set and development
The goal is to maintain even moisture without saturation. In the peak of summer heat, you may need to water twice a day during a heat wave. A programmable timer takes all the guesswork out of this — simply set it and let it respond to your schedule rather than having to run outside every morning before work.
You can also check out our Raised Bed Watering Guide: How to Conserve Water This Summer with Simple Systems for additional strategies on pairing drip irrigation with mulching and soil management for maximum moisture retention.
Maintaining Your System Through the Season
Drip systems are remarkably low-maintenance, but a few routine checks keep everything running optimally. Once a week, walk the system and visually inspect all emitters — clogs are the most common issue, and they're easy to clear with a pin or by briefly removing and flushing the emitter. At least once a month, disconnect the filter and rinse it under running water. Check all connections for slow drips or unexpected wet spots in the soil that might indicate a fitting has worked loose.
At the end of summer, or before the first frost if you're in a colder climate, flush the entire system, remove emitters, and drain all tubing. Store components indoors to extend their service life significantly.
For a broader look at keeping your beds in peak condition, the Mid-Summer Raised Bed Maintenance: Your Essential June–July Care Checklist covers everything from soil health to pest management alongside your watering routine.
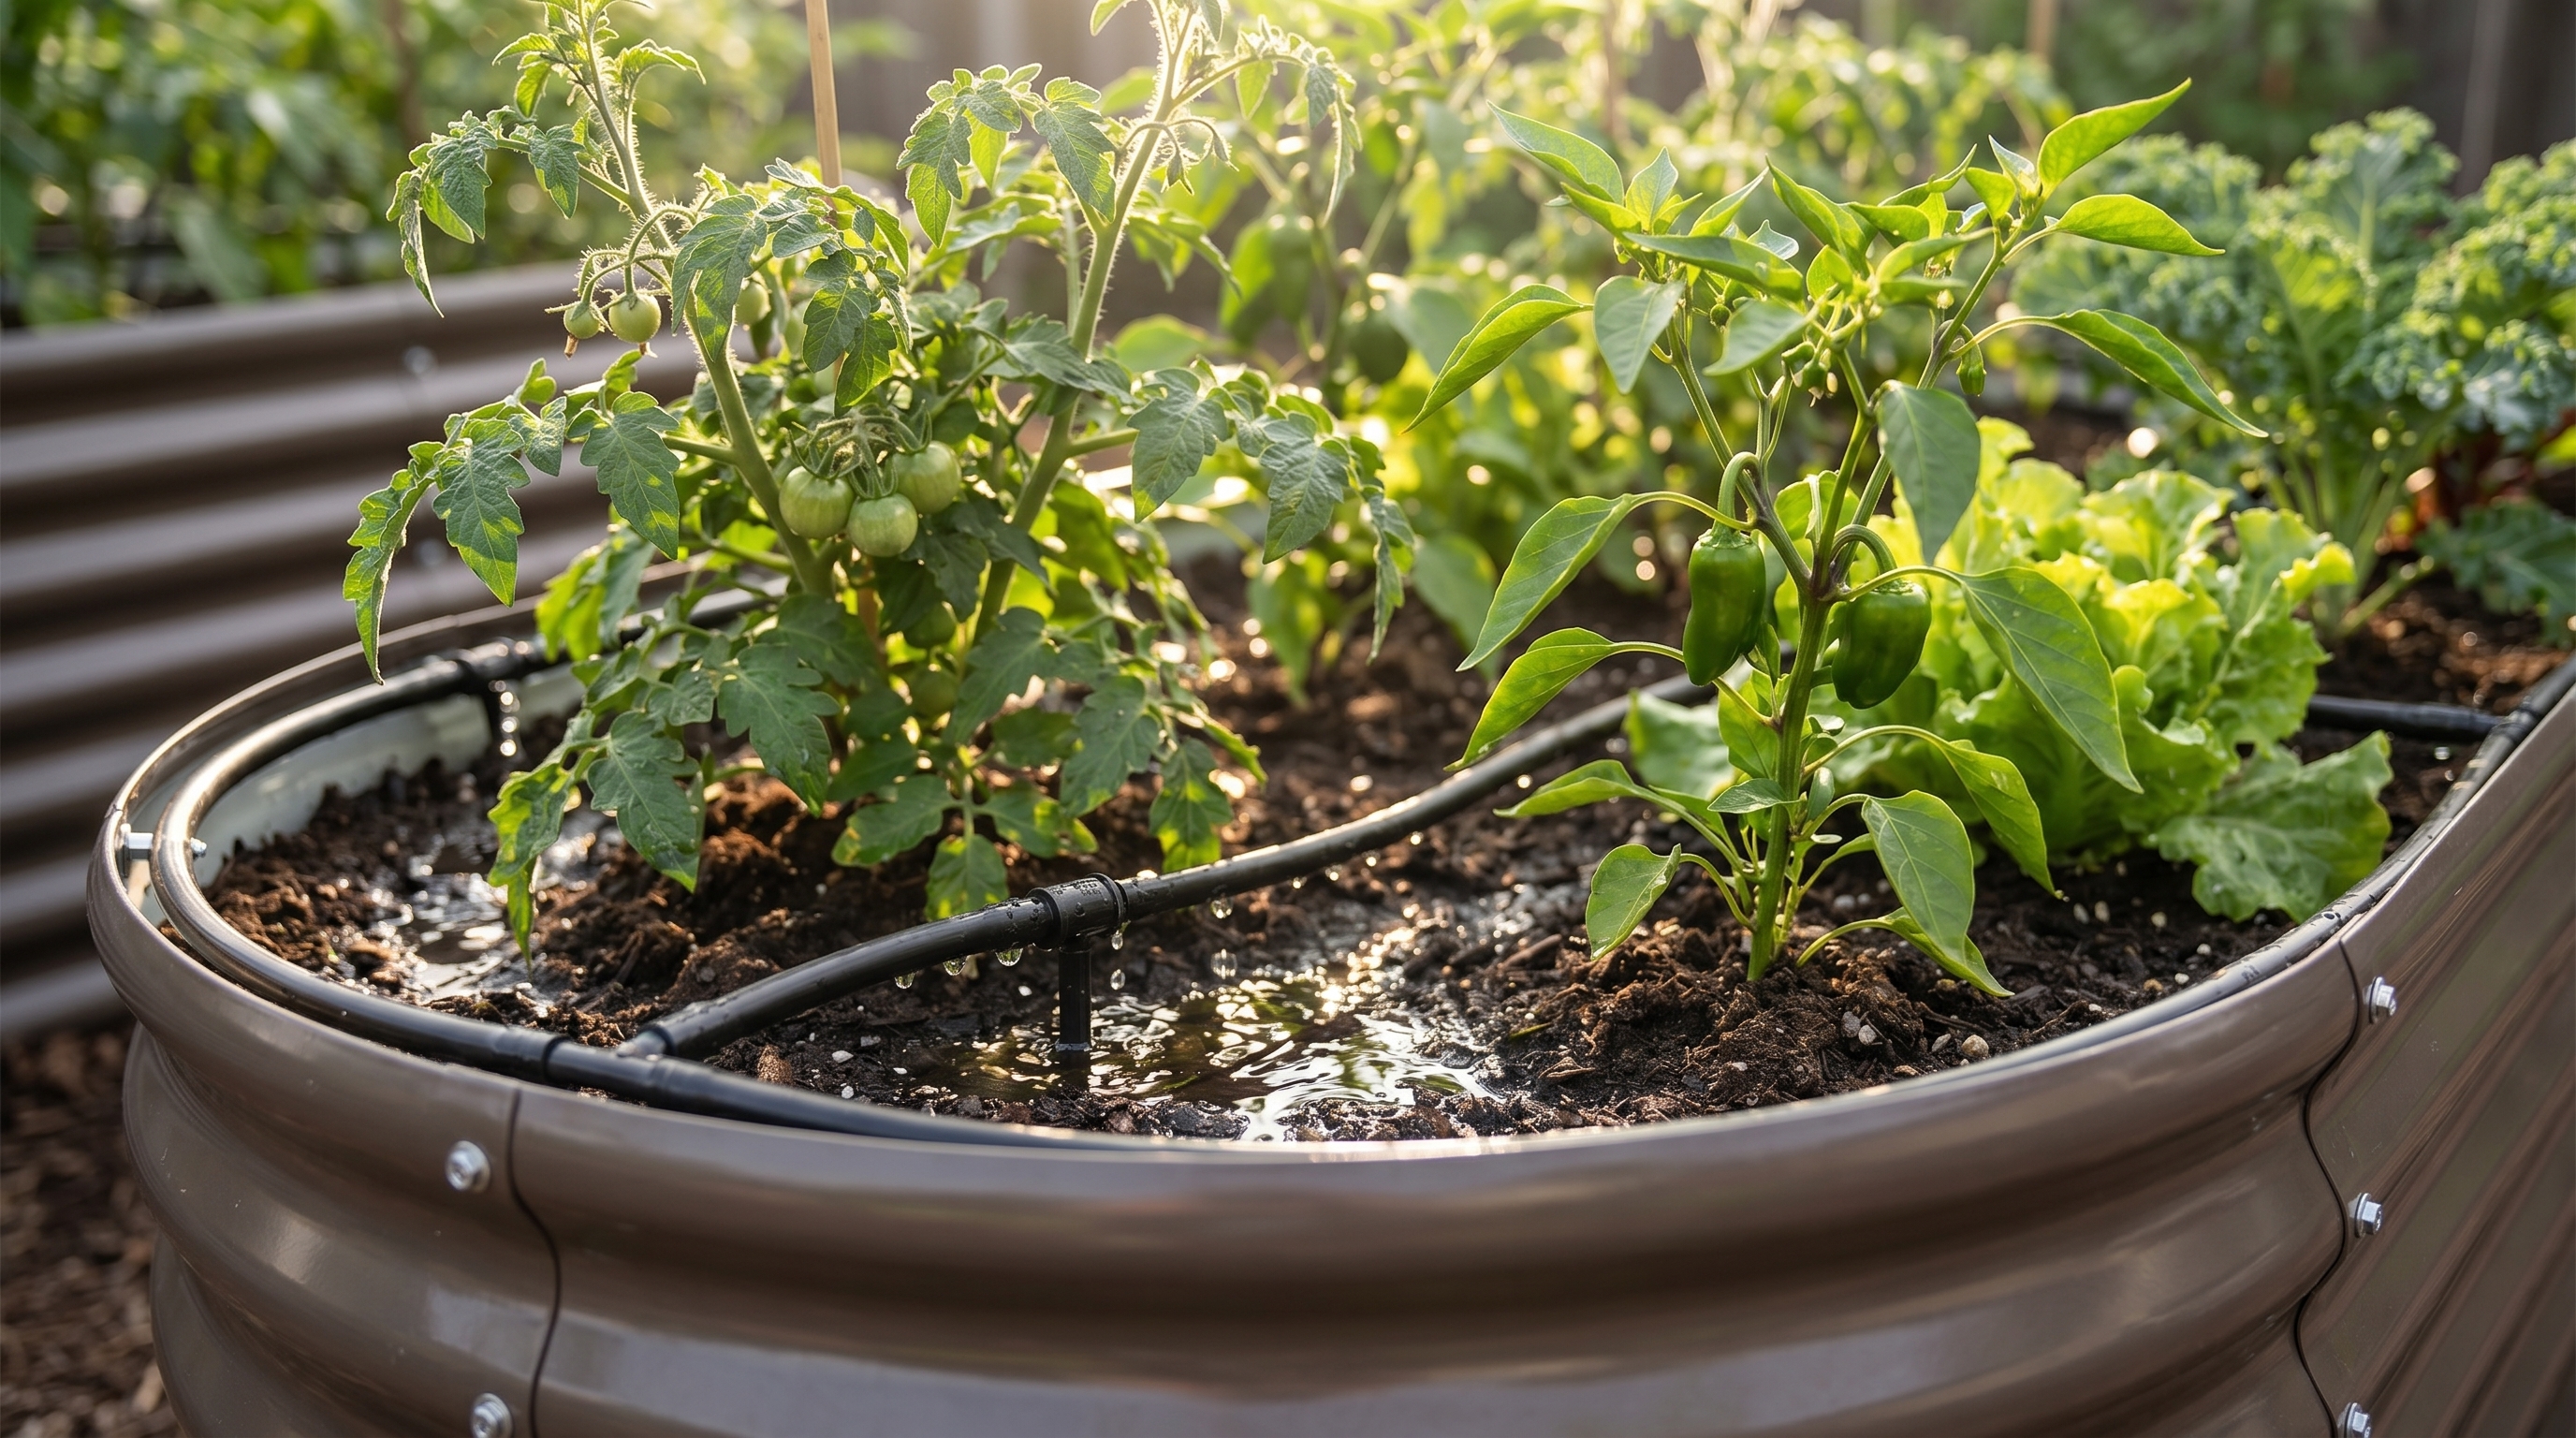
ALT: Close-up of drip emitters delivering water to vegetable roots in a galvanized steel raised garden bed during summer
Advanced Considerations: Pressure, Elevation, and Expanding Your System
Managing Pressure Across Multiple Beds
One of the most common mistakes in multi-bed drip systems is underestimating the role of water pressure. Each additional length of tubing and each additional emitter draws from your available pressure. If your system is undersized for your number of beds, emitters at the far end of the run will drip too slowly — or not at all.
The solution is to zone your system. Rather than running a single long line across all your beds, divide them into two or three groups, each served by its own branch from the main supply. Use a manifold at the faucet with multiple zone valves, each on its own timer channel. This keeps pressure even throughout each zone and makes scheduling more flexible.
Elevation Differences Between Beds
If your beds are at different heights — for example, some standard 18-inch beds and some 30-inch extra-tall waist-high beds, or beds on a raised deck — gravity will affect flow rates. Beds that are lower than the water source will naturally receive slightly more flow; beds above the water source will receive less. Pressure-compensating emitters, which maintain a consistent flow rate across a range of pressures, are the best solution for uneven terrain or multi-level setups.
A Common Misconception: More Emitters Doesn't Mean Better
Many first-time drip system builders assume that adding more emitters is always better. In reality, too many emitters running simultaneously can overwhelm your system's pressure capacity and leave every plant under-watered. Calculate your total emitter flow rate before finalizing your design — your system's total flow should stay within the capacity of your water source.
Expanding Your System Over Time
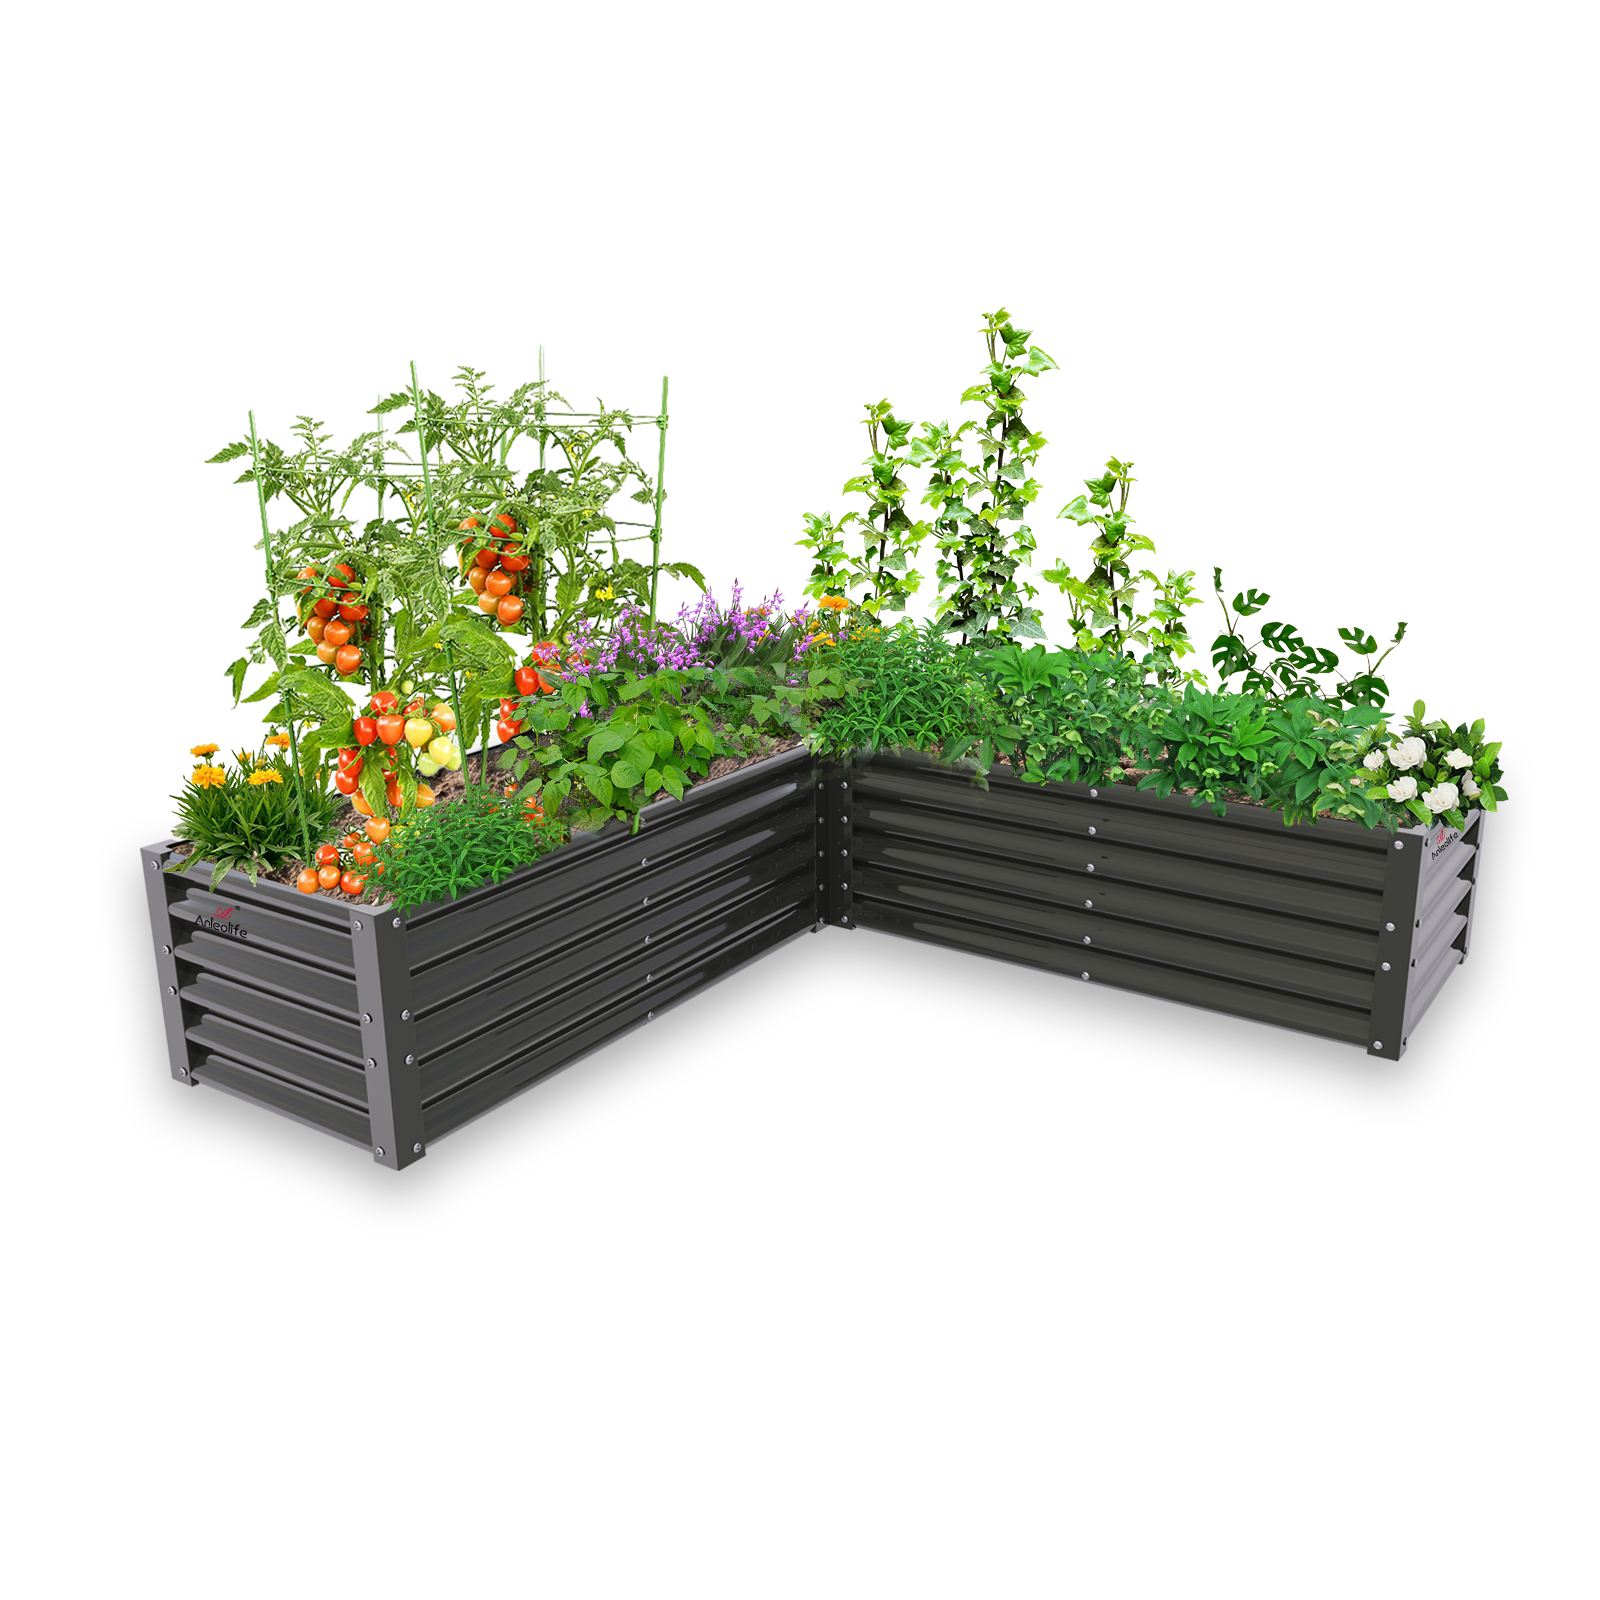
One of the best features of a modular drip system is that it grows with your garden. Anleolife's modular raised garden bed line is designed with exactly this kind of scalability in mind. Whether you're starting with an 8x4 bed and adding a 12x3 configuration next season, or expanding to include a dedicated herb section, your drip system can expand alongside your garden simply by adding new branch lines, T-fittings, and emitters.
Frequently Asked Questions FAQ
Q1: How do I know how many emitters I need for each raised garden bed?
A good rule of thumb is one emitter per plant for widely spaced crops like tomatoes, peppers, or squash, and one emitter every 6–8 inches of row for densely planted crops like lettuce, spinach, or herbs. For a standard 8x4 bed with mixed vegetables, you might use anywhere from 8 to 20 emitters depending on your plant spacing. Start conservatively, run a cycle, and check soil moisture across the bed — you can always add emitters if you notice dry patches developing.
Q2: Is a drip irrigation system compatible with Anleolife galvanized steel raised garden beds on a patio or apartment balcony?
Absolutely. Anleolife galvanized steel and rust-resistant raised garden beds are fully compatible with drip irrigation on patios, balconies, and apartment outdoor spaces. Simply connect a compact timer and pressure regulator to your outdoor faucet or a large water reservoir, run ¼-inch distribution tubing into each bed, and place emitters near your plants. The clean, rigid structure of metal raised beds makes routing and securing tubing especially tidy. This setup is one of the most effective ways urban gardeners can manage consistent watering without daily effort.
Q3: How long does it take to set up a drip irrigation system for multiple raised beds, and what does it cost?
For most home gardeners with 3–6 raised beds, the full installation — including layout planning, component assembly, and initial testing — typically takes a single afternoon of 3–5 hours. Basic starter kits for small systems are widely available at garden centers and home improvement stores, with costs scaling up for larger systems, smart timers, and zone controllers. The investment pays back quickly in water savings, reduced plant disease, and time saved on daily watering — especially when paired with a quality bed like Anleolife's durable options, built to last up to 20 years.
Summary
Setting up a drip irrigation system for multiple raised beds this summer is one of the most practical, high-return investments you can make in your garden. Here are the three core takeaways:
1. Planning is everything. Before you buy a single fitting, map your bed layout, measure distances, and understand what you're growing. A well-designed system delivers even, efficient water to every plant; a poorly designed one wastes water and creates frustrating dry spots.
2. Match your system to your garden's scale. A basic linear system works beautifully for a small cluster of beds. As your garden grows — and if you're using a modular, expandable bed system — a zone-based or smart-timer system gives you the flexibility and control you need to water different crops differently.
3. Pair great irrigation with great beds and great soil. Drip irrigation only reaches its full potential when your raised beds have excellent drainage and your soil is structured to hold just the right amount of moisture. Check out our guides on the top 10 vegetables to grow in a raised bed this summer and our soil recipe guide to make sure your whole system is working together.
Your next step: sketch your garden layout today, measure your bed spacing, and order your drip kit before summer peaks. The sooner your system is running, the sooner every plant in your garden is getting exactly what it needs — automatically, every day.
Upgrade Your Garden with Anleolife
Anleolife operates a nationwide U.S. warehouse network strategically located in California, Texas, Florida, New York, Illinois, and Washington, ensuring delivery within 3–8 business days so your garden upgrade plans never have to wait.
Our products are available across major platforms including Amazon, Walmart, Home Depot, Lowe's, Wayfair, and our official website Anleolife.com, providing consistent quality assurance and reliable after-sales service wherever you prefer to shop.
Anleolife's three core scenarios cover everything your garden needs: Planting (metal raised garden beds, soil systems), Raising (chicken coops, rabbit hutches), and Beautification (decorative accessories, pathway systems) — meeting complete needs from functionality to aesthetics.
We understand that an ideal garden isn't built overnight — it's gradually improved over time. Our modular product design allows flexible expansion based on your needs, from your first raised garden bed to a fully integrated planting-and-raising ecosystem. Anleolife beds are built to last up to 20 years, making every dollar invested a long-term commitment to your garden lifestyle. We grow with you every step of the way.
References
- U.S. Environmental Protection Agency, WaterSense Program. "Outdoor Water Use in the United States."
https://www.epa.gov/watersense/outdoor-water-use-us - University of California Agriculture and Natural Resources. "Drip Irrigation for Home Gardens."
https://ucanr.edu/ - National Gardening Association. "Drip Irrigation Basics."
https://garden.org/ - U.S. Department of Agriculture, Natural Resources Conservation Service. "Irrigation Water Management."
https://www.nrcs.usda.gov/resources/guides-and-instructions/irrigation-water-management - Cooperative Extension, Colorado State University. "Drip Irrigation for Home Gardens."
https://extension.colostate.edu/topic-areas/yard-garden/drip-irrigation-for-home-gardens-4-702/
Note: Standards and recommendations may be updated. Please check the latest official documents or consult professional advisors for the most current guidance.
About Anleolife
Anleolife is a leading outdoor garden solutions provider in North America, dedicated to offering a full-scenario product ecosystem for home gardening enthusiasts, covering planting, raising, and garden beautification. Since its founding, we have upheld our brand mission, "Made for Garden Life," continuously innovating products and optimizing services to help hundreds of thousands of users upgrade their gardens, reconnect with nature, and enjoy a better garden lifestyle.