


ALT: Home gardener starting seeds indoors under LED grow lights to extend the growing season before summer ends
Why Starting Seeds Indoors with LED Grow Lights Before Summer Ends Is a Game-Changer
Key Conclusion: Starting seeds indoors with LED grow lights before summer ends is one of the smartest moves a home gardener can make. This technique extends your productive growing season well into fall, giving cool-weather crops like kale, broccoli, and lettuce a controlled head start. Whether you're growing in a raised garden bed, a patio container, or a small urban plot, indoor seed starting under grow lights helps you skip the transplant shock, beat unpredictable late-summer heat, and harvest more food from the same space.
Home gardeners who wait until outdoor temperatures cool down to direct-sow fall crops often find themselves racing against the first frost. By starting seeds indoors 4–8 weeks before your intended outdoor transplant date, you gain precise control over germination conditions — temperature, moisture, and light — that the outdoor environment simply can't reliably provide in late summer.
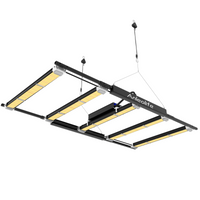
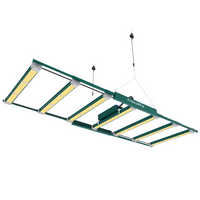
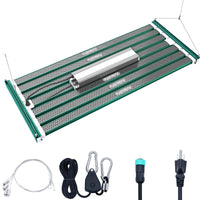
LED grow lights have transformed this process. Unlike older fluorescent or HID systems, modern LED panels run cooler, consume less energy, and emit targeted light spectrums that closely mimic natural sunlight. For families wanting to grow more of their own food, retirees tending a thoughtful garden, or urban growers with limited outdoor space, this combination of indoor seed starting and outdoor raised beds represents one of the most rewarding and efficient gardening strategies available today.
Who Should Use This Indoor Seed-Starting Strategy
✅ Applicable Scenarios:
- Gardeners in USDA zones 5–9 who want to extend their growing season into fall and early winter
- Home growers who already own or plan to set up raised garden beds and want a continuous harvest cycle
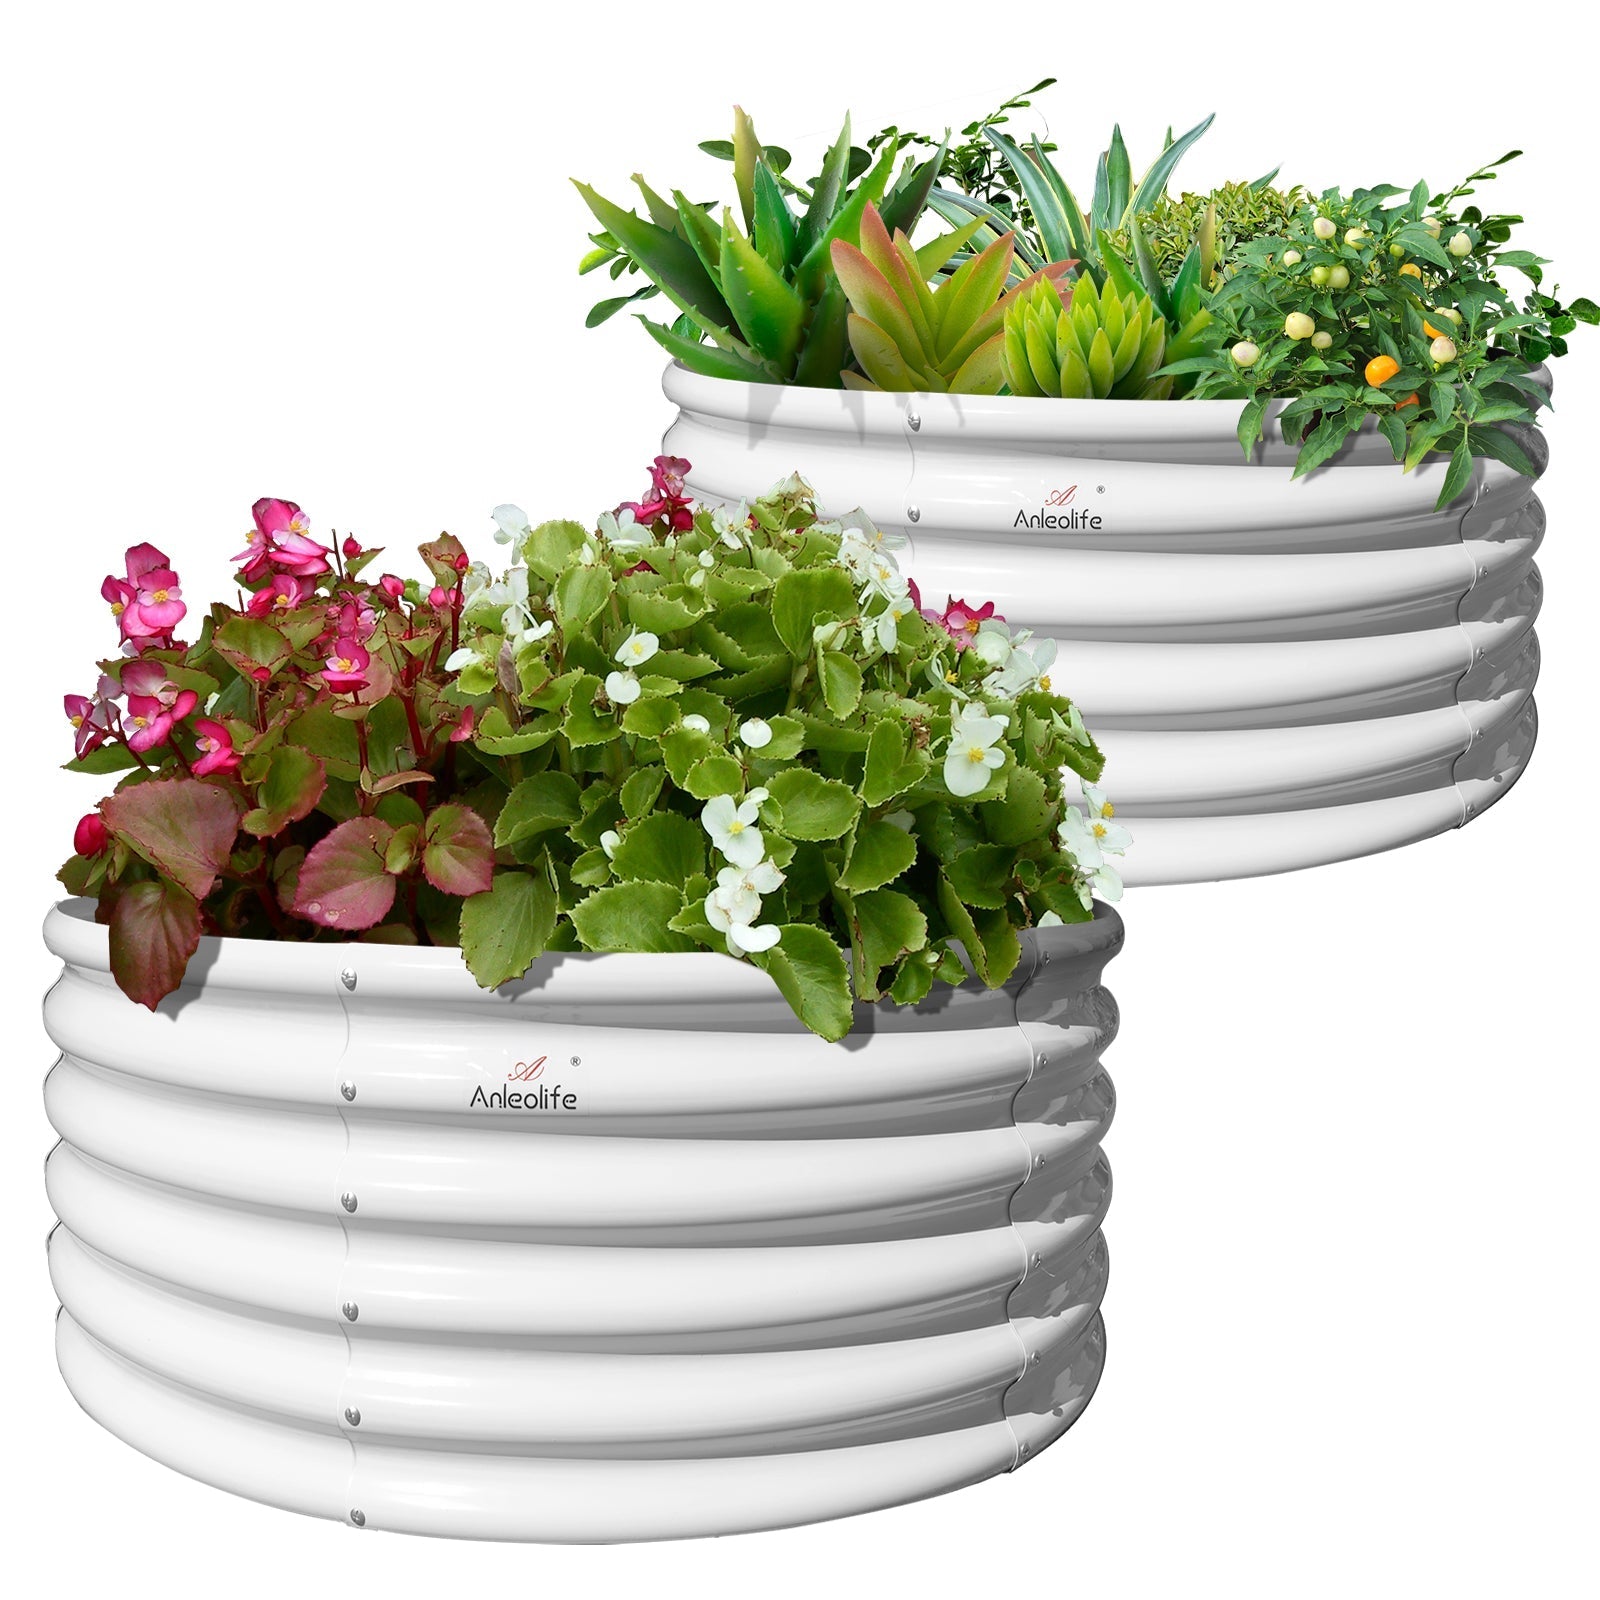
- Urban micro-gardeners or apartment dwellers with limited outdoor space who grow in containers or compact beds on patios and balconies
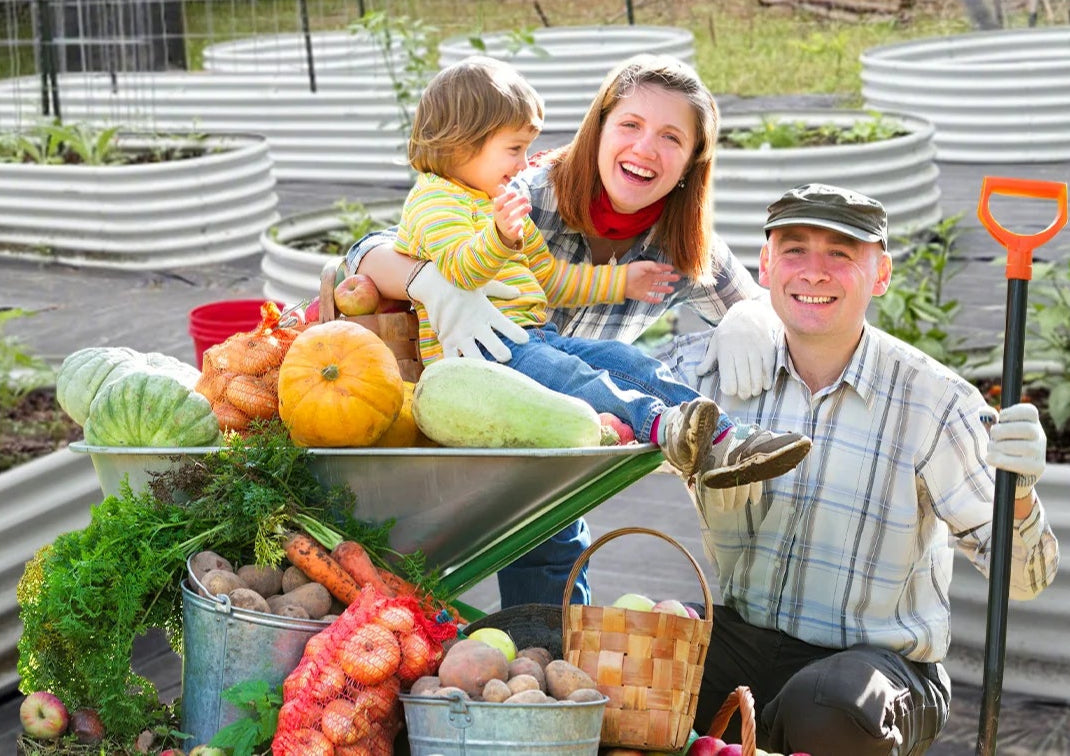
- Families and retirees who grow food for health reasons and want to avoid store-bought produce during the shoulder seasons
- Anyone who missed the spring planting window and wants a strong second planting wave
❌ Not Applicable / Cautions:
- Gardeners without any indoor space with at least a few hours of accessible countertop or shelf space — LED setups require a stable surface with a reliable power outlet
- Those growing only warm-season crops like tomatoes or peppers for summer harvest (this guide focuses on late-summer indoor starts for fall transplanting)
- Growers in extreme climate zones where outdoor growing windows are too short even with transplants (zone 3 and below may need a greenhouse setup instead)
The Case for Indoor Seed Starting in Late Summer: Timing, Technology, and the Right Garden Setup
Most gardening content focuses on spring planting. But late summer — roughly July through early September depending on your region — is actually a critical second window that many gardeners overlook entirely. This is when experienced food growers quietly set themselves up for an abundant fall harvest.
The logic is straightforward: cool-season crops like spinach, arugula, kale, Swiss chard, broccoli, cauliflower, and lettuce thrive in temperatures between 45°F and 75°F. If you sow them directly outdoors in July or August, they often struggle to germinate in the heat or get damaged by sun scorch. Starting them indoors under controlled LED lighting lets them establish strong root systems and develop true leaves before facing outdoor conditions.
LED grow lights have made this process dramatically more accessible. A decade ago, serious indoor growing required expensive HID lighting rigs that generated significant heat and electricity costs. Today's LED panels are energy-efficient, low-heat, and available at a range of price points for home gardeners. Full-spectrum LED lights mimic the complete range of natural sunlight, supporting both the vegetative growth needed for seedlings and the stronger photosynthesis that promotes root development.
This strategy pairs exceptionally well with raised garden beds. If you're already growing in a raised bed garden and wondering which summer vegetables you can still plant, late-summer indoor seed starting gives you a direct answer: start your fall crops inside now, and your beds will be ready to receive strong transplants just as summer heat begins to fade.
From a market perspective, the home gardening sector has seen remarkable growth. According to the National Gardening Association, food gardening participation in the United States grew significantly in recent years, with more households reporting vegetable growing than at any point in decades. Part of this growth is driven by health-conscious families wanting transparency about what they eat — and indoor seed starting with LED lights gives growers the highest level of control from day one.
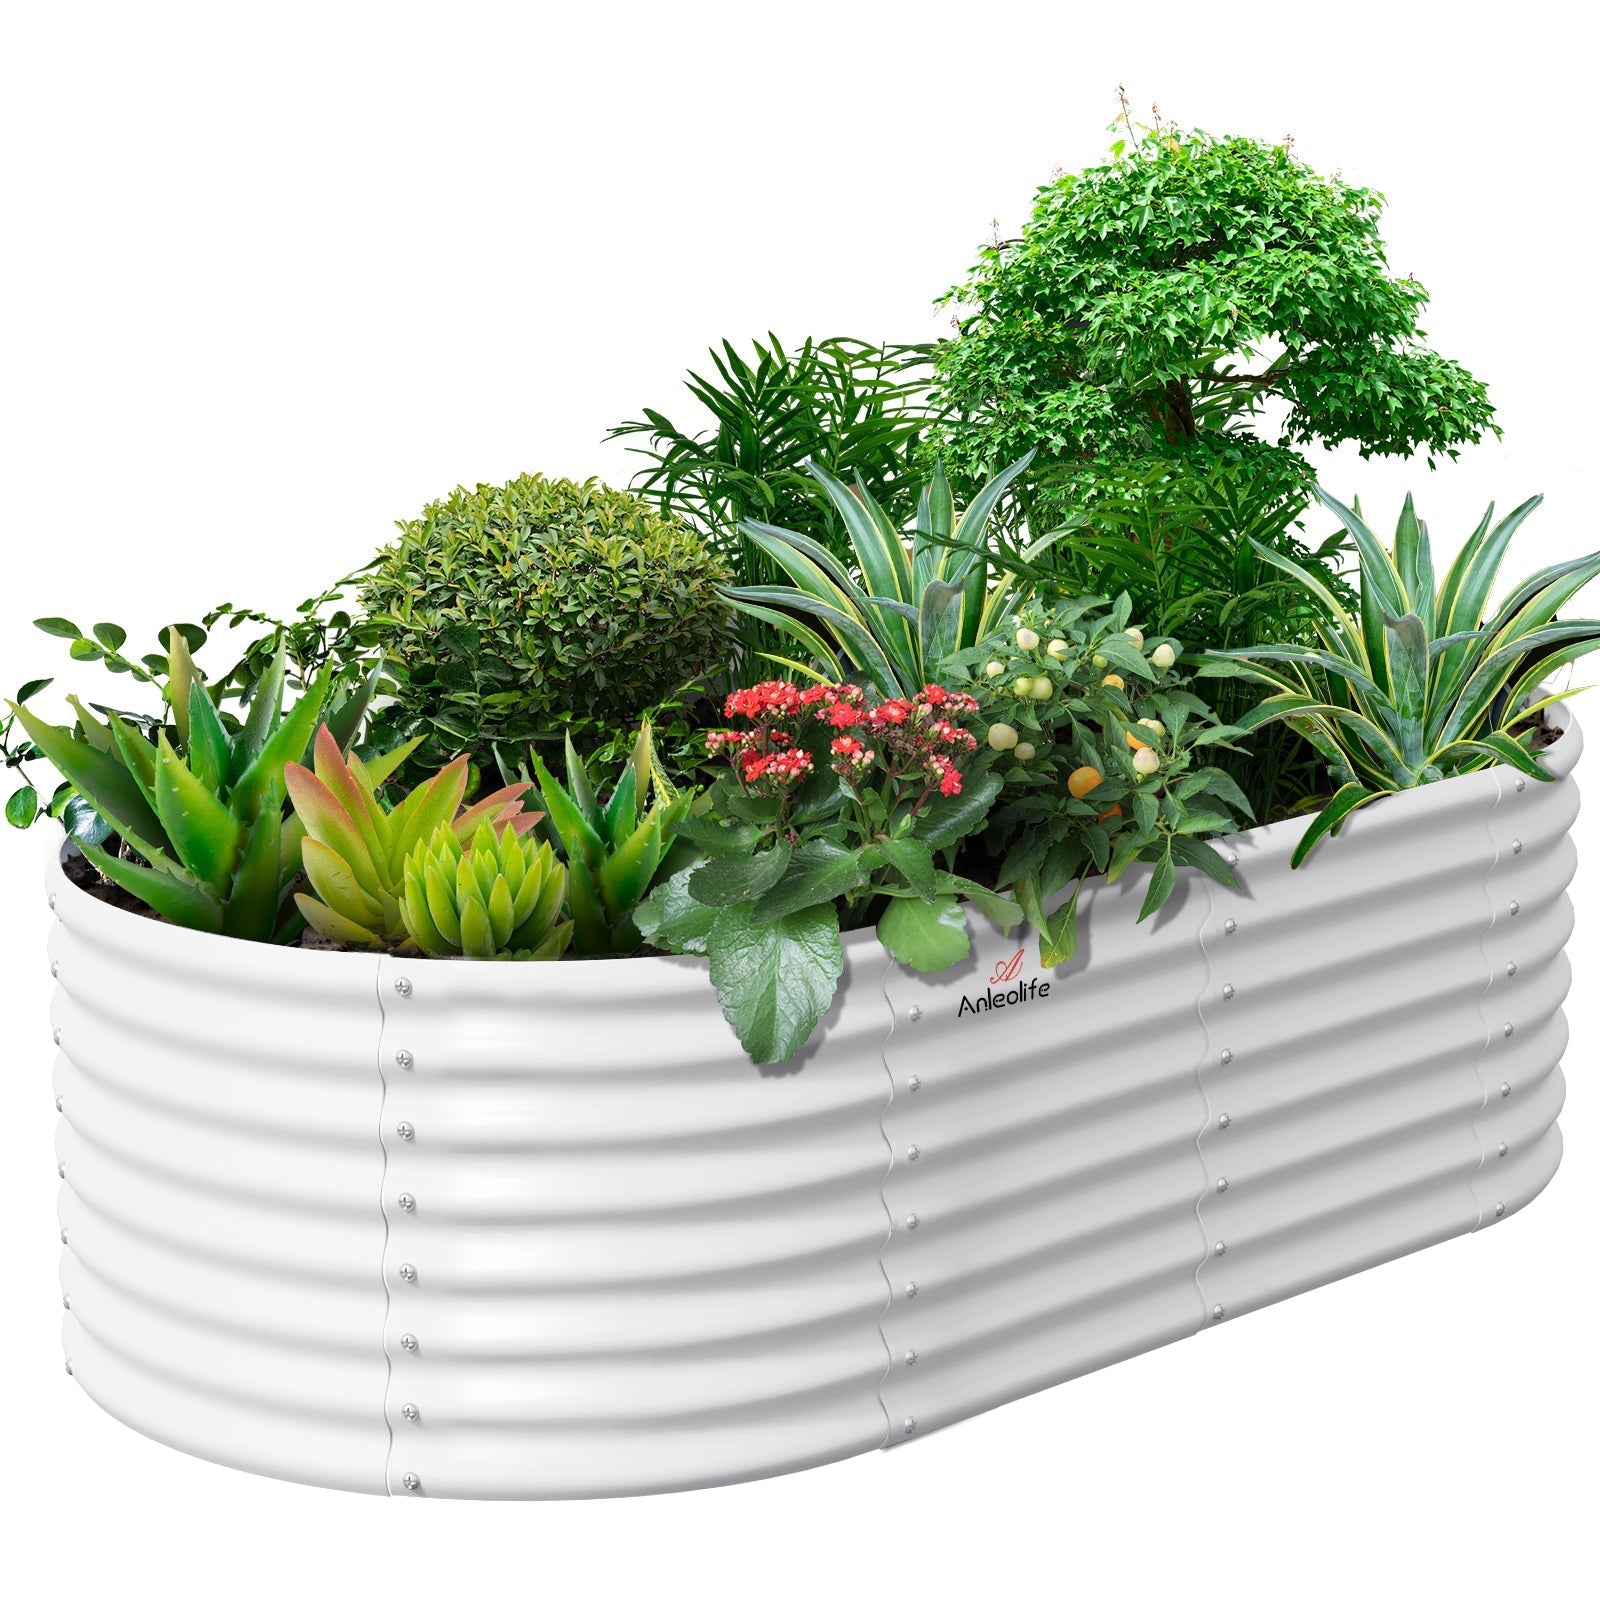
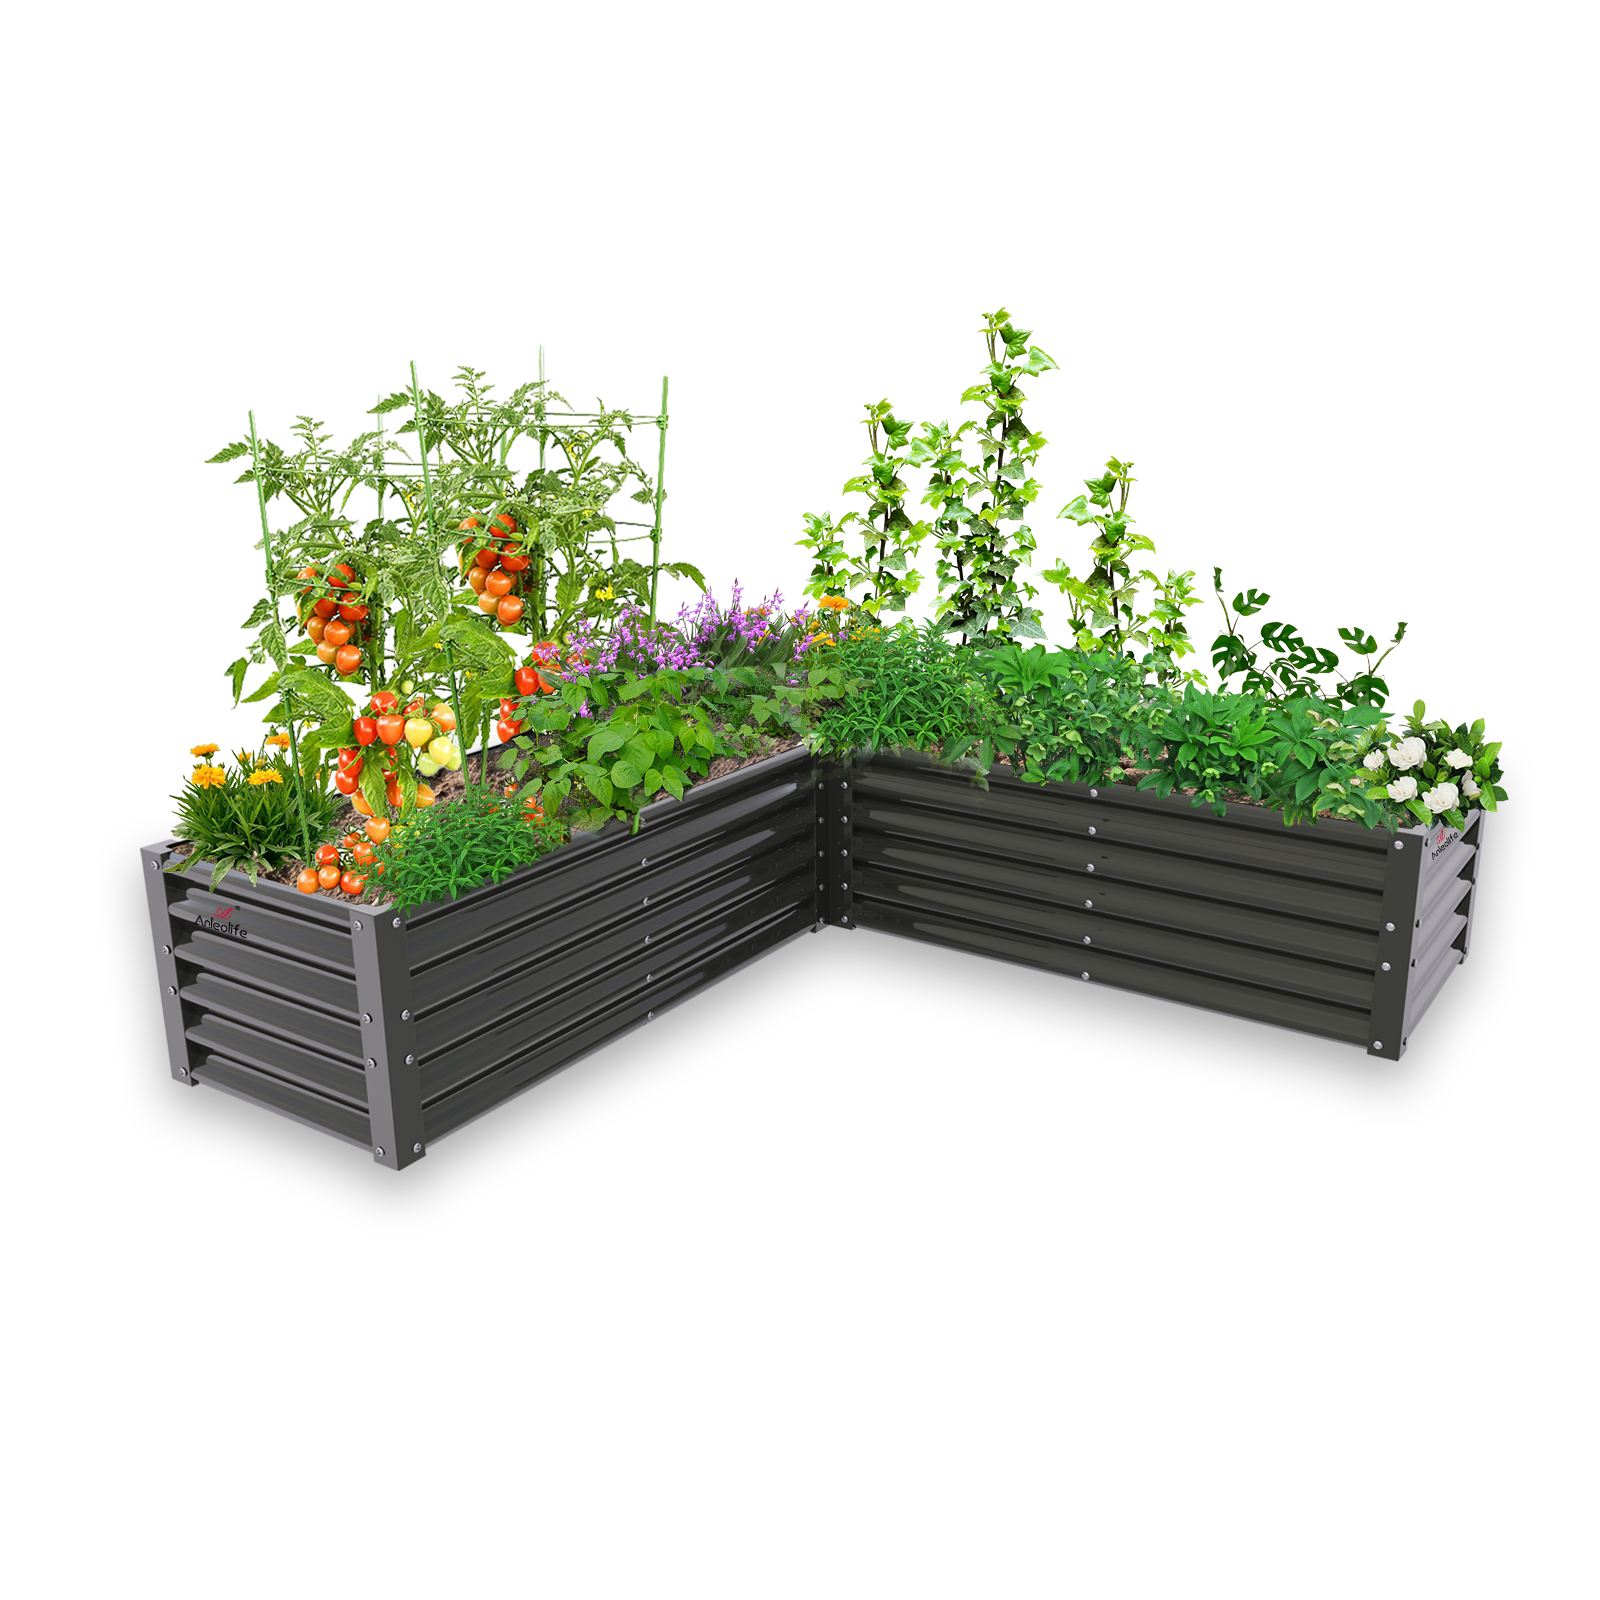
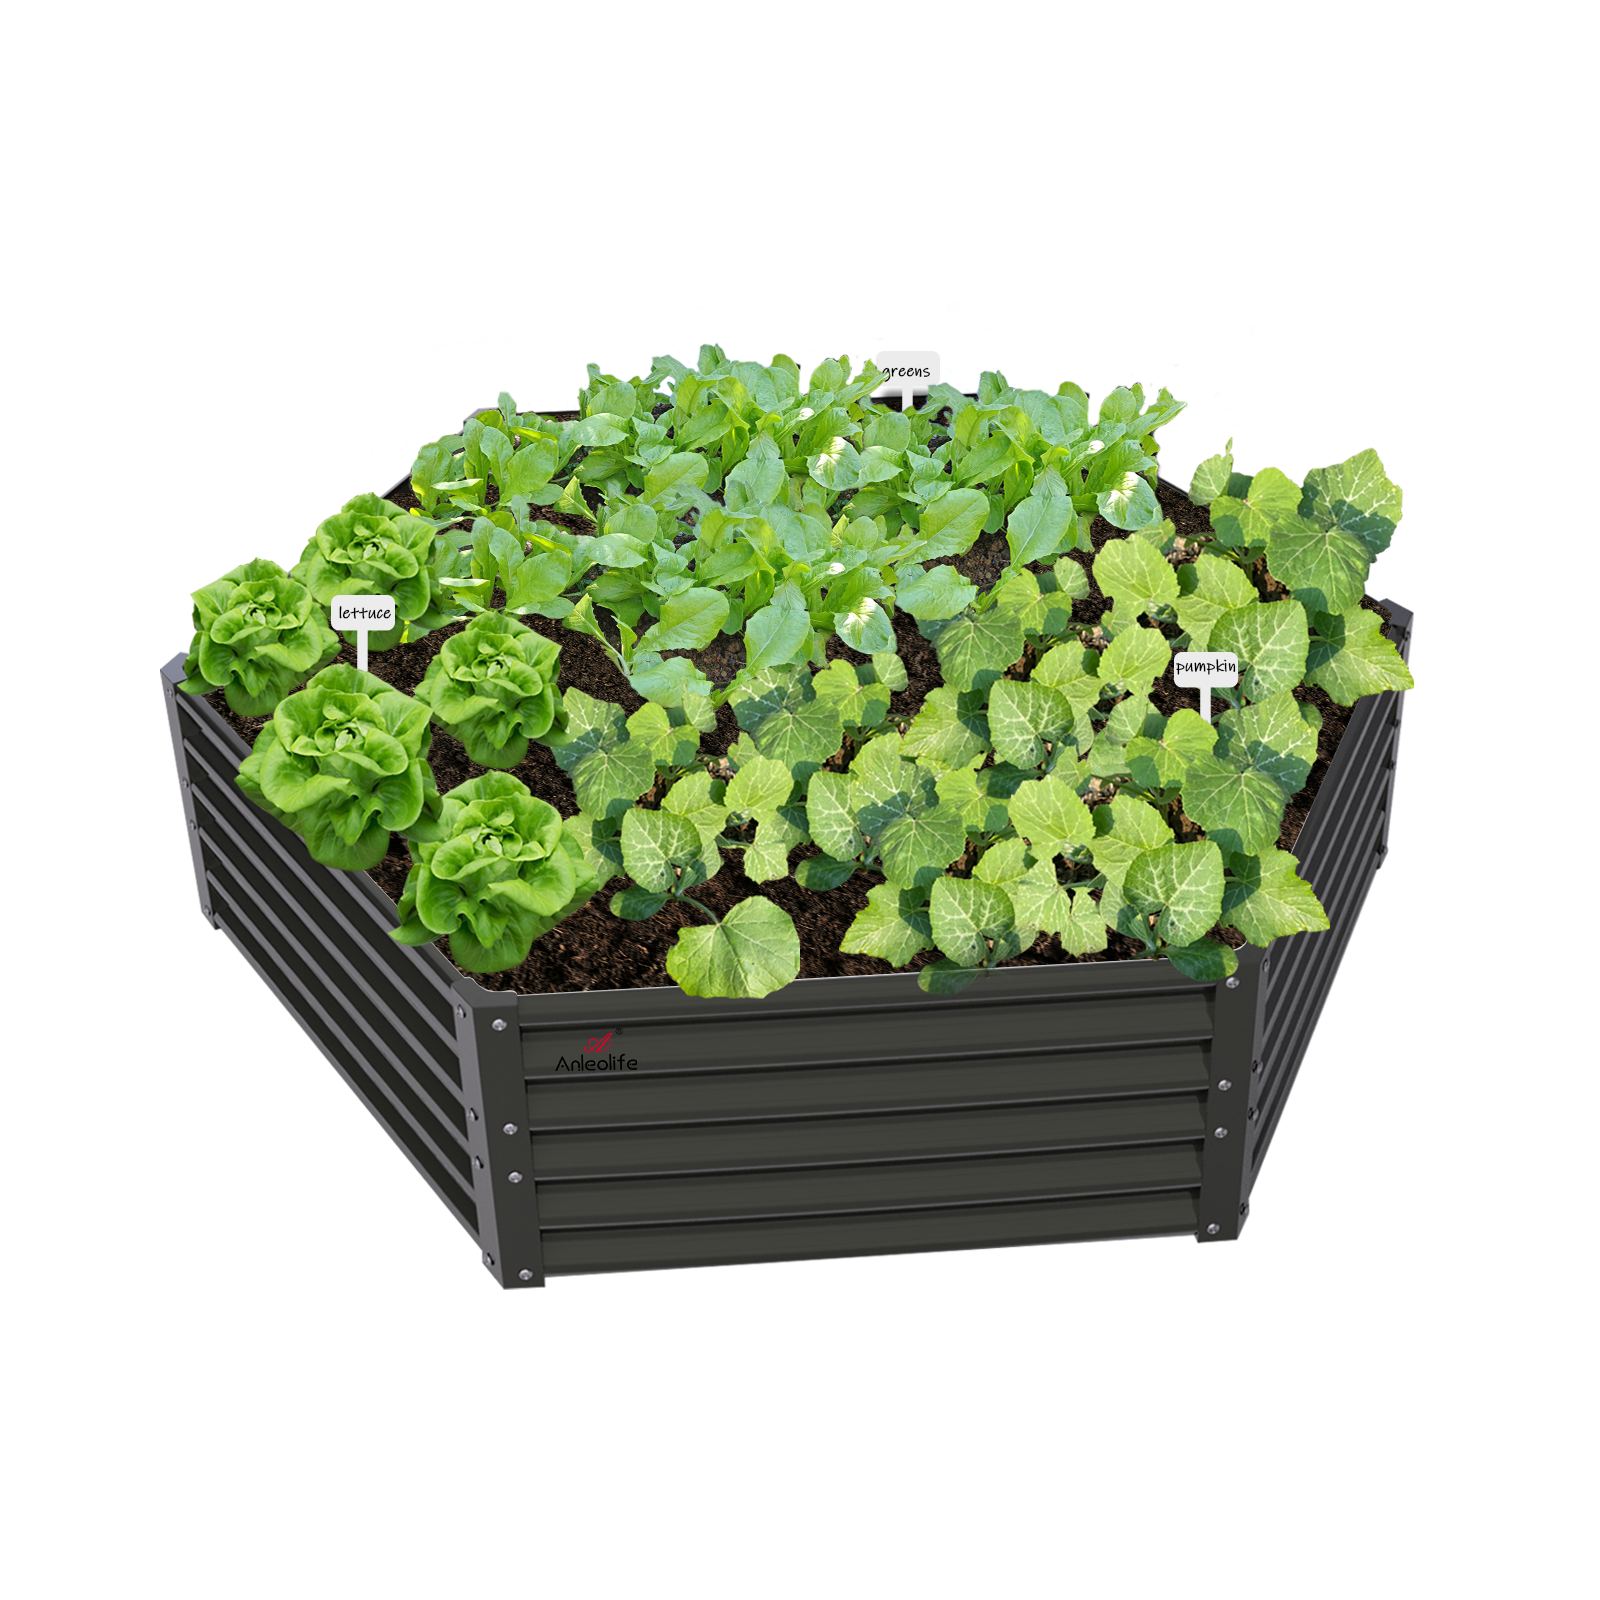
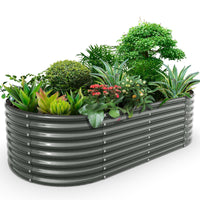
When evaluating the best garden beds for transplanting your indoor-started seedlings, material quality and structural durability matter enormously. Anleolife's galvanized steel raised garden beds, for example, are built to last up to 20 years — meaning the infrastructure you set up this season will support dozens of future planting cycles. For gardeners wondering about material safety, it's worth reading whether galvanized steel garden beds leach zinc into your vegetables — a common and understandable concern that deserves a fact-based answer.
Your Complete Guide: How to Start Seeds Indoors with LED Grow Lights Before Summer Ends
Three-Step Quick Start
Step 1: Calculate Your Planting Dates and Choose Your Crops
Begin by identifying your region's average first fall frost date — this is your "working backward" anchor point. Most cool-season vegetables need 6–10 weeks from seed to transplant-ready size. Count back from your frost date, subtract 2 weeks for outdoor hardening off, and that's when you need to start seeds indoors. For most of the U.S., this falls between late July and mid-August. Choose crops like kale, broccoli, Swiss chard, lettuce, spinach, and arugula, which are well-suited for this second planting wave. This planning step takes about 15–30 minutes but pays off throughout fall.
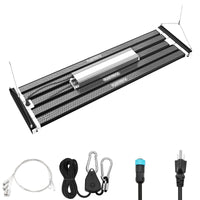
Step 2: Set Up Your Indoor LED Growing Station
Select a stable, flat surface — a shelf unit, a countertop, or a dedicated grow rack. Mount your LED grow light 2–4 inches above the seed tray for seedlings (adjust as plants grow). Set your light timer for 14–16 hours of light per day to simulate long late-summer days. Fill seed trays or small biodegradable pots with a quality seed-starting mix (not regular garden soil, which compacts easily). Moisten the mix before planting. Label everything clearly. This setup process takes 1–2 hours and creates the foundation for healthy germination.
Step 3: Sow, Monitor, and Harden Off for Outdoor Transplanting
Plant seeds at the depth specified on the packet (typically 2–3 times the seed diameter). Mist gently and cover trays with a humidity dome until germination. Once seedlings emerge (usually 3–10 days depending on the crop), remove the dome and maintain consistent watering — moist but never waterlogged. As transplant time approaches, begin hardening off seedlings by placing them outdoors in a shaded or partially shaded spot for increasing hours over 7–10 days. This gradually acclimates them to wind, direct sun, and temperature variation before they move permanently into your raised beds.
Comparing LED Grow Light Options for Indoor Seed Starting
Choosing the right grow light can feel overwhelming. Here's a practical comparison of the most common options home gardeners encounter:
| Comparison Dimension | Fluorescent / T5 | LED Full-Spectrum Panel | LED Bar/Strip System |
|---|---|---|---|
| Energy Efficiency | Moderate | High | High |
| Heat Output | Moderate | Low | Low |
| Light Spectrum | Limited (often blue-heavy) | Full spectrum (mimics sunlight) | Full spectrum, tunable |
| Lifespan | Shorter, bulbs need replacement | Long-lasting, no bulb changes | Long-lasting |
| Best For | Basic germination, small setups | Seedlings through vegetative growth | Larger trays, multi-tier racks |
| Cost | Lower upfront | Mid-range to higher upfront | Mid-range |
| Space Efficiency | Bulky fixtures | Compact, adjustable | Very compact, flexible |
| Beginner Friendly | Yes | Yes | Yes (with basic setup) |
For most home gardeners starting seeds for fall transplanting, a full-spectrum LED panel represents the best balance of performance, cost, and ease of use. Look for models with adjustable height settings and built-in timers if possible — these features simplify daily management considerably.
Detailed Guide: Every Stage of Indoor Seed Starting Done Right
Choosing the Right Seeds for Late-Summer Indoor Starts
Not all vegetables are candidates for late-summer indoor starting. Focus on cool-season crops that will thrive when transplanted into fall conditions. These include:
- Leafy greens: Spinach, arugula, lettuce (butterhead, romaine, leaf varieties), Swiss chard, and mustard greens
- Brassicas: Broccoli, cauliflower, cabbage, Brussels sprouts, and kale
- Root vegetables from transplant: Kohlrabi and fennel can be transplanted; however, true root vegetables like carrots and beets are generally better direct-sown
Avoid starting warm-season crops like tomatoes, cucumbers, or squash indoors at this stage — they won't have enough time to produce meaningfully before frost.
Building the Ideal Indoor Growing Environment
Your LED grow light setup needs to deliver the right intensity at the right distance. Most seedlings need approximately 2,000–3,000 lux during germination and up to 10,000–20,000 lux once true leaves appear — but rather than obsessing over exact numbers, use the simple test: if seedlings are tall and leggy, they need more light or the light needs to be closer. If leaf tips are bleaching, the light may be too intense or too close.
Temperature matters as much as light. Most vegetable seeds germinate best between 65°F and 75°F. If your indoor space runs cooler at night, consider using a seedling heat mat beneath trays during the germination phase — then remove it once seedlings are established, as cool-season crops actually prefer cooler growing temperatures once they're up.
Humidity domes help maintain moisture during germination, but once seedlings emerge, adequate air circulation becomes critical. A small oscillating fan running on low for a few hours daily strengthens seedling stems through a process called thigmomorphogenesis — essentially, the plant responds to gentle mechanical stress by building stronger cell walls.
Soil, Containers, and Watering Fundamentals
Use a seed-starting mix, not potting soil or garden soil. Seed-starting mixes are formulated to be lightweight, well-draining, and sterile — reducing the risk of damping off (a fungal disease that kills seedlings at the soil line). Pre-moisten the mix before filling containers so it's evenly damp but not dripping.
Container choices for indoor seed starting include plastic cell trays (reusable), biodegradable peat or coconut coir pots (can be transplanted directly into soil), and soil blocks made with a blocking tool. For fall transplanting into raised beds, biodegradable pots are particularly useful — they minimize transplant shock, which is a real risk when moving seedlings from the controlled indoor environment to an outdoor raised bed.
Watering frequency depends on your indoor environment, but the general rule is: water when the top half-inch of mix feels dry to the touch, using a gentle misting bottle for tiny seedlings and a watering can with a fine rose head for more established plants. Overwatering is the most common cause of seedling loss indoors.
Fertilizing Seedlings During the Indoor Phase
Seed-starting mix contains minimal nutrients — by design. Seeds contain their own food stores for the first week or two. Once seedlings develop their first true leaves (the second set of leaves, which look like the mature plant's foliage rather than the rounded cotyledons), they're ready for supplemental feeding.
Use a balanced liquid fertilizer diluted to half the recommended strength, applied once every 7–10 days. Avoid over-fertilizing, which can cause rapid but weak growth and make transplants more susceptible to outdoor stressors.
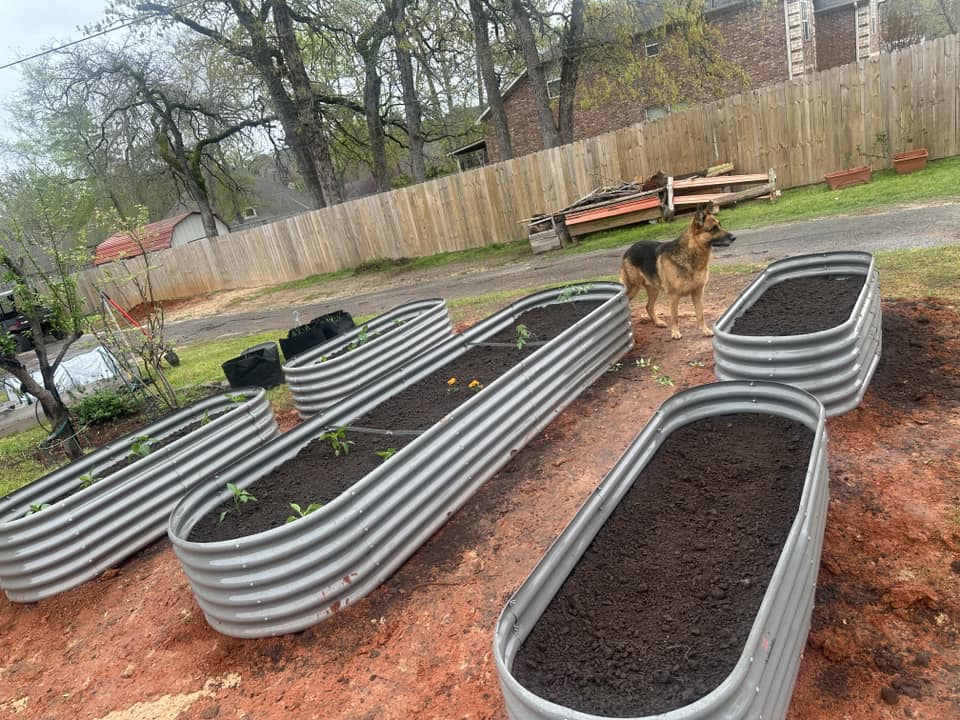
Transplanting Into Raised Garden Beds: Making the Connection
After 4–8 weeks indoors (depending on the crop and your growing conditions), and after a successful 7–10 day hardening-off period, your seedlings are ready to move outdoors into their permanent home.
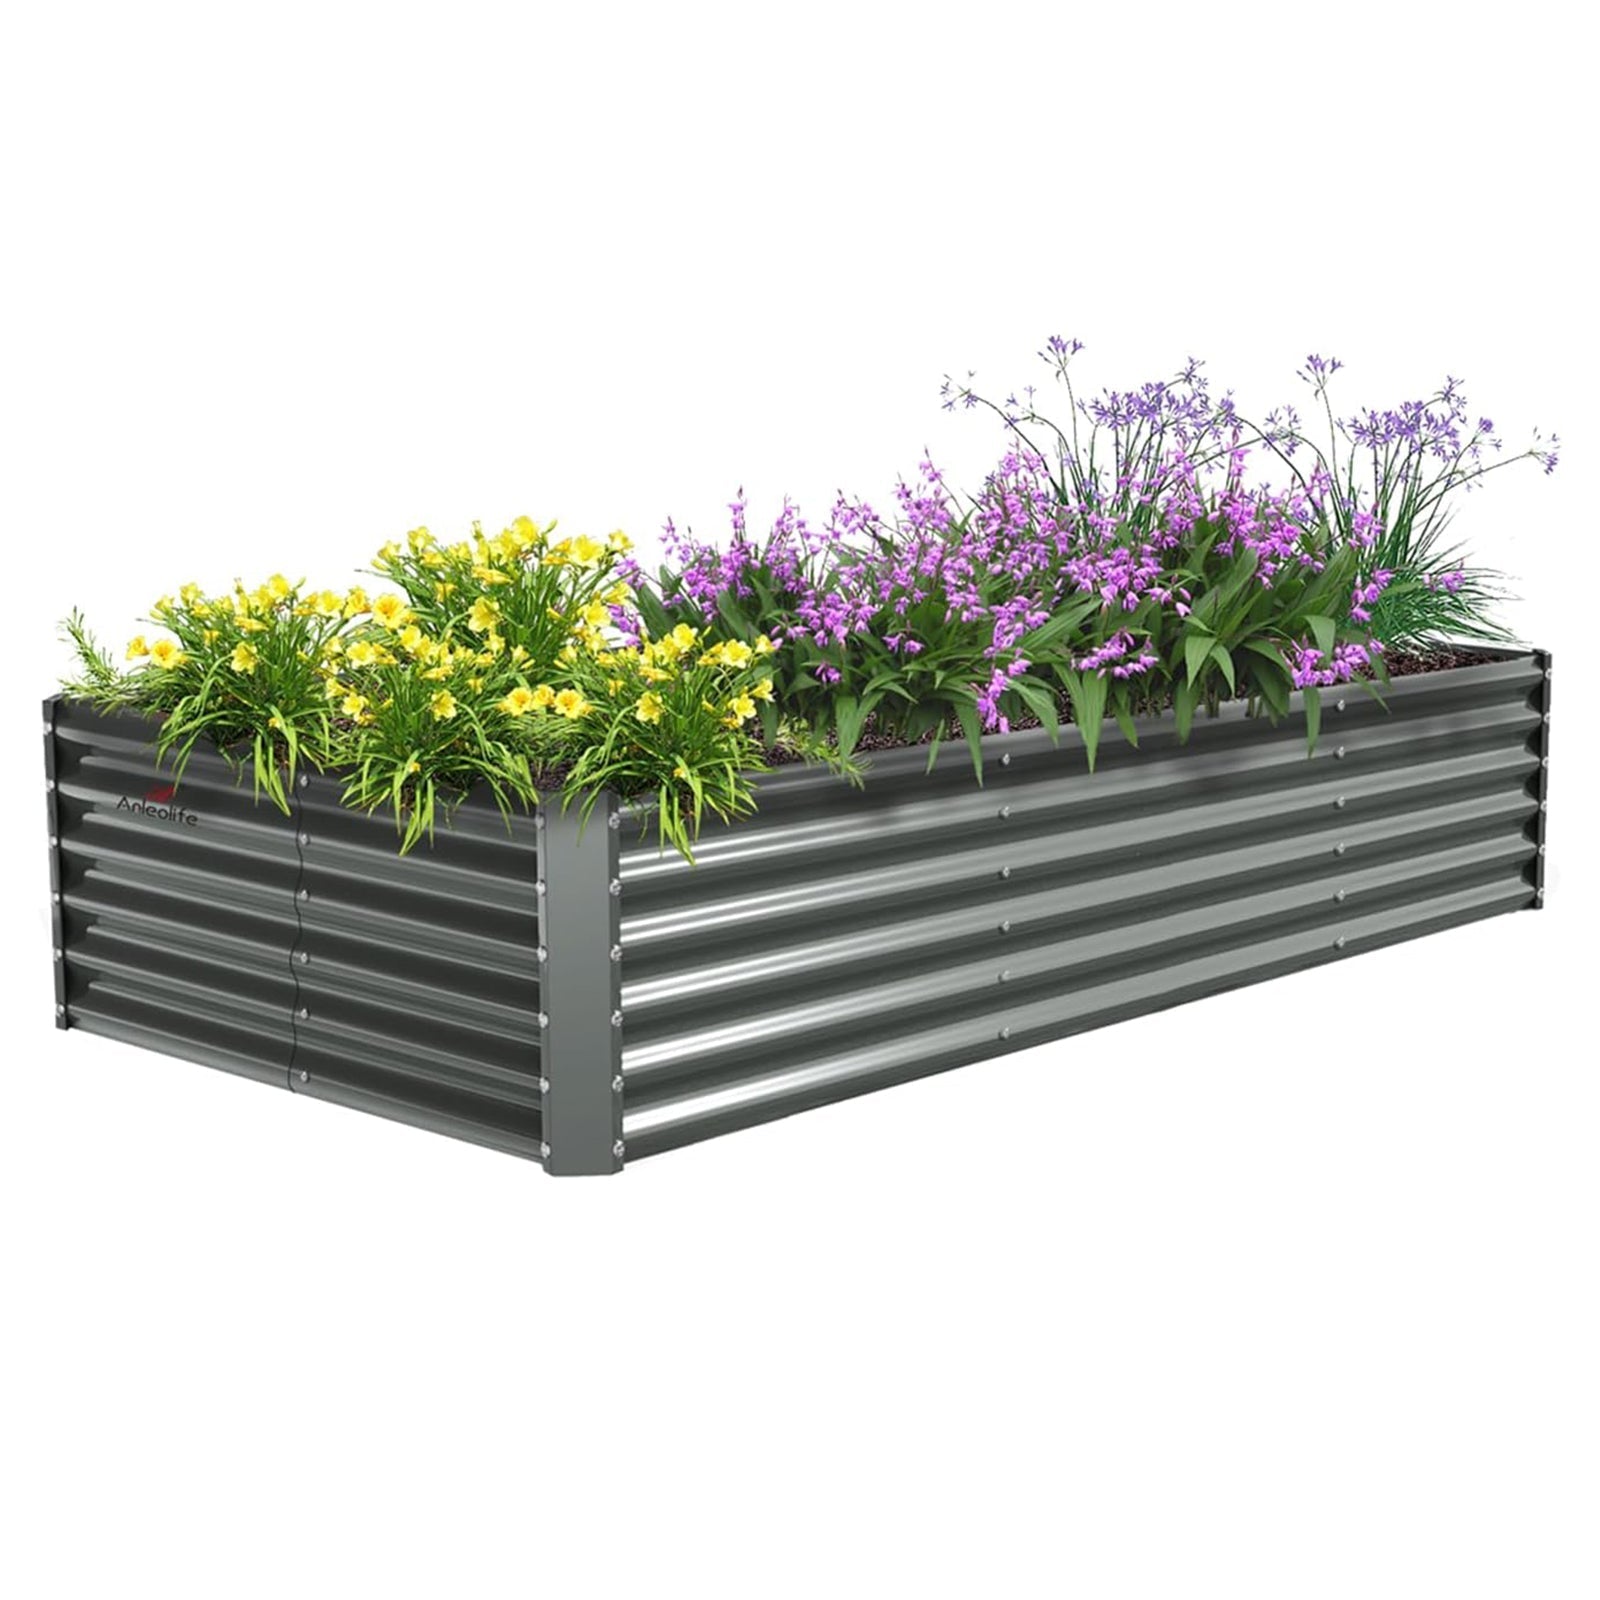
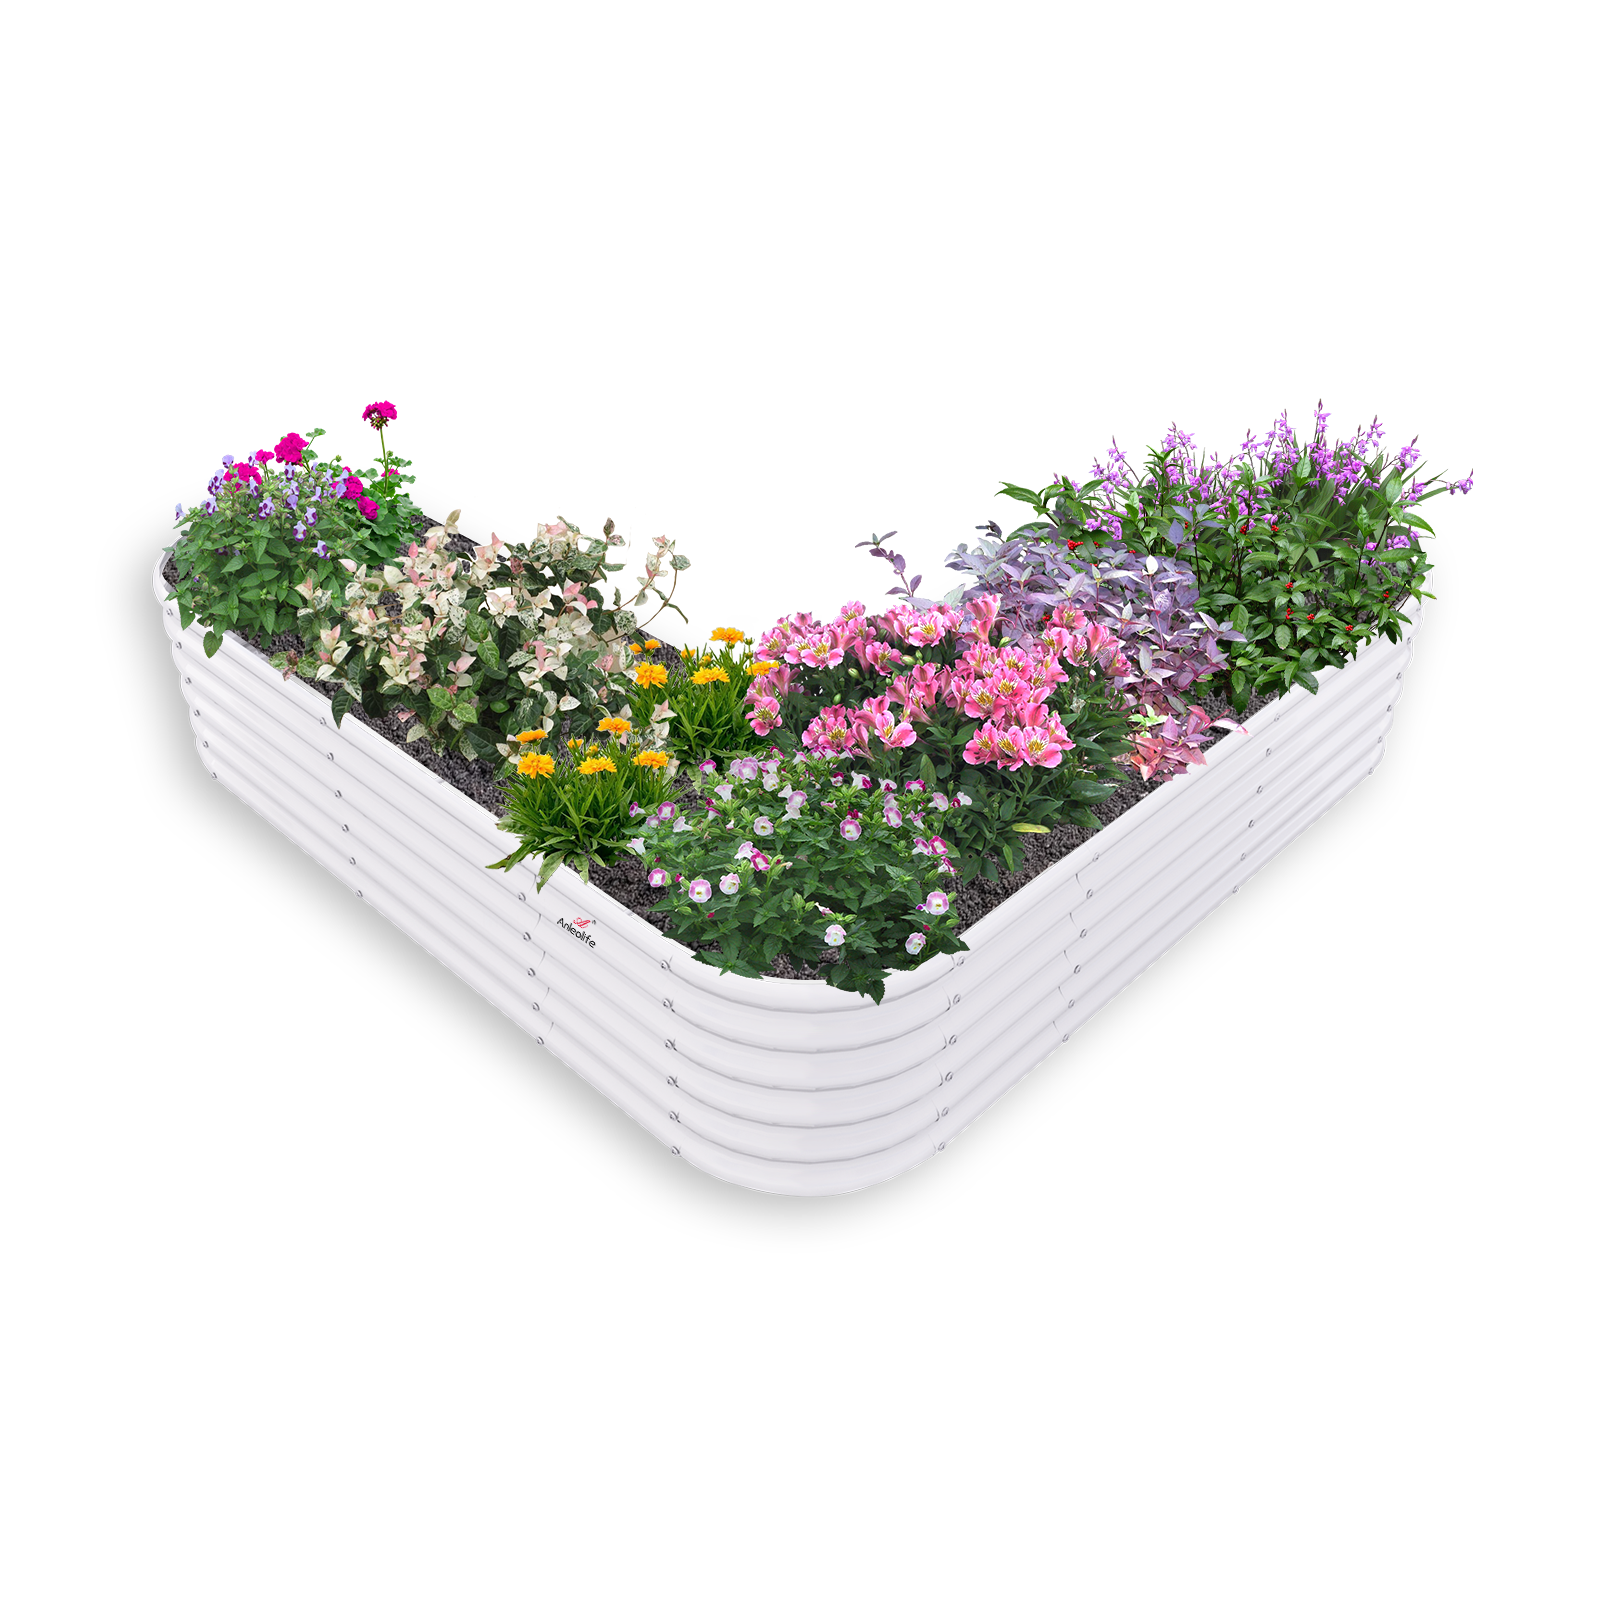
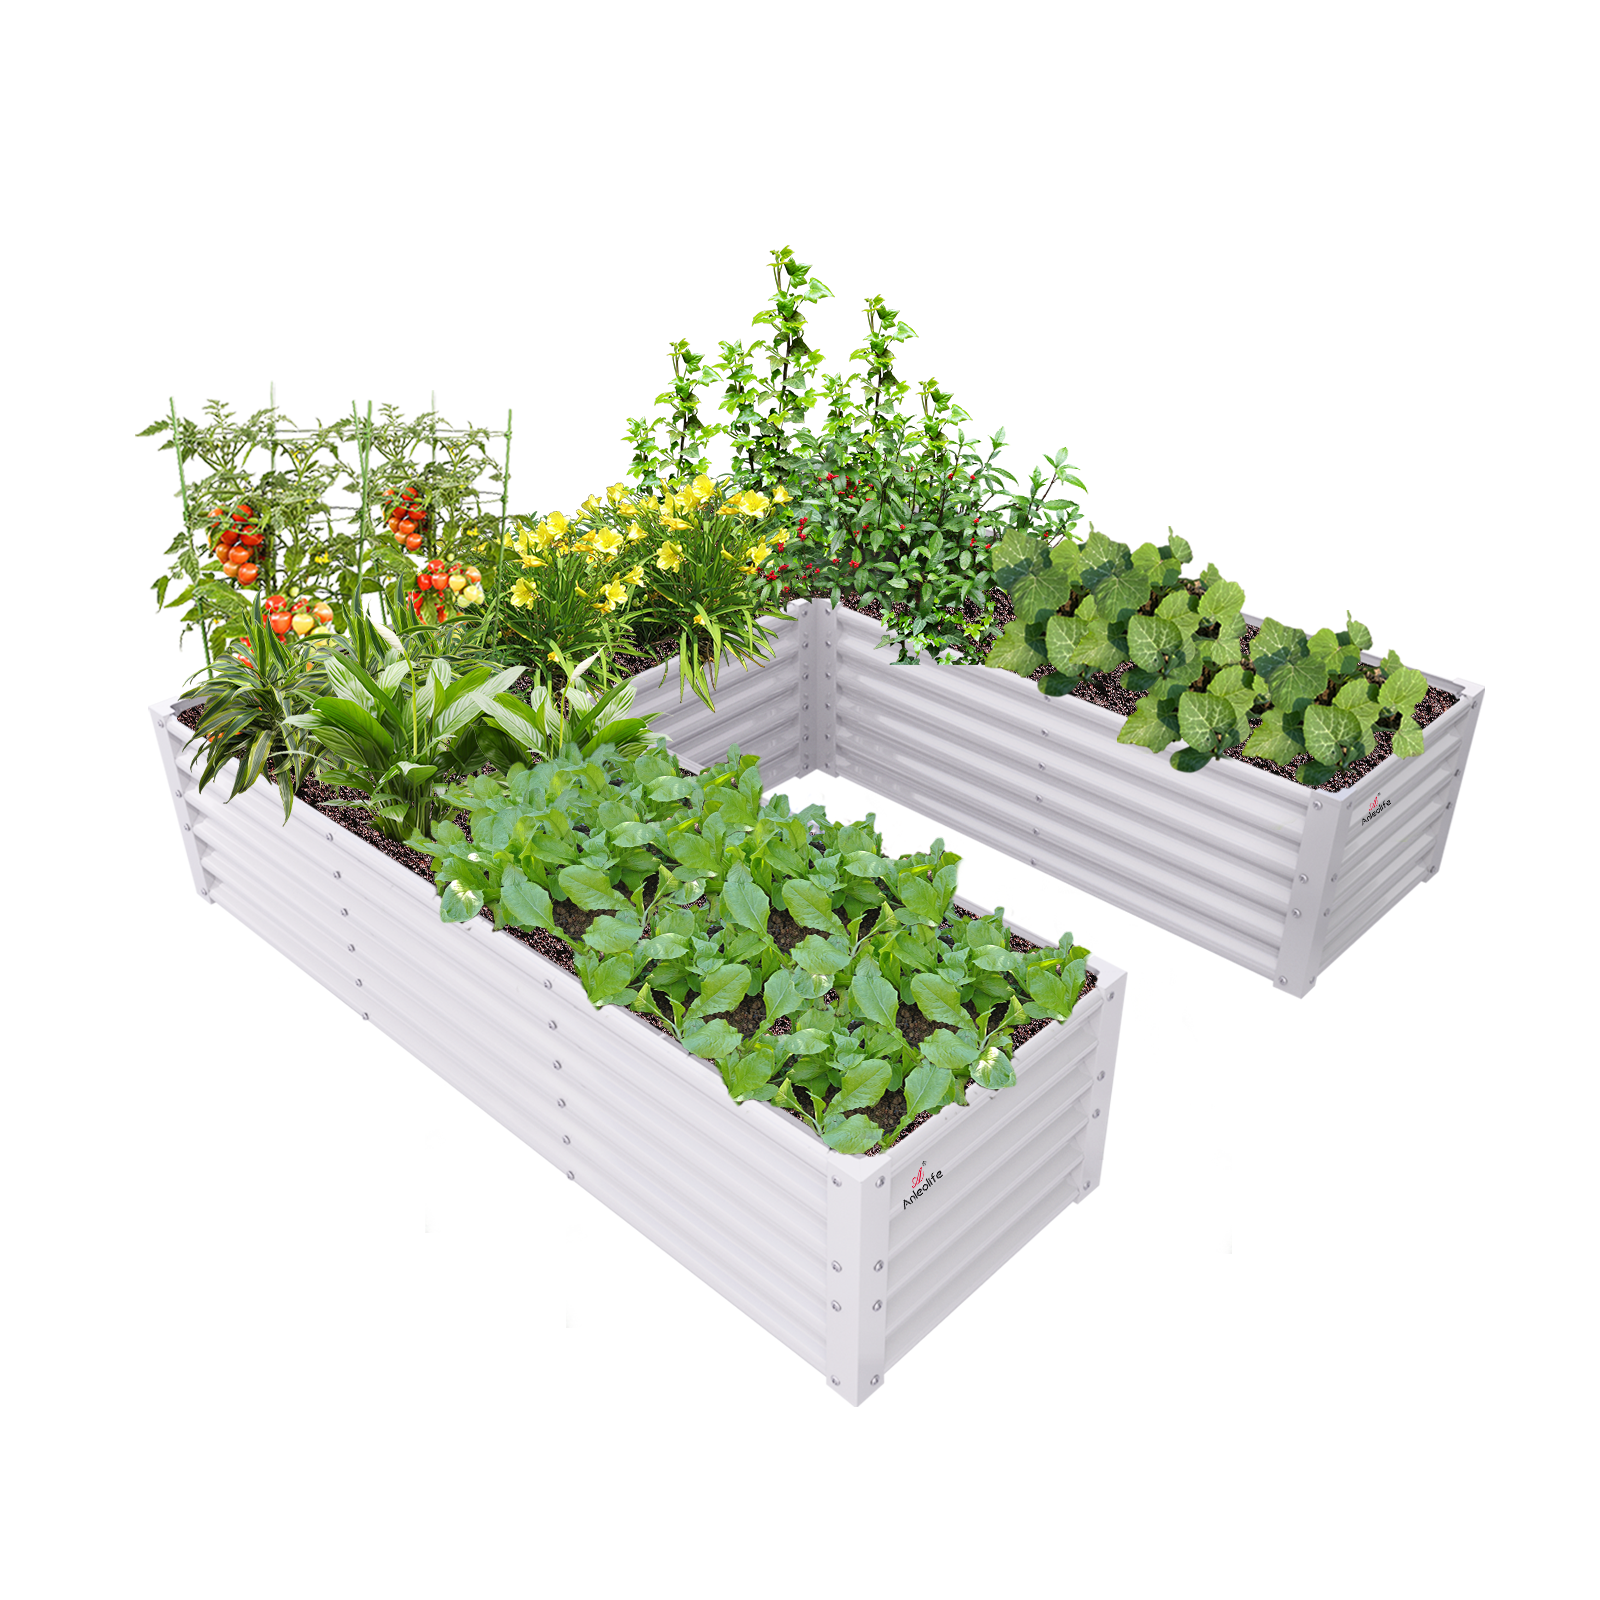
This is where having the right raised bed infrastructure pays off. Anleolife's galvanized steel and rust-resistant raised garden beds offer the kind of durability and soil-depth flexibility that makes transplanting smooth and successful. With bed height options ranging from 18 inches to 35 inches, you can choose the soil depth that matches your crops — shallow-rooted greens do well in standard-depth beds, while brassicas like broccoli benefit from deeper soil volumes.
If you're comparing materials and trying to understand the long-term value of different bed constructions, the detailed breakdown in galvanized steel vs. Corten steel garden beds provides exactly the kind of objective analysis that helps you invest wisely. With a 20-year lifespan, Anleolife's beds are designed to be a one-time purchase that serves your garden for decades of planting cycles.
When transplanting, water seedlings thoroughly an hour before moving them. Dig holes in your raised bed soil slightly larger than the root ball, place the seedling at the same depth it was growing indoors (or slightly deeper for leggy seedlings), firm the soil gently around roots, and water in well. Provide shade cloth protection for the first few days if temperatures are still above 80°F during daylight hours.

ALT: Healthy seedlings started under LED grow lights being transplanted into an Anleolife galvanized steel raised garden bed for fall growing season
Advanced Considerations: Troubleshooting, Timing Nuances, and Seasonal Layering
Handling Common Seed-Starting Problems
Leggy, weak seedlings are the most frequent complaint from indoor seed starters. The cause is almost always insufficient light. Move your LED light closer to the canopy (while monitoring for heat stress), increase daily light hours, or upgrade to a higher-output fixture. Leggy seedlings can often be salvaged by burying the stem deeper when transplanting — this works particularly well with tomatoes and brassicas.
Damping off — where seedlings suddenly collapse at the soil line — is caused by fungal pathogens thriving in overly wet, poorly ventilated conditions. Prevention is far easier than treatment: use sterile seed-starting mix, ensure good air circulation, avoid overwatering, and don't let trays sit in standing water. If you see the problem emerging, improve ventilation immediately and apply a diluted hydrogen peroxide solution to the soil surface.
Uneven germination across a tray often indicates inconsistent temperature or moisture. Check that your heat mat (if using one) is covering the entire tray evenly, and rotate trays under the grow light periodically to ensure uniform light exposure.
The Seasonal Layering Strategy
Advanced home gardeners practice what's called succession planting with seasonal layering — running multiple planting cycles simultaneously so that as one batch of seedlings goes outdoors, a new batch is starting indoors. For a family aiming at near-continuous harvests, this might look like:
- Mid-July: Start broccoli and cauliflower indoors
- Early August: Transplant spring/summer crops that are finishing; start lettuce and spinach indoors
- Late August: Transplant broccoli/cauliflower to raised beds; start arugula and mustard greens indoors
- September: Transplant lettuce and spinach; final indoor starts of cold-hardy crops
This rhythm keeps your LED station productive and your raised beds continuously occupied, maximizing the return on both your indoor and outdoor gardening investments.
A Note on the Best Garden Supply Ecosystem
When readers search for the best garden supply brands for seeds, fertilizers, and gardening tools, they're often looking for a complete ecosystem rather than individual products. The same principle applies to raised bed infrastructure — the best setups combine durable, long-lasting beds with good soil systems and a reliable supply chain. Anleolife's approach addresses exactly this, offering a full-scenario product ecosystem that covers planting, raising, and garden beautification, all supported by a nationwide U.S. warehouse network that delivers within 3–8 business days.
Frequently Asked Questions FAQ
Q1: How long does it take to grow seedlings indoors under LED lights before transplanting?
Most cool-season vegetables started indoors under LED grow lights are ready for outdoor transplanting in 4–8 weeks. Faster-growing crops like lettuce and arugula may be ready closer to the 4-week mark, while slower crops like broccoli and cauliflower typically need 6–8 weeks to develop the strong root system and stem thickness needed for successful outdoor transplanting. Factor in an additional 7–10 days for hardening off before moving them to your raised beds permanently.
Q2: Are LED grow lights safe to use around children and pets indoors?
Full-spectrum LED grow lights are generally safe for home use. They emit significantly less heat than older HID or incandescent growing lights, reducing burn risk. However, looking directly into high-intensity LED panels — especially those with UV or blue-heavy spectrums — can be uncomfortable for eyes over extended periods. Position lights at appropriate heights, use a timer so lights aren't running during all waking hours, and if children are frequently in the growing area, consider a light with a softer output setting during household activity times.
Q3: How much does it cost to run LED grow lights for indoor seed starting, and is it worth it?
Running costs vary by wattage and electricity rates, but modern LED grow lights are significantly more energy-efficient than older technologies. A typical home-scale LED panel running 14–16 hours per day for 6–8 weeks costs only a few dollars in electricity for most households. When weighed against the value of fall vegetable harvests — particularly organic produce prices — and the cost savings of growing your own food, the investment in a quality LED setup typically pays for itself within one or two growing seasons.
Summary
Starting seeds indoors with LED grow lights before summer ends is one of the most impactful things a home gardener can do to extend their productive season and get more from their outdoor growing space. Here are the three key takeaways:
- Timing is everything. Work backward from your first fall frost date to determine your indoor start window. For most of the continental U.S., that means beginning in late July or August for fall transplanting.
- LED technology makes it accessible. Modern full-spectrum LED grow lights are energy-efficient, low-heat, and effective for home-scale seed starting. Combined with quality seed-starting mix and consistent watering, they create an indoor environment where seeds can germinate reliably even during summer's hottest weeks.
- The outdoor destination matters as much as the indoor start. Seedlings grown under ideal indoor conditions deserve a high-quality outdoor home. Raised garden beds with sufficient soil depth, good drainage, and long-term structural integrity — like Anleolife's galvanized steel beds built to last 20 years — give your transplants the best possible environment to thrive through fall and beyond.
Your next step is simple: check your frost date, pick your fall crops, and get your LED station set up. Your raised beds will be waiting.
Call to Action
Anleolife is your partner from seed to harvest — and every season that follows.
Our nationwide U.S. warehouse network — strategically located in California, Texas, Florida, New York, Illinois, and Washington — ensures delivery within 3–8 business days, so your garden upgrade plans never have to wait for infrastructure.
Our products are available across major platforms including Amazon, Walmart, Home Depot, Lowe's, Wayfair, and directly at Anleolife.com, providing consistent quality assurance and after-sales service wherever you prefer to shop.
Anleolife's three core scenarios cover everything your garden needs: Planting (metal raised garden beds with up to a 20-year lifespan, soil systems), Raising (chicken coops, rabbit hutches), and Beautification (decorative accessories, pathway systems) — meeting complete needs from functionality to aesthetics.
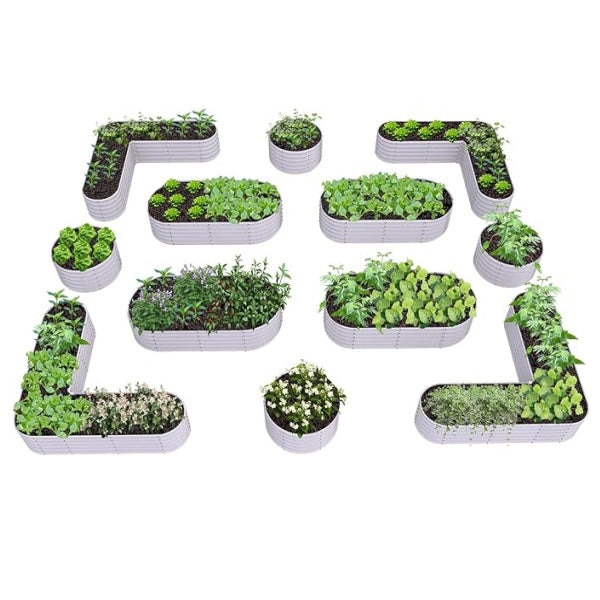
We understand that an ideal garden isn't built overnight — it's grown gradually, season by season. Our modular product design allows flexible expansion based on your needs, from your first raised bed to a fully integrated planting-and-raising ecosystem. Anleolife grows with you, every step of the way.
References
- National Gardening Association. "Garden to Table: A Guide to Home Food Gardening".
https://garden.org - U.S. Department of Agriculture — National Agricultural Library. "Home Gardening Resources".
https://www.nal.usda.gov/collections/exhibits/victory-gardens - University of Minnesota Extension. "Starting Seeds Indoors".
https://extension.umn.edu/planting-and-growing-guides/starting-seeds-indoors - Penn State Extension. "Vegetable Gardening: Starting Seeds Indoors and Transplanting".
https://extension.psu.edu/vegetable-gardening - Oregon State University Extension Service. "Growing Your Own: Seed Starting and Transplanting Guide".
https://extension.oregonstate.edu
Note: Standards and recommendations may be updated over time. Please check the latest official documents or consult professional advisors for current guidance.
About Anleolife
Anleolife is a leading outdoor garden solutions provider in North America, dedicated to offering a full-scenario product ecosystem for home gardening enthusiasts, covering planting, raising, and garden beautification. Since its founding, we have upheld our brand mission, "Made for Garden Life," continuously innovating products and optimizing services to help hundreds of thousands of users upgrade their gardens, reconnect with nature, and enjoy a better garden lifestyle.