


























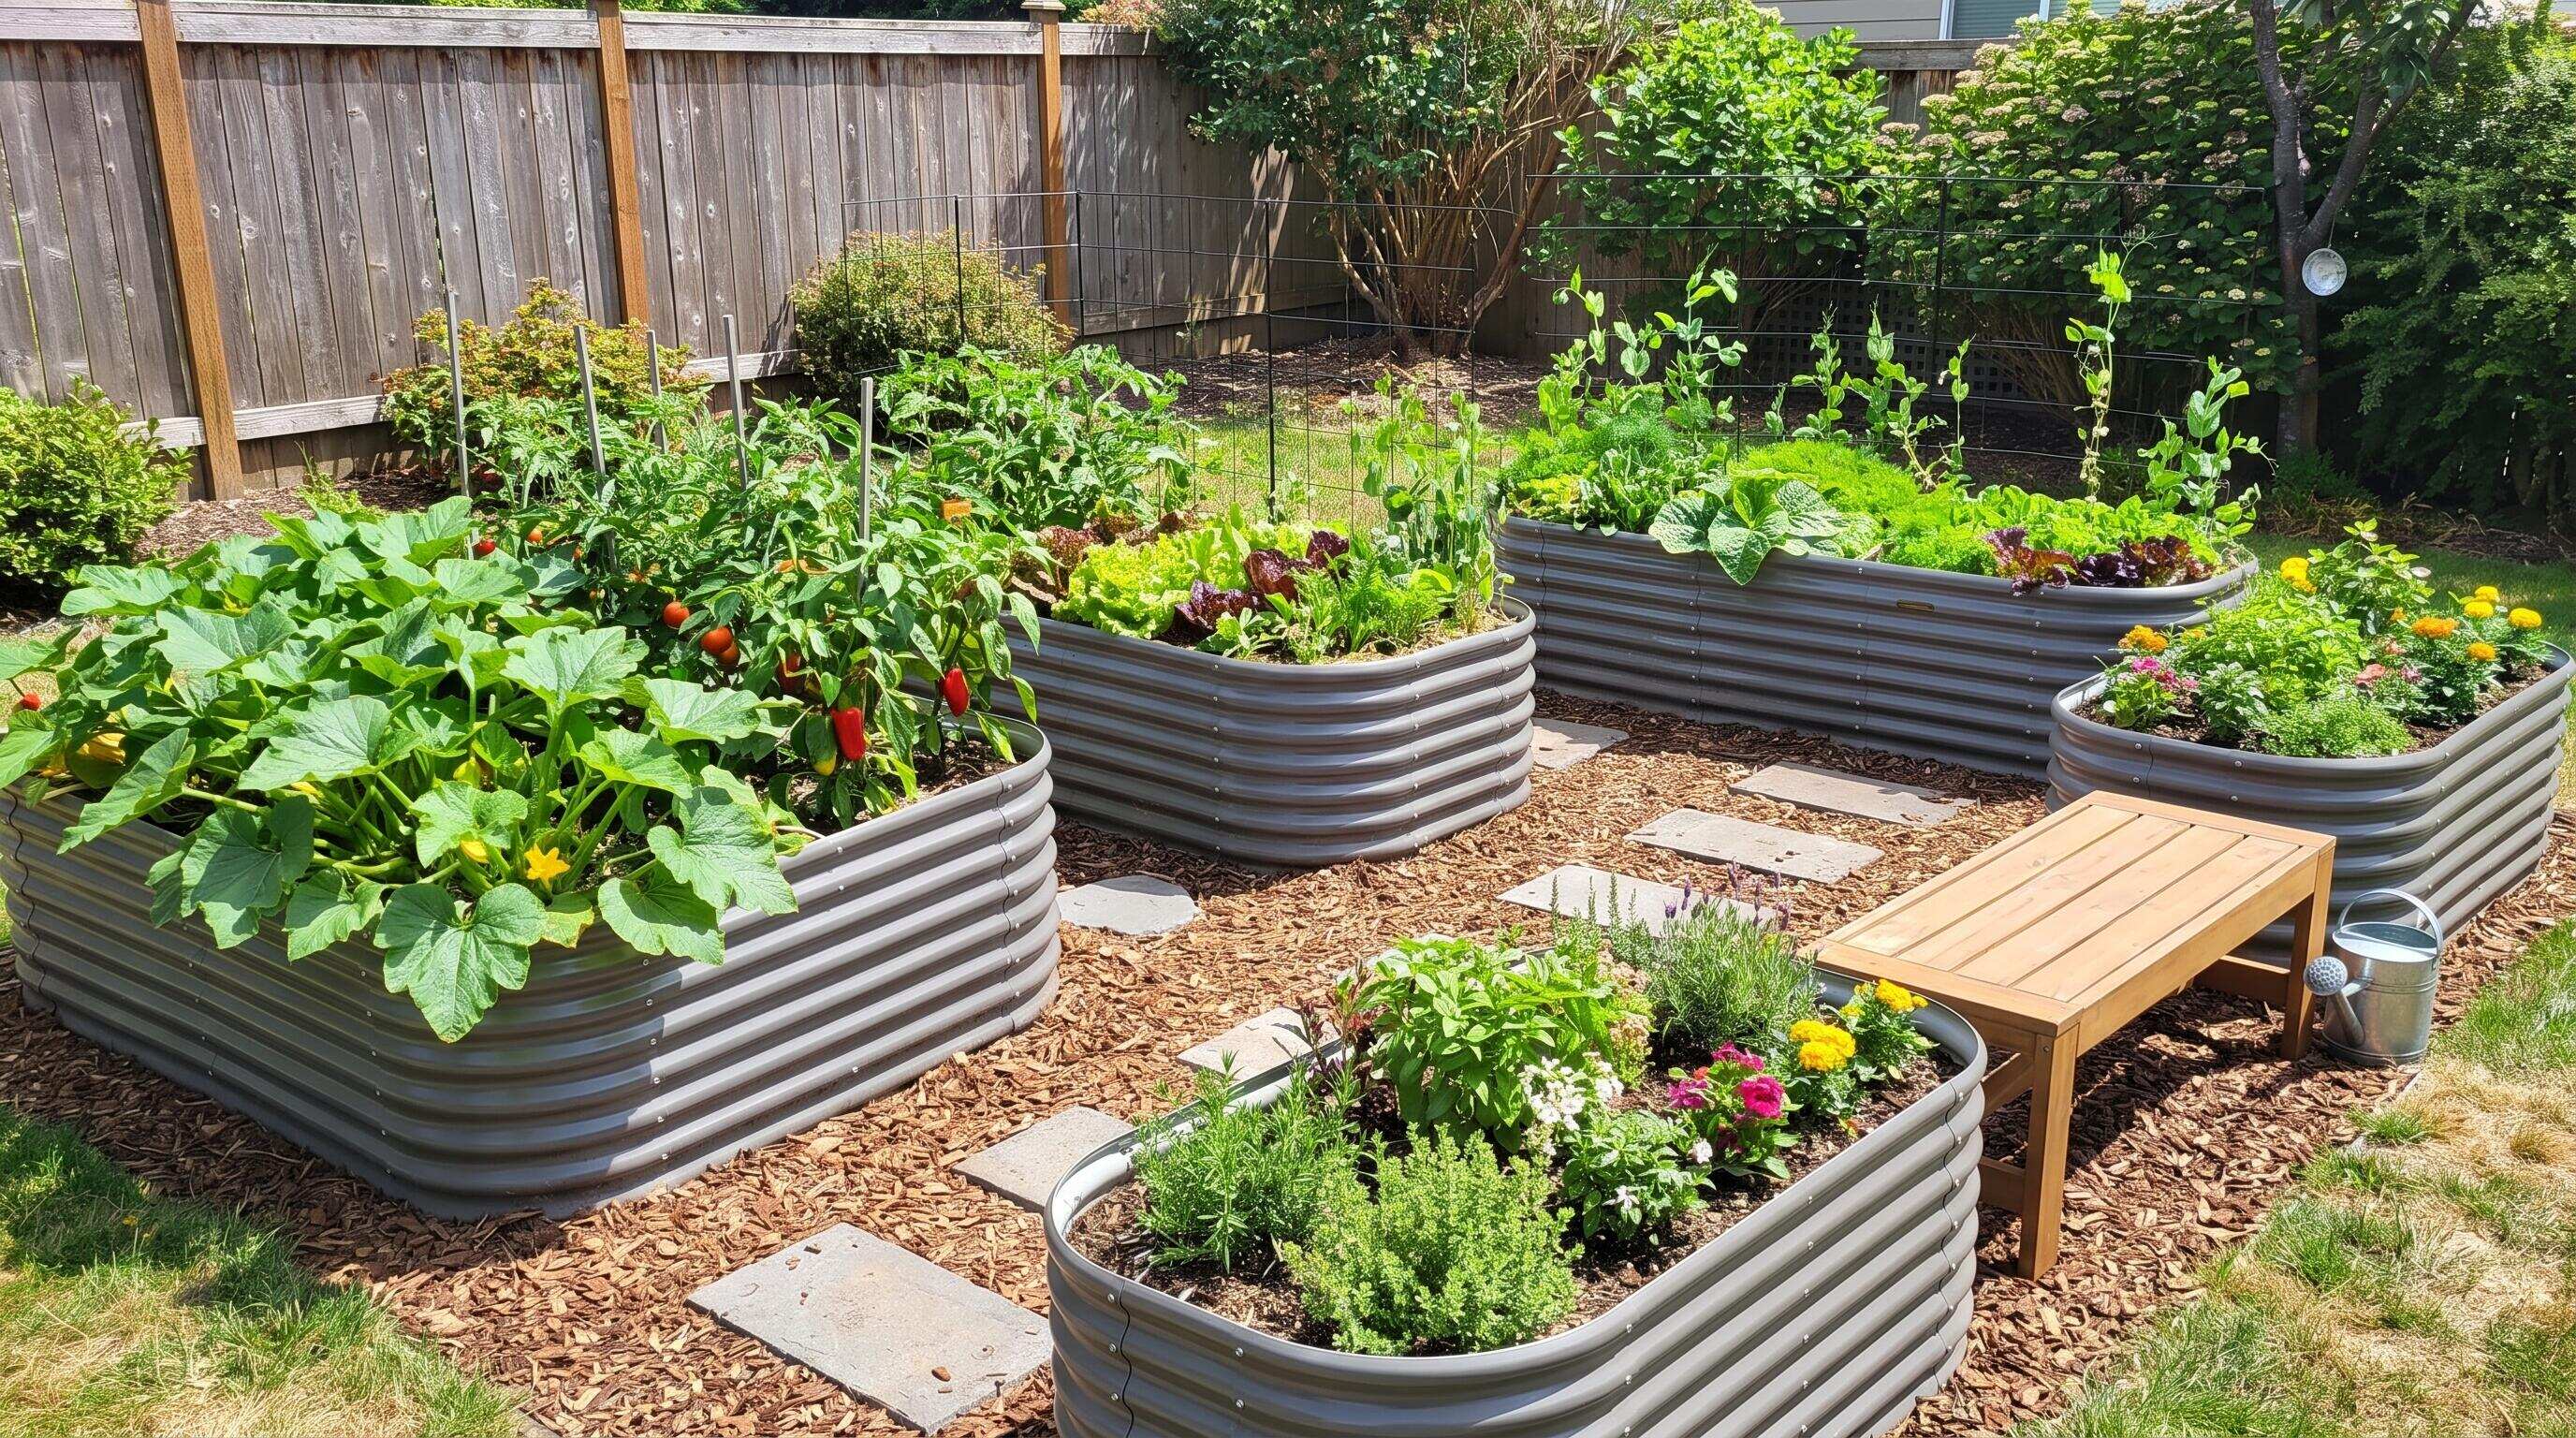
ALT: Budget backyard upgrade with raised bed garden layout and metal garden beds in a sunny yard
Transform Your Backyard This Season Without Breaking the Budget
Key Conclusion: A well-planned raised bed garden layout is the single most impactful upgrade a home gardener can make this growing season — combining productive planting space, visual appeal, and long-term value. Whether you are refining a raised bed planting layout for vegetables or designing a raised bed layout from scratch, the strategies in this guide will help you build smarter, spend less, and grow more — all within a realistic budget. Smart sequencing, the right materials, and a clear plan are the real keys to a backyard transformation that lasts.
Upgrading a backyard does not have to mean a total overhaul with a five-figure price tag. In our work with clients across North America — from urban patio gardeners to suburban homeowners reclaiming unused lawn space — a pattern we consistently see is that targeted, well-sequenced improvements deliver far more value than scattered spending. The single highest-leverage move, season after season, is establishing a clear raised bed garden layout and building outward from there. This guide is for anyone who wants to make meaningful progress this growing season: families looking to grow their own food, retirees ready to invest in a manageable and rewarding outdoor space, and eco-conscious gardeners who want a system that works hard and looks good doing it.
Before You Start: Planning, Tools, and Mindset for a Budget Backyard Upgrade
Before a single shovel goes into the ground, a clear plan is what separates a satisfying upgrade from an expensive series of mistakes. Budget gardening is not about cutting corners — it is about making every dollar intentional.
Start by assessing your space honestly. Walk your backyard and note where sunlight lands for the most hours during the day, where water pools after rain, and which areas are most visible from the house or patio. These observations will directly inform where your raised bed layout should go and how large it should be. Most vegetables need a minimum of six hours of direct sunlight daily, so sun exposure is typically the first filter for placement.
Next, think about your goals for the season. Are you primarily growing food? Building a more attractive outdoor space? Creating a habitat-friendly environment? Your answer shapes every decision that follows — from bed dimensions to companion planting strategies to the kinds of paths and borders you install between beds.
Gather the following before you begin:
- A sketch or simple diagram of your backyard with rough dimensions noted
- A list of crops or plants you want to grow, organized loosely by sun and water needs
- A realist budget figure — not an aspirational one — broken into categories: beds/structure, soil, plants/seeds, and accessories
- Basic tools: a tape measure, garden gloves, a level, and a standard garden hose with a nozzle
- A clear sense of how much time you can commit per week to setup and ongoing maintenance
Time and effort will vary depending on the size of your project, but expect that the planning and initial installation phase is the most labor-intensive part. After the infrastructure is in place, the ongoing work becomes far more manageable and enjoyable.
One checklist to run through before purchasing anything:
- Sunlight assessment completed (minimum six hours identified for bed placement)
- Budget allocated by category, not just as a lump sum
- Bed dimensions shortlisted based on available space and crop goals
- Soil sourcing plan identified (local delivery, bulk bags, or a mix)
- Access path widths considered so you can reach all parts of your beds comfortably
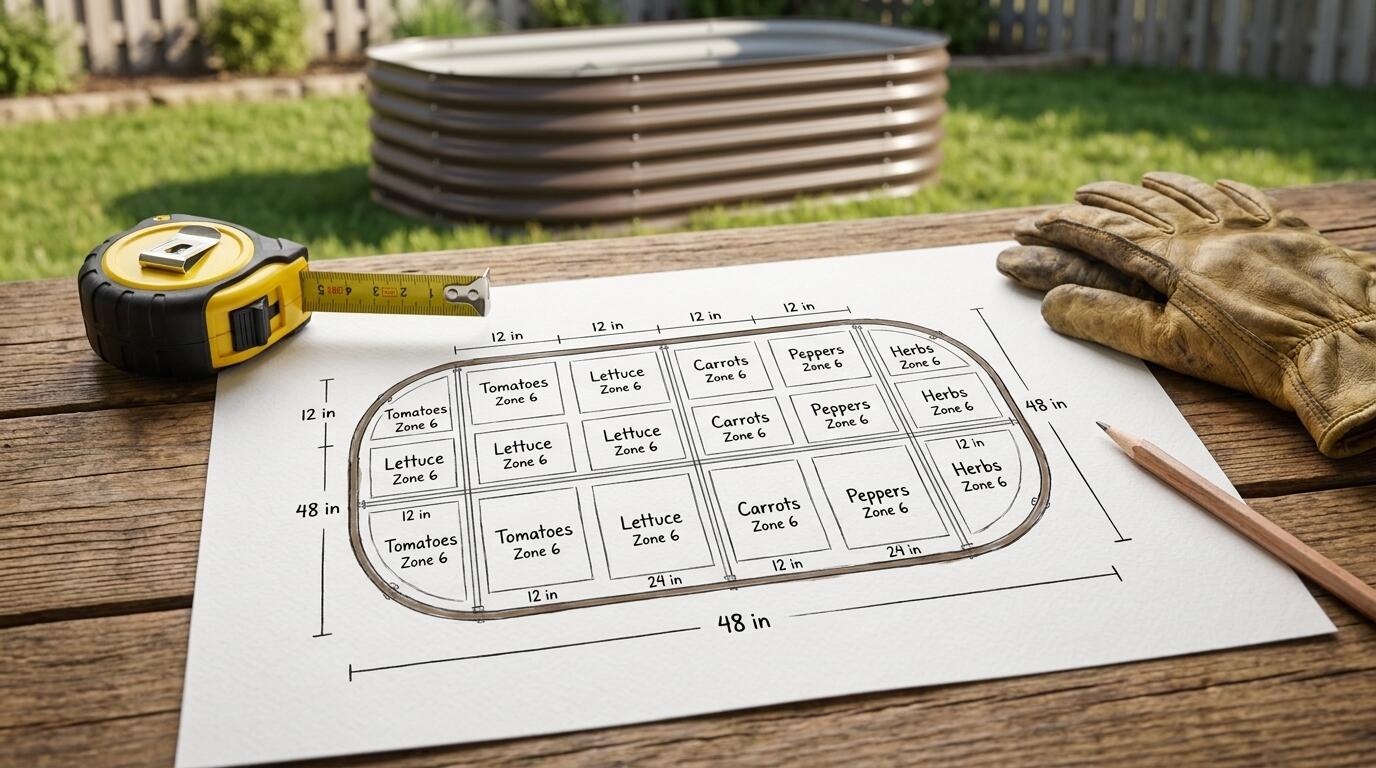
ALT: Overhead view of raised bed garden layout planning sketch with measurements, planting zones, and a metal garden bed installed in a sunny backyard
Step-by-Step: How to Upgrade Your Backyard on a Budget This Growing Season
Step 1: Define Your Raised Bed Layout Before You Spend Anything
A raised bed garden layout is a spatial plan that determines the number, size, orientation, and spacing of raised beds within a given outdoor area. Designing this on paper — or even with masking tape on the ground — before spending money is the most reliable way to stay on budget.
Start with the width of each bed. The practical standard recommended by many extension gardening programs is a maximum of four feet across so you can comfortably reach the center from either side without stepping in. Length is far more flexible. An 8x4 configuration is one of the most popular starting points because it offers generous planting area without overwhelming a first-time builder. If you are working with a narrow space, a long rectangular bed — such as a 12x3 format — runs along a fence line efficiently and leaves the center of the yard open.
Orientation matters more than most gardeners expect. Running beds north to south generally allows sunlight to reach plants on both sides of the bed throughout the day, which is particularly useful when you are growing a mix of tall and short crops in the same layout.
For reference on designing an efficient planting plan, resources like 4x8 Raised Bed Vegetable Garden Layout Ideas offer practical examples of how to divide a standard bed into productive growing zones.
Tip: Use chalk, string, or cardboard cutouts to lay out your proposed bed footprint on the actual ground before committing. Walking around the mock layout for a day or two often reveals spacing issues that a drawing misses.
Step 2: Choose the Right Bed Material for Long-Term Value
Material choice is where many gardeners either protect their investment or unknowingly create a recurring cost. Wood beds — especially untreated wood — can look beautiful in year one but begin to degrade quickly when exposed to soil moisture and seasonal temperature swings. In our experience, gardeners who start with wood often find themselves rebuilding within a few seasons, which is rarely the budget-friendly outcome they intended.
Galvanized steel raised garden beds are a consistently recommended option for durability and cost-per-year value. The galvanization process coats the steel with a protective zinc layer that resists rust and corrosion even in wet conditions. Anleolife's galvanized steel raised garden beds are built to last up to 20 years, which changes the math dramatically when you calculate cost against lifespan. A bed that costs more upfront but lasts two decades is almost always cheaper than a lower-cost alternative replaced every three to five years.
If you want to dig into the material science behind this, Do Galvanized Beds Really Resist Rust Better Than Powder-Coated Steel? walks through the comparison in practical, non-technical terms that help you make a confident decision.
Anleolife offers a wide range of sizes — from compact 18-inch tall 4x4 beds suited to patios and small yards, to extra-tall 30-inch configurations ideal for gardeners who want minimal bending, to waist-high 35-inch beds designed for accessibility. Modular options allow you to start with one bed and expand the layout over time as your confidence and budget grow.
Tip: If you are buying your first bed, prioritize a size you can fill with quality soil this season rather than buying multiple beds you cannot properly amend. One well-prepared bed will outperform three underfunded ones every time.
Step 3: Build a Soil System That Works From the Start
Soil is where most budget gardeners underinvest — and where most crop failures originate. The ground inside a raised bed is entirely within your control, which is one of the format's greatest advantages, but only if you fill it with a genuinely productive growing medium.
A high-performing raised bed soil system is not simply topsoil from a bag. The University Cooperative Extension programs consistently recommend a blend that prioritizes drainage, nutrient availability, and microbial activity. A common approach is a mix of quality compost, coarse vermiculite or perlite for drainage, and a base of weed-free topsoil — sometimes referred to as the "Mel's Mix" framework in the square-foot gardening community. The exact ratios can be adjusted based on what you are growing and your local climate.
Compost is the budget gardener's greatest ally. Many municipalities offer free or reduced-cost compost pickup programs — check your local public works or waste management department's website for availability. Layering in compost each season gradually reduces your long-term soil input costs while improving bed performance year over year.
For a detailed breakdown of soil composition by crop type and growing season, Best Soil Composition for Thriving Organic Vegetable Raised Beds This Growing Season is a practical starting point.
Tip: Always calculate your soil volume needs before purchasing. Multiply length by width by depth (in feet) to get cubic feet, then divide by 27 for cubic yards if ordering in bulk. Buying bulk soil delivered to your door is almost always less expensive per cubic foot than buying individual bags.
Step 4: Plan Your Raised Bed Planting Layout for Maximum Yield
A raised bed planting layout is the internal organization of crops within each bed — deciding which plants go where based on their height, root depth, sun requirements, and compatibility with their neighbors. This is where the real productivity gains happen, and it costs nothing but time to plan well.
The most reliable framework for a first-season raised bed planting layout is zoning by height: place tall plants (tomatoes, pole beans, sunflowers) on the north end of the bed so they do not shade shorter crops. Medium-height plants go in the middle, and low or trailing plants go at the south end or along the edges where they can sprawl without interfering with neighbors.
Companion planting adds another layer of efficiency. Pairing crops that mutually benefit each other — such as the classic "Three Sisters" combination of corn, beans, and squash — can reduce pest pressure, improve soil nitrogen, and maximize the canopy coverage of each bed. Basil planted near tomatoes is a well-documented example of a companion pairing that benefits both plants.
Square-foot gardening principles are also valuable here: dividing a bed into a grid and assigning each square a specific crop based on its mature spacing requirements. A single 4x8 bed divided into a 32-square grid can realistically grow 20 or more different crop varieties in a single season, which makes a thoughtfully planned raised bed layout genuinely impressive in its output.
Visual inspiration for planting arrangements is widely available. Platforms like Raised Garden Bed Ideas on Pinterest can help you see how others have organized their beds before you commit your own design to the ground.
Tip: Write your planting plan on paper and photograph it. As the season progresses and you learn what worked and what did not, you will have a clear record to improve upon next year without relying on memory.
Step 5: Install Paths and Define Zones for a Polished Look
A backyard upgrade that looks unfinished is one that lacks clear definition between the gardening zones and the surrounding space. Paths and borders cost relatively little but have an outsized effect on the overall appearance and functionality of the garden.
Standard path width between raised beds should be at least 24 inches — enough for a wheelbarrow or garden cart to pass comfortably. Paths narrower than this feel cramped and make harvesting awkward. If you are installing multiple beds, consistent path width creates a visual rhythm that makes the whole space feel intentional rather than improvised.
Budget-friendly path materials include compacted gravel, wood chip mulch, stepping stones, and landscape fabric topped with bark. Gravel and wood chips are among the most cost-effective per square foot and suppress weeds effectively when applied at adequate depth. Wood chips are often available free of charge through municipal tree trimming programs or services like Chip Drop, which connects homeowners with arborists who need to dispose of chippings.
Edging along the perimeter of each bed — whether timber, metal landscape edging, or simple brick — reinforces the boundary between growing zones and lawn, makes mowing easier, and prevents grass from creeping into the beds.
Tip: Install landscape fabric under gravel or chip paths before the growing season, not after. Retrofitting it around established plants is significantly more time-consuming and rarely achieves the same weed suppression.
Step 6: Add Functional Structures That Pull Double Duty
The most budget-conscious backyard upgrades serve more than one purpose. A trellis installed at the back of a raised bed provides vertical growing space — effectively doubling the productive area of the bed — while also creating a visual backdrop that makes the garden feel more designed and intentional.
Simple A-frame or flat panel trellises support climbing crops like cucumbers, peas, beans, and small squash varieties. They are among the least expensive additions per square foot of new growing area you can make. Bamboo poles and garden twine, wooden lattice panels, and wire mesh attached to simple stakes are all low-cost options that perform reliably.
If your backyard upgrade goals extend beyond planting, Anleolife's broader product ecosystem — which includes chicken coops and rabbit hutches alongside its raised bed line — allows you to integrate a small-scale raising component into your backyard setup. A modest flock of hens or a pair of rabbits generates a steady supply of high-quality compost material, which feeds directly back into your soil system and closes a satisfying nutrient loop.
Tip: When adding vertical structures to a raised bed, anchor them at the time of bed installation rather than after soil and plants are in place. It is far easier to secure posts through empty soil than to work around an established root system.
Step 7: Sequence Your Spending Across the Season
Budget backyard upgrades succeed when spending is staged, not front-loaded. One of the most common mistakes we see is gardeners purchasing everything at once before they have confirmed what their space actually needs. A better approach is to treat your spending in rounds.
Round one covers the essentials: one or two well-chosen raised beds, quality soil, and seeds or starter transplants for your priority crops. Get these in the ground and growing before spending on anything else.
Round two, typically a few weeks into the season, covers refinements: paths, trellises, companion plants, and any accessories that your initial setup revealed as genuinely necessary rather than merely nice to have.
Round three — which may fall later in the season or into the next — is where you expand: additional beds, a modular extension to an existing bed, or a new functional zone like a composting area or a small raising setup.
This phased approach naturally filters out impulse purchases. After a few weeks of active gardening, you will have a much clearer sense of what your space genuinely needs and what would simply add clutter.
Tip: For those new to sizing beds and planning a modular expansion, A First-Time Buyer's Guide to Sizing a Raised Garden Bed Kit provides clear, practical guidance on matching bed size to your space, crop goals, and long-term expansion plans.
Common Mistakes and How to Fix Them in Your Raised Bed Layout
| Symptom | Likely Cause | How to Fix |
|---|---|---|
| Crops shading each other out mid-season | Planting tall varieties without considering sun direction | Remap the raised bed planting layout by height zones; tall plants to the north, short plants to the south |
| Soil sinking several inches after first watering | Underfilled beds or poorly structured soil mix | Top-dress with a compost and quality topsoil blend to restore volume; improve drainage component in soil mix |
| Paths muddy and difficult to walk after rain | Insufficient depth of path material or no landscape fabric base | Add a layer of gravel or wood chips over landscape fabric; ensure minimum depth of three to four inches |
| Beds look disorganized despite good plant growth | No clear bed layout plan implemented; random planting | Adopt a square-foot or zone-based raised bed layout plan for the next season; start with a paper grid |
| Early rot or structural weakness in beds | Wood chosen over galvanized steel in a wet climate | Replace with galvanized steel beds rated for long-term outdoor use; prioritize rust-resistant materials |
| Poor yields despite adequate sunlight | Low-quality or poorly balanced soil system | Rebuild soil with compost-rich, well-draining mix; consider a soil test to identify nutrient gaps |
Pro Tips for Better Results With Your Raised Bed Garden
Layer your amendments seasonally, not just at installation. Many gardeners build a great soil mix in year one and then neglect it in subsequent seasons, watching yields quietly decline. Adding two to three inches of finished compost to the top of each bed at the start and end of each growing season is the single most impactful ongoing practice for long-term productivity.
Think in systems, not in individual beds. The most productive raised bed gardens we have seen are those designed as interconnected systems — beds that share a water source, paths that connect logically to a composting area, trellises oriented to avoid shading adjacent beds. When you plan the whole layout at once, even if you build it in phases, the end result is cohesive and efficient rather than a collection of disconnected experiments.
Match bed height to the gardener, not just the crop. A common misconception is that taller beds are only for crops with deep root systems. In practice, bed height is often more about the gardener's physical comfort than the plant's requirements. Anleolife's extra-tall 24-inch and 30-inch beds, and waist-high 35-inch models, are genuine quality-of-life investments that make daily maintenance — watering, harvesting, weeding — significantly more comfortable, which in turn means gardeners actually spend more time in the garden and get better results.
Use pre-planned garden templates as a starting point, not a final answer. Organized resources like Pre-Planned Gardens from Gardeners.com offer curated planting combinations that take the guesswork out of companion pairing and spacing. Treat them as a tested framework, then adjust based on your specific climate, sunlight, and personal taste.
Do not confuse budget with cheap. The goal of a budget backyard upgrade is not to minimize what you spend — it is to maximize what you get for what you spend. A galvanized steel bed with a 20-year lifespan that costs more upfront is categorically not the same as an expensive choice. It is the most economical choice over time. Framing every purchase as a cost-per-season calculation rather than a sticker price comparison will consistently lead you toward higher quality and lower long-term cost.
Common Questions
Q1: How do I decide how many raised beds to start with?
Start with one or two beds and fill them well rather than spreading your budget thin across many. A single well-prepared 8x4 raised bed can produce a meaningful harvest of vegetables across an entire season. The number of beds should be driven by how much time you can realistically commit to maintenance each week, not by how much space is theoretically available. Expanding your raised bed layout in later seasons — once you understand your garden's specific conditions — is far more productive than overextending in year one.
Q2: Is galvanized steel safe to use for growing vegetables?
Galvanized steel is widely used for raised bed gardening and is considered safe by the gardening community and numerous horticultural experts. The zinc coating that gives galvanized steel its rust resistance is the same element found naturally in soil and is an essential micronutrient for plants. At the extremely low concentrations that might leach into garden soil, zinc does not pose a documented health risk for food crops. Many gardening extension programs recommend galvanized steel as a durable and practical material for long-term raised bed garden installations.
Q3: How long does it take to set up a raised bed layout from scratch?
The physical installation of a single raised bed typically takes a few hours for most adults, depending on the size and whether leveling the ground is required. Filling it with soil, depending on volume and delivery logistics, may add another few hours. The planning phase — designing your raised bed planting layout, sourcing materials, and mapping your crop placement — is best done over several days or a week to allow time for reflection and revision. Most gardeners who plan carefully find that the actual build day is the easiest and most satisfying part of the whole process.
The Bottom Line
Upgrading your backyard this growing season does not require a large budget — it requires a clear raised bed garden layout, quality foundational materials, and a staged spending approach that builds systematically from the essentials outward. The three principles that make the biggest difference are: plan before you purchase, invest in materials with genuine longevity, and start with a soil system that sets your crops up to thrive from day one.
A well-designed raised bed layout is not just a gardening tool — it is a long-term asset. Galvanized steel beds built to last 20 years, a thoughtful planting plan that evolves each season, and paths and structures that make the space genuinely enjoyable to be in will deliver returns in food, beauty, and wellbeing that far exceed their initial cost.
The best time to start is now, while the growing season is ahead of you and every design decision you make this week can pay off by harvest time. Take the assessment steps, sketch your layout, choose your first bed size with confidence, and build forward from there.
Shop the full Anleolife raised bed collection at the Anleolife website and explore the complete range — from compact starter beds to extra-tall and waist-high configurations — to find the right fit for your space, your crops, and your budget this season.
Anleolife ships from a strategically located nationwide U.S. warehouse network — including facilities in California, Texas, Florida, New York, Illinois, and Washington — ensuring delivery in 3–8 business days so your growing season plans are never delayed. Products are also available through Amazon, Walmart, Home Depot, Lowe's, and Wayfair with consistent quality and after-sales support. Whether you are building your first raised bed or expanding an existing layout into a full planting-and-raising ecosystem, Anleolife grows with you every step of the way.
References & Further Reading
- Savvy Gardening. "4x8 Raised Bed Vegetable Garden Layout Ideas".
https://savvygardening.com/4x8-raised-bed-vegetable-garden-layout/ - Gardeners.com. "Pre-Planned Gardens".
https://www.gardeners.com/pages/kitchen-garden-planner-preplanned-gardens - Pinterest. "Raised Garden Bed Ideas".
https://www.pinterest.com/alethead74/raised-garden-bed-ideas/ - U.S. Department of Agriculture (USDA). Home and Garden Resources.
https://www.usda.gov/
Note: Standards and guidelines may be updated; please check the latest official documents or consult professional advisors for current recommendations.








