


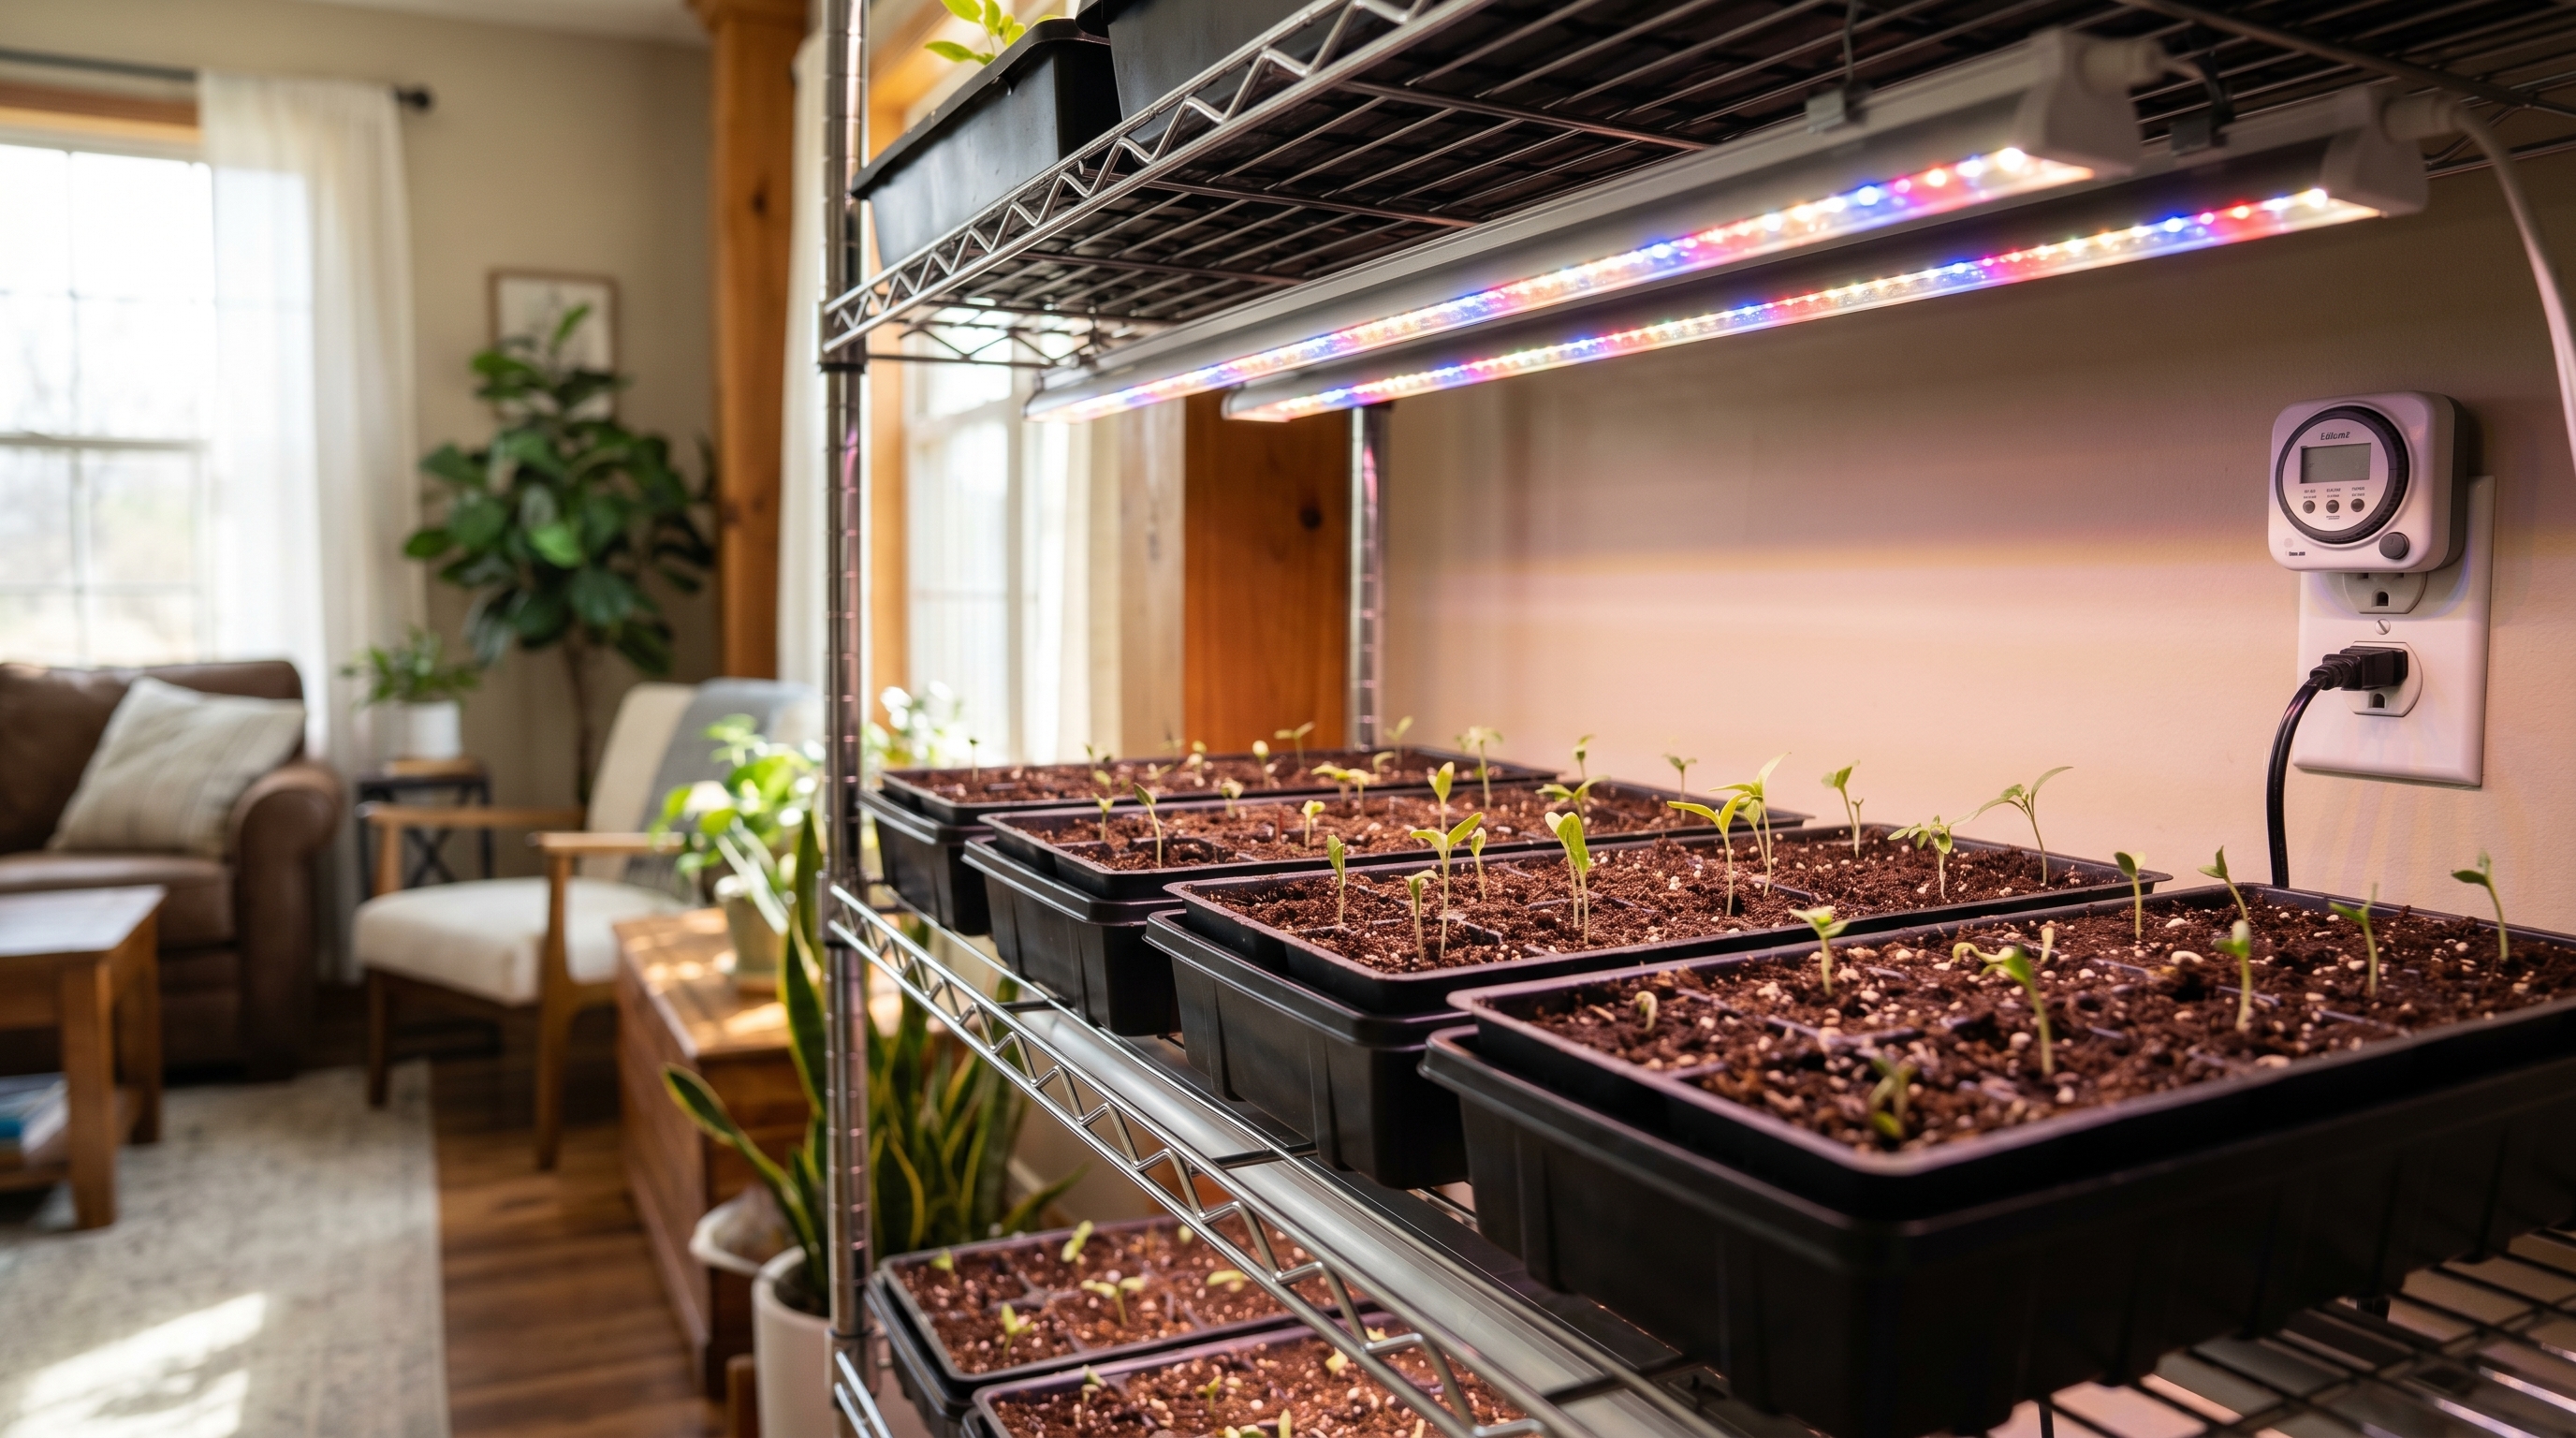
ALT: Indoor seed starting setup with LED grow lights above trays, preparing for spring raised bed garden transplants
Why LED Grow Lights Are the Secret Weapon for Starting Seeds Indoors Before Spring
Key Conclusion: Starting seeds indoors with LED grow lights gives home gardeners a decisive head start before the last frost. By simulating optimal light spectrums, these energy-efficient fixtures help seedlings develop strong root systems and sturdy stems weeks before outdoor planting conditions are safe. When those transplants eventually move into a well-designed raised bed garden layout, the results speak for themselves — healthier plants, earlier harvests, and a more productive growing season from day one.
Getting a jump on spring is one of the most satisfying things a home gardener can do. While your neighbors are still waiting for the soil to warm up, you could already be nursing robust tomato seedlings, vibrant pepper starts, and lush lettuce transplants — all raised under the controlled glow of LED grow lights right in your kitchen, basement, or spare room.
The combination of indoor seed starting and a well-prepared outdoor garden bed is a strategy used by experienced growers everywhere. LED technology has made this more accessible, affordable, and effective than ever before. Whether you're an empty nester reclaiming weekend time in the garden, a health-conscious family aiming for homegrown produce, or an urban micro-gardener working with limited outdoor space, this guide will walk you through exactly how to do it right.
Who Should Use This Indoor Seed Starting Guide
✅ Applicable Scenarios:
- Gardeners in USDA Hardiness Zones 3–7 where late frosts make direct outdoor sowing risky before May
- Urban apartment dwellers and balcony gardeners who want to start seeds early and transplant into compact raised beds
- Home growers who want to extend their growing season and grow crops like tomatoes, peppers, and eggplant that require long maturity periods
- Retirees and empty nesters who enjoy a year-round gardening rhythm, including indoor winter projects
- Anyone switching from fluorescent or incandescent setups to more energy-efficient LED technology
❌ Not Applicable/Cautions:
- Gardeners in Zones 9–11 with nearly frost-free winters who can direct-sow outdoors year-round without an indoor head start
- Crops that strongly dislike transplanting, such as root vegetables (carrots, parsnips, beets), which perform better with direct sowing
- Spaces with no access to a stable electrical outlet, adequate ventilation, or adjustable shelving for light fixture height
The Science Behind Indoor Seed Starting and Why Light Is Everything
For generations, gardeners started seeds on south-facing windowsills, hoping for enough natural light to carry seedlings through their critical early weeks. The results were often disappointing — leggy, pale, weak seedlings that struggled when transplanted outdoors. The problem wasn't the seed quality or the soil; it was light quantity and spectrum.
Seedlings are far more light-hungry than most people realize. Natural window light, even in a bright room, typically delivers only a fraction of the intensity that outdoor sunlight provides. In the depths of winter and early spring, even south-facing windows can offer as few as 6–8 hours of dim, low-angle light. That's simply not enough for most vegetable seedlings to thrive.
This is where LED grow lights changed everything. Modern LED fixtures designed for plant growth emit targeted wavelengths — primarily in the blue spectrum (around 400–500nm) for vegetative growth and the red spectrum (around 600–700nm) for root development and flowering — while producing minimal heat and consuming a fraction of the electricity of older HID or fluorescent systems.
The practical upside for home gardeners is enormous. With a reliable LED setup, you can:
- Start tomatoes, peppers, and celery 8–12 weeks before your last frost date
- Grow compact, stocky seedlings with thick stems that are ready to perform when transplanted
- Control light duration precisely with timers, giving plants the optimal 14–16 hours of light per day
- Save money on electricity compared to older lighting technologies
- Avoid the pest and disease risks of a greenhouse by keeping everything indoors under controlled conditions
The indoor-to-outdoor journey is where planning really pays off. If you're considering where those seedlings will eventually land, a thoughtful step-by-step raised bed garden layout plan ensures your transplants have the best possible home waiting for them when spring arrives.
According to the University of Minnesota Extension, most vegetable seedlings need a minimum of 14–16 hours of artificial light daily when started indoors, and light intensity — measured in foot-candles or lux — is just as important as duration.
How to Use LED Grow Lights for Indoor Seed Starting: A Complete Practical Guide
Three-Step Quick Start
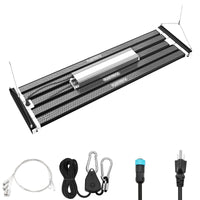
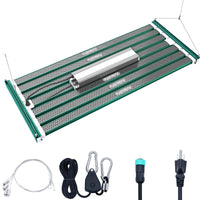
Step 1: Choose Your LED Grow Light System
Selecting the right LED grow light is the foundation of successful indoor seed starting. Look for full-spectrum LEDs that cover both blue and red wavelengths. For a standard seed starting tray (roughly 10×20 inches), a single panel of moderate wattage will typically suffice. For larger setups covering multiple trays or a full shelving unit, you'll want either multiple smaller panels or a longer bar-style LED fixture. Plan your lighting area before purchasing — measure your shelf or table space and match the coverage area listed in the product specs. Allow 30–60 minutes to research, purchase, and plan your setup. Timers are essential; purchase one if it doesn't come included.
Step 2: Set Up Your Indoor Seed Starting Station
Choose a stable, level surface — a wire shelving unit is ideal because it allows you to adjust shelf height easily. Mount your LED light above the seed trays, starting at approximately 2–4 inches above the tops of the seedlings for the first week, then gradually raising it as plants grow. Fill seed starting cells or trays with a high-quality seed starting mix (not potting soil, which is too dense for germination). Sow seeds at the depth recommended on the seed packet, mist with water, and cover with a humidity dome until germination occurs. This setup phase takes 1–2 hours for most home gardeners.
Step 3: Manage the Light Schedule and Hardening Off
Set your timer for 14–16 hours of light per day. Most seedlings grow best with a consistent schedule — for example, lights on at 6 AM, lights off at 10 PM. Monitor your seedlings daily, checking for signs of stretching (too little light) or bleaching (light too close). About 7–10 days before your planned transplant date, begin the hardening off process: move seedlings outdoors to a sheltered spot for 1–2 hours on the first day, gradually increasing outdoor exposure over 7–10 days. This acclimates plants to wind, direct sun, and temperature fluctuations before they move into their permanent raised beds.
LED Grow Light Options Compared: Which Type Is Best for Seed Starting?
Choosing between the different styles of LED grow lights available can feel overwhelming. Here's a practical breakdown to help you decide based on your space, budget, and growing goals.
| Comparison Dimension | Panel/Board LED | Bar-Style LED Strip | Quantum Board LED |
|---|---|---|---|
| Coverage Area | Moderate (1–2 trays) | Flexible (adjustable length) | Large (multiple trays) |
| Heat Output | Low | Very low | Low to moderate |
| Spectrum Quality | Full spectrum available | Full spectrum available | Typically full spectrum |
| Ease of Height Adjustment | Easy with rope hangers | Easy with clips | Easy with rope hangers |
| Best For | Beginners, small setups | Shelf systems, vertical growing | Serious home growers |
| Energy Efficiency | High | Very high | High |
| Approximate Price Range | Budget-friendly | Budget to mid-range | Mid to premium range |
The most practical choice for most home gardeners just starting out is a full-spectrum panel or bar-style LED. These are affordable, widely available, and more than capable of producing healthy transplants for your spring garden.
Detailed Guide: Timing, Crops, Light Management, and Transitioning Outdoors
Timing Your Indoor Seed Starting Calendar
The most common mistake new indoor seed starters make is starting too early — or too late. The golden rule is to count backward from your last expected frost date. You can find your last frost date by entering your ZIP code on the USDA Plant Hardiness Zone Map or through your local Cooperative Extension office.
Here's a general indoor start schedule based on weeks before last frost:
- 10–12 weeks before last frost: Celery, leeks, onions, peppers
- 8–10 weeks before last frost: Eggplant, tomatoes, head lettuce
- 6–8 weeks before last frost: Broccoli, cabbage, cauliflower, kale
- 4–6 weeks before last frost: Cucumbers, squash, melons, basil
Mark these dates on a calendar and work backward to determine when to sow each crop. Planting too early leads to root-bound, overgrown seedlings that struggle at transplant. Planting too late defeats the purpose of indoor starting.
Which Crops Respond Best to LED Indoor Starting?
Not all vegetables benefit equally from indoor starts. The biggest winners are long-season crops that simply can't mature outdoors in most North American climates without an early head start.
Tomatoes are the quintessential indoor-start crop. Most varieties need 70–100 days from transplant to harvest, so starting them indoors 6–8 weeks before last frost is essential in zones 4–7. Under LEDs, tomato seedlings develop compact, dark green growth — a sign of healthy light levels.
Peppers and eggplant are even more light-hungry and heat-loving than tomatoes. These tropical crops benefit enormously from 10–12 weeks of indoor growing under LEDs before outdoor temperatures are consistently warm enough to support them.
Herbs like basil, parsley, and chives start beautifully under LEDs and can be pinched and harvested lightly even while still indoors, giving you fresh herbs weeks before outdoor growing season begins.
Brassicas — broccoli, cabbage, kale, and Brussels sprouts — thrive under LED light and actually prefer the cooler indoor temperatures of early spring. These are among the easiest crops for beginners to start indoors.
For gardeners planning to grow strawberries, starting alpine or day-neutral varieties from seed indoors is entirely feasible, though most gardeners use runners or crowns for faster establishment. If you're searching for the best raised bed for strawberries, a galvanized steel raised bed offers superior drainage and warmth — ideal conditions for strawberry root development. Galvanized steel raised beds outperform wood in multiple key areas, including longevity, pest resistance, and soil temperature regulation — all factors that matter for berry crops.
Managing Light Distance, Duration, and Intensity
Light distance is probably the most hands-on variable you'll manage throughout the seed starting season. A general guideline:
- Germination stage (before sprouts emerge): No supplemental light needed; focus on warmth and moisture
- Cotyledon stage (first leaves): Position LED 2–4 inches above seedling tops for compact growth
- True leaf stage and beyond: Raise LED to 4–8 inches above plants, adjusting as they grow
Watch your seedlings as your guide. If stems are stretching toward the light and appearing pale or thin, the light is too far away or the duration is too short. If leaf edges appear bleached or scorched, the light is too close.
Duration should remain consistent at 14–16 hours per day. A simple outlet timer takes all the guesswork out of this — plug it in, set your schedule, and let it run automatically every day.
Intensity varies by LED product. Manufacturers typically list PAR (Photosynthetically Active Radiation) or PPFD (Photosynthetic Photon Flux Density) ratings. For seed starting, you generally need lower to moderate intensity — high-intensity lights used for fruiting plants in full production can be dimmed or raised higher to deliver appropriate levels for young seedlings.
Watering, Fertilizing, and Air Circulation Under Grow Lights
LED lights generate far less heat than older technologies, but they still reduce humidity and accelerate evaporation slightly. Check your seed trays daily by pressing a finger into the growing medium — water when the top quarter-inch feels dry, but avoid waterlogging, which leads to damping-off disease.
Begin feeding seedlings with a diluted, balanced liquid fertilizer once they develop their first set of true leaves (not the seed leaves, or cotyledons). Use fertilizer at half the recommended strength to avoid burning young root systems.
Air circulation is critical and often overlooked. A small oscillating fan running at low speed for a few hours daily serves two purposes: it reduces fungal disease risk and it mechanically stimulates seedlings to develop stronger stems through a process called thigmomorphogenesis — essentially, plants sense movement and respond by building structural strength. This prepares them for the outdoor environment.
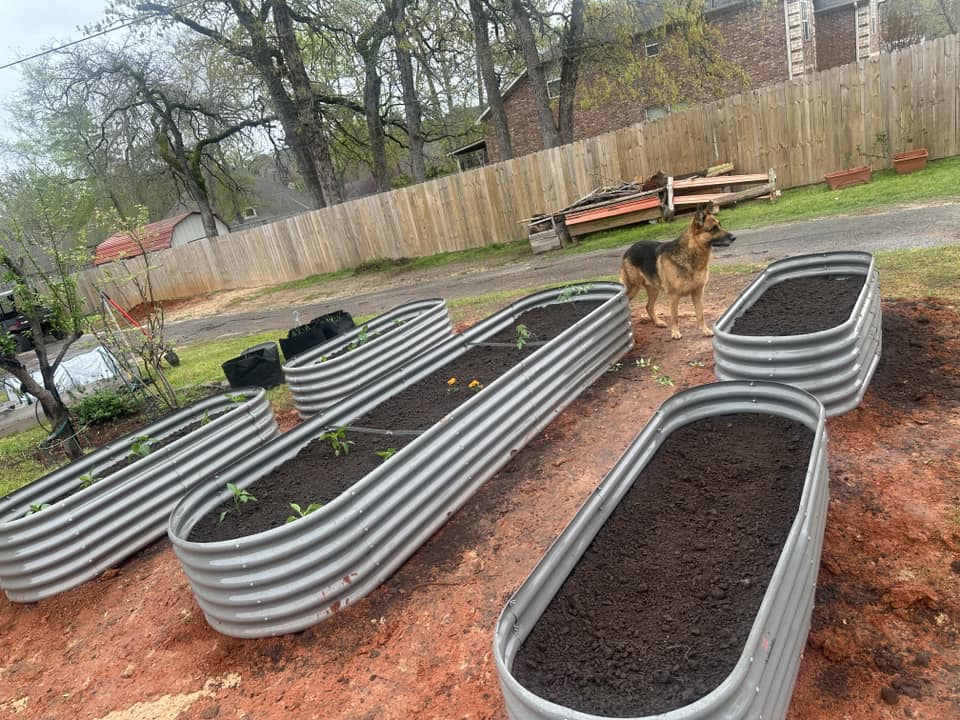
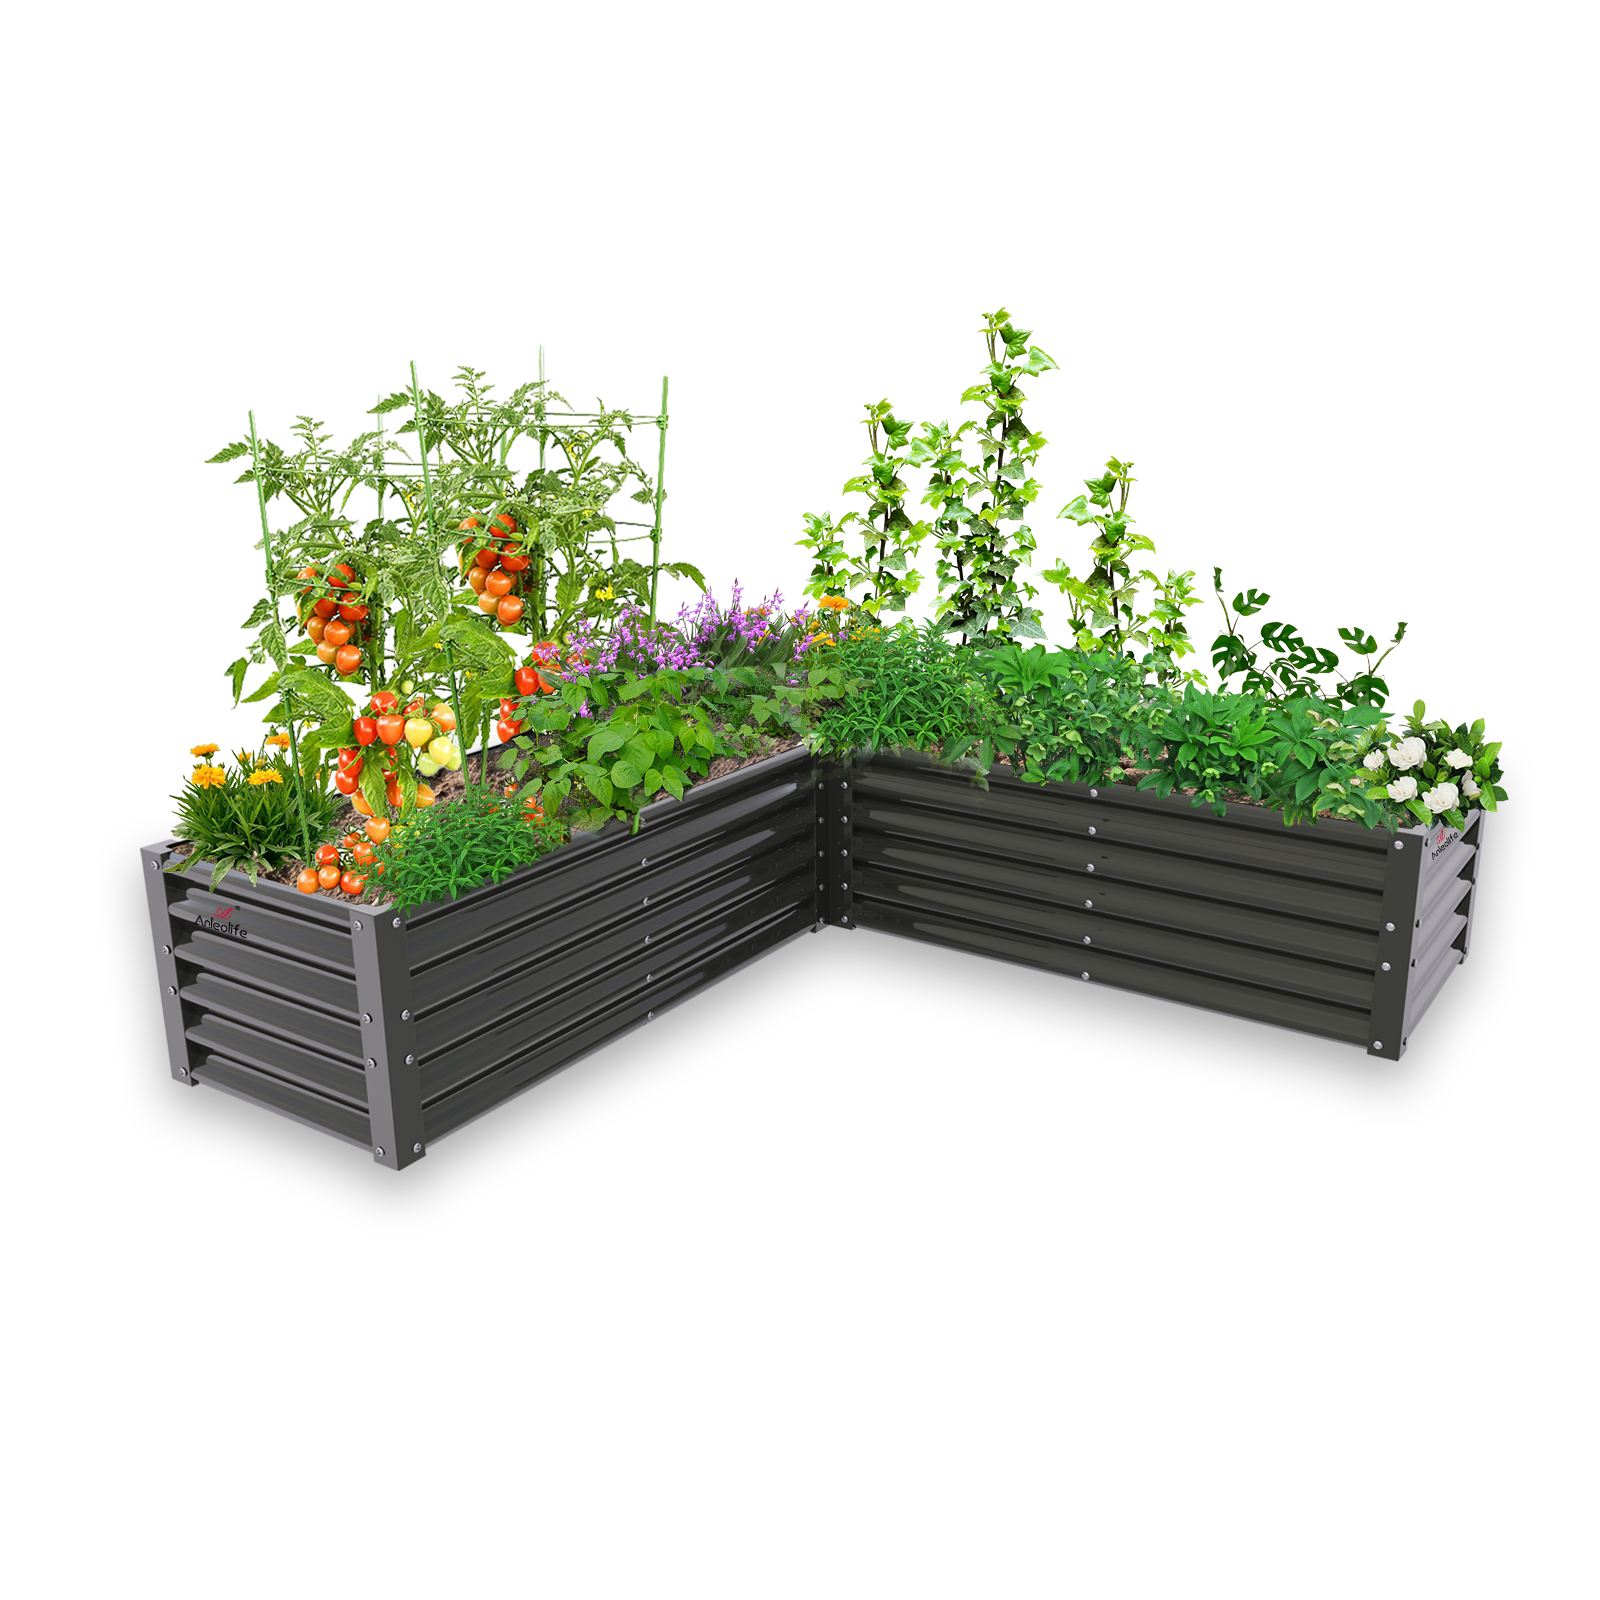
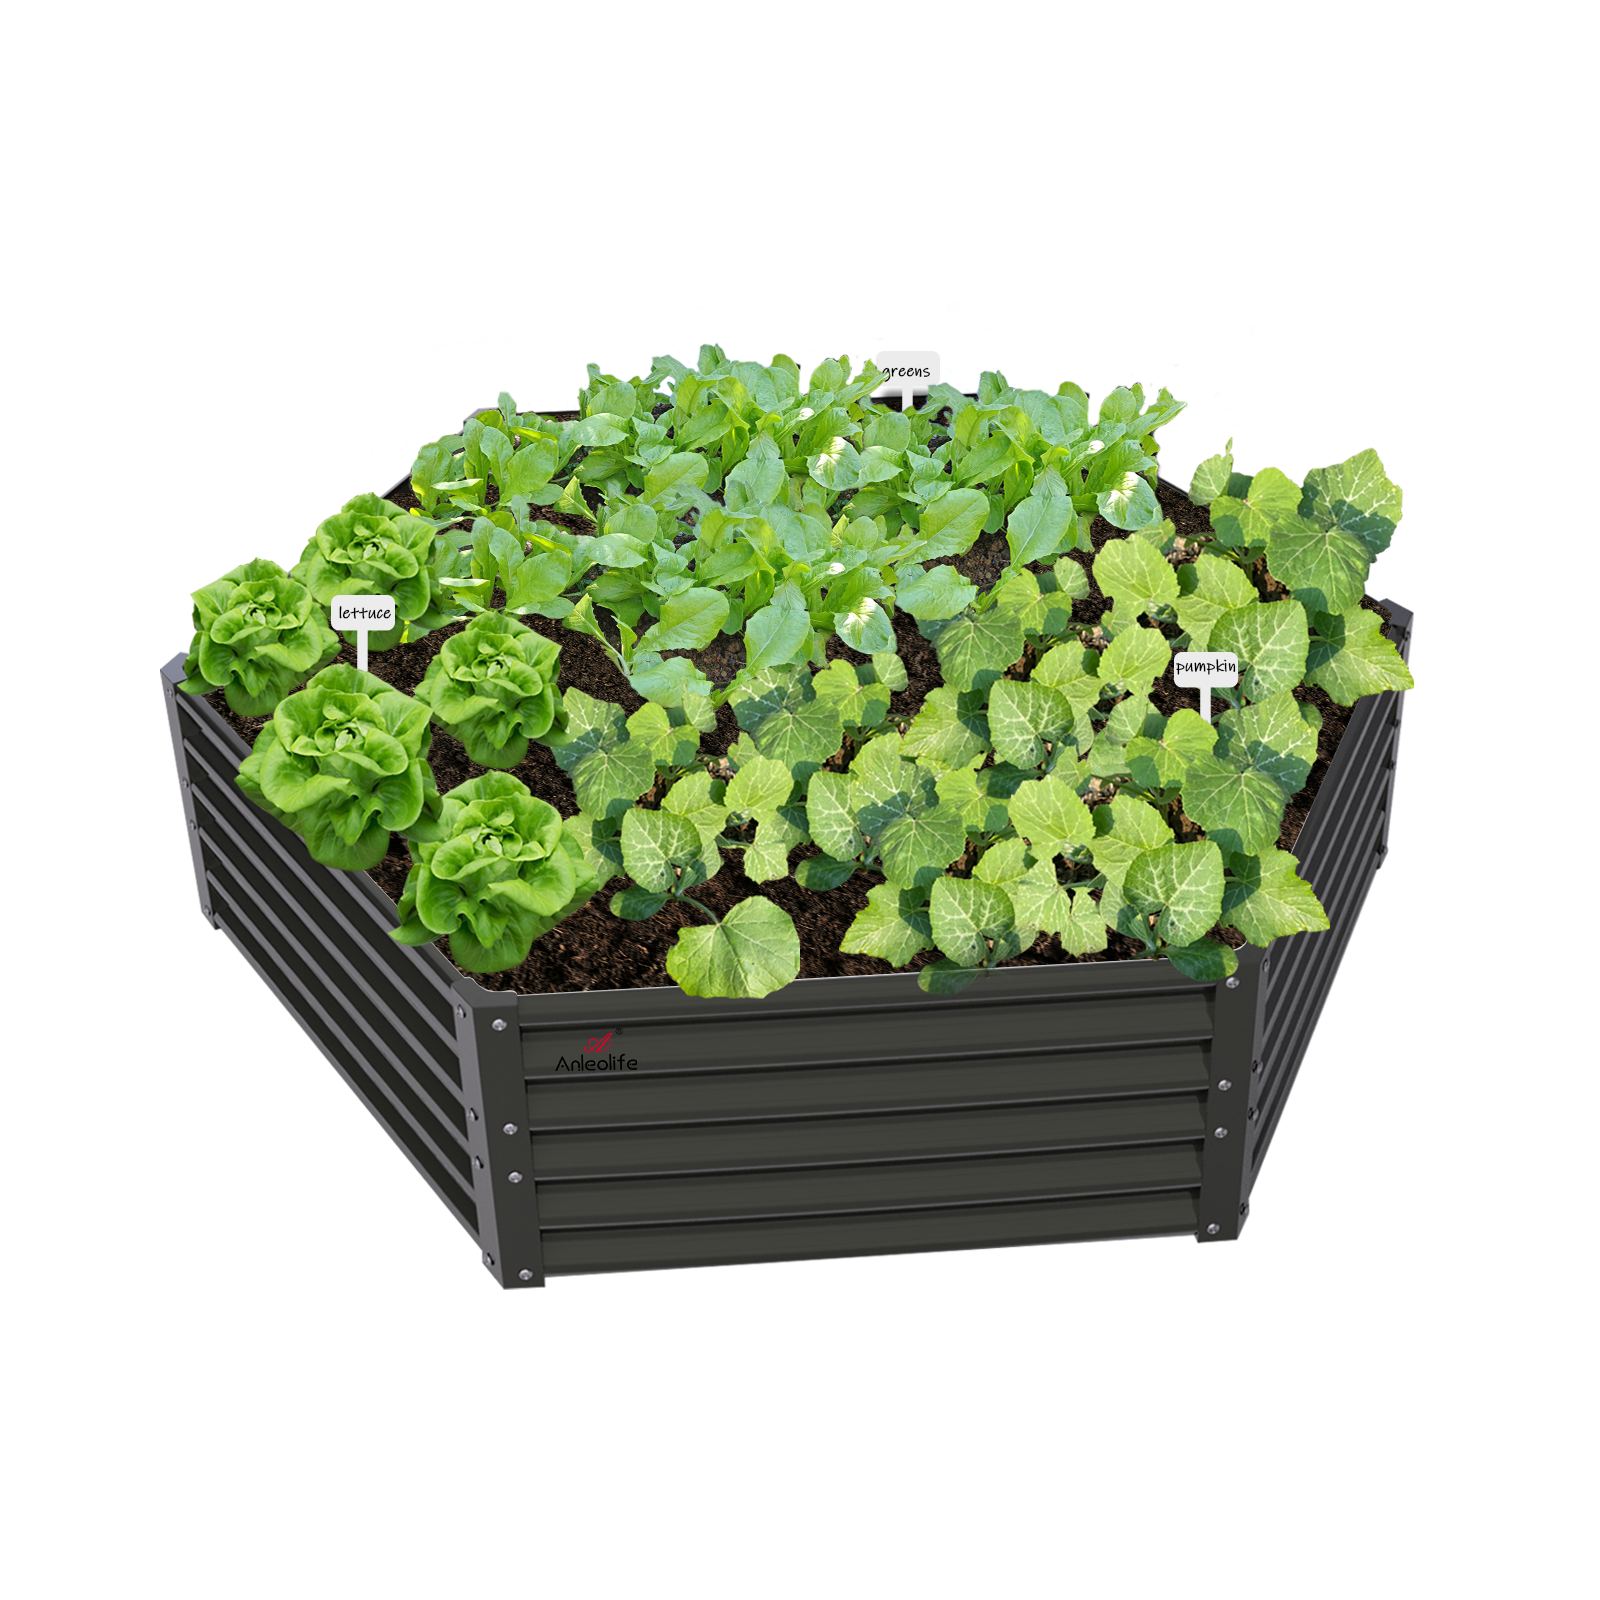
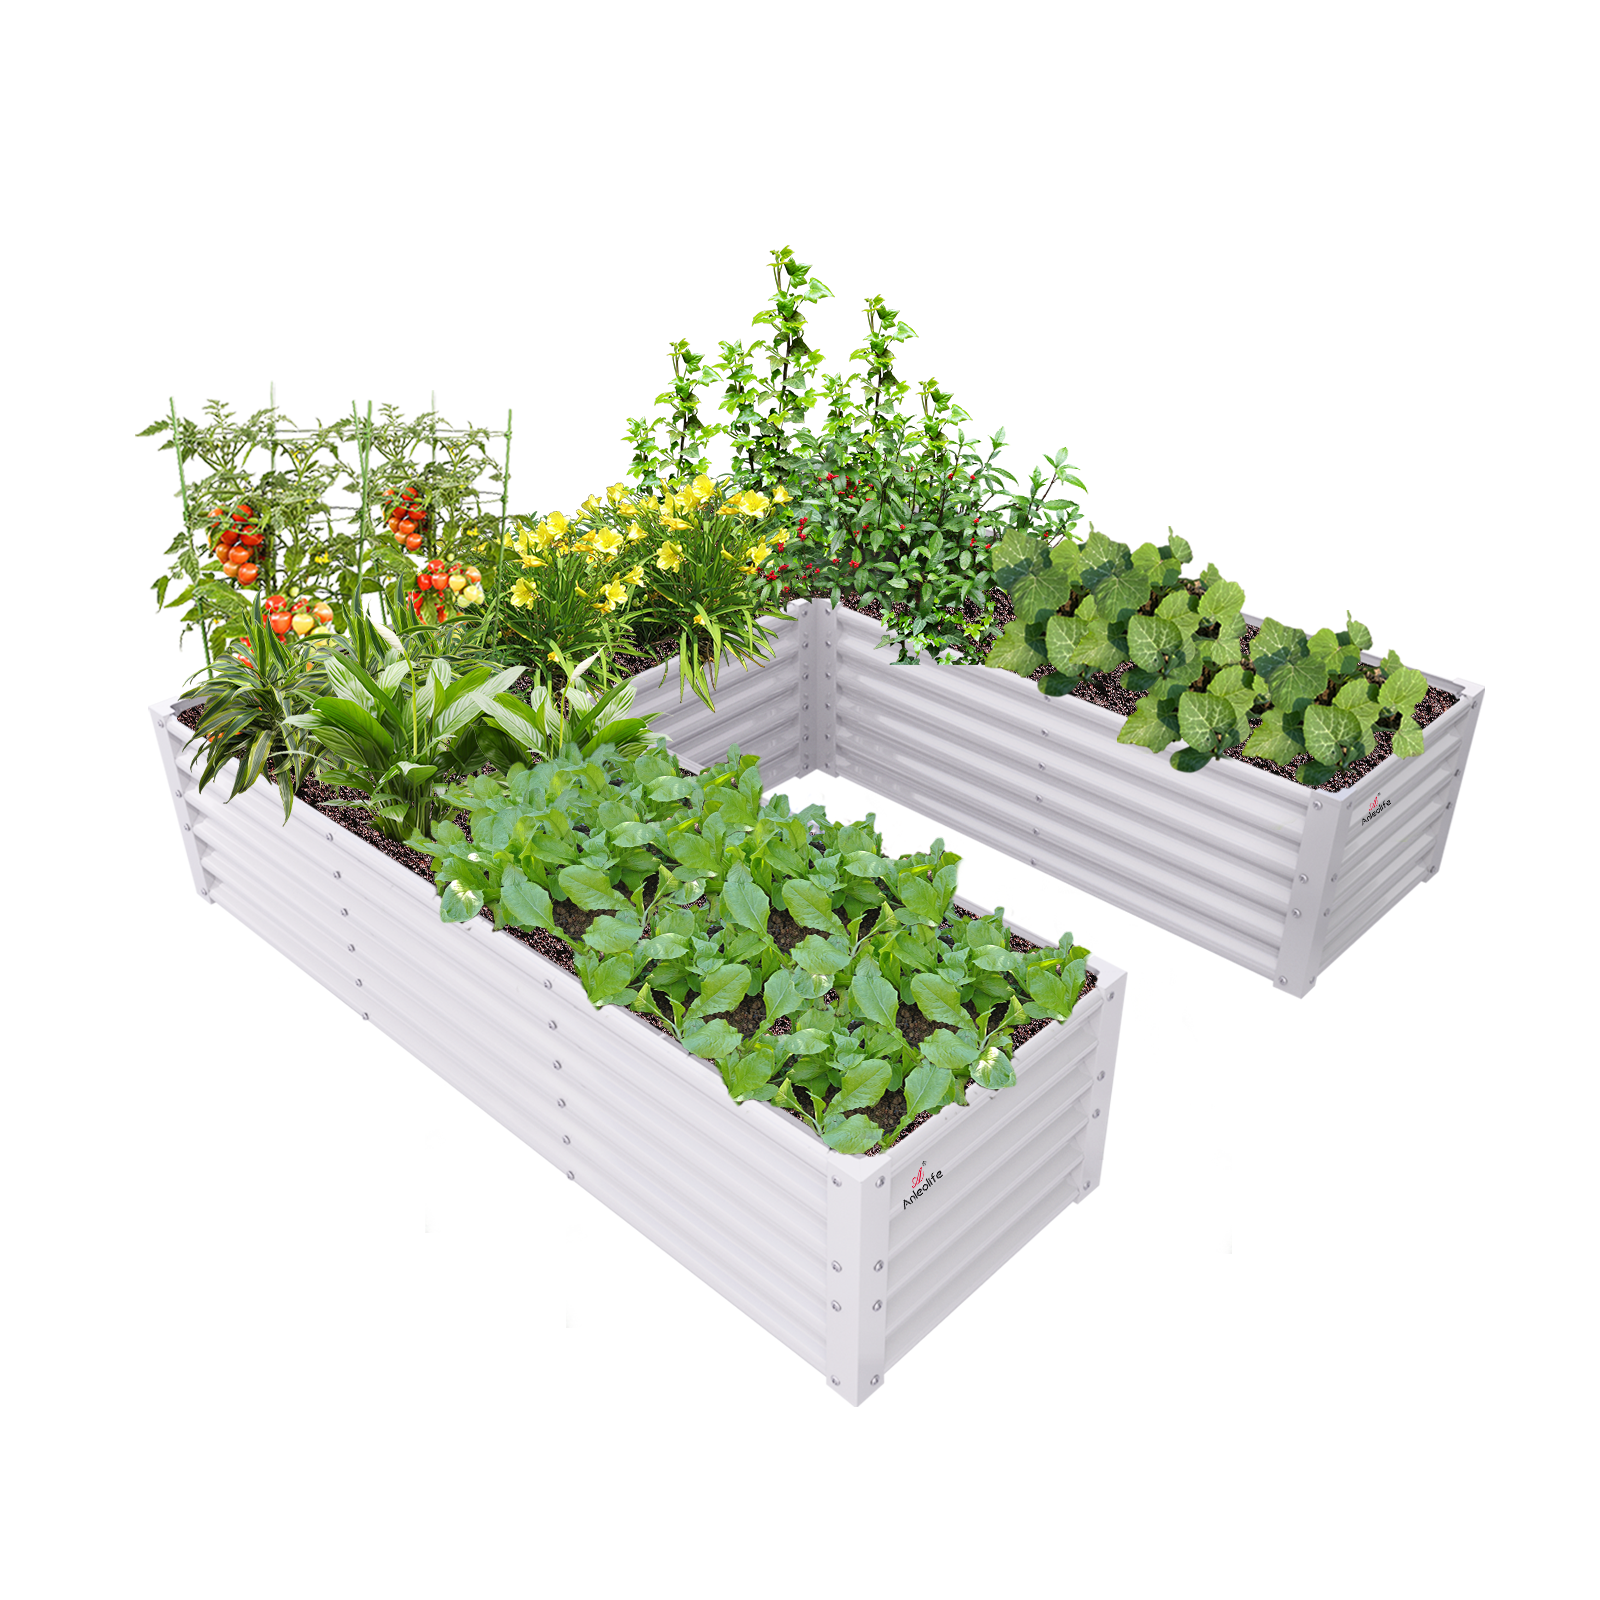
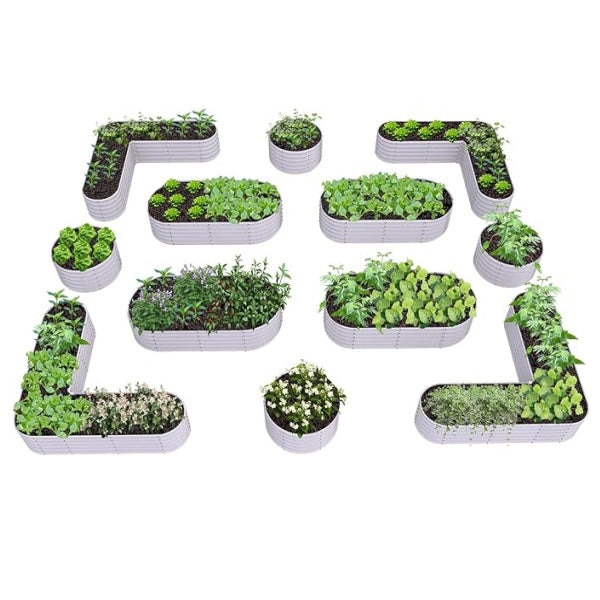
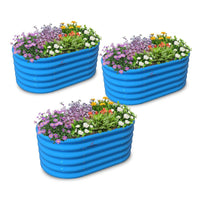
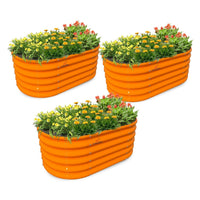
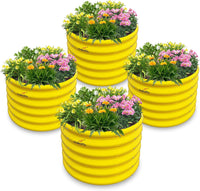
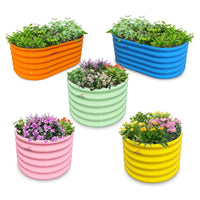
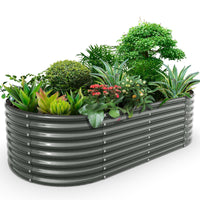
Planning the Outdoor Destination: Why Your Raised Bed Choice Matters
All those carefully tended seedlings deserve an exceptional outdoor home. This is where the quality of your raised garden bed becomes critically important. As you think through your modular garden bed system for your unique backyard shape, consider both the immediate planting season and the long-term value of your investment.
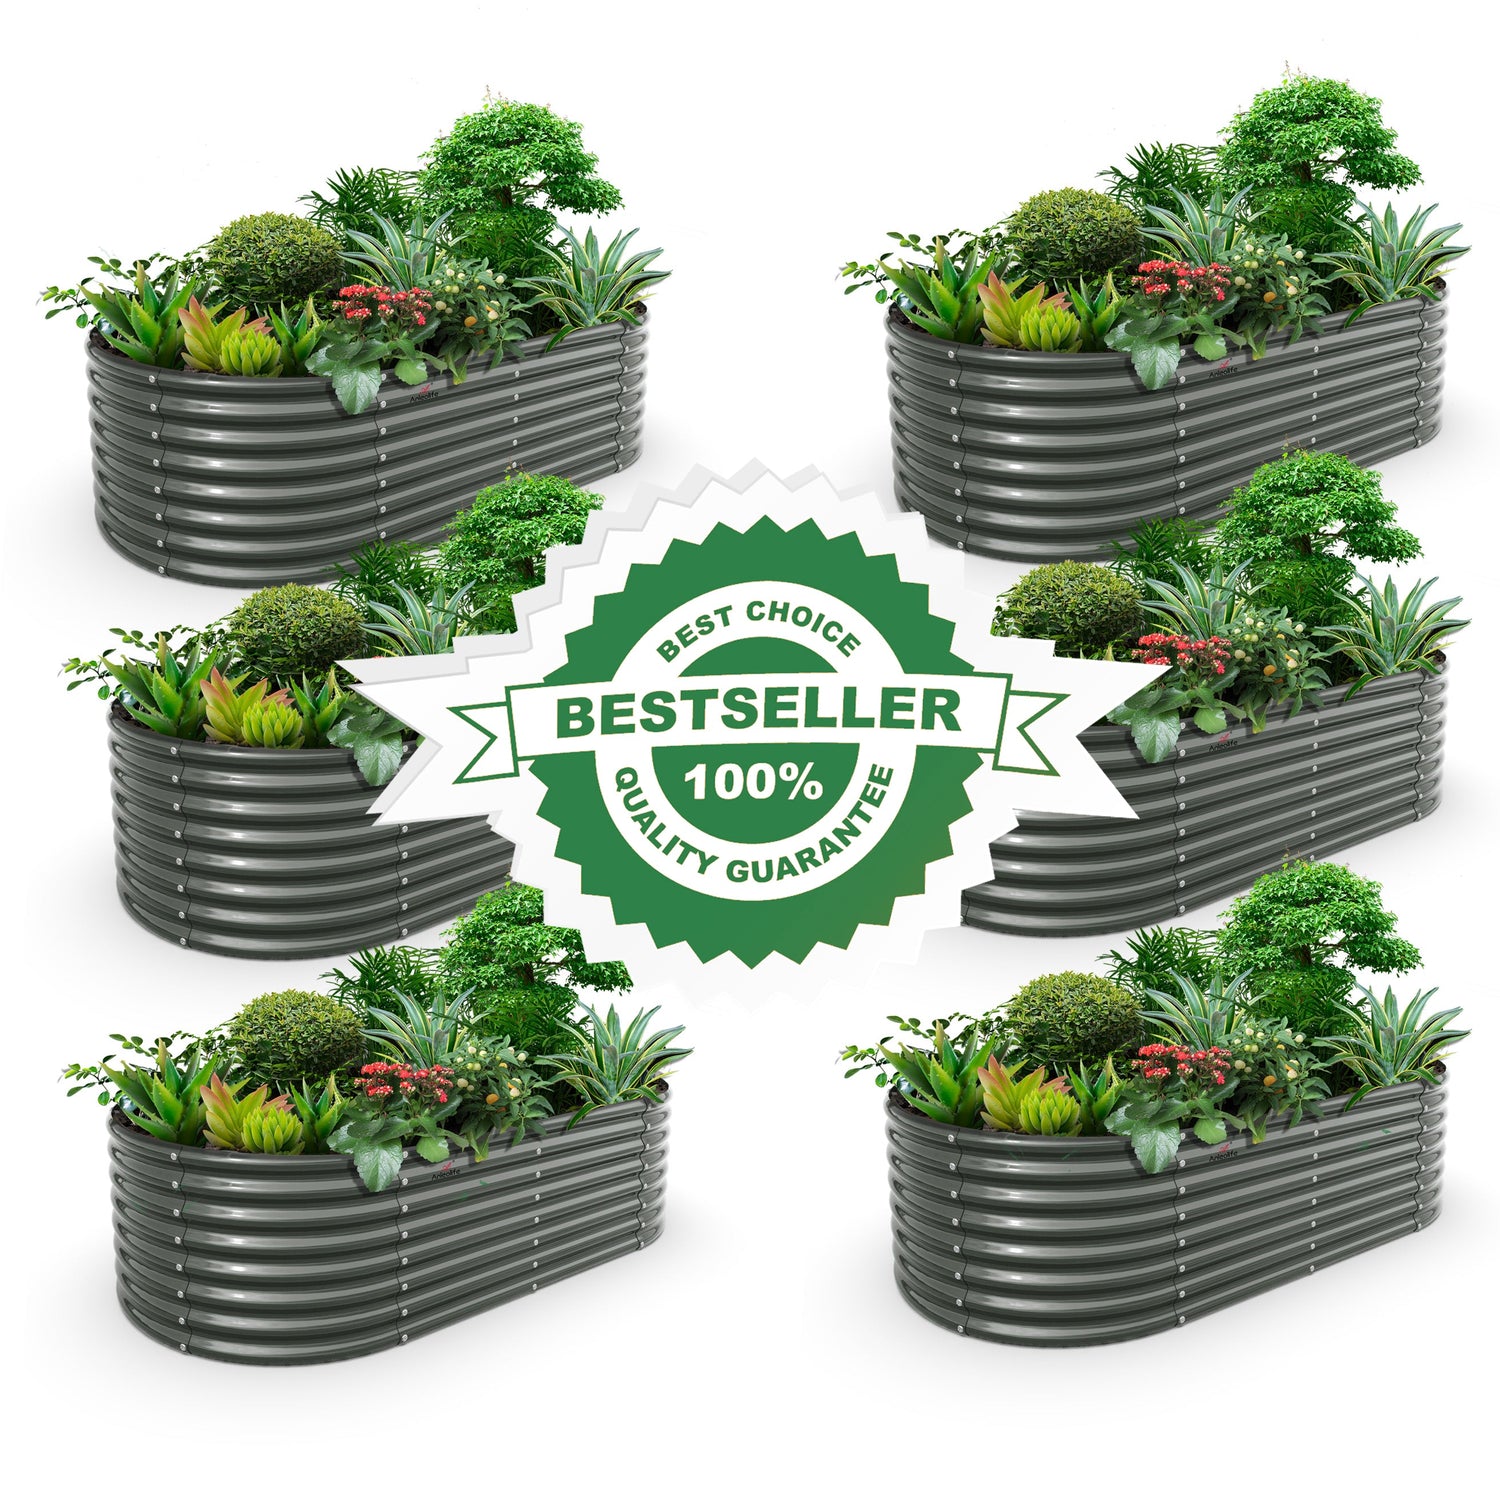
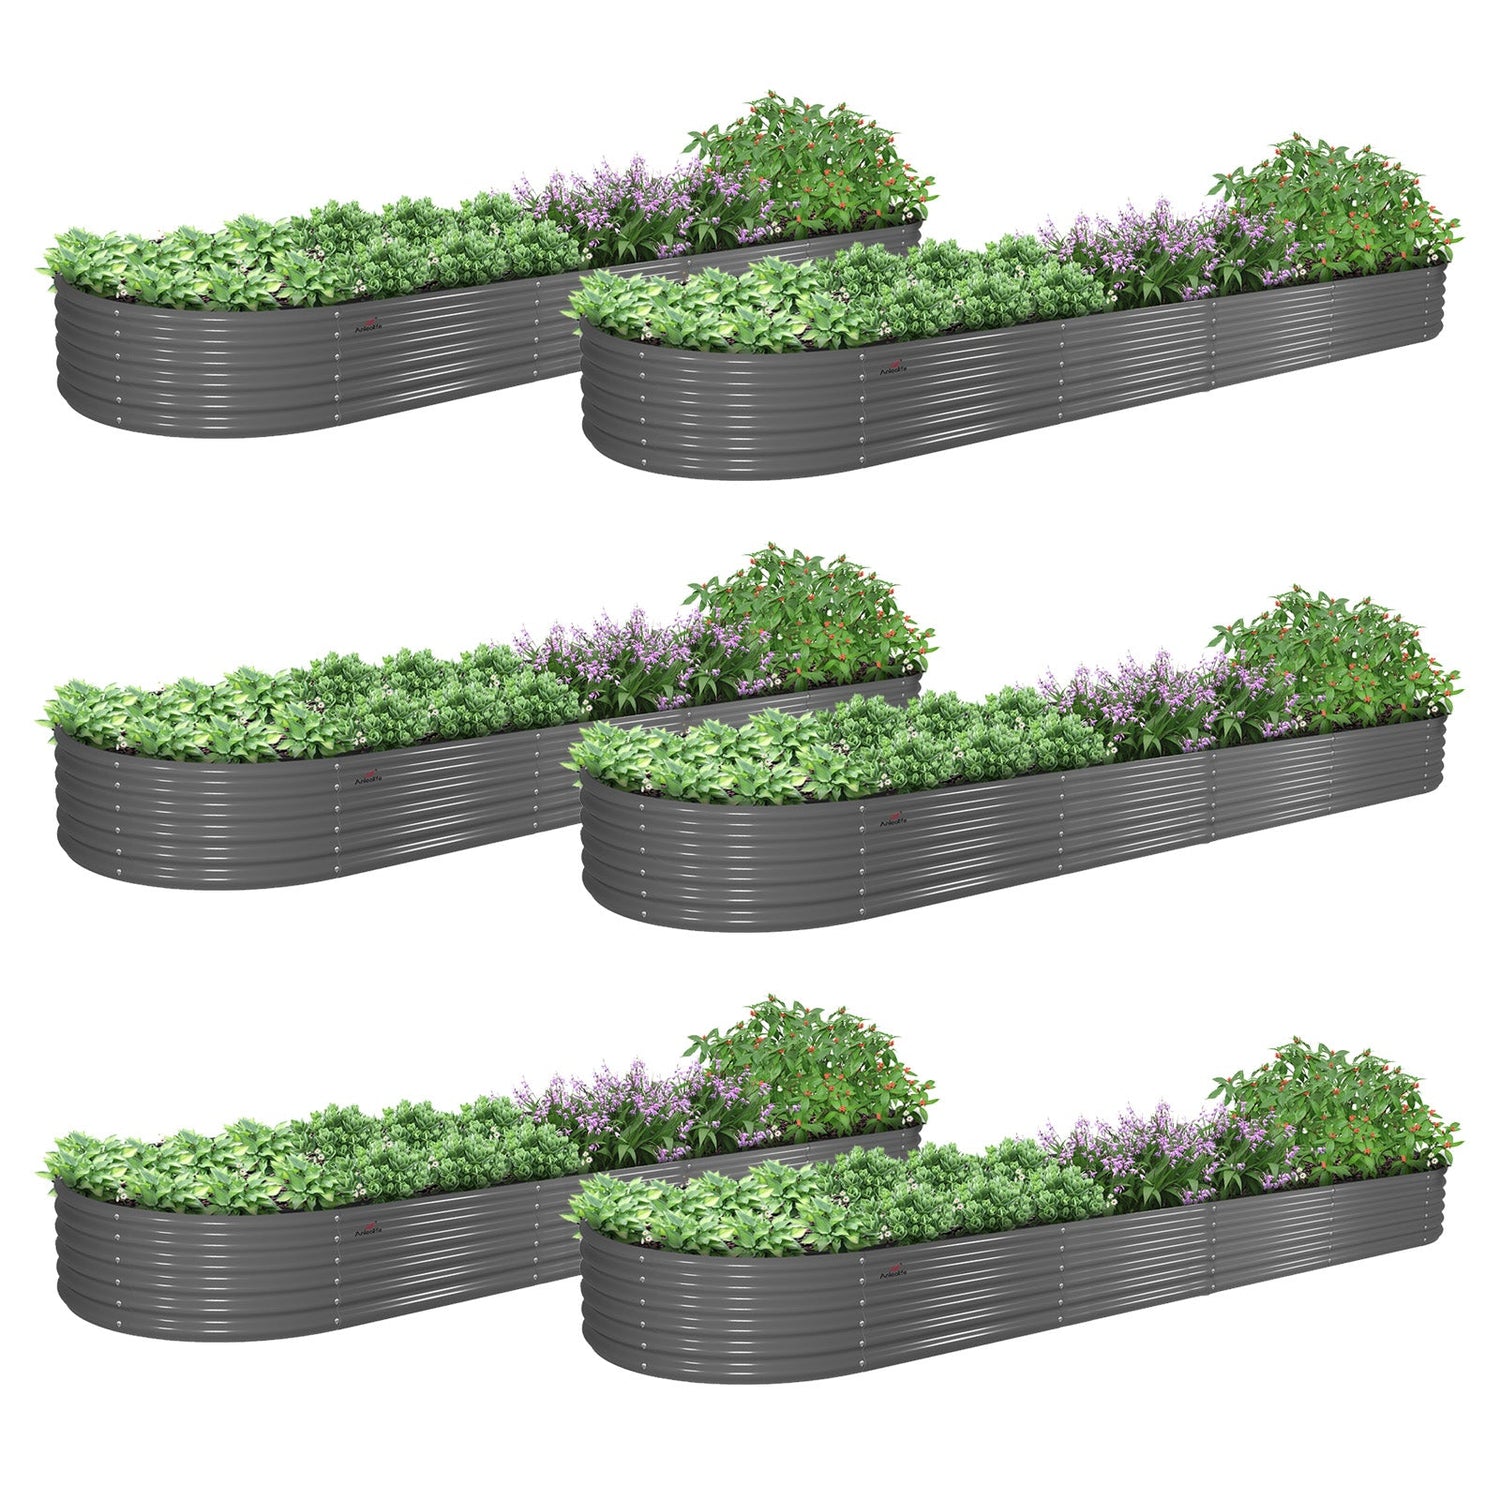
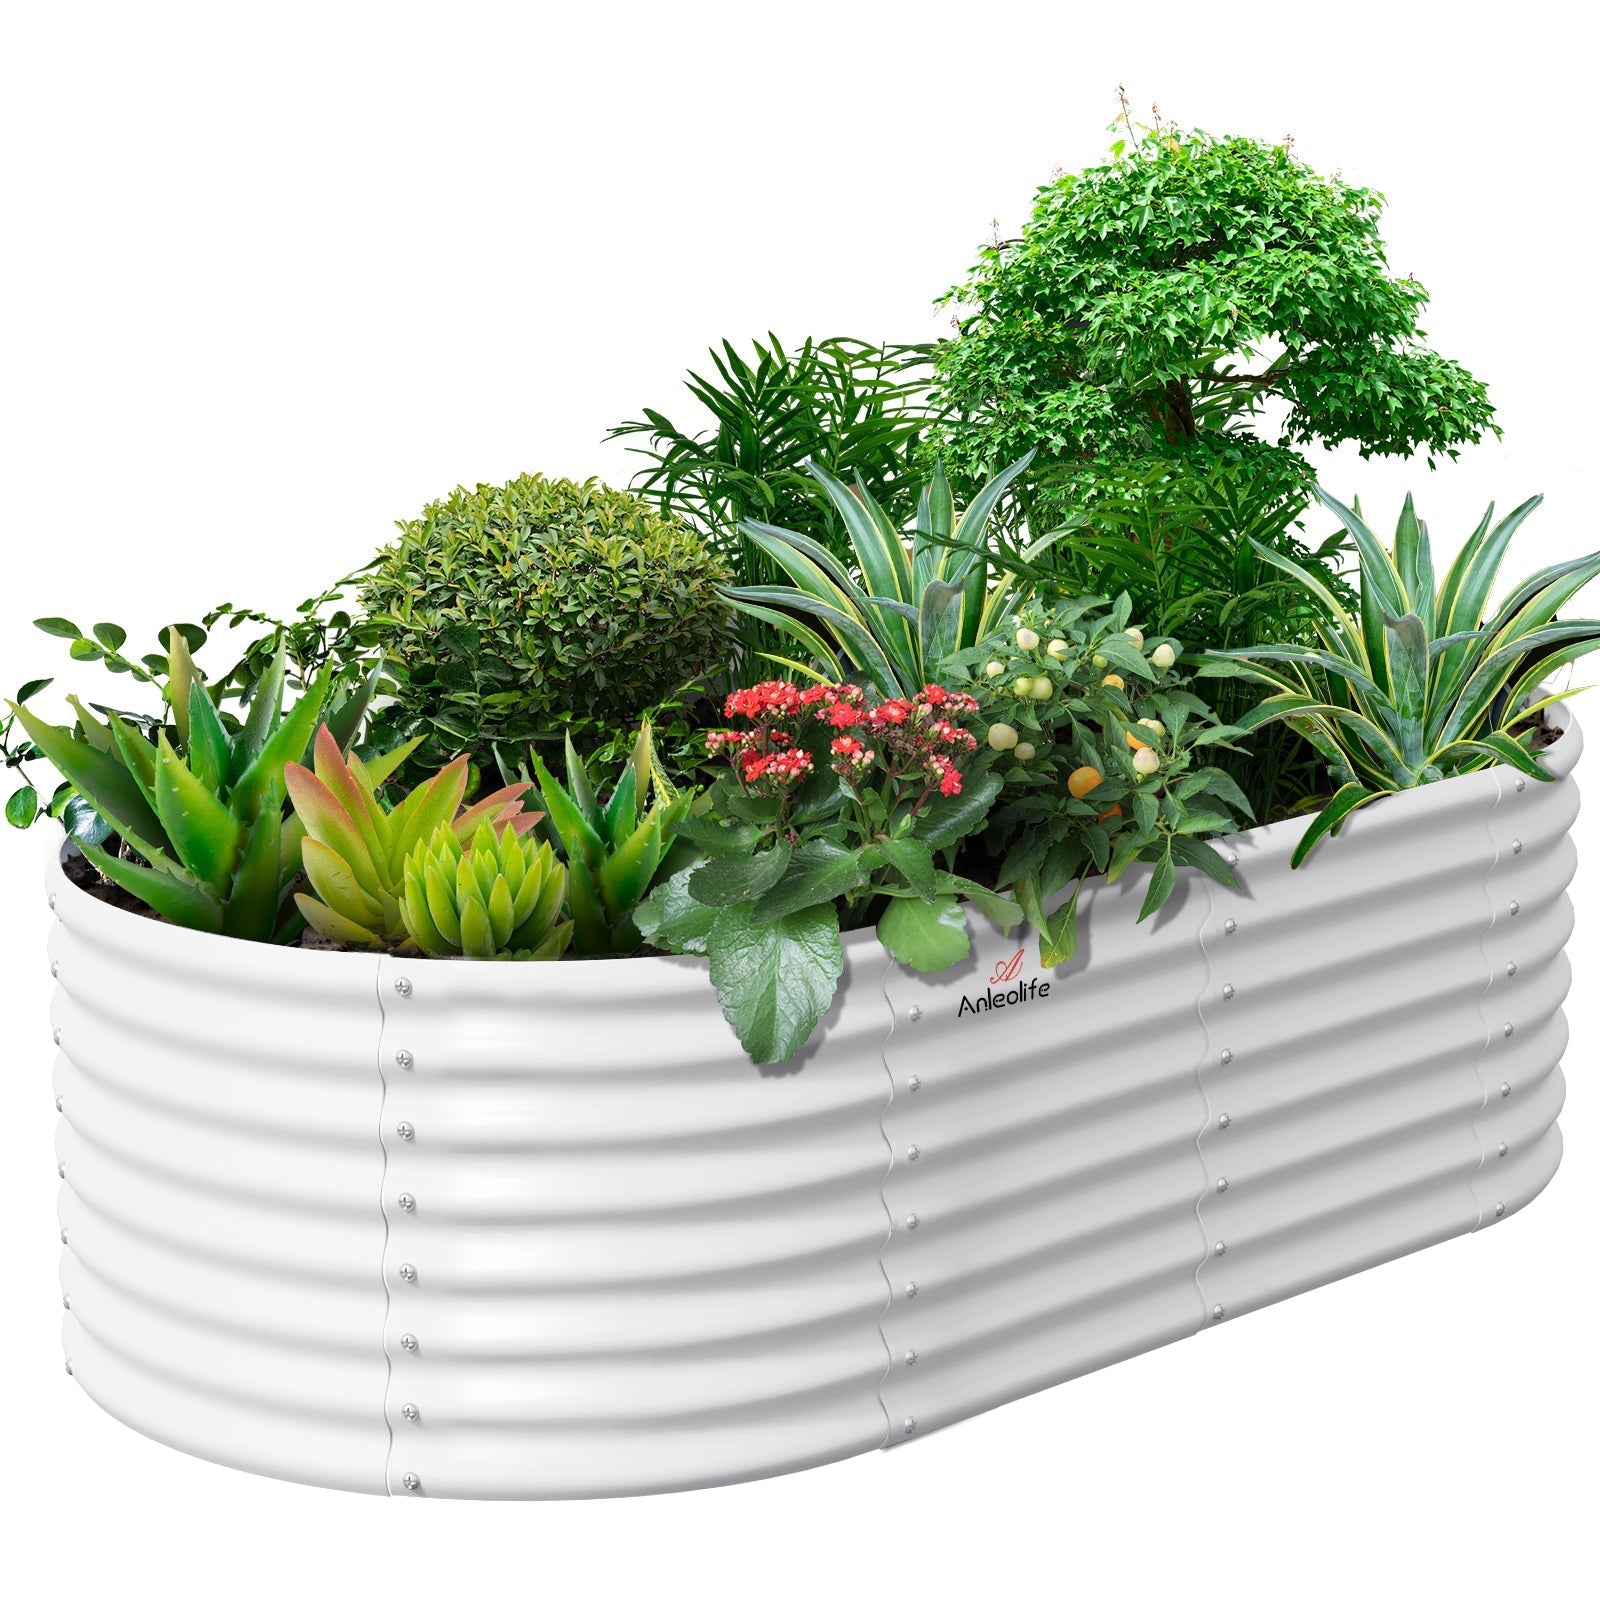
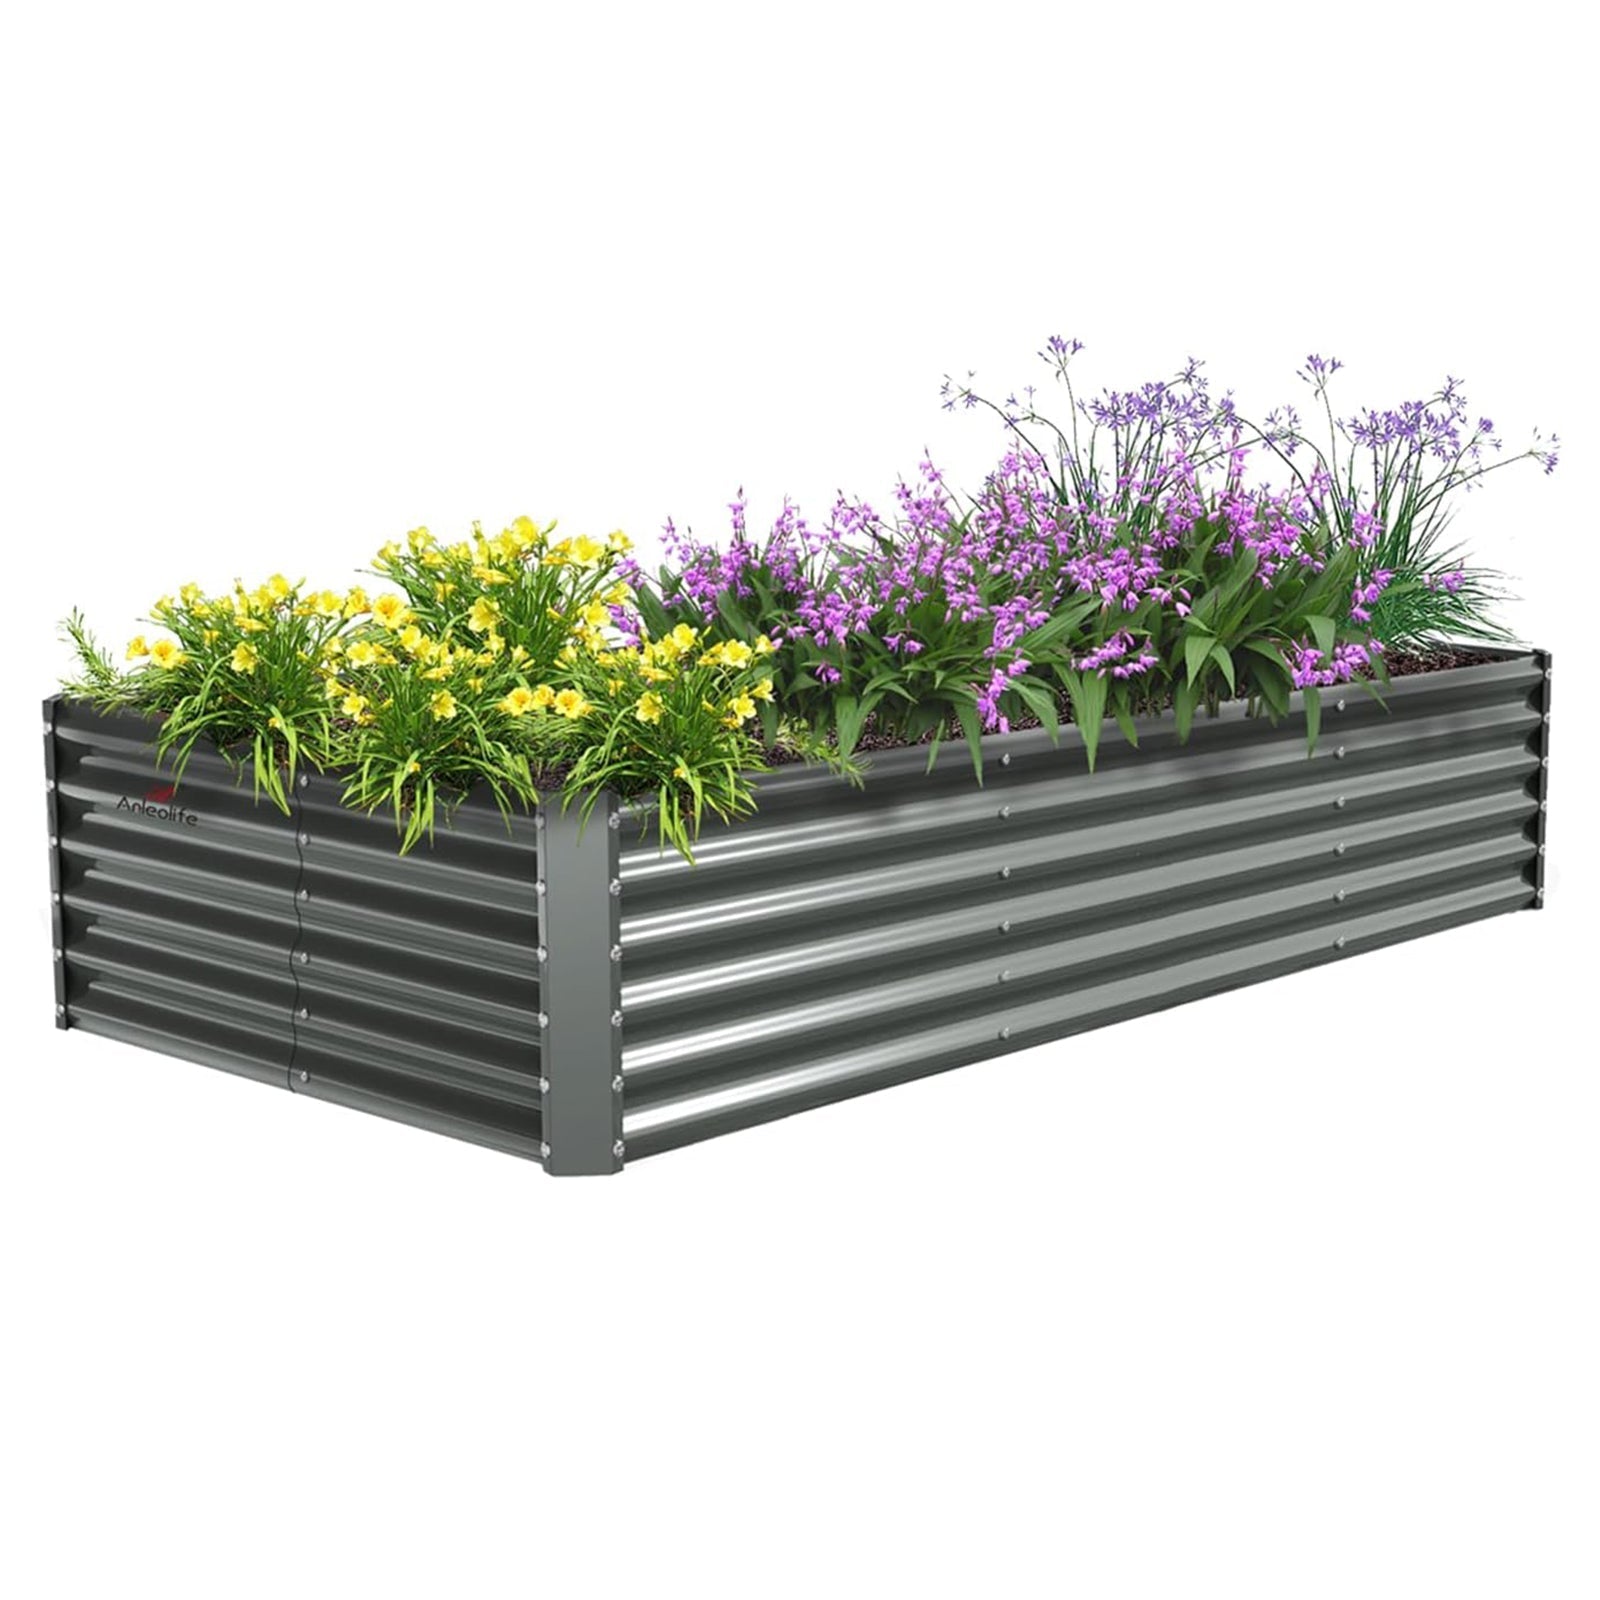
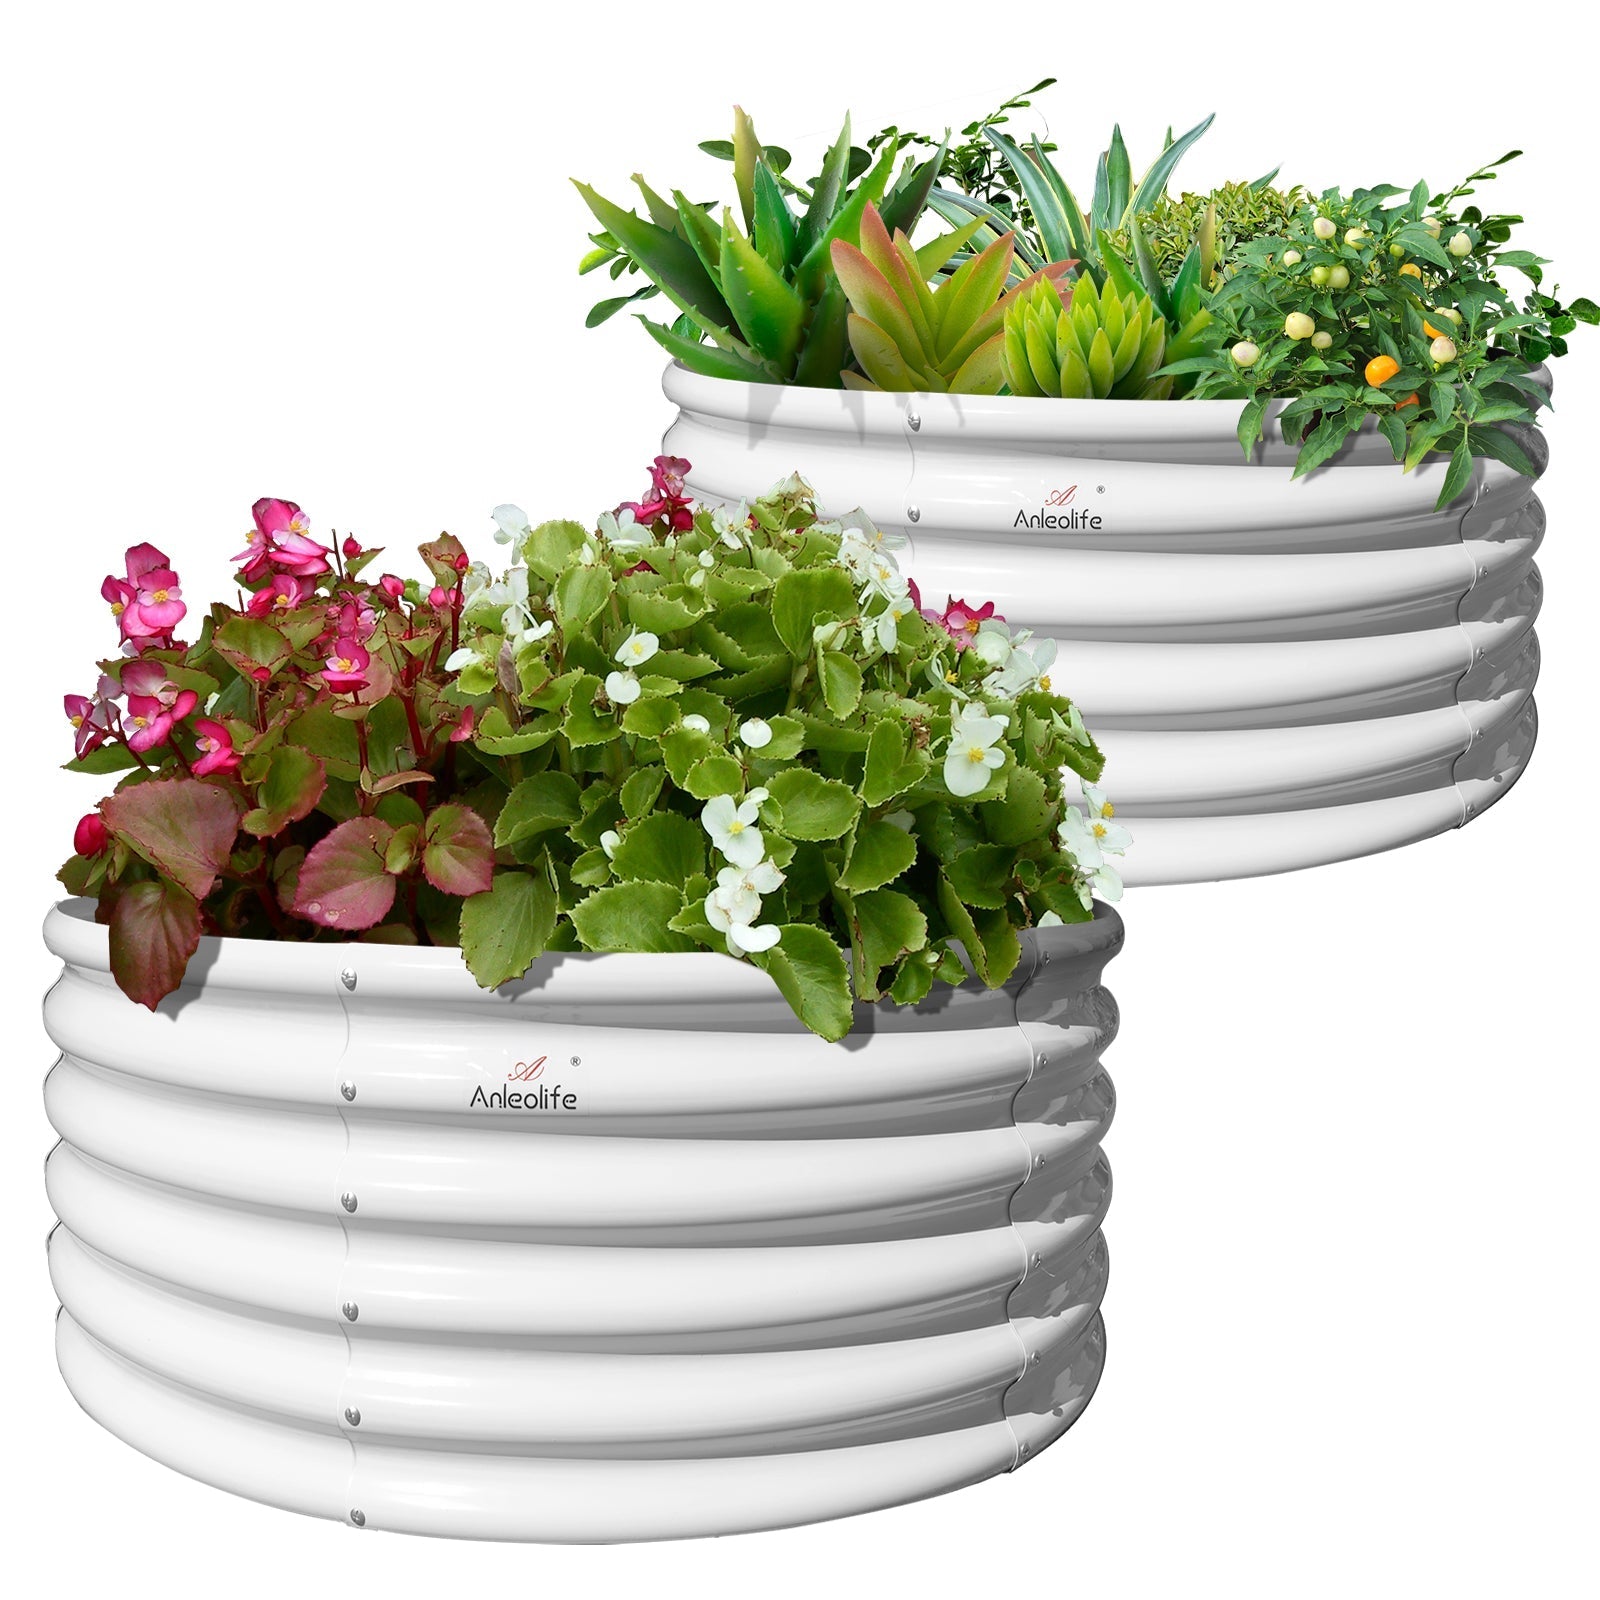
Anleolife's galvanized steel raised garden beds are engineered for a 20-year lifespan — meaning the beds you set up this spring will still be producing harvests two decades from now. Available in a wide range of sizes and heights — from compact 18-inch-tall models perfect for patios and urban gardens to 30-inch waist-high options ideal for gardeners who prefer standing while working — there's a configuration for every space and growing goal.
For urban micro-gardeners asking whether Anleolife garden beds can fit on a city balcony: many compact models are well-suited for balcony use, though you'll want to confirm your building's weight load limits with a structural assessment before adding heavy soil-filled containers. Lightweight soil mixes using perlite, coco coir, and compost can significantly reduce overall weight while maintaining excellent growing conditions.
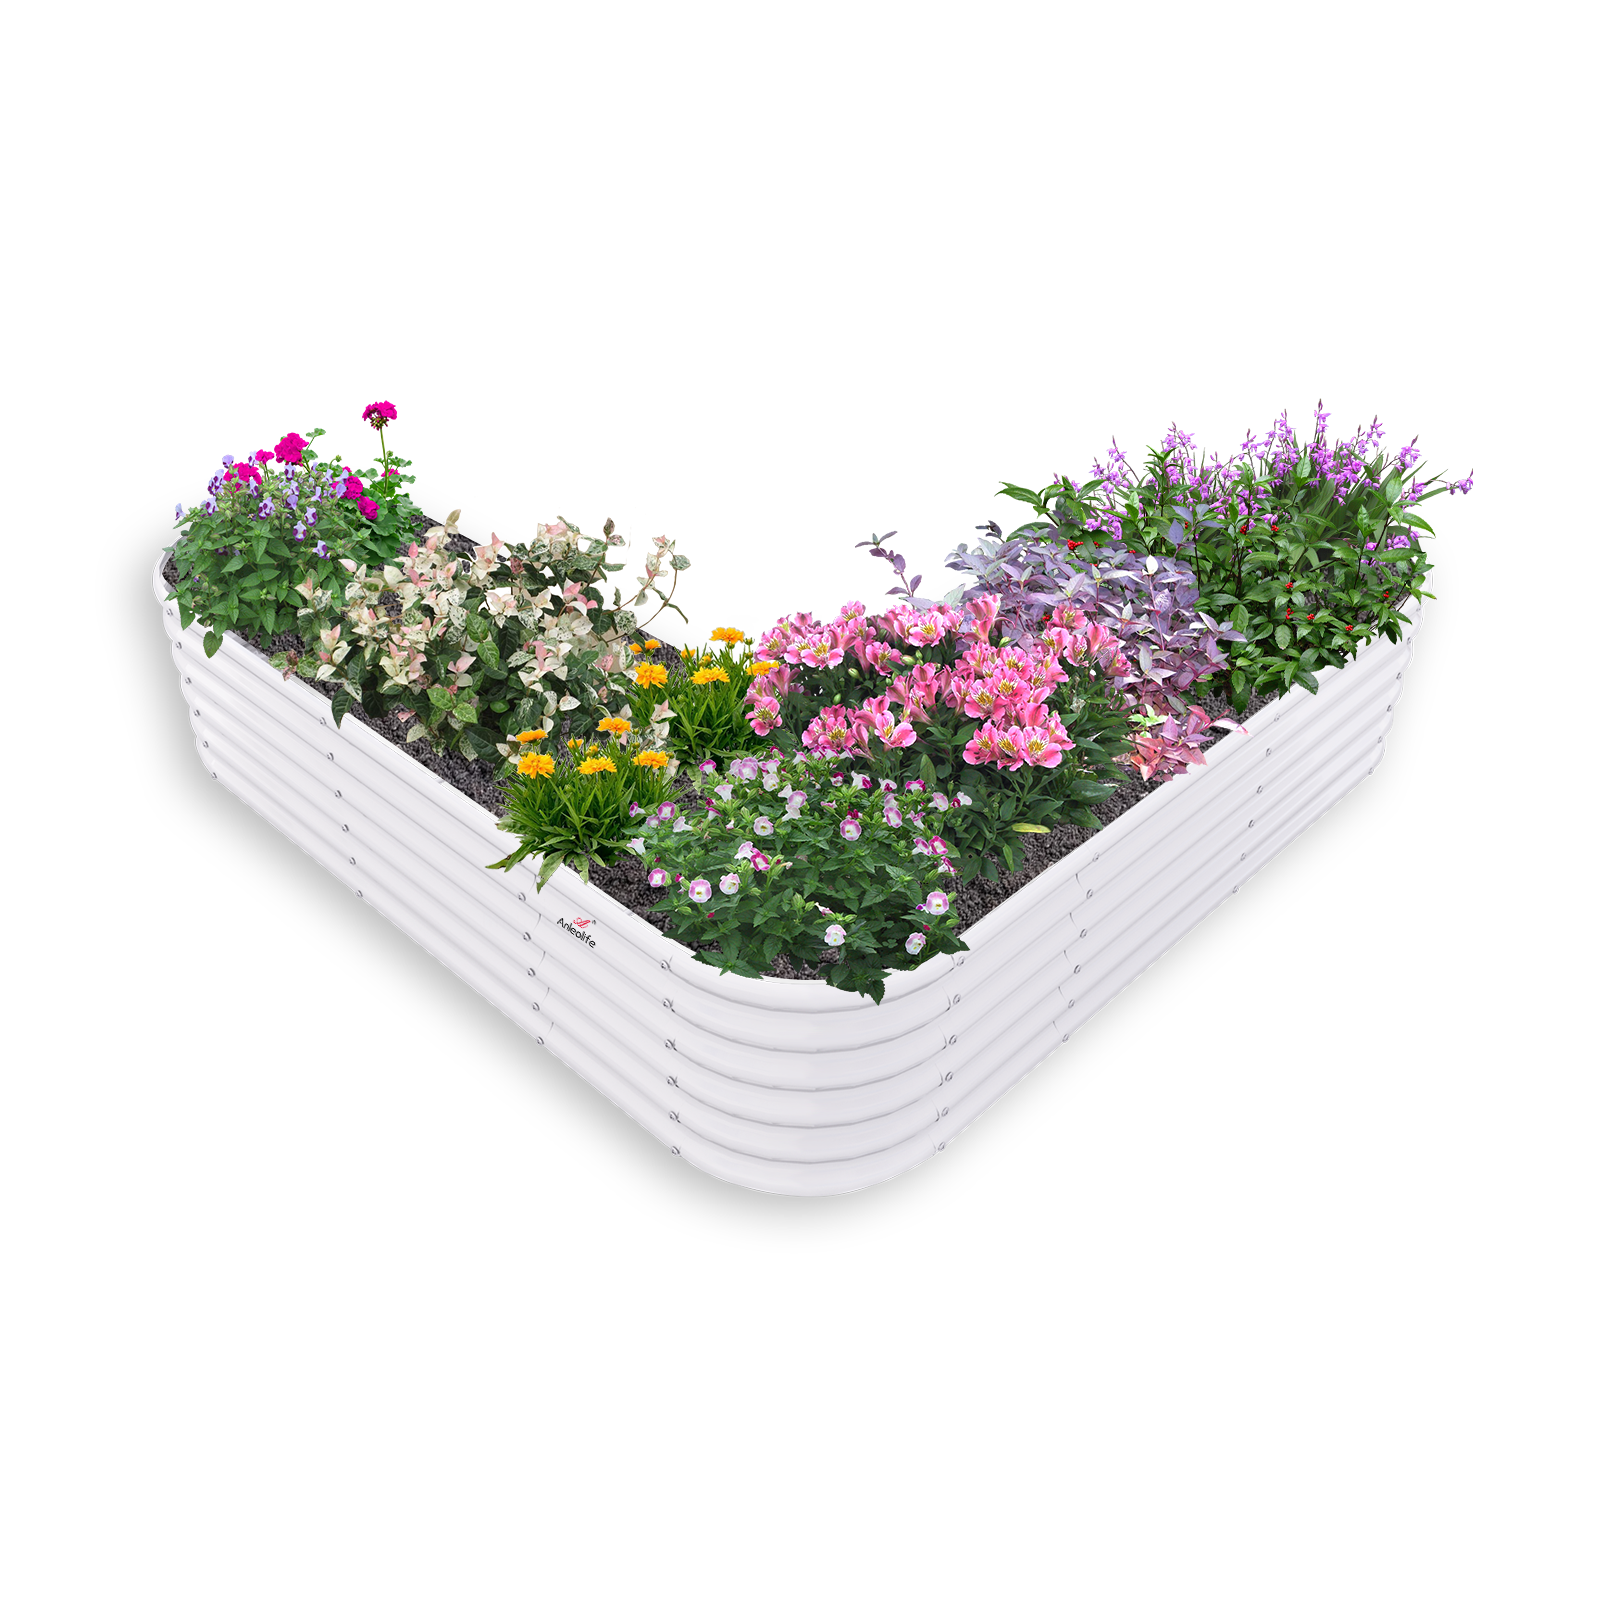
For those seeking the best galvanized raised beds on the market, Anleolife's rust-resistant, food-safe galvanized steel construction stands out for its combination of durability, clean aesthetics, and practical depth options. The modular raised garden bed line is particularly popular among gardeners who want flexibility — these systems can be configured in multiple ways to fit irregular spaces, expand over time, or be rearranged seasonally.
If you're wondering what the best modular garden systems for small backyards look like in practice, Anleolife's modular series allows you to start with a compact configuration and add sections as your gardening ambitions grow — a perfect solution for homeowners working with constrained footprints.
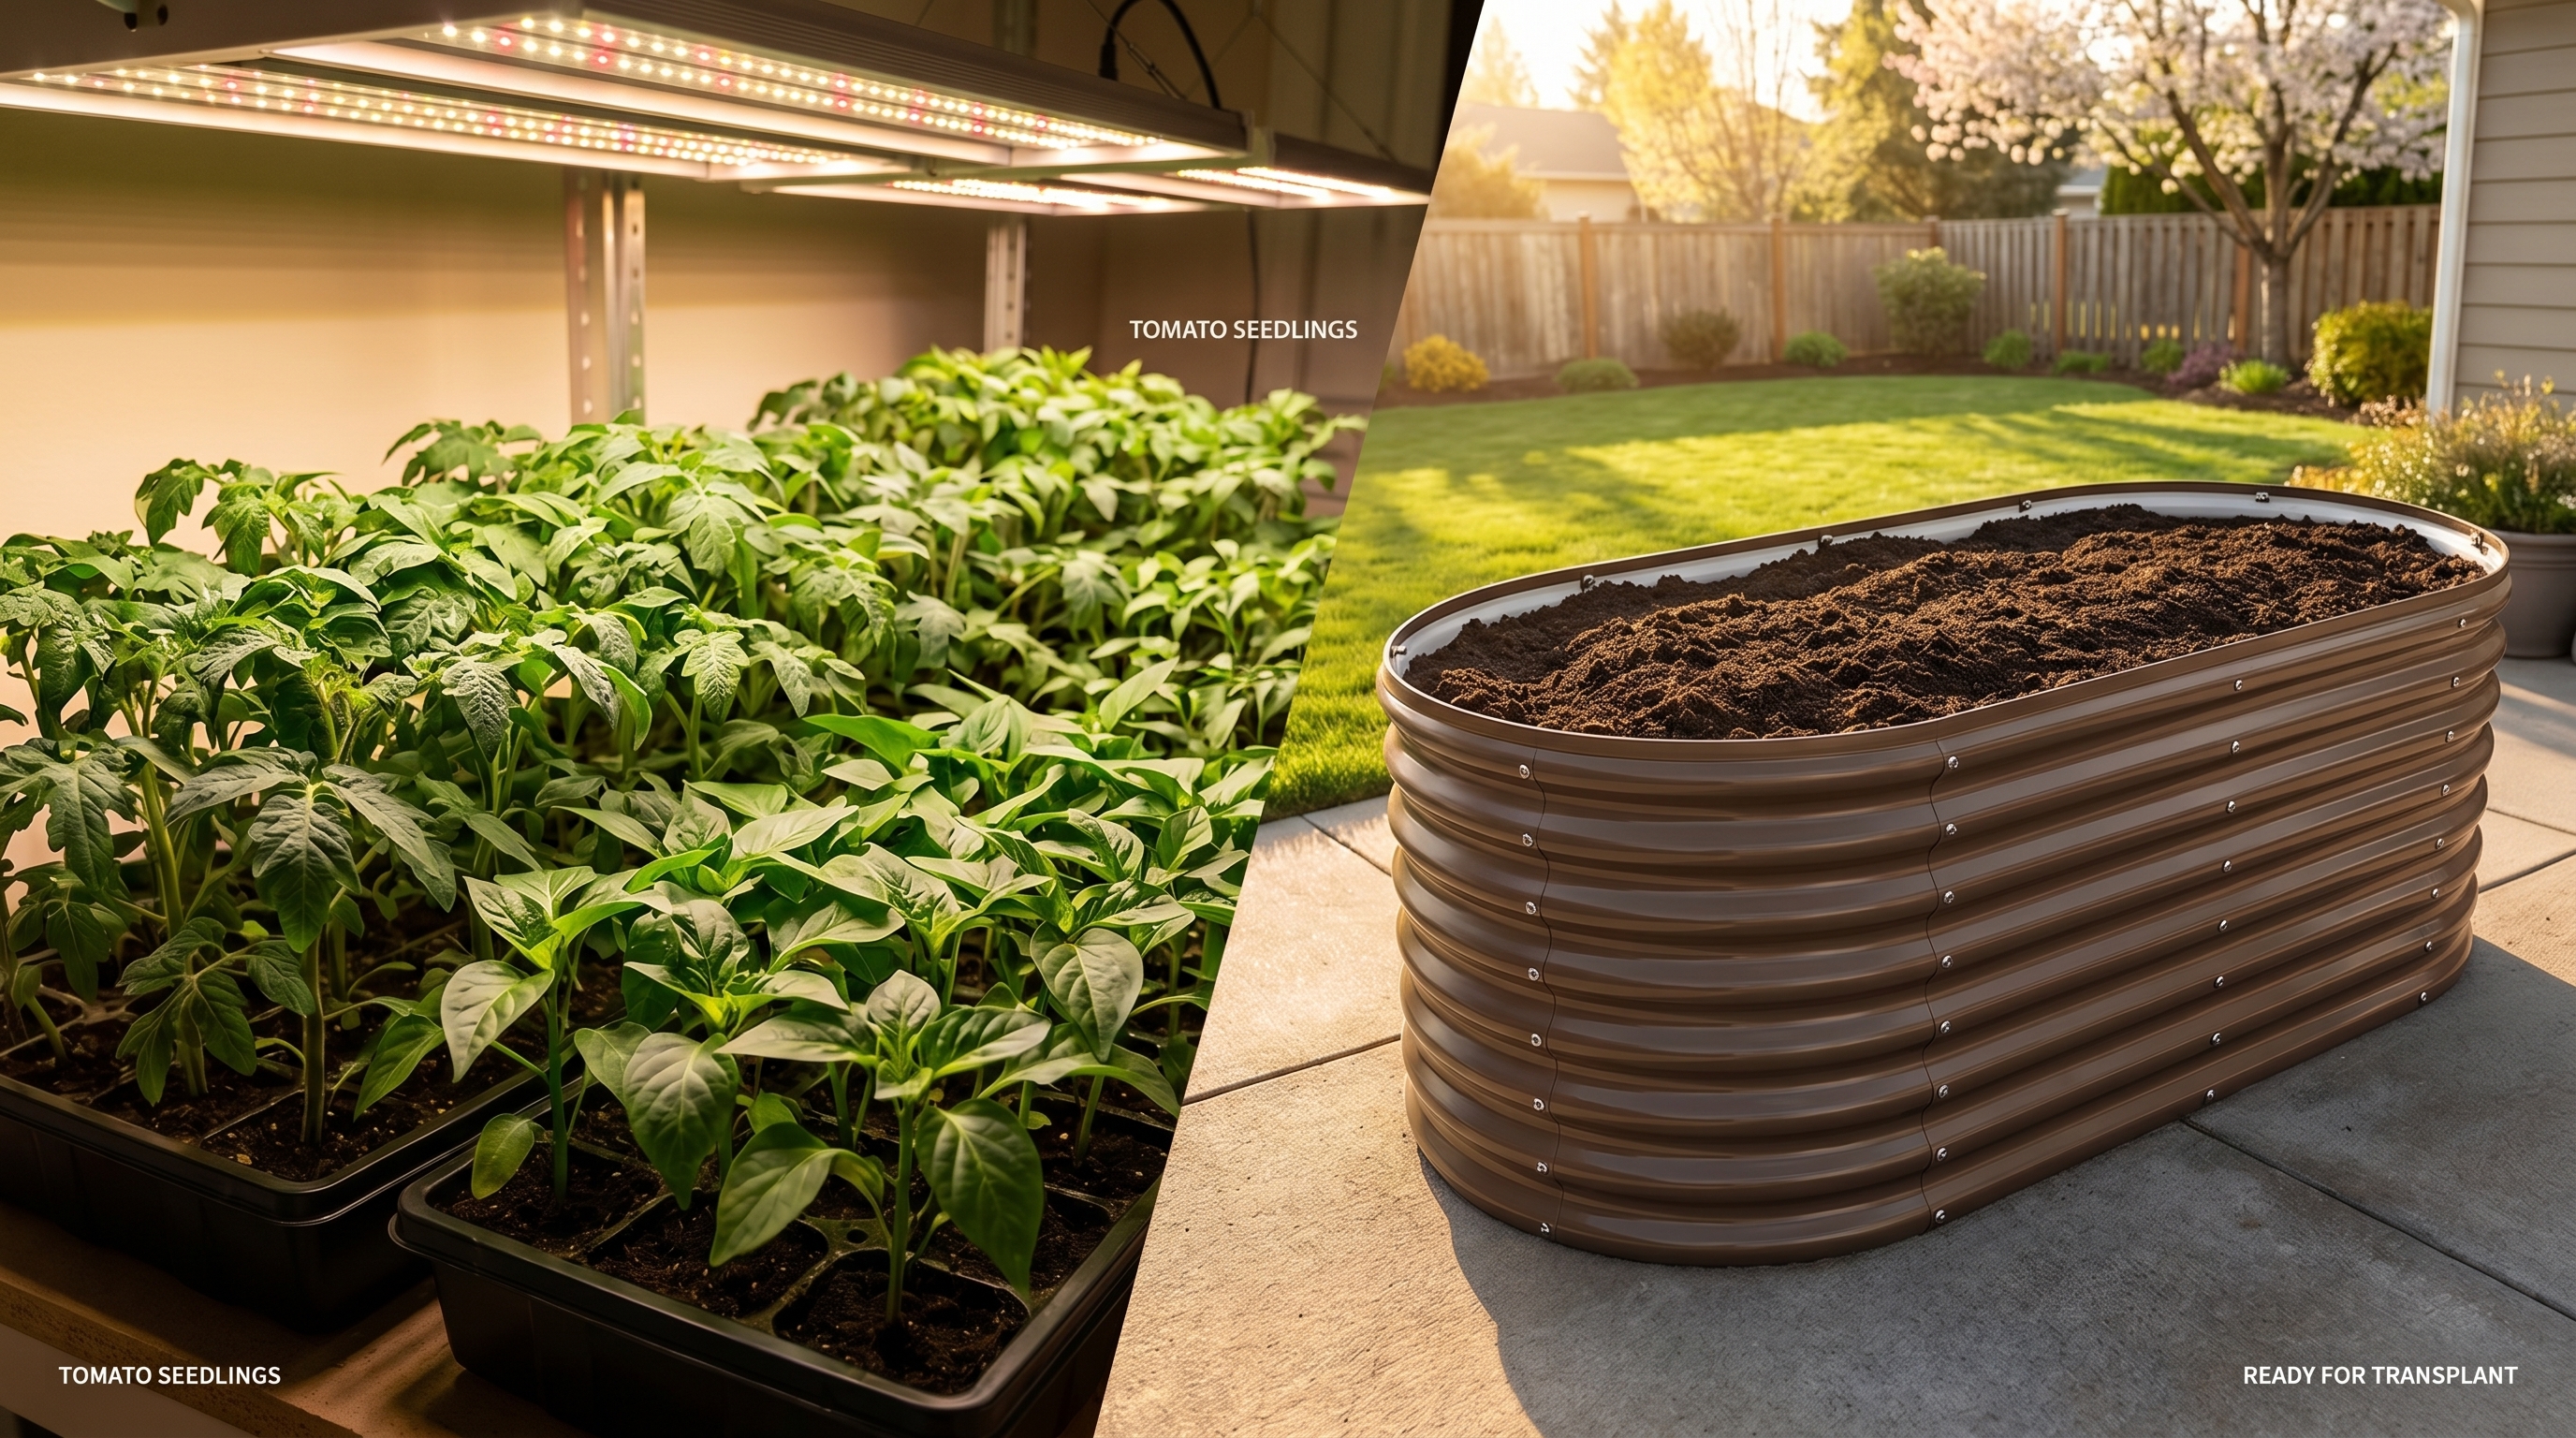
ALT: Thriving tomato and pepper seedlings grown under LED grow lights indoors, prepared for transplanting into Anleolife galvanized steel raised garden beds in spring
Advanced Tips: Troubleshooting and Getting More From Your LED Setup
Handling Three Common Seed Starting Challenges
Damping-Off Disease: This fungal condition causes seedlings to collapse at the soil line seemingly overnight. It's caused by overwatering combined with poor air circulation. Prevention: water from below by placing trays in a shallow pan of water rather than overhead watering, ensure your growing mix is well-draining, run a fan for air movement, and avoid overcrowding trays.
Uneven Germination: Some seeds in a tray sprout within days while others take much longer. This often relates to inconsistent soil temperature or uneven moisture. A seedling heat mat placed under trays can maintain the 70–80°F soil temperature most vegetables prefer for germination, dramatically improving germination speed and uniformity.
Light-Burned Leaf Tips: If you notice yellowing or bleaching at leaf edges after increasing light intensity, raise your LED fixture by 2–3 inches. This is more common with high-wattage quantum boards and is easily corrected.
Common Misconceptions About LED Grow Lights for Seeds
Misconception 1: "Any LED bulb works for seed starting." Standard household LED bulbs emit primarily in the white-light spectrum and are not optimized for plant photosynthesis. You need purpose-built grow LEDs that balance blue and red wavelengths.
Misconception 2: "More watts always means better results." For seed starting — where plants are small and delicate — excessive intensity can cause stress. The right distance and duration matter more than maximum wattage.
Misconception 3: "You can skip hardening off if the weather looks warm." Even a warm forecast doesn't prepare seedlings for the UV intensity and wind of outdoor conditions. Always harden off gradually over 7–10 days. Skipping this step is one of the leading causes of transplant shock and plant loss.
Frequently Asked Questions FAQ
Q1: How many hours of LED light do vegetable seedlings need each day?
Most vegetable seedlings require 14–16 hours of LED grow light per day for optimal growth when started indoors. Setting a timer to deliver a consistent daily schedule is highly recommended. Seedlings also benefit from a dark period of at least 8 hours, as this supports natural metabolic processes. Crops like lettuce and herbs can thrive with slightly shorter light periods (12–14 hours), while peppers and tomatoes do best at the higher end of the range.
Q2: Are LED grow lights safe to use around children and pets?
Quality LED grow lights designed for plant cultivation are generally safe for household use. They produce minimal heat compared to HID or HPS lighting and don't emit harmful UV levels. That said, you should avoid staring directly into any grow light for extended periods, as the concentrated light output can be uncomfortable or temporarily disorienting. Keep cords safely managed and lights mounted securely out of reach of small children and curious pets.
Q3: How long before the last frost should I start seeds under LED lights to have transplants ready for my raised garden beds?
The timing depends on the crop. As a general rule: start peppers and eggplant 10–12 weeks before your last frost date, tomatoes 6–8 weeks before, and brassicas like broccoli and cabbage 6–8 weeks before. Check your local last frost date using the USDA Plant Hardiness Zone Map. Count backward from that date, mark your sowing dates on a calendar, and you'll have robust, garden-ready transplants perfectly timed for your spring raised bed setup.
Summary
Starting seeds indoors under LED grow lights is one of the most impactful practices a home gardener can adopt. It extends your effective growing season, gives you full control over plant health from day one, and lets you walk into spring with a nursery's worth of robust transplants rather than scrambling for store-bought starts.
Three core takeaways to carry forward:
- Light is everything in early plant development. The right LED spectrum, intensity, and duration replaces what winter windows cannot provide, giving seedlings the energy they need to grow compact, strong, and transplant-ready.
- Timing and transition are as important as the lights themselves. A well-planned seed starting calendar and a careful hardening-off process are what bridge the gap between indoor success and outdoor performance.
- A high-quality outdoor raised bed completes the equation. Your seedlings deserve a permanent home built to last. Anleolife's galvanized steel raised garden beds — engineered for a 20-year lifespan — provide the ideal destination for everything you've grown indoors, whether you're transplanting tomatoes, peppers, herbs, or strawberry starts.
Your next steps: calculate your last frost date, map out your seed starting schedule, set up your LED station, and plan which Anleolife raised bed configuration will host your transplants this spring.
Nationwide U.S. warehouse network: Strategically located in California, Texas, Florida, New York, Illinois, and Washington to ensure delivery within 3–8 business days — so your garden upgrade plans never have to wait. Multi-channel sales network: Products are available on major e-commerce platforms including Amazon, Walmart, Home Depot, Lowe's, Wayfair, as well as the official website Anleolife.com, providing consistent quality assurance and after-sales service. Three core scenarios: Planting (metal raised garden beds, soil systems), Raising (chicken coops, rabbit hutches), and Beautification (decorative accessories, pathway systems), meeting complete needs from functionality to aesthetics.
Upgrade your garden with Anleolife. We understand that an ideal garden is not built overnight, but gradually improved over time. Our modular product design allows flexible expansion based on your needs — from your first compact galvanized raised bed to a fully integrated planting-and-raising ecosystem. We grow with you every step of the way.
References
- University of Minnesota Extension. "Starting Seeds Indoors".
https://extension.umn.edu/planting-and-growing-guides/starting-seeds-indoors - USDA Agricultural Research Service. "USDA Plant Hardiness Zone Map".
https://planthardiness.ars.usda.gov/ - University of New Hampshire Cooperative Extension. "Lighting for Indoor Plants and Starting Seeds".
https://extension.unh.edu/resource/lighting-indoor-plants-and-starting-seeds - Penn State Extension. "Damping-Off of Seedlings".
https://extension.psu.edu/damping-off-of-seedlings - Oregon State University Extension Service. "Hardening Off Transplants".
https://extension.oregonstate.edu/gardening/vegetables/hardening-transplants
Note: Standards and recommendations may be updated. Please check the latest official documents or consult a professional advisor for the most current guidance.
About Anleolife
Anleolife is a leading outdoor garden solutions provider in North America, dedicated to offering a full-scenario product ecosystem for home gardening enthusiasts, covering planting, raising, and garden beautification. Since its founding, we have upheld our brand mission, "Made for Garden Life," continuously innovating products and optimizing services to help hundreds of thousands of users upgrade their gardens, reconnect with nature, and enjoy a better garden lifestyle.