


ALT: Step-by-step fall checklist for winterizing raised garden beds before the first frost arrives
Why Winterizing Your Raised Garden Bed Is the Most Important Fall Task You'll Do
Key Conclusion: Properly winterizing your raised garden bed before the first frost is the single most impactful maintenance task you can perform all year. A thorough fall checklist protects your soil health, extends the life of your bed structure, and sets up a productive spring growing season. Whether you're a first-time grower or a seasoned home gardener, following a step-by-step raised bed winterization process ensures your investment keeps working for you year after year—potentially for up to 20 years with the right care.
Every seasoned gardener knows that the growing season doesn't truly end when the last tomato is harvested. What happens to your raised garden bed during the cold months determines how well it performs next spring. Neglecting fall prep can lead to compacted soil, nutrient loss, pest infestations, and even structural damage to your bed frame.
The good news? Winterizing a raised garden bed is straightforward when you have a clear, actionable checklist. In this guide, we'll walk you through every step—from clearing spent plants to protecting your soil with cover crops and mulch—so your bed emerges from winter healthier than ever.
Who This Guide Is For
✅ Applicable Scenarios:
- Gardeners with metal, wood, or composite raised garden beds in USDA hardiness zones 3–8 who experience true winters with frost or snow
- Home growers who want to maximize soil health, minimize spring prep time, and protect their garden bed investment
- Urban micro-gardeners and suburban families who grow vegetables, herbs, or flowers in raised beds and want year-round results
❌ Not Applicable/Cautions:
- Gardeners in frost-free zones (zones 9–11) who grow year-round—your beds may need a rest-and-refresh routine rather than full winterization
- Beds that contain active cool-season crops like kale, spinach, or garlic currently growing through winter—these beds should not be fully mulched over or covered with solid barriers
Why Fall Bed Prep Matters More Than You Think
Home food gardening has surged in popularity across North America over the past several years. According to the National Gardening Association, millions of American households grow food at home, and a significant portion of those growers rely on raised garden beds for their compact footprint, improved drainage, and superior soil control.
But here's the problem: most beginner and intermediate gardeners invest heavily in their spring setup—quality soil, good seeds, proper spacing—and then let the beds sit dormant and unattended all winter. This is a costly mistake.
Soil is a living ecosystem. The beneficial microbes, earthworms, and fungal networks that make your plants thrive need care and protection through cold months. Without adequate cover, winter frost can heave soil, break down its structure, and leach out the nutrients you worked so hard to build up. Heavy rain and snow can also compact exposed soil until it resembles concrete by March.
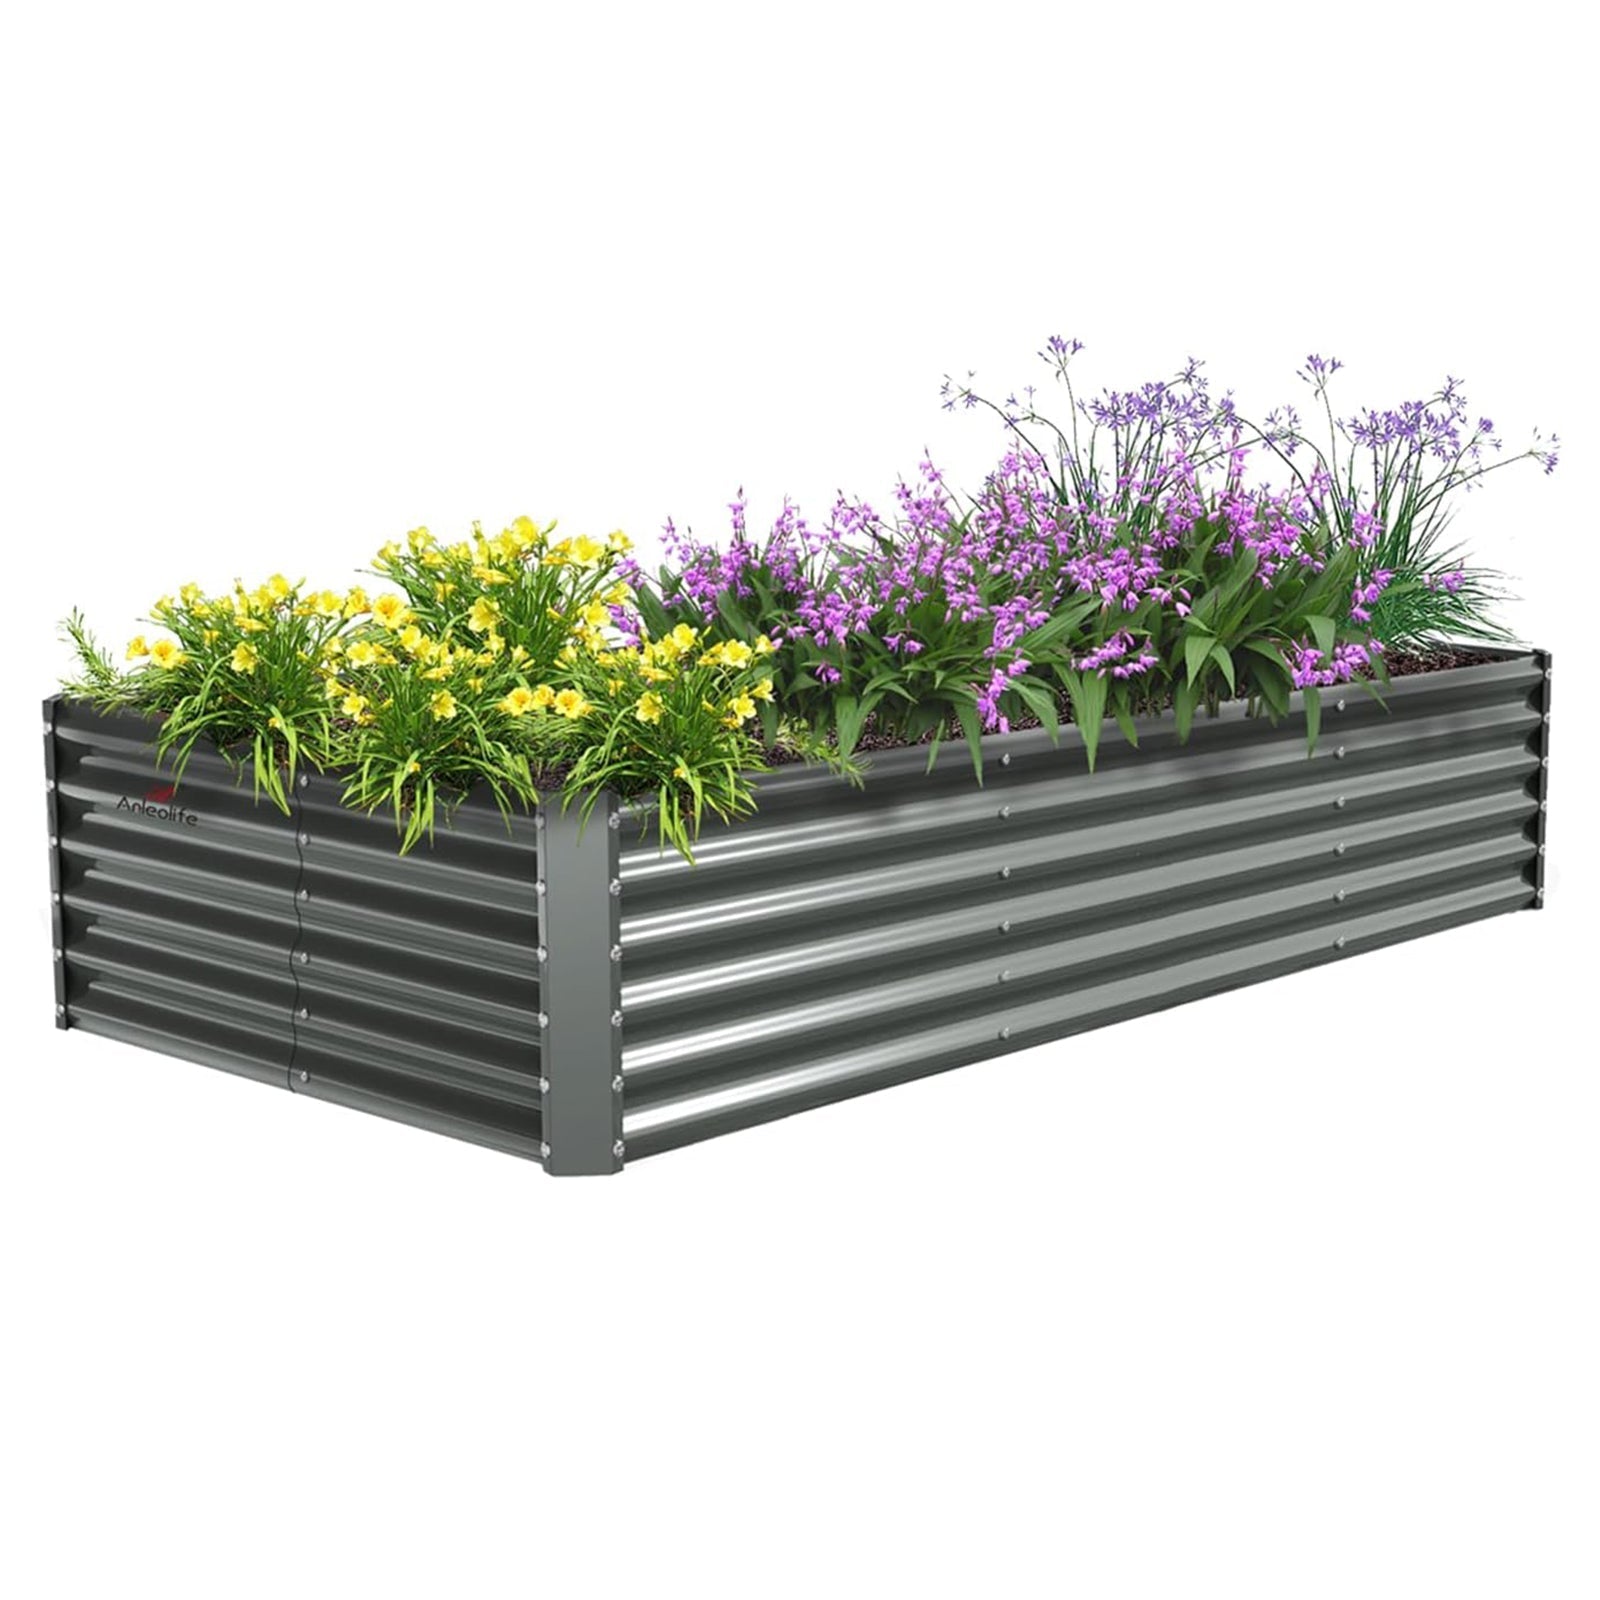
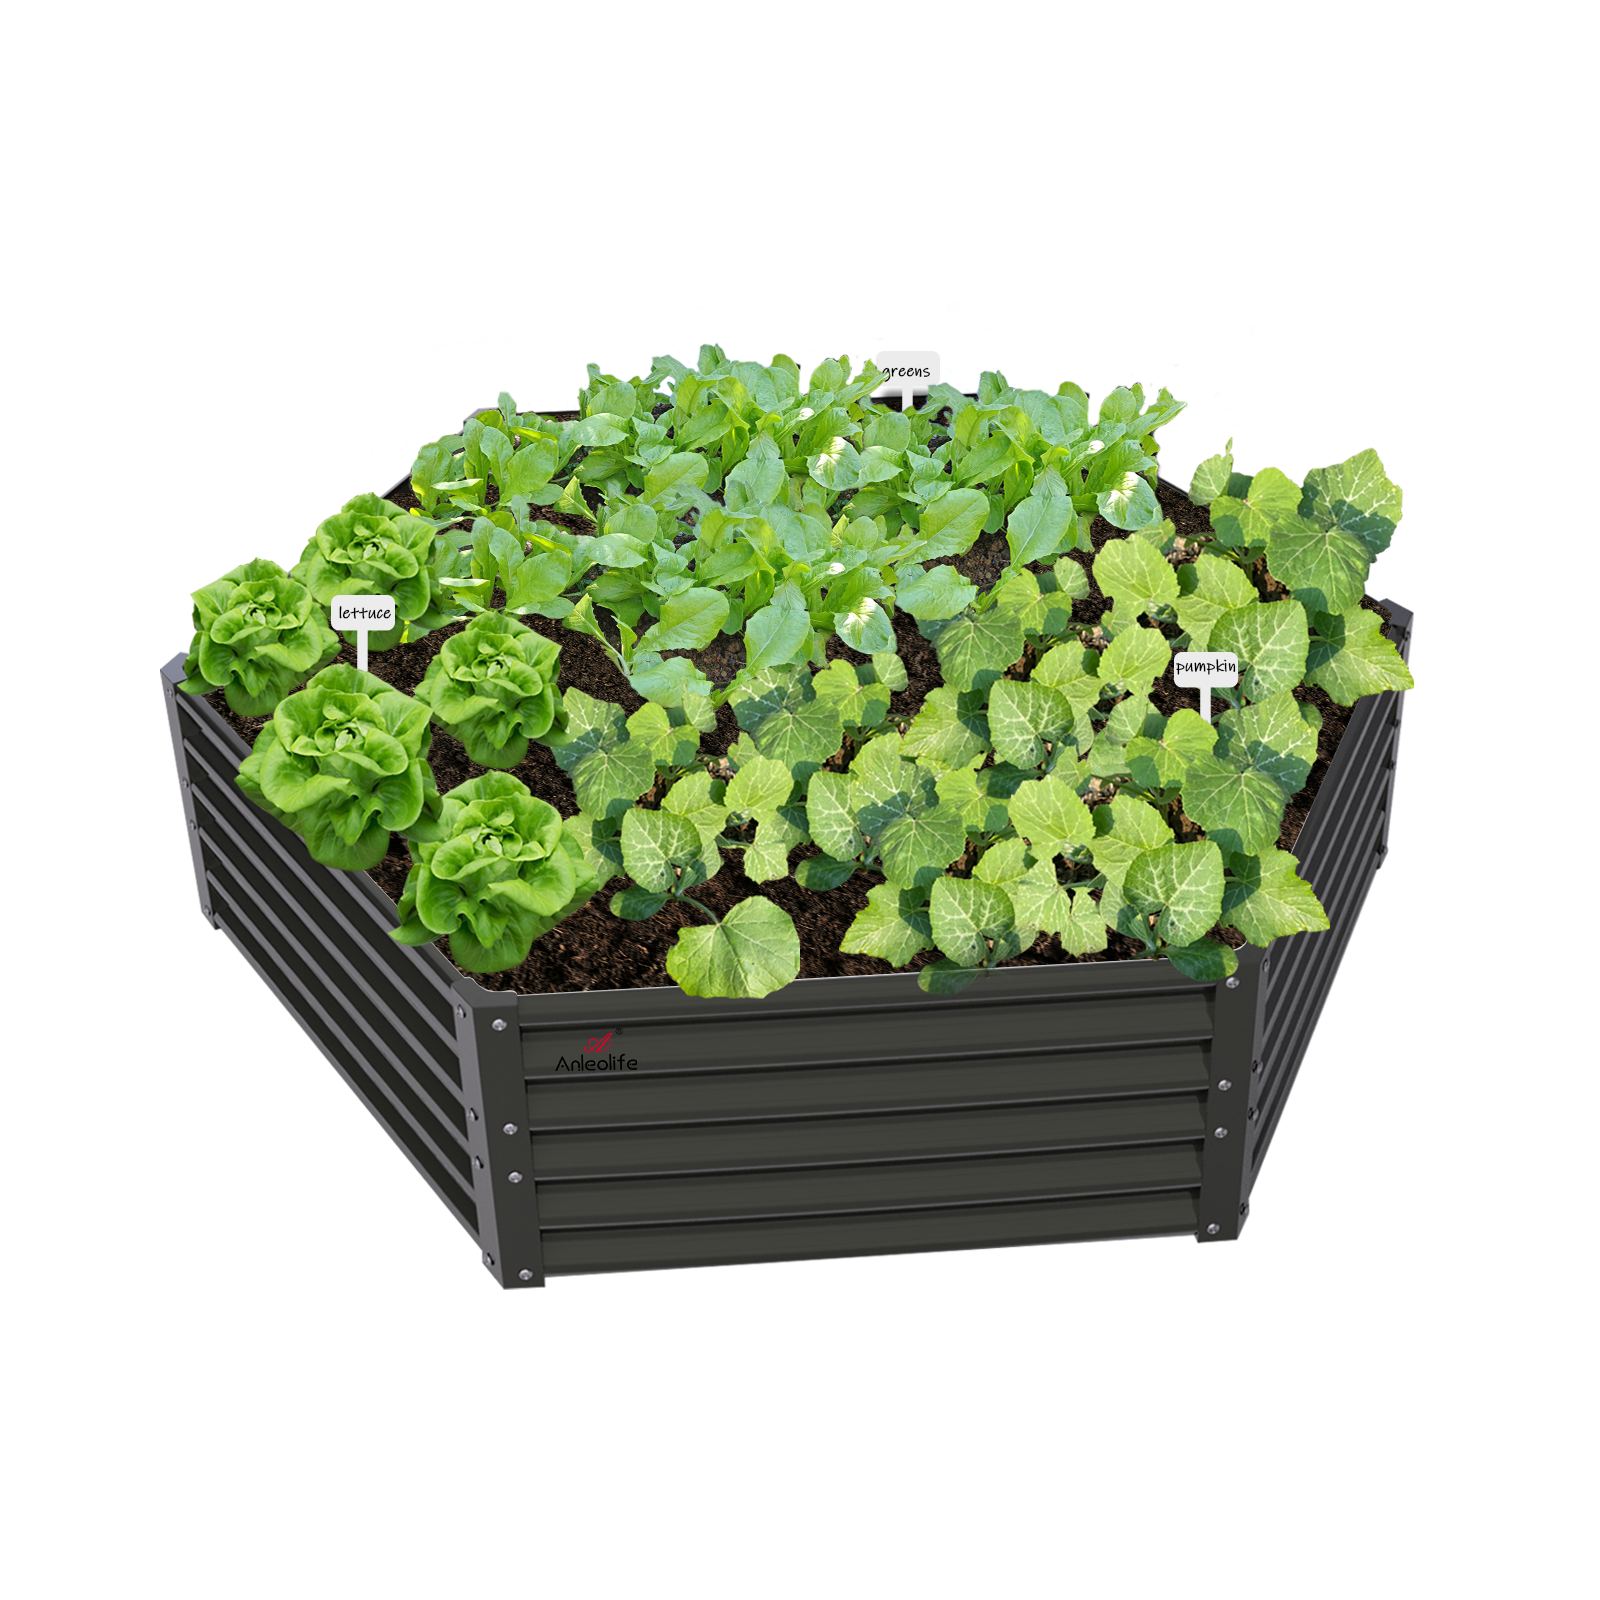
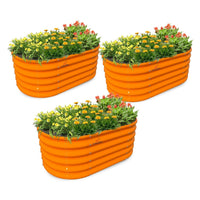
Then there's the structural side. If your raised bed is made from wood, improper winterization can accelerate rot and warping. If it's a metal raised garden bed, trapped moisture against connections and seams can cause long-term wear. High-quality metal beds—like those from Anleolife—are engineered for durability and can last up to 20 years, but that lifespan is maximized when you follow consistent seasonal care routines.
Finally, fall is your best opportunity to break pest and disease cycles. Leaving spent plant material in your bed over winter gives fungal spores and overwintering insects a cozy home. Cleaning up now means far fewer problems to deal with next season.
Your Complete Step-by-Step Fall Raised Garden Bed Checklist
Three-Step Quick Start
If you're short on time and want to cover the basics before the first hard frost hits, here are three essential actions you can take in a single afternoon.
Step 1: Clear All Spent Plant Material
Remove every dead or dying plant from your raised bed—roots and all. This includes spent annuals, diseased foliage, and any vegetables that have finished producing. Bag and dispose of any diseased material rather than composting it. Healthy plant debris can go into your compost pile. This step takes roughly one to two hours for a standard 4x8 bed and immediately cuts down on overwintering pest habitat.
Step 2: Amend and Top Off Your Soil
Once the bed is cleared, spread a generous layer of compost—at least two to three inches—over the surface and work it lightly into the top few inches of soil. This replenishes nutrients that plants consumed during the growing season. If your soil has settled significantly, top it off with a quality garden mix to bring levels back up near the rim. This process typically takes 30 to 45 minutes and makes a measurable difference in spring fertility.
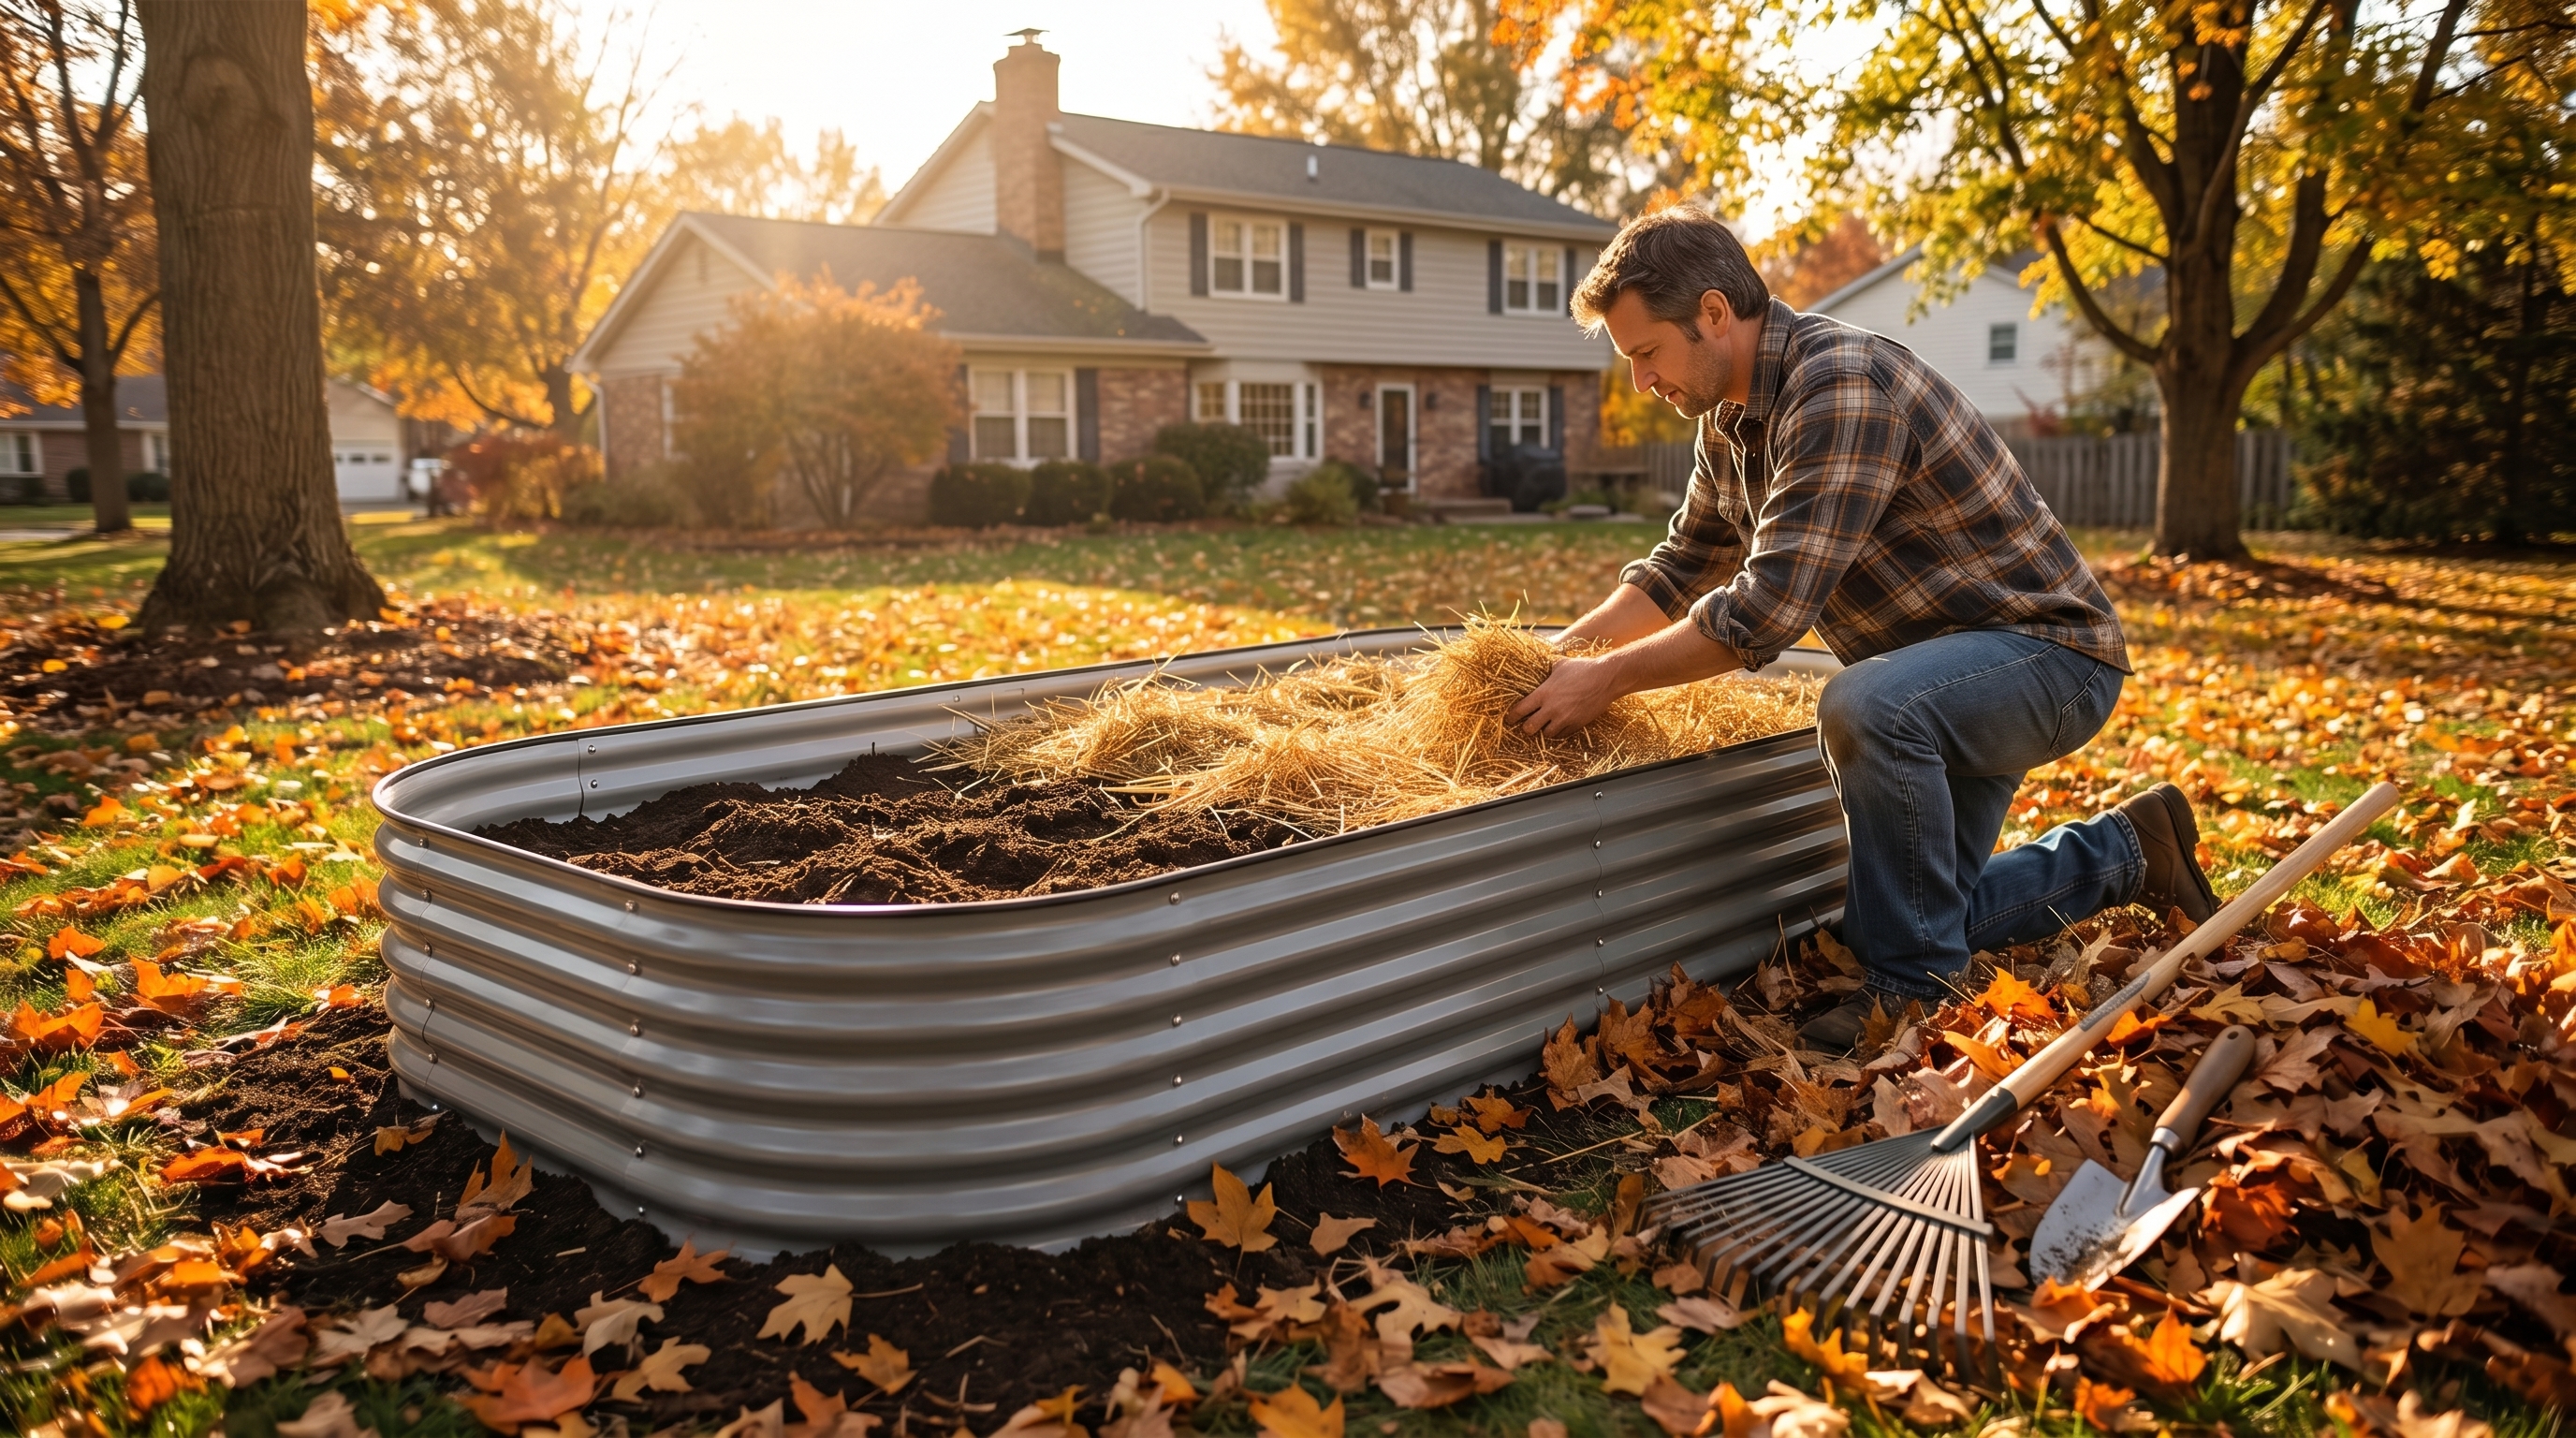
Step 3: Apply a Protective Cover
Choose a winter cover appropriate for your climate and goals: a thick layer of straw mulch, a planted cover crop, or a breathable frost cloth or row cover. This step protects soil structure, moderates temperature fluctuations, and suppresses winter weed germination. It usually takes under 30 minutes and is one of the highest-return investments of effort you'll make all fall.
Comparing Your Winter Cover Options for Raised Beds
Choosing the right protection strategy depends on your climate, goals, and how much effort you want to invest. Here's a side-by-side look at the three most common approaches:
| Comparison Dimension | Straw Mulch | Cover Crop | Row Cover / Frost Cloth |
|---|---|---|---|
| Primary Benefit | Insulates soil, suppresses weeds | Adds nitrogen, improves soil structure | Extends growing season, protects from frost |
| Best Climate | Cold winters with heavy frost or snow | Mild to moderate winters | Variable; useful in zones 5–9 |
| Cost | Low (bale of straw is budget-friendly) | Low to moderate (seed cost only) | Moderate (reusable over multiple seasons) |
| Spring Removal Effort | Easy—rake off and compost | Moderate—must till in or cut down before planting | Easy—simply remove fabric |
| Soil Benefit | Moderate insulation; minimal nutrients | High—fixes nitrogen, adds organic matter | Minimal direct soil benefit |
| Pest Control | Moderate (can harbor slugs if too thick) | Good (outcompetes weeds) | Good (physical barrier against insects) |
| Ease of Application | Very easy | Moderate (requires seeding and watering) | Easy |
No single method is universally best. Many experienced gardeners layer strategies—for example, planting a cover crop and then adding row cover over it for cold-snap protection.
The Full Fall Checklist: Step-by-Step Detailed Breakdown
Step 1 — Do a Thorough End-of-Season Harvest
Before you do anything else, walk through your beds and harvest everything that's mature or close to mature. This includes green tomatoes (they'll ripen indoors), winter squash, root vegetables like carrots and beets, and any herbs you want to dry or preserve.
Don't leave mature vegetables in the bed to rot—they attract pests and can harbor fungal disease. This is also a good time to take note of what grew well and what didn't, so you can adjust your raised bed planting layout for next year.
Step 2 — Remove All Plant Debris
Pull out every spent plant, being sure to get the full root system. Annual vegetables should be fully removed. Perennial herbs like sage, thyme, and chives can be cut back but left in place.
Be especially thorough about removing any plants that showed signs of disease—powdery mildew, blight, or fungal spots. These should go in the trash, not the compost. Leaving infected plant matter in or near your bed is one of the most common mistakes home gardeners make, and it sets you up for the same problems next season.
Step 3 — Inspect and Clean Your Bed Frame
This is a step that most guides skip, but it's critically important for the long-term life of your bed. Before winter sets in, inspect every panel, corner bracket, and fastener.
For metal raised garden beds, look for any areas where the coating may have chipped or worn, especially at connection points. Wipe down the interior and exterior with a clean cloth. High-quality galvanized or powder-coated metal beds are built to resist rust and weathering—Anleolife's metal beds are designed for a 20-year lifespan—but a quick annual inspection keeps them performing at their best.
For wood beds, check for soft spots, cracking, or signs of rot. The best wood for raised garden beds that won't rot includes naturally rot-resistant options like cedar, redwood, and black locust. If you chose wood for your bed, fall is the time to address any damage before moisture and freezing temperatures make it worse.
Step 4 — Test and Amend Your Soil
Fall is an ideal time to do a soil pH test. Most vegetables prefer a slightly acidic to neutral pH. Testing now gives you all winter to research and plan amendments, and you can apply lime (to raise pH) or sulfur (to lower pH) in fall so it has time to work before spring planting.
After testing, add a generous layer of compost. Compost applied in fall breaks down slowly over winter, releasing nutrients just in time for spring root development. If your bed has experienced heavy production—especially heavy feeders like tomatoes or squash—consider adding a balanced organic fertilizer or aged manure as well.
Step 5 — Address Drainage Before Winter Moisture Arrives
If your bed suffered from waterlogging during the growing season, fall is the time to fix it. The best way to install a drainage system in raised beds is to add a layer of coarse gravel or landscape fabric at the base of the bed before refilling with soil—but if your bed is already established, you can improve drainage by top-dressing with coarse compost or perlite and working it into the upper soil layer.
Ensuring good drainage is especially important in climates with heavy winter rainfall or snowmelt, where standing water can suffocate soil microbes and cause root rot in perennial plants.
Step 6 — Plant a Cover Crop (Optional but Highly Recommended)
If you have at least four to six weeks before your first hard frost, planting a cover crop is one of the best investments you can make in your soil. Winter rye, hairy vetch, and crimson clover are popular choices. These plants protect soil from erosion, suppress weeds, and—in the case of legumes—fix atmospheric nitrogen directly into your soil.
Come spring, you'll mow or cut them down and work the material into the top few inches of soil. It's essentially free fertilizer and soil structure improvement in one step.
Step 7 — Mulch Heavily
Whether or not you plant a cover crop, apply a thick layer of mulch over your bed before temperatures drop consistently below freezing. Straw is the classic choice—it's inexpensive, widely available, and does an excellent job of insulating soil and moderating freeze-thaw cycles.
Apply four to six inches of straw, wood chip mulch, or shredded leaves. This layer keeps soil from heaving (the expansion and contraction caused by repeated freezing and thawing), which can disrupt root systems and break down soil structure over the winter.
Step 8 — Install Protective Netting or Covers If Needed
The best time to install garden netting is before animals become desperate for food in late fall and winter. Deer, rabbits, and rodents are more likely to investigate your beds when natural food sources become scarce. A simple hoop structure with hardware cloth or deer netting can protect any remaining plants or your mulch layer from disturbance.
If you have overwintering plants—garlic, perennial herbs, or cold-hardy greens—consider covering the bed with a breathable frost cloth or cold frame to extend their viability through mild winters.
Step 9 — Store Your Garden Tools and Supplies Properly
Before calling it a season, clean and store all your garden tools. Rinse off soil, dry metal surfaces thoroughly, and oil any wooden handles to prevent cracking. Drain and store hoses, and if you have drip irrigation installed, flush and disconnect the lines to prevent freeze damage.
Store seeds, fertilizers, and amendments in a cool, dry location where they won't be exposed to freeze-thaw cycles that degrade their quality.
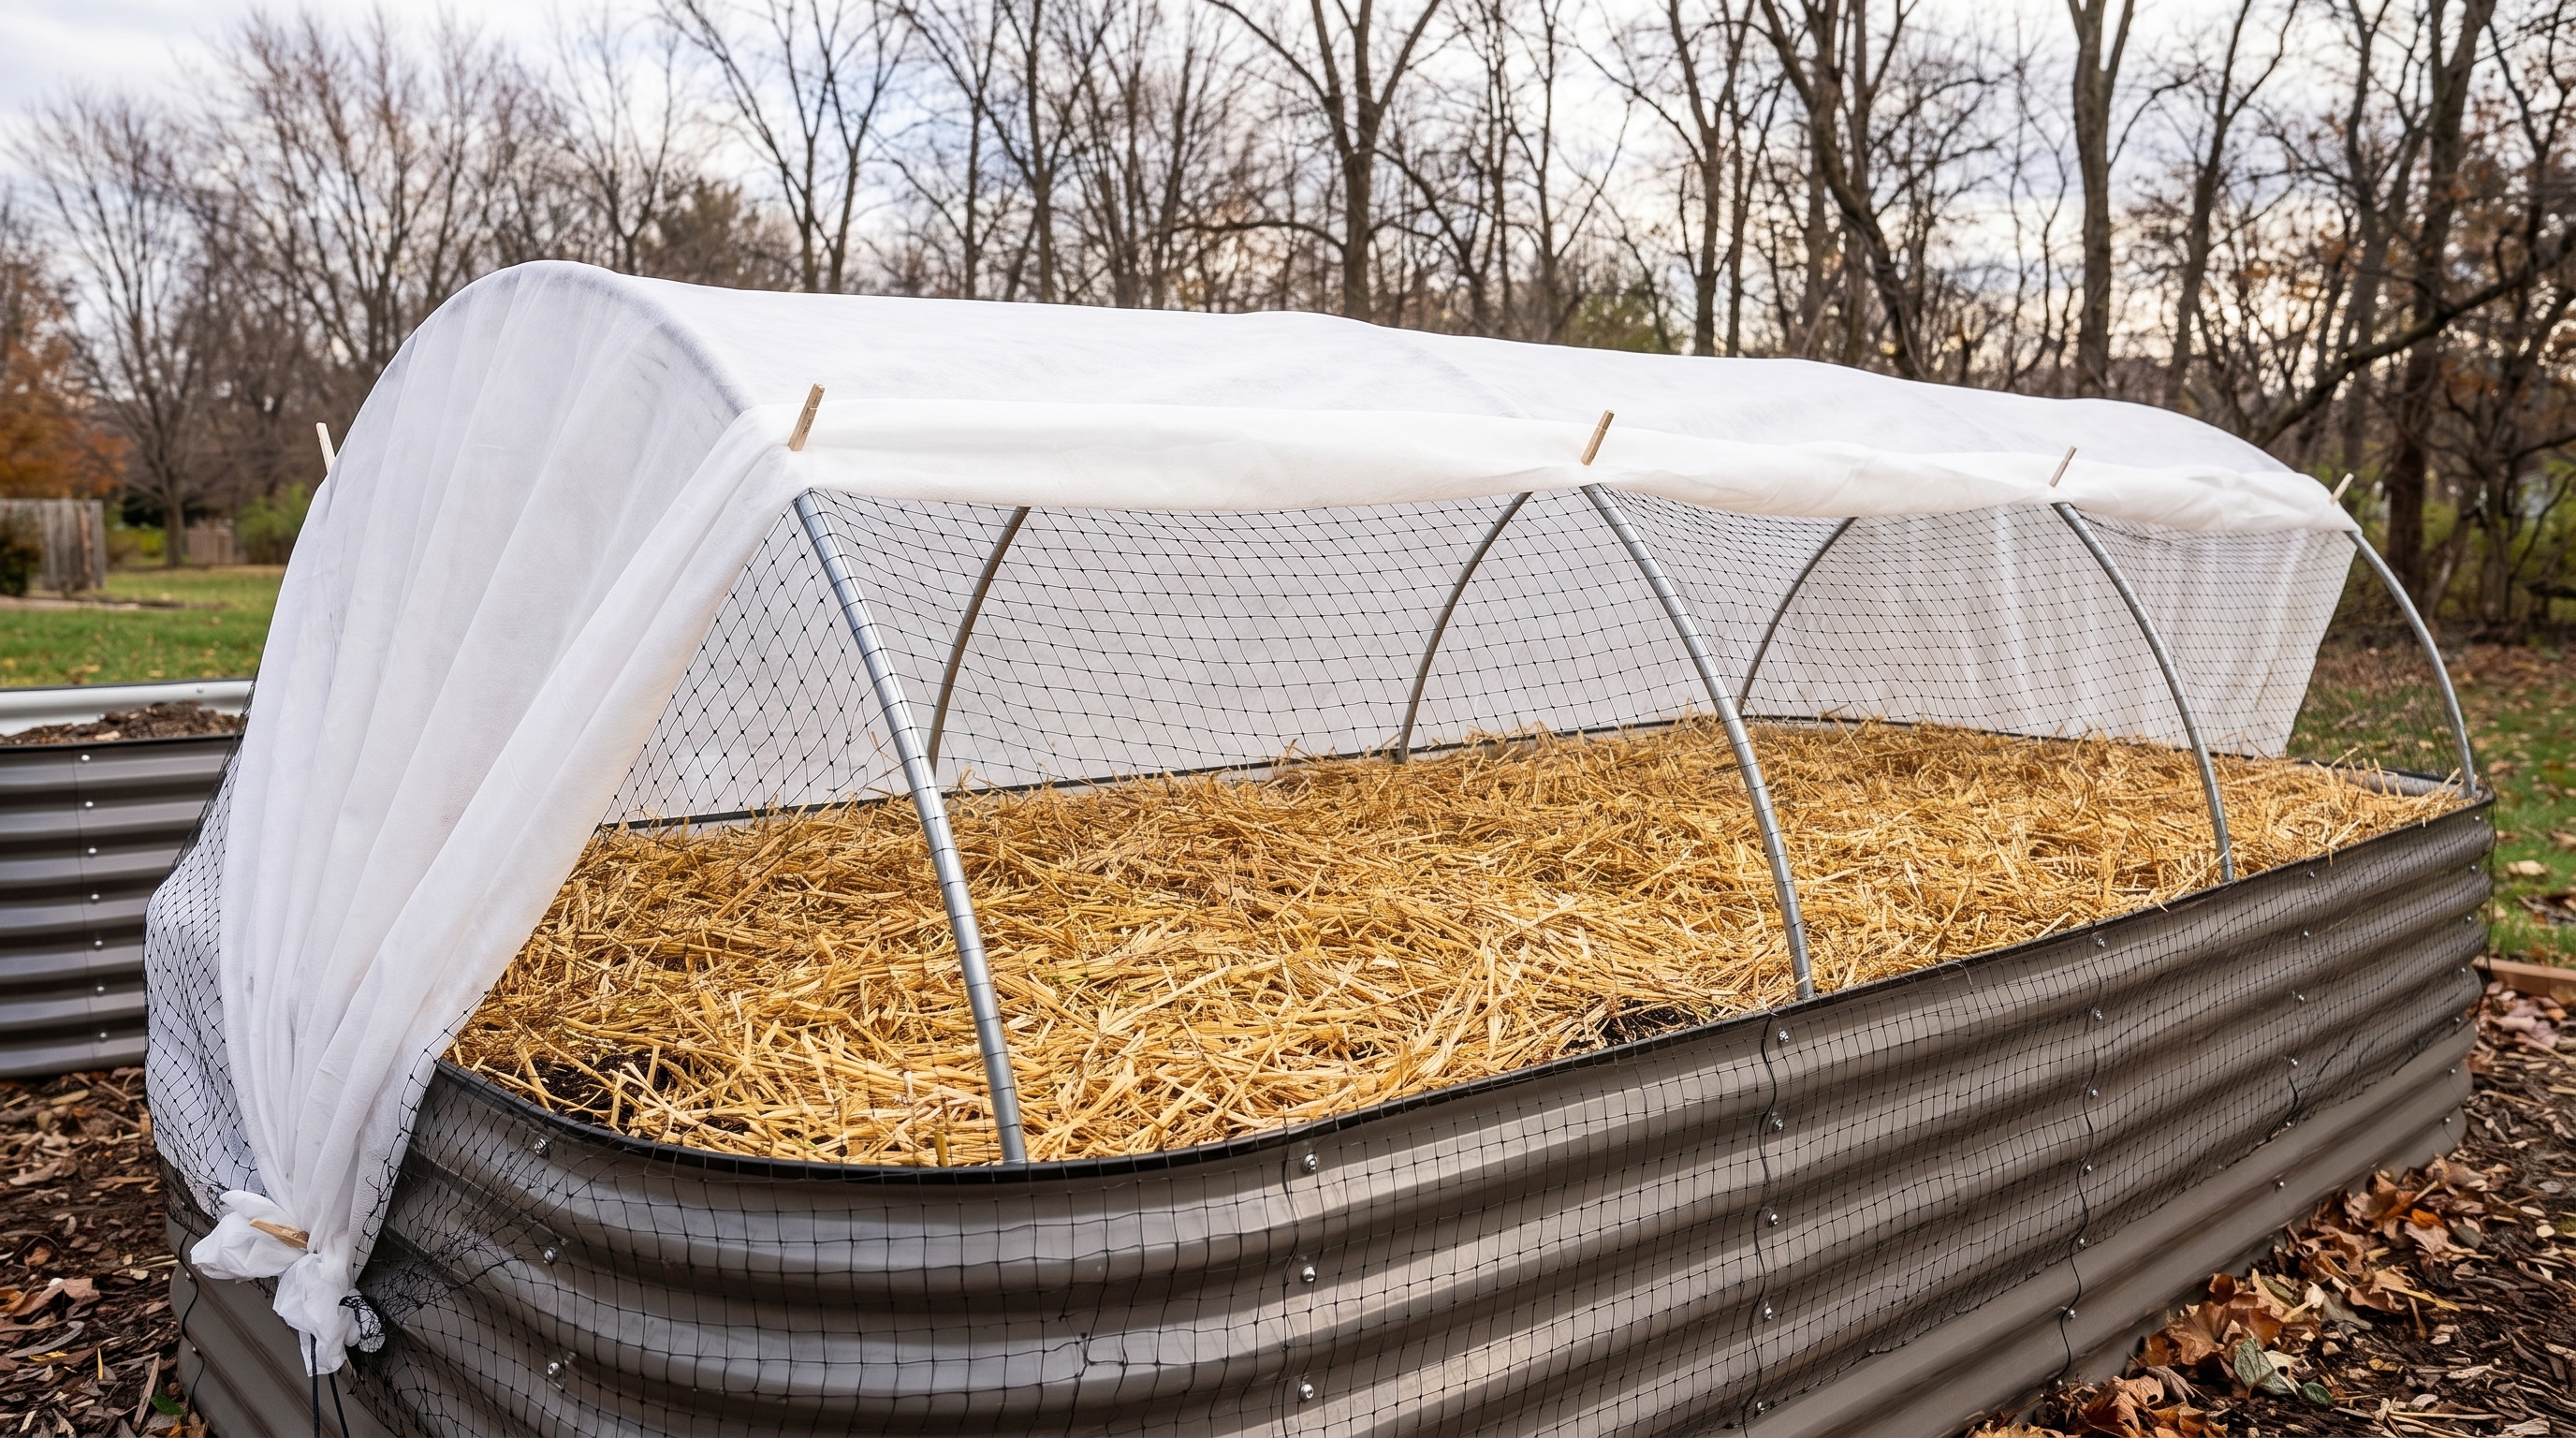
ALT: Properly winterized raised garden bed covered with straw mulch and frost cloth for cold season protection
Advanced Winterization Tips for Experienced Gardeners
Managing Perennial Plants in Your Raised Bed
Perennial vegetables and herbs—asparagus, rhubarb, lovage, thyme, sage—require slightly different winter care than annuals. Cut back dead foliage after a hard frost kills it back, but leave root systems undisturbed. A thick mulch layer is especially important for perennials, as it protects roots from repeated freeze-thaw cycles that can push plants out of the ground.
Winterizing in Extremely Cold Climates (Zone 4 and Below)
In the coldest regions, where soil freezes solid for months, consider wrapping the outside of your raised bed frame with burlap or foam insulation board. This moderates temperature extremes that can stress even durable metal or wood frames over time. Filling the bed completely to the top with mulch—rather than leaving the soil surface exposed—provides maximum insulation for soil organisms you want to survive winter.
Common Misconception: You Don't Need to Do Anything in Fall
Many new gardeners assume that raised beds are "self-sustaining" and don't require seasonal care. This is one of the most expensive misconceptions in home gardening. Soil nutrients deplete with every crop cycle. Pest and disease pressure accumulates year over year without intervention. And structural components, no matter how well-built, benefit from annual inspection and minor maintenance. Fall cleanup isn't optional—it's the foundation of a productive multi-year garden.
Pairing Winter Prep with Spring Layout Planning
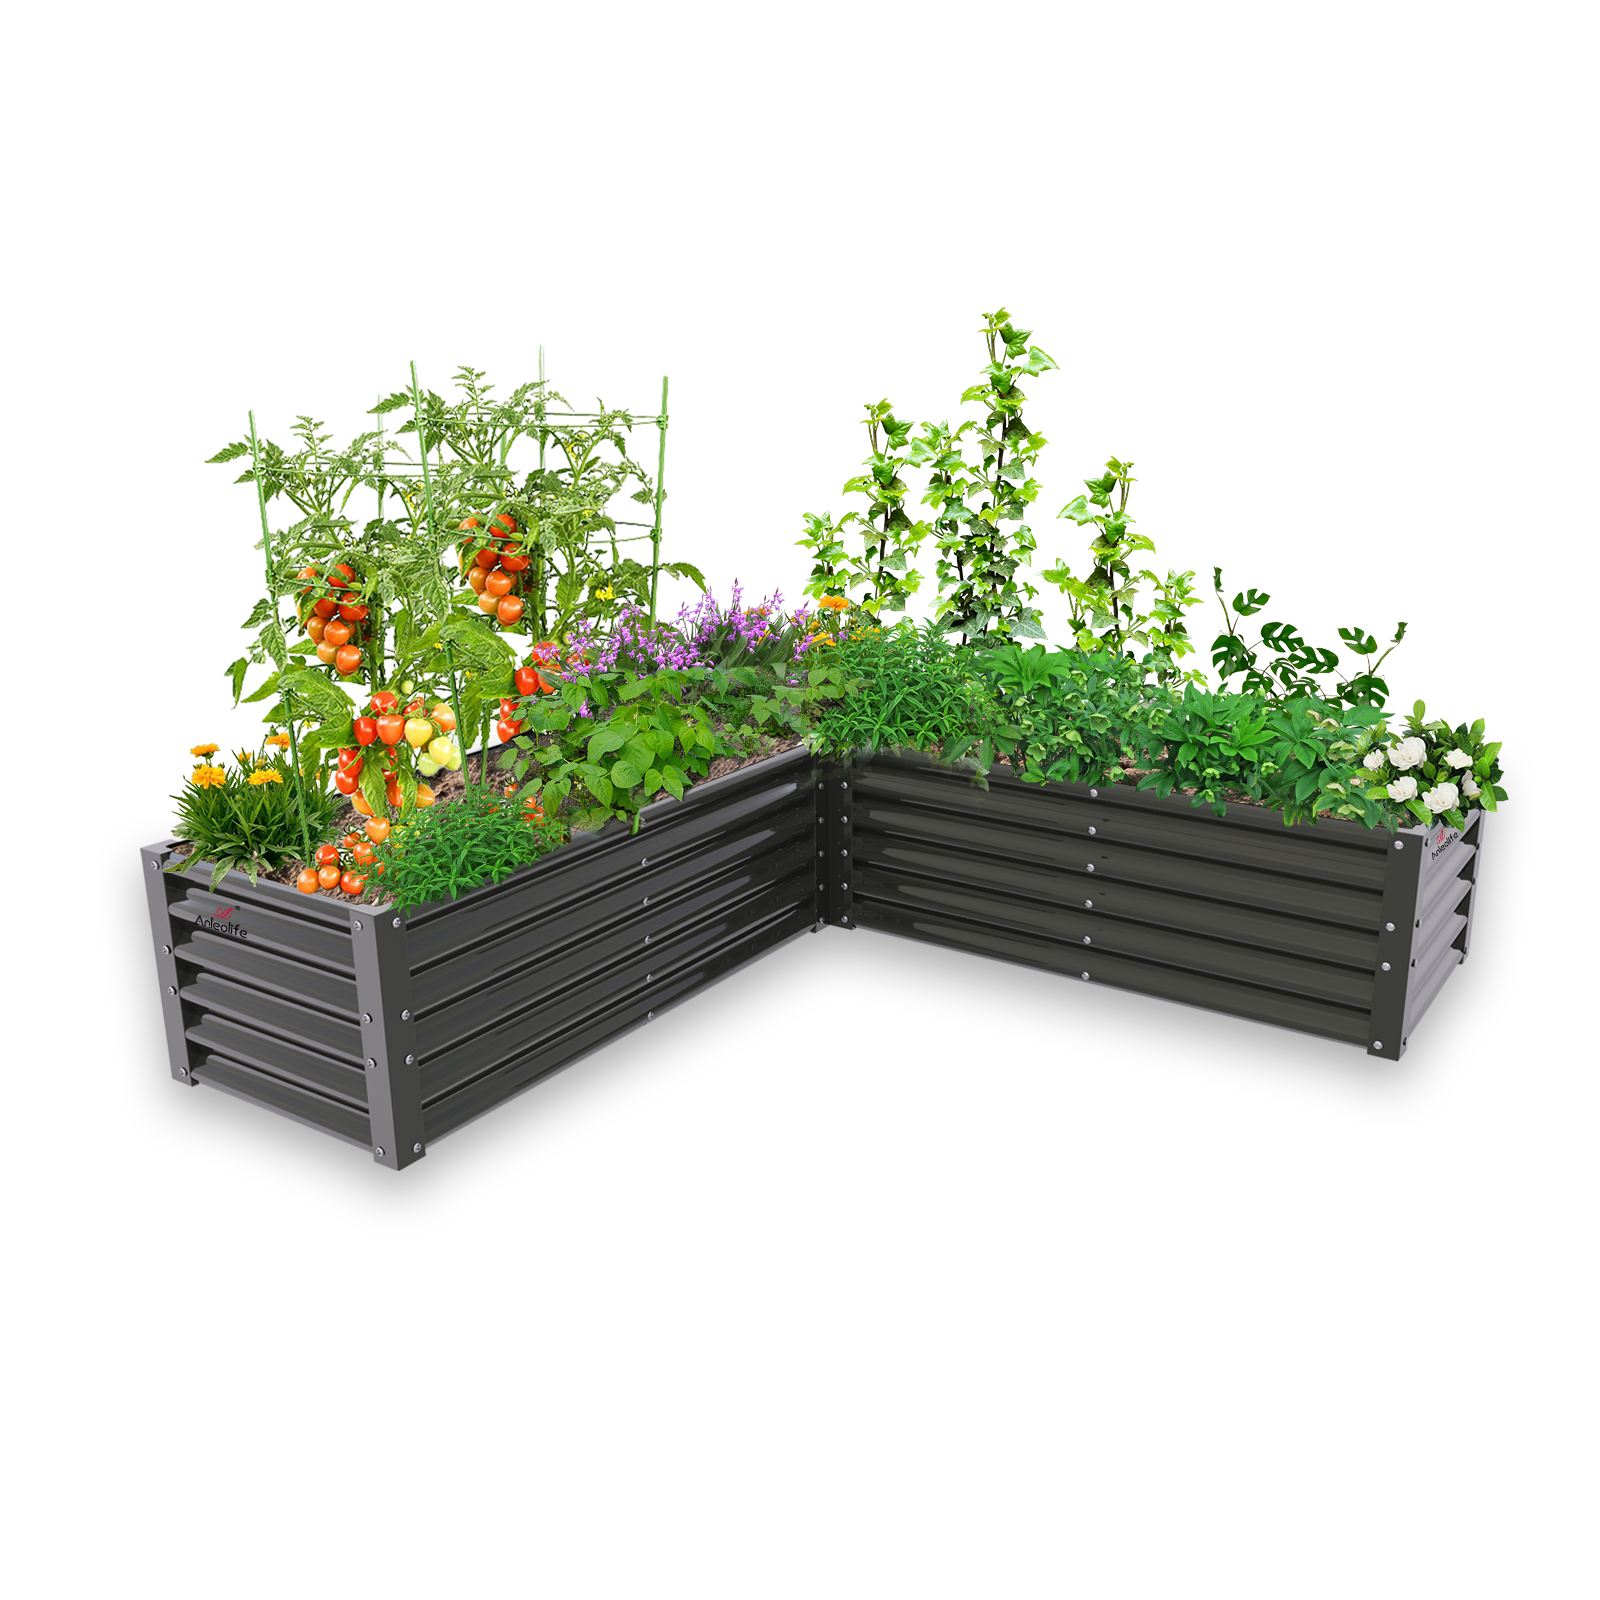
While your beds are empty and clear, use this time to sketch out your raised bed garden layout for next spring. Crop rotation is easier to plan when you can see exactly where each plant family grew this year. A simple diagram noting which beds held nightshades, brassicas, legumes, and cucurbits will help you avoid planting the same families in the same spots next season—a key strategy for breaking pest and disease cycles naturally.
Frequently Asked Questions FAQ
Q1: How do I winterize a raised garden bed on a tight budget?
Winterizing your raised bed doesn't have to be expensive. The most budget-friendly approach combines free materials—shredded leaves from your own yard make excellent mulch—with low-cost additions like a single bale of straw (often under $10) and inexpensive cover crop seed. Avoid purchasing elaborate covers or products unless your climate genuinely requires them. Consistent, simple care using accessible materials is far more effective than occasional expensive interventions.
Q2: Is it necessary to remove all soil from a raised bed in winter?
No—you should never remove all the soil from a raised bed for winter. Doing so would destroy the beneficial microbial ecosystem you've spent the growing season building. The goal of winterization is to protect and enrich the soil in place, not to start over each spring. Simply amend, top off, cover, and let the soil rest. It will emerge in spring biologically active, nutrient-rich, and ready for planting.
Q3: When is the best time to start winterizing a raised garden bed?
Begin your fall checklist four to six weeks before your average first hard frost date. This gives you time to plant a cover crop if desired, and ensures amendments have time to start breaking down before soil freezes. In most northern U.S. regions, this means starting in late September to mid-October. In milder southern climates, November or even early December may be more appropriate. Check your local extension service for specific frost date guidance.
Summary
Winterizing your raised garden bed is not just an end-of-season chore—it's a strategic investment in the long-term health and productivity of your garden. When done correctly, a thorough fall checklist delivers three core benefits:
- Soil Health: Amended, covered, and protected soil enters spring biologically active and nutrient-rich, reducing the need for heavy spring fertilization.
- Pest and Disease Control: Removing plant debris and closing the season cleanly breaks pest and disease cycles before they can establish.
- Bed Longevity: Annual inspection and maintenance of your raised bed frame—whether wood or metal—protects your investment and maximizes its working lifespan.
The steps in this guide are designed to be completed in a single weekend, with the most time-sensitive tasks (clearing, amending, and mulching) doable in a single afternoon. Start early, work systematically, and by the time your neighbor's beds are buried under snow, yours will be quietly building the fertility that makes next year's harvest exceptional.
Your raised bed garden layout for next spring starts with the care you give your beds right now. Take the fall seriously, and spring will reward you.
Anleolife — Grow With Confidence, Season After Season
At Anleolife, we build products that work as hard as you do in the garden—and we stand behind them for the long haul.
Nationwide U.S. warehouse network: Strategically located in California, Texas, Florida, New York, Illinois, and Washington, our fulfillment network ensures delivery within 3–8 business days—so your garden upgrade plans never have to wait for the right moment.
Multi-channel availability: Shop on Amazon, Walmart, Home Depot, Lowe's, Wayfair, or directly at Anleolife.com—wherever you prefer to shop, you'll get the same consistent quality and responsive after-sales support.
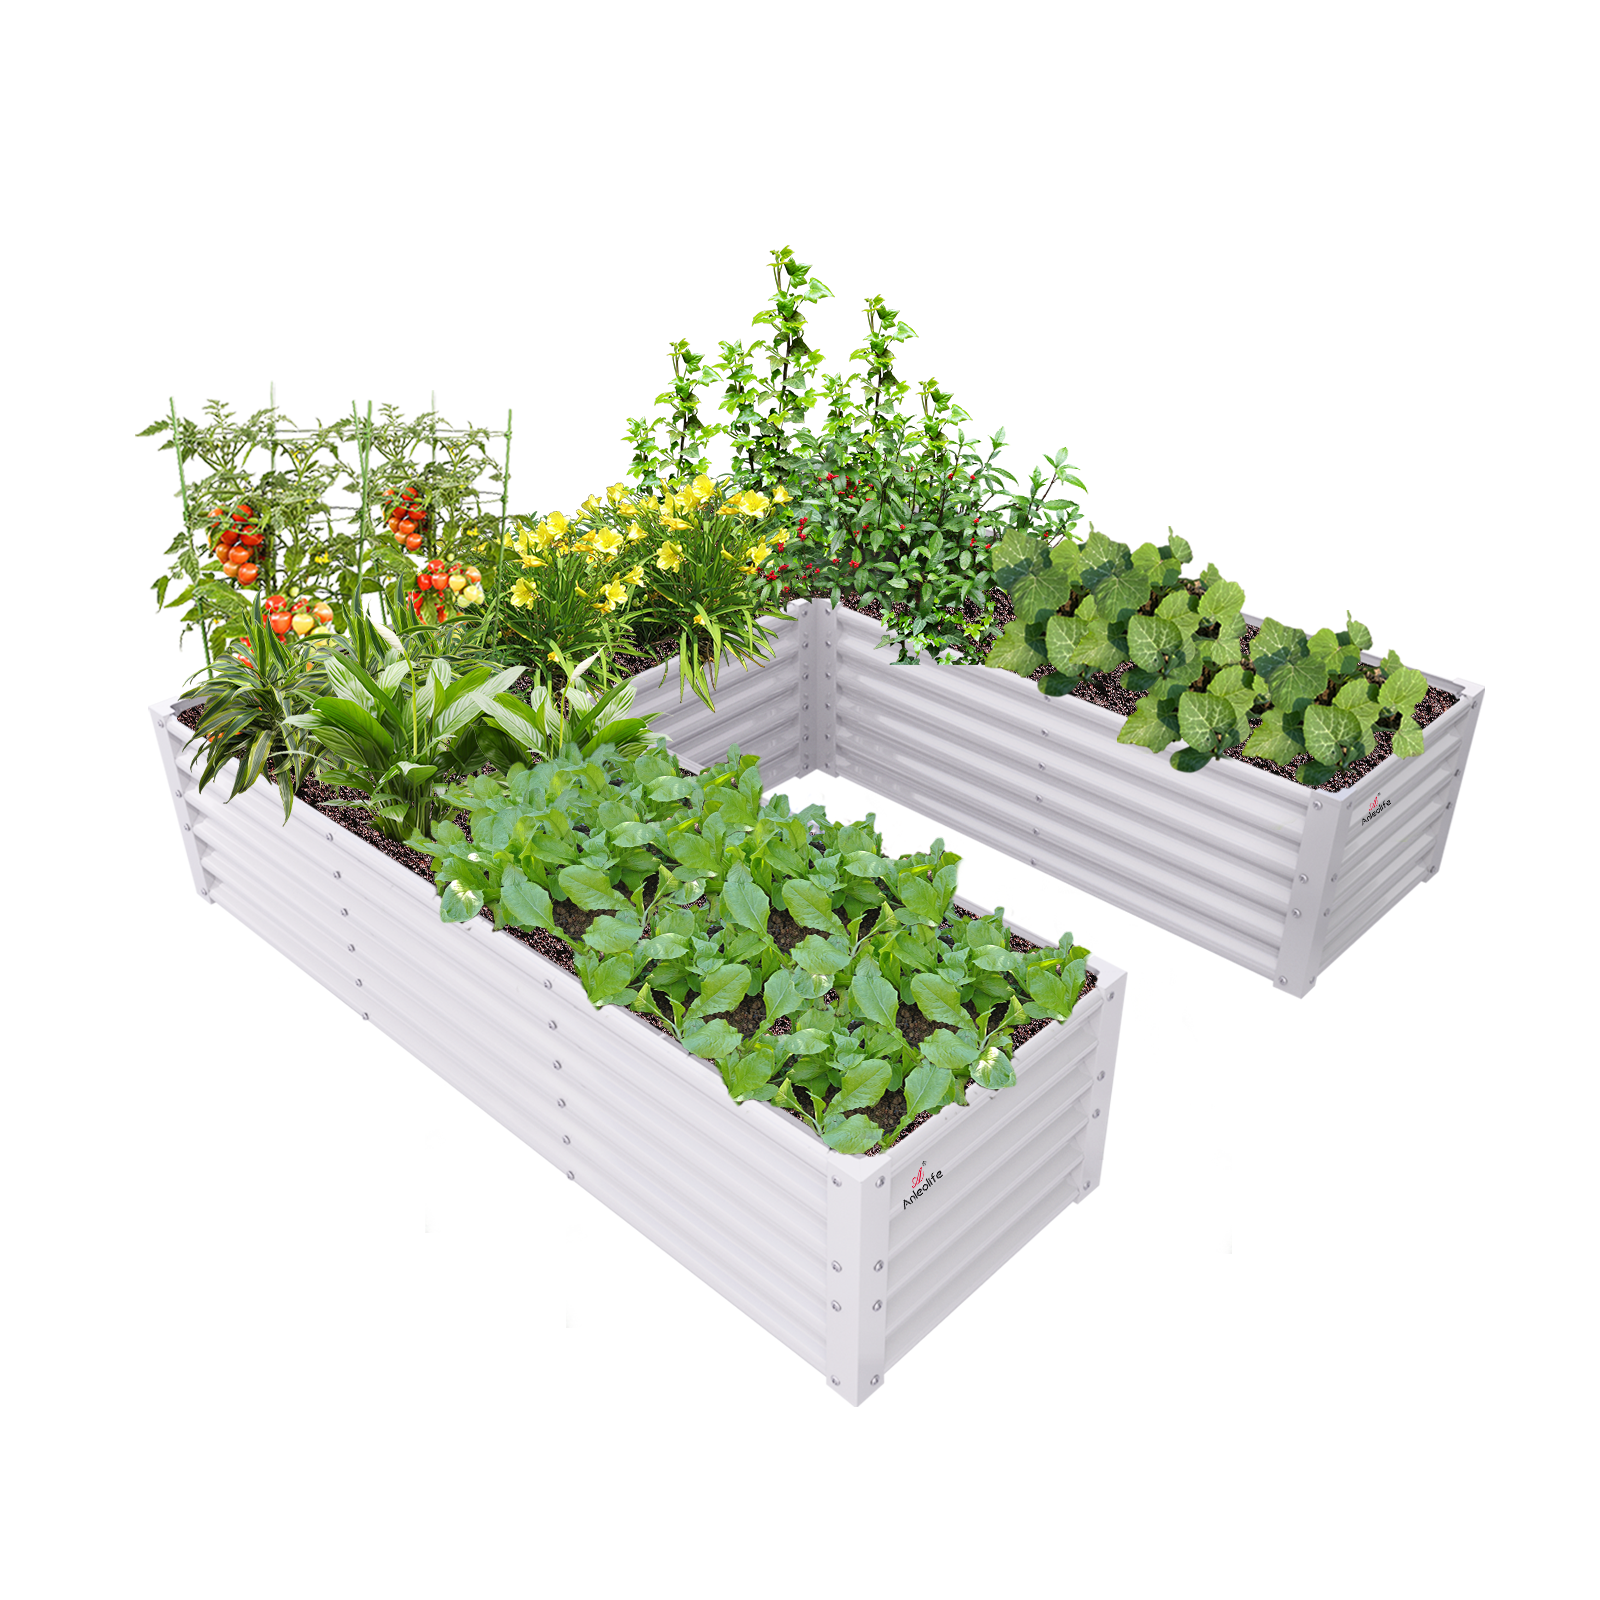
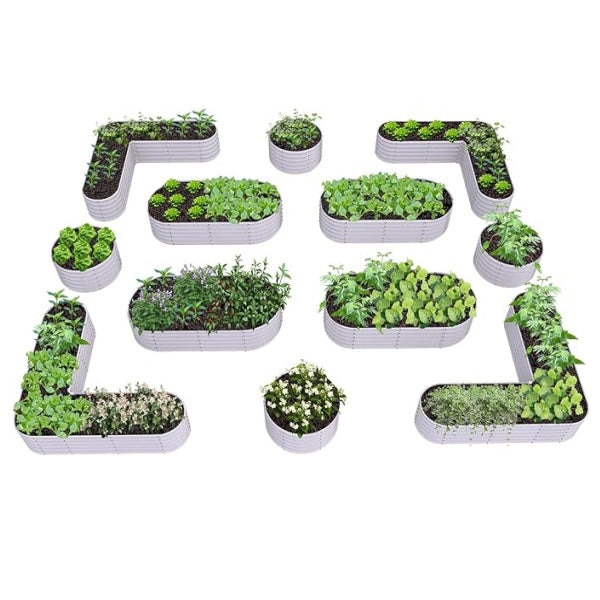
Three complete garden scenarios: Whether you're focused on Planting (metal raised garden beds, soil systems), Raising (chicken coops, rabbit hutches), or Beautification (decorative accessories, pathway systems), Anleolife offers an integrated product ecosystem that grows with your ambitions.
We understand that an ideal garden is not built overnight—it's improved season by season. Our modular product design allows flexible expansion based on your needs, from your very first raised bed to a fully integrated planting-and-raising ecosystem. We grow with you every step of the way.
References
- National Gardening Association. "Food Gardening in the United States."
https://garden.org - University of Minnesota Extension. "Preparing Your Garden for Winter."
https://extension.umn.edu - USDA National Institute of Food and Agriculture. "Cover Crops and Soil Health."
https://www.nifa.usda.gov - Penn State Extension. "Soil Testing for Home Gardeners."
https://extension.psu.edu - Oregon State University Extension Service. "Fall and Winter Gardening in the Pacific Northwest."
https://extension.oregonstate.edu
Note: Standards and recommendations may be updated seasonally. Please check the latest official documents from your local cooperative extension service or consult a professional horticulturalist for region-specific guidance.
About Anleolife
Anleolife is a leading outdoor garden solutions provider in North America, dedicated to offering a full-scenario product ecosystem for home gardening enthusiasts, covering planting, raising, and garden beautification. Since its founding, we have upheld our brand mission, "Made for Garden Life," continuously innovating products and optimizing services to help hundreds of thousands of users upgrade their gardens, reconnect with nature, and enjoy a better garden lifestyle.