


























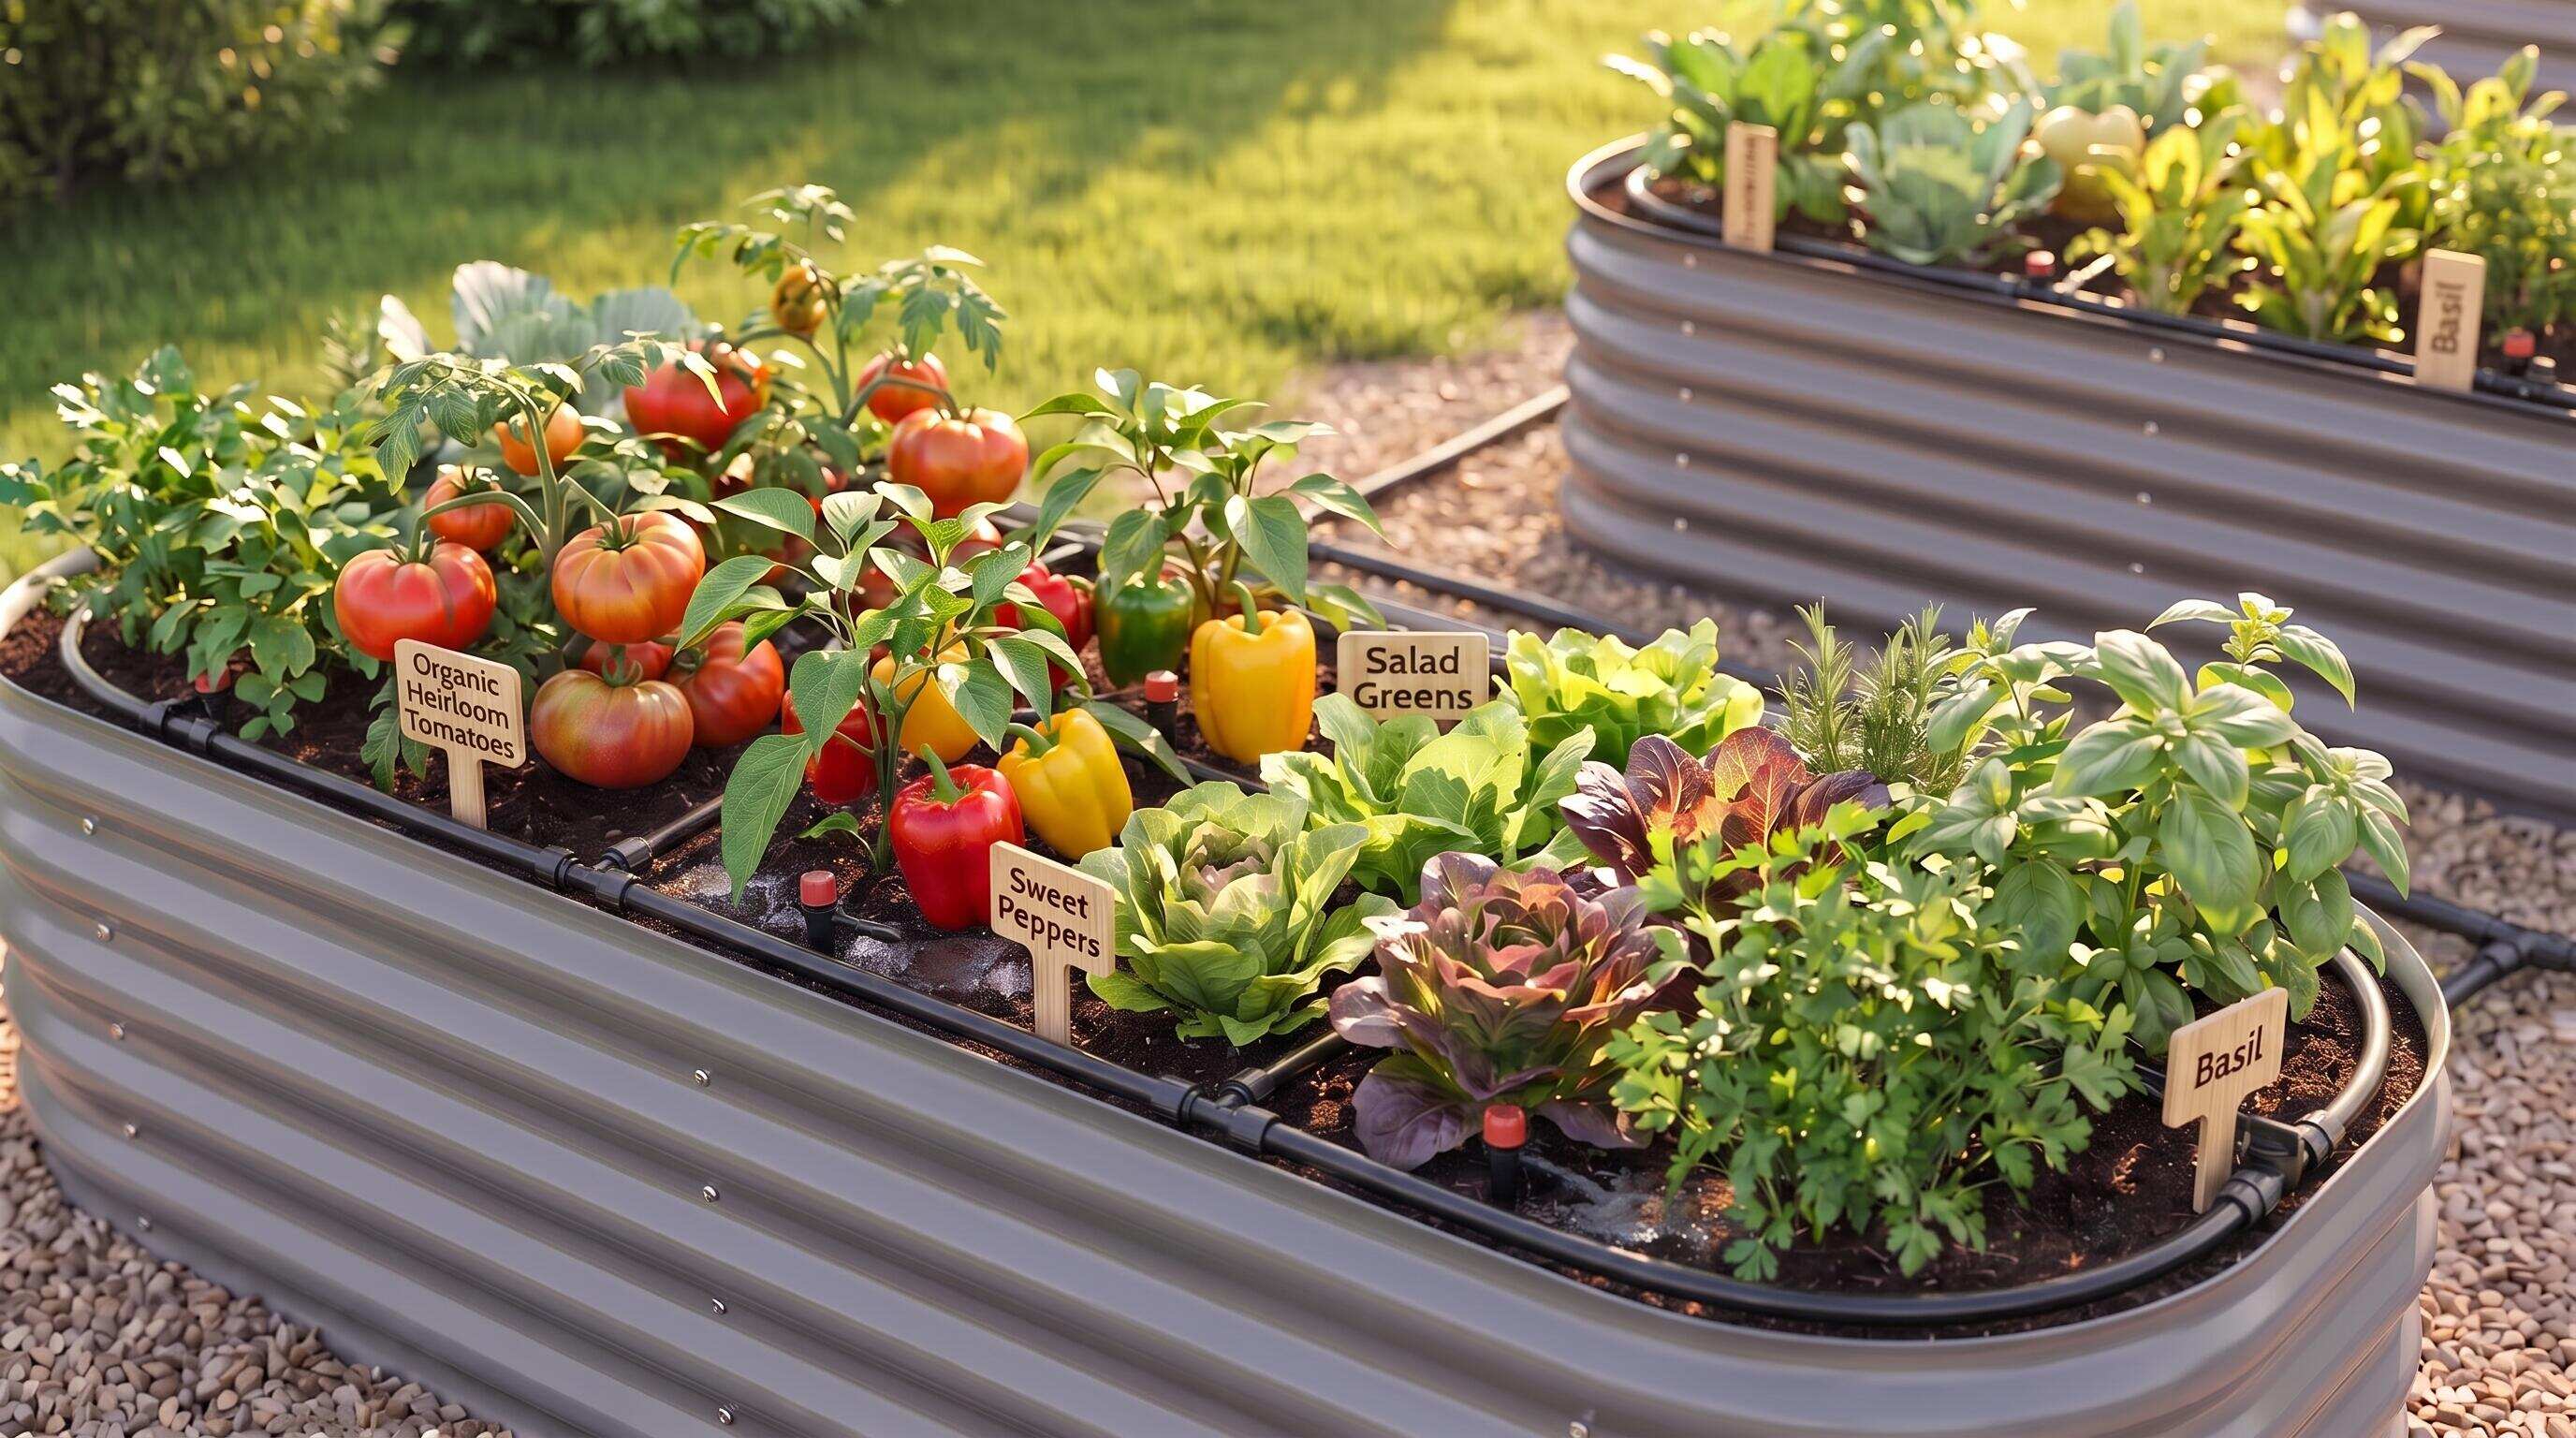
ALT: Efficient drip irrigation watering system installed across multiple raised bed garden layout
Plan Your Raised Bed Garden Layout Before a Single Drop Falls
Key Conclusion: A well-planned raised bed garden layout transforms a scattered collection of planters into a unified, water-efficient growing system. By thinking through your raised bed planting layout before installing irrigation, you minimize water waste, reduce maintenance time, and create the conditions for consistent harvests season after season. This guide walks home growers through every stage of planning and installing an efficient watering system across multiple raised beds — from mapping your raised bed layout to fine-tuning drip emitters and scheduling automation.
If you've ever stood in your backyard with a garden hose in hand, moving from bed to bed for twenty minutes every morning, you already understand the problem this guide is designed to solve. A multi-bed garden without a coordinated irrigation strategy is exhausting to maintain and frustratingly inconsistent in results — some beds stay too wet, others dry out before you notice. This guide is written for home growers who are ready to move beyond hand-watering: families who want a productive kitchen garden without giving up their weekends, retirees expanding their raised bed setup, and urban gardeners who need every square foot of their planting layout to perform reliably.
Before You Start: What You Need to Set Up Irrigation Across Multiple Raised Beds
Setting up an efficient watering system across multiple raised beds is a project that rewards careful preparation. Rushing the planning phase is one of the most common mistakes we see in our work with clients — and it reliably leads to rework, leaky fittings, and beds that receive unequal water distribution.
Before you pick up a drill or open a drip kit box, you need a clear picture of your current raised bed garden layout: how many beds you have, their dimensions and arrangement, how far each one sits from your water source, and what crops you plan to grow in each. These factors determine the type of irrigation system you need, the diameter of your main supply line, and whether a single timer can serve all your beds or whether you need zone separation.
What you'll need before starting:
- A scaled sketch or simple drawing of your raised bed layout, including distances between beds and from the outdoor spigot
- Measurements of each bed's length and width
- A basic understanding of your household water pressure (most residential systems run between 40 and 60 PSI — a pressure gauge that attaches to your spigot costs very little and removes all guesswork)
- A drip irrigation kit or soaker hose system sized to cover your total bed count
- A Y-splitter or manifold to run multiple lines from a single spigot
- A programmable timer (battery-operated timers are sufficient for most setups)
- Basic tools: a hole punch for drip tubing, scissors or a tube cutter, and stakes or clips to hold tubing in place
- A notebook or planting plan showing which crops go in which bed, since different plants have meaningfully different water needs
The effort involved scales with the number and size of your beds. A straightforward four-bed setup on a single level can typically be planned and physically installed in a single dedicated weekend. Larger or more complex arrangements — beds at different grades, beds on both sides of a structure, or a mix of deep and standard-depth beds — may take additional planning sessions before installation begins.
Checklist before starting:
- Your raised bed layout is drawn to approximate scale, with dimensions noted
- You know the distance from your spigot to the farthest bed
- You have confirmed your water pressure range
- Your drip or soaker system is purchased and on hand
- You have a programmable timer
- Your planting plan is complete enough to group beds by water need
Step-by-Step: Building an Efficient Irrigation System Across Your Raised Bed Garden Layout
Step 1: Map Your Raised Bed Layout to Scale
Start with paper before you touch any hardware. A clear map of your raised bed planting layout is the single most important planning tool you have — it prevents undersized supply lines, reveals logical groupings for irrigation zones, and gives you a reference to return to when something needs adjusting.
Measure the distance between each bed, between the outermost beds and your water source, and note any obstacles: pathways, fencing, or structures the tubing will need to run around. Mark the sun exposure for each bed if you haven't already, since beds in full sun will need more frequent or longer watering cycles than those in partial shade. If you're working with narrow or unusually shaped yard spaces, this mapping step is especially important — it helps you see where tubing can run efficiently and where you'll need elbows, extensions, or creative routing.
Tip: Use a simple grid on graph paper, letting each square represent one foot. This makes it easy to calculate tubing lengths before you buy, so you're not making extra hardware store runs mid-project.
Step 2: Group Your Beds Into Watering Zones Based on Plant Needs
Not every raised bed in your garden needs water at the same frequency or volume. Grouping beds by crop type before finalizing your irrigation plan is one of the highest-impact decisions you'll make — and it's a pattern we consistently see overlooked by first-time multi-bed gardeners.
Broadly, you can organize beds into two or three categories. Deep-rooted, drought-tolerant plants like tomatoes, peppers, and squash prefer infrequent deep watering — less often, but more water per session. Shallow-rooted, moisture-sensitive crops like lettuce, spinach, and herbs prefer lighter, more frequent irrigation. Root vegetables fall somewhere in between and benefit from consistent moderate moisture. Once you've categorized your beds, assign each category to its own irrigation zone, which means its own timer setting and, in many cases, its own line off the manifold.
If your raised bed garden layout spans a significant area, consider investing in a multi-zone timer that allows you to set independent schedules for each zone. This eliminates the compromise of watering all beds on the same schedule and allows you to dial in each zone based on real plant performance rather than guesswork.
Tip: Write each zone's plants, frequency, and approximate duration directly on your layout map. You'll refer to this constantly during the first few weeks while the system is being tuned.
Step 3: Choose the Right Irrigation Method for Each Zone
Drip irrigation and soaker hoses are the two most practical options for raised bed gardens, and both outperform overhead sprinklers in nearly every metric that matters for raised bed gardening: water efficiency, disease pressure, and soil structure preservation. According to the U.S. Department of Agriculture's research on water-efficient irrigation, drip systems can reduce water use by a significant margin compared to conventional overhead watering by delivering moisture directly to the root zone and minimizing evaporative losses.
Drip irrigation uses emitter tubing — a main supply line with individual emitters or micro-tubing that delivers water to specific points. It's the more precise option and works especially well in beds where you're growing different crops with varying spacing. Soaker hoses work by seeping water slowly along their entire length and are a lower-cost, faster-to-install option for beds growing closely spaced crops like salad greens.
For most multi-bed setups, the practical answer is a combination: drip emitters in beds with larger, widely spaced plants, and soaker hose loops in beds growing dense plantings. Your bed dimensions matter here. A larger bed — say, an extra-tall 8x4 configuration — may benefit from two parallel soaker hose runs or multiple drip lines to ensure even coverage across the full width.
Tip: When using drip emitters, always install an end cap or figure-eight closure on the supply line. Leaving the line open means the last emitters receive reduced pressure, creating dry spots at the far end of the bed.
Step 4: Install the Main Supply Line and Manifold
With your zones defined and your irrigation method chosen, physical installation begins at the water source. Attach a Y-splitter to your outdoor spigot if you want to preserve the ability to use a hose separately from the irrigation system. Connect your programmable timer to the spigot or to each branch of the Y-splitter — placing the timer before the main supply line means your entire system runs on schedule without any manual intervention.
From the timer, run your main supply line (typically a half-inch polyethylene tube for most residential raised bed setups) toward your beds. Use the layout map you created in Step 1 to plan the cleanest route. Stake the main line at intervals so it lies flat and isn't a tripping hazard across pathways. Where lines run between beds, bury them an inch or two below the surface if aesthetics matter, or run them along the base of a fence or bed wall.
At each bed junction, use a T-connector or elbow fitting to branch off the main line and feed each individual bed. If you've set up multiple zones, a manifold installed near the water source — essentially a central hub with multiple independent outputs, each with its own shut-off valve — gives you granular control without having to re-plumb anything when seasonal changes require zone adjustments.
Tip: Flush your main supply line before connecting any emitters or soaker hoses. Turn the water on briefly and let it run freely — this clears any debris in the tubing that could clog emitters and cause frustratingly patchy water distribution.
Step 5: Run and Secure Irrigation Lines Within Each Raised Bed
Inside each bed, the goal is consistent coverage across the entire growing area. For drip systems, use a hole punch to create openings in the supply tubing at your intended emitter spacing — typically every eight to twelve inches for most vegetables — and insert drip emitters or micro-tubing stakes. Position emitters close to plant root zones rather than between plants, so water goes directly where it's needed.
For soaker hoses, create one or more parallel loops across the bed width. In a wider bed, a single line run down the center won't reach the edges reliably — two parallel runs, spaced evenly, provide far better coverage. Secure all lines with U-shaped tubing stakes or clips that attach to the bed wall so lines stay in place during planting, harvesting, and any soil amendment work.
The quality and stability of the bed itself matters here. In our work with home growers, we've found that sturdy, well-constructed raised beds make irrigation installation significantly easier — lines stay where you put them, clips hold reliably, and there's no concern about the bed walls flexing or shifting under the weight of wet soil. Anleolife's galvanized steel raised garden beds, designed for a lifespan of up to 20 years, provide the kind of stable, durable structure that makes a fixed irrigation installation genuinely permanent rather than something you're re-doing every season. If you're still evaluating which bed material best supports a long-term irrigation setup, a comparison of galvanized steel and recycled plastic options offers useful context on durability and long-term cost.
Tip: After installing emitters or soaker hose lines, run the system manually for five minutes and watch carefully for dry spots, pooling, or any emitter that isn't flowing. Fixing these now takes seconds; fixing them after a crop is established takes considerably longer.
Step 6: Set and Test Your Timer Schedule
A programmable timer is what transforms your irrigation setup from a system you manage to a system that runs itself. Set your initial schedule conservatively — most vegetables in raised beds do well with watering in the early morning, which reduces evaporative loss and gives foliage time to dry before evening (reducing the disease pressure associated with prolonged moisture on leaves). The University of California Cooperative Extension, which provides research-based guidance on home gardening practices, recommends early-morning irrigation as the standard for efficient water use in garden settings.
Start with shorter run times and increase based on observed plant and soil performance rather than trying to calculate the perfect duration from the outset. Insert your finger two inches into the soil a few hours after a watering cycle — if the soil is moist at that depth, your current duration is adequate. If it's still dry, extend the run time by a few minutes. If it's saturated or waterlogged, shorten it.
Separate zone timers or a multi-zone controller allow you to set genuinely different schedules for drought-tolerant beds versus moisture-sensitive plantings without compromise. This is where the zoning work you did in Step 2 pays its dividends.
Tip: Check and adjust your timer settings when the season changes. Plants need more water during peak summer heat and significantly less as temperatures drop in fall. A schedule that works perfectly in June will overwater your beds in September without adjustment.
Step 7: Mulch, Observe, and Refine
Installing the irrigation system is the beginning of the process, not the end. Cover the soil surface in each bed with a two-to-three-inch layer of organic mulch — straw, shredded wood, or compost — after your lines are in place. Mulch dramatically reduces soil surface evaporation and helps the moisture delivered by your drip or soaker system stay in the root zone longer, which means your timer can run shorter cycles and still maintain adequate soil moisture.
For the first two to three weeks after installation, make daily observations: how the soil feels at root depth a few hours after watering, how the plants look in the afternoon (slight wilting in intense afternoon heat is normal and not a reliable indicator of underwatering), and whether any zone is consistently wetter or drier than expected. Use these observations to refine your zone schedules, emitter placement, or mulch depth. Over time — typically within a full growing season — you'll arrive at a dialed-in system that runs with minimal intervention. For growers who are also thinking carefully about what goes into their beds, choosing the right soil composition for raised beds is closely connected to how effectively your irrigation system will perform.
Tip: Keep a simple garden log for the first season — just a few notes per week on soil moisture, plant appearance, and any adjustments made. This log becomes an invaluable reference when you're setting up or refining the system in subsequent years.
Common Mistakes and Troubleshooting in Multi-Bed Irrigation Systems
Even a well-planned raised bed irrigation setup runs into problems during the first season. Most issues have identifiable causes and straightforward fixes — the key is recognizing the symptom early and addressing it before plant health suffers.
| Symptom | Likely Cause | How to Fix |
|---|---|---|
| Dry spots consistently appear in one corner of a bed | Emitter spacing is too wide, or a single emitter is clogged | Increase emitter density in the dry zone; remove and clean or replace the clogged emitter |
| Water pools on the soil surface rather than soaking in | Irrigation run time is too long relative to the soil's absorption rate | Shorten cycle duration and switch to multiple shorter cycles ("cycle and soak") rather than one long run |
| Plants wilt despite soil feeling moist | Waterlogging is suffocating roots, or root disease is present | Check soil drainage; reduce watering frequency and allow soil to partially dry between cycles |
| Pressure at far-end emitters is noticeably lower than at near-end emitters | Main supply line diameter is too small for the total run length, or too many emitters are on a single line | Split the line into two shorter runs from the manifold, or upgrade to a larger diameter main supply line |
| Timer activates but no water flows | Timer battery is dead, or the filter screen at the connection is clogged | Replace batteries; remove and rinse the filter screen at the spigot or timer connection point |
| Soaker hose delivers uneven moisture along its length | Hose is kinked, or line pressure is inconsistent | Straighten the hose and re-stake; install a pressure regulator at the timer to stabilize supply pressure |
| One zone waters correctly; another runs too briefly or too long | Multi-zone timer programmed incorrectly | Review timer instructions and re-enter zone-specific schedules individually, testing each zone manually after programming |
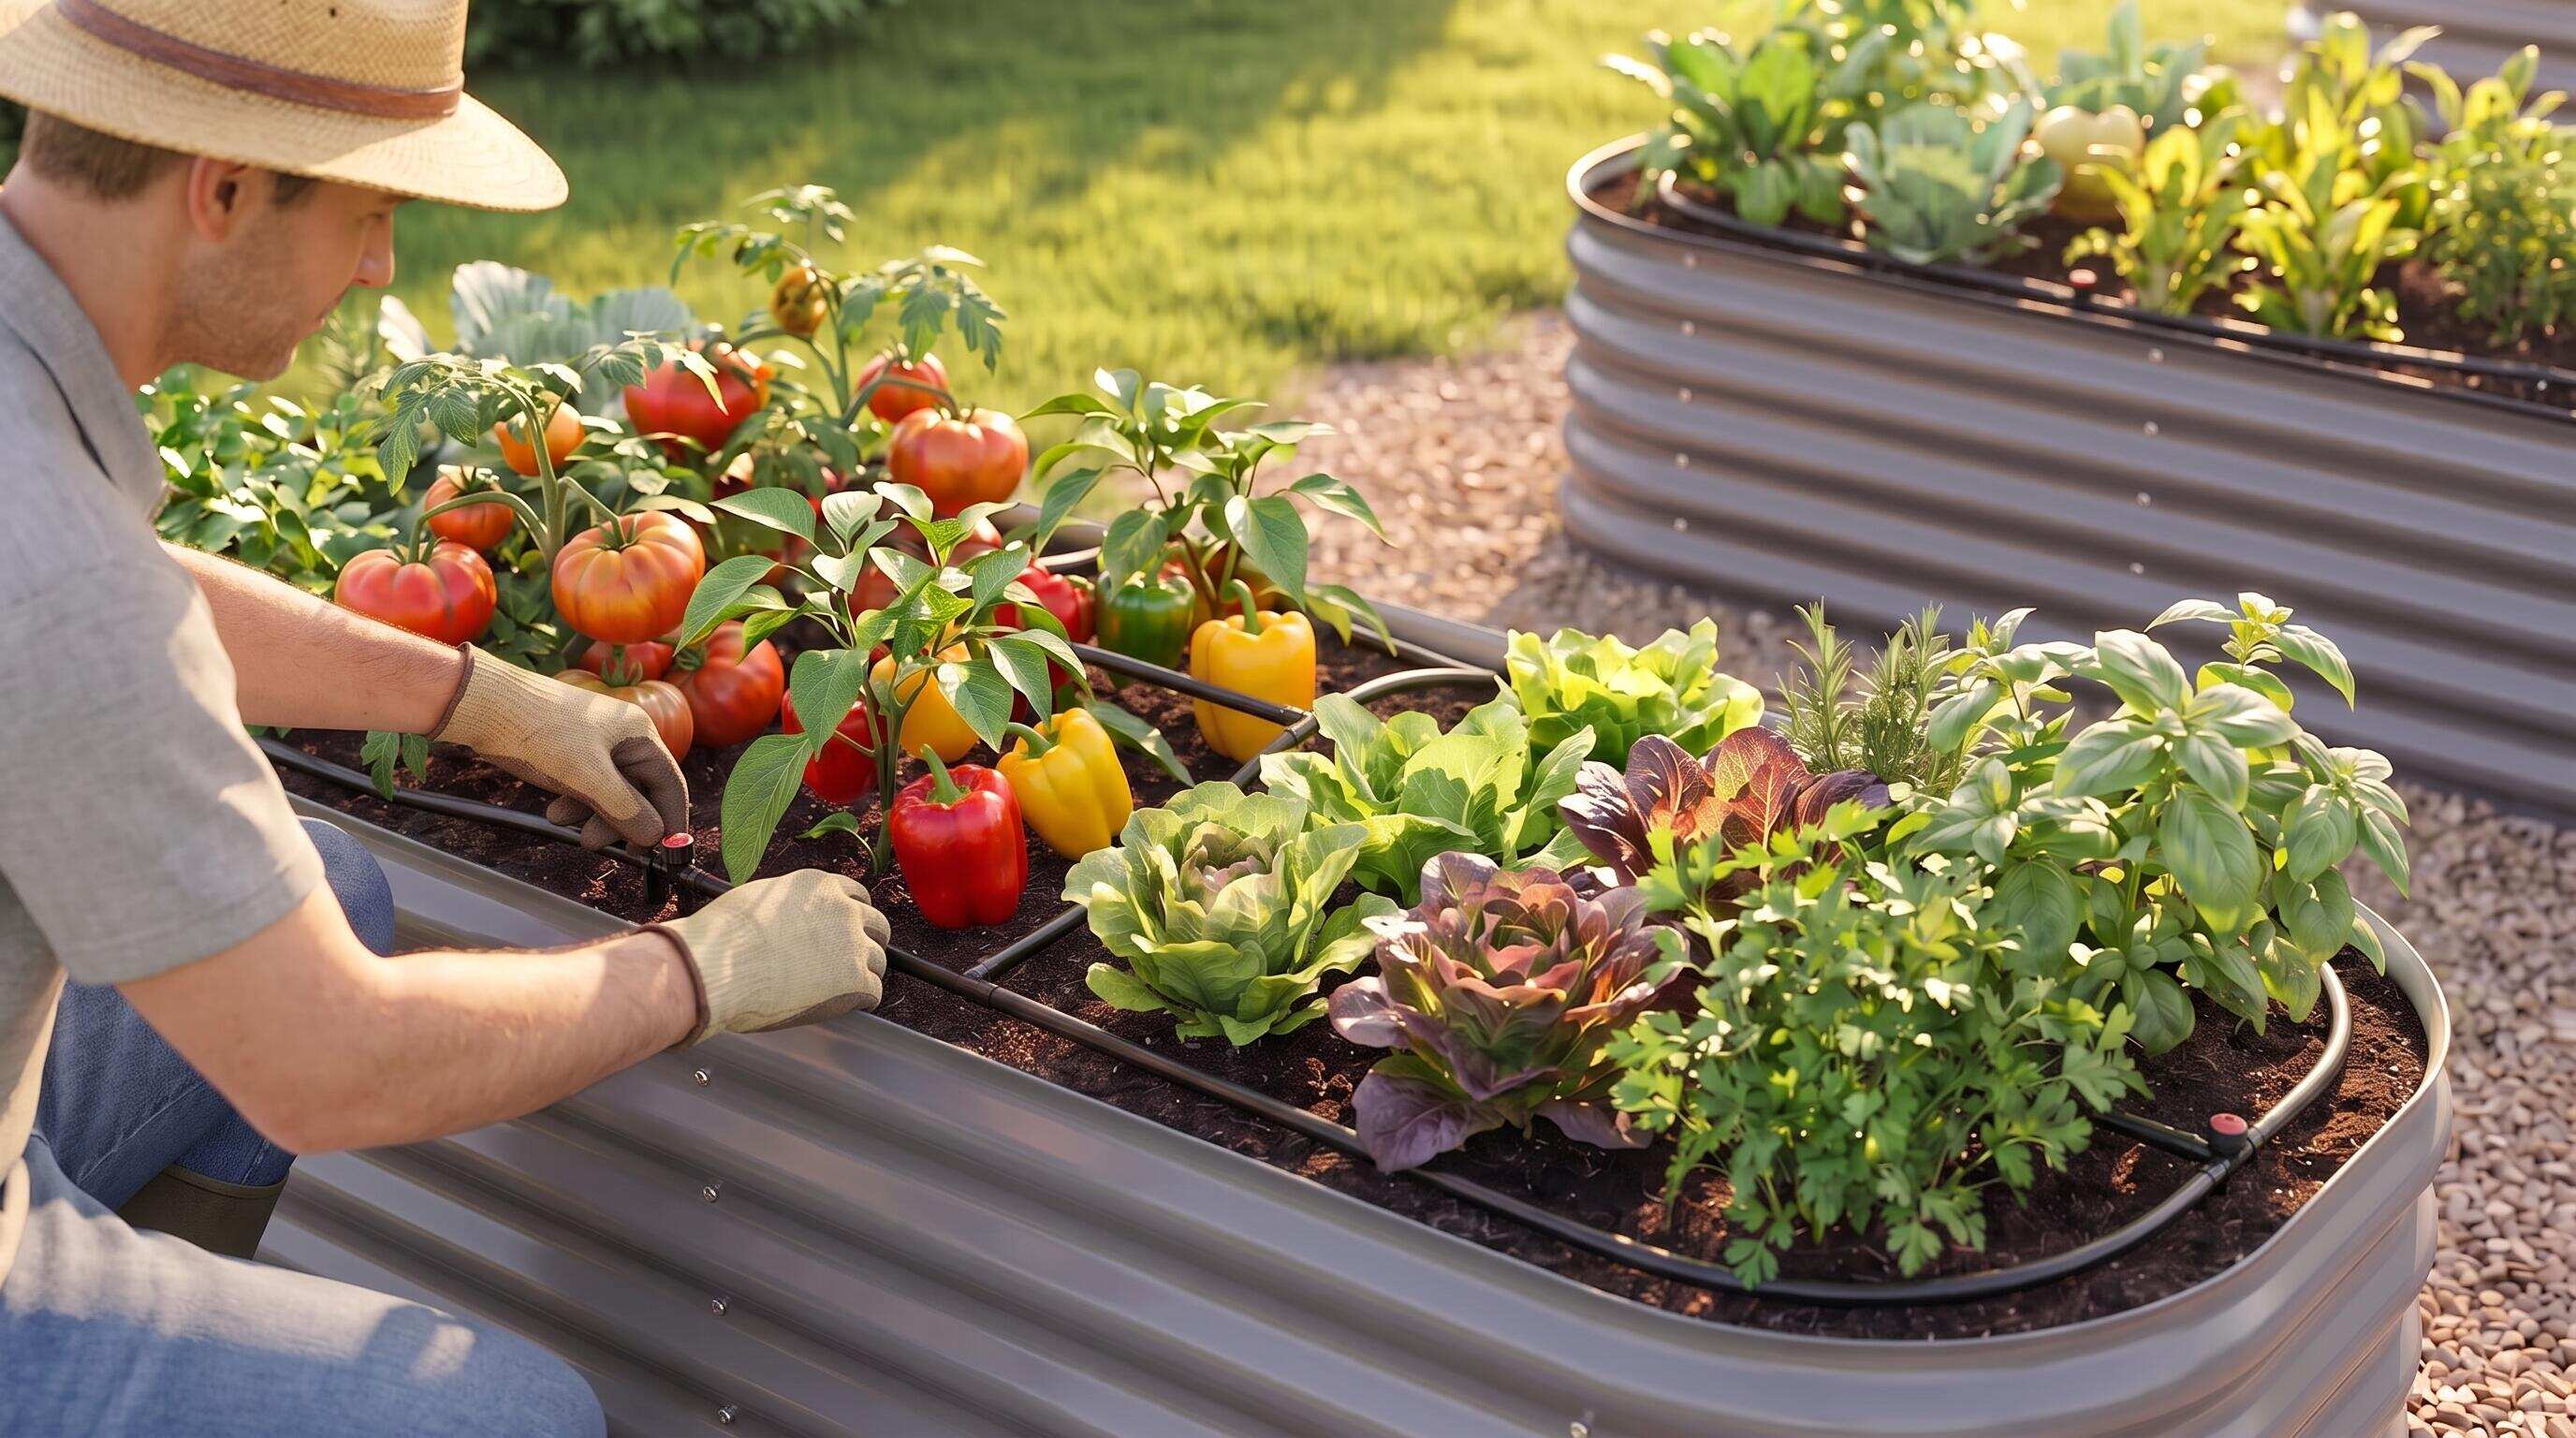
ALT: Home gardener adjusting drip emitter placement in a galvanized steel raised bed garden layout with multiple planting zones
Pro Tips for Getting More from Your Multi-Bed Watering System
Use a pressure regulator at the source. Residential water pressure is often higher than drip irrigation components are designed to handle. Installing an inexpensive pressure regulator between your timer and your main supply line protects fittings and emitters from wear and delivers more consistent flow across all zones — especially important when you have longer supply line runs.
Think in "root zone depth," not surface area. A common misconception is that wetter soil on the surface means adequate hydration. What actually matters is moisture at root depth. In an extra-tall raised bed — the kind that provides 24 to 30 inches of growing depth — roots of mature plants like tomatoes or peppers will be pulling moisture from well below the surface. Your irrigation system should deliver enough volume per cycle to wet the soil through the primary root zone, not just the top few inches. Soil probes or inexpensive moisture meters inserted at mid-depth give you a far more accurate reading than surface appearance.
Plan for seasonal crop rotation when designing your layout. The plants currently in each bed won't be there forever. A raised bed planting layout that groups plants by water need this season should be designed with enough flexibility that next season's rotation doesn't require re-plumbing. Using adjustable emitters with interchangeable flow rates, and installing shut-off valves at each bed junction, gives you the ability to modify individual bed schedules without disrupting the rest of the system.
Invest in a rain sensor. A simple rain sensor connected to your timer will pause irrigation automatically when rainfall reaches a meaningful threshold. This prevents the common frustration of running your drip system during or immediately after rain — a scenario that wastes water, saturates soil, and accelerates nutrient leaching from your beds.
Revisit your layout before expanding. If you're planning to add beds to an existing setup, review your current raised bed garden layout and system capacity before purchasing new hardware. Adding beds to an undersized main line will reduce pressure across all existing zones. Plan the expansion in full before installing anything — it's far easier to upsize your supply line before adding beds than after.
A misconception worth addressing directly: many growers assume that more water is always safer than less, and that an irrigation system set to run longer is a form of insurance. In practice, overwatering in raised beds causes more crop loss than underwatering. Raised bed soil systems, particularly those with good organic content and drainage amendments, are inherently better draining than in-ground soil — but they are not immune to waterlogging. Erring on the side of less water, then increasing based on observed plant performance, is consistently the more successful approach.
People Also Ask
Q1: How do I connect multiple raised beds to a single garden hose spigot?
Connecting multiple raised beds to one outdoor spigot is straightforward using a Y-splitter or a multi-outlet manifold. A Y-splitter gives you two independent outputs; a manifold provides four to eight outlets, each with its own shut-off valve, making it easy to isolate individual zones. Attach a programmable timer to the spigot before the splitter, then run a half-inch polyethylene supply line from each manifold outlet to its assigned bed or zone. According to the U.S. Environmental Protection Agency's WaterSense program, using timers and drip systems together significantly reduces residential outdoor water use compared to manual hose watering.
Q2: Is drip irrigation better than soaker hoses for a raised bed planting layout?
Drip irrigation and soaker hoses are both effective for raised bed gardening, and the better choice depends on what you're growing. Drip irrigation — which uses emitters to deliver water to specific points — is more precise and better suited to beds with widely spaced plants or mixed crops with different water needs. Soaker hoses seep water along their full length and are faster to install and less expensive, making them a practical choice for beds with dense, uniform plantings like salad greens or herbs. Many multi-bed setups use both, matching the method to the crop type in each zone.
Q3: How long does it take to set up an irrigation system across several raised beds?
The time required depends on the number of beds, the complexity of your raised bed layout, and your experience with basic plumbing fittings. A four-bed setup on a single level, with a clear plan in hand, can typically be installed in a single dedicated weekend. Larger or more complex arrangements — beds on different levels, longer supply line runs, or multiple irrigation zones with separate timers — may require an additional planning session and a second installation day. Initial tuning of the timer schedule and emitter placement generally takes two to three weeks of observation before the system runs reliably without adjustment.
Wrapping Up
Setting up an efficient watering system across multiple raised beds comes down to three things done well: a clear, accurate raised bed garden layout that drives every hardware decision; thoughtful zoning that matches irrigation schedules to actual plant needs rather than averaging across all beds; and a commitment to observation and adjustment in the early weeks of the first season.
The growers we see get the most out of their multi-bed irrigation systems are the ones who treat installation as the beginning of an iterative process — not a one-time task. They map before they buy, zone before they install, and watch their plants before they trust their timer settings. When the system is running well, the result is genuinely satisfying: beds that receive consistent, appropriate moisture without daily manual effort, healthier plants with lower disease pressure, and meaningful reduction in water waste.
Your next step is to start with your layout sketch. Measure your beds and the distances between them, draw the connections, and decide on your zones. Once that plan is in hand, the hardware choices and installation fall naturally into place.
Ready to build a raised bed setup that's designed for irrigation from the start? Explore the full range of Anleolife galvanized steel and heavy-duty raised garden beds — available in dimensions to suit every yard size and growing goal — at the Anleolife website, or find them on Amazon, Walmart, Home Depot, Lowe's, and Wayfair. With a nationwide U.S. warehouse network spanning California, Texas, Florida, New York, Illinois, and Washington, Anleolife delivers within 3–8 business days so your garden project moves forward on your timeline. Whether you're starting with a single bed or building a full planting-and-raising ecosystem, Anleolife's modular product range grows with you every step of the way.
References
- U.S. Department of Agriculture (USDA). "Water-Efficient Irrigation Research and Resources."
https://www.usda.gov/ - U.S. Environmental Protection Agency (EPA). "WaterSense Program — Outdoor Water Use."
https://www.epa.gov/ - University of California Cooperative Extension. "Home Garden Irrigation and Water Management Guidance."
https://ucanr.edu/ - Savvy Gardening. "4x8 Raised Bed Vegetable Garden Layout Ideas."
https://savvygardening.com/4x8-raised-bed-vegetable-garden-layout/ - Gardener's Supply Company. "Pre-Planned Gardens."
https://www.gardeners.com/pages/kitchen-garden-planner-preplanned-gardens
Note: Standards and guidelines may be updated; please check the latest official documents or consult professional advisors.








