


























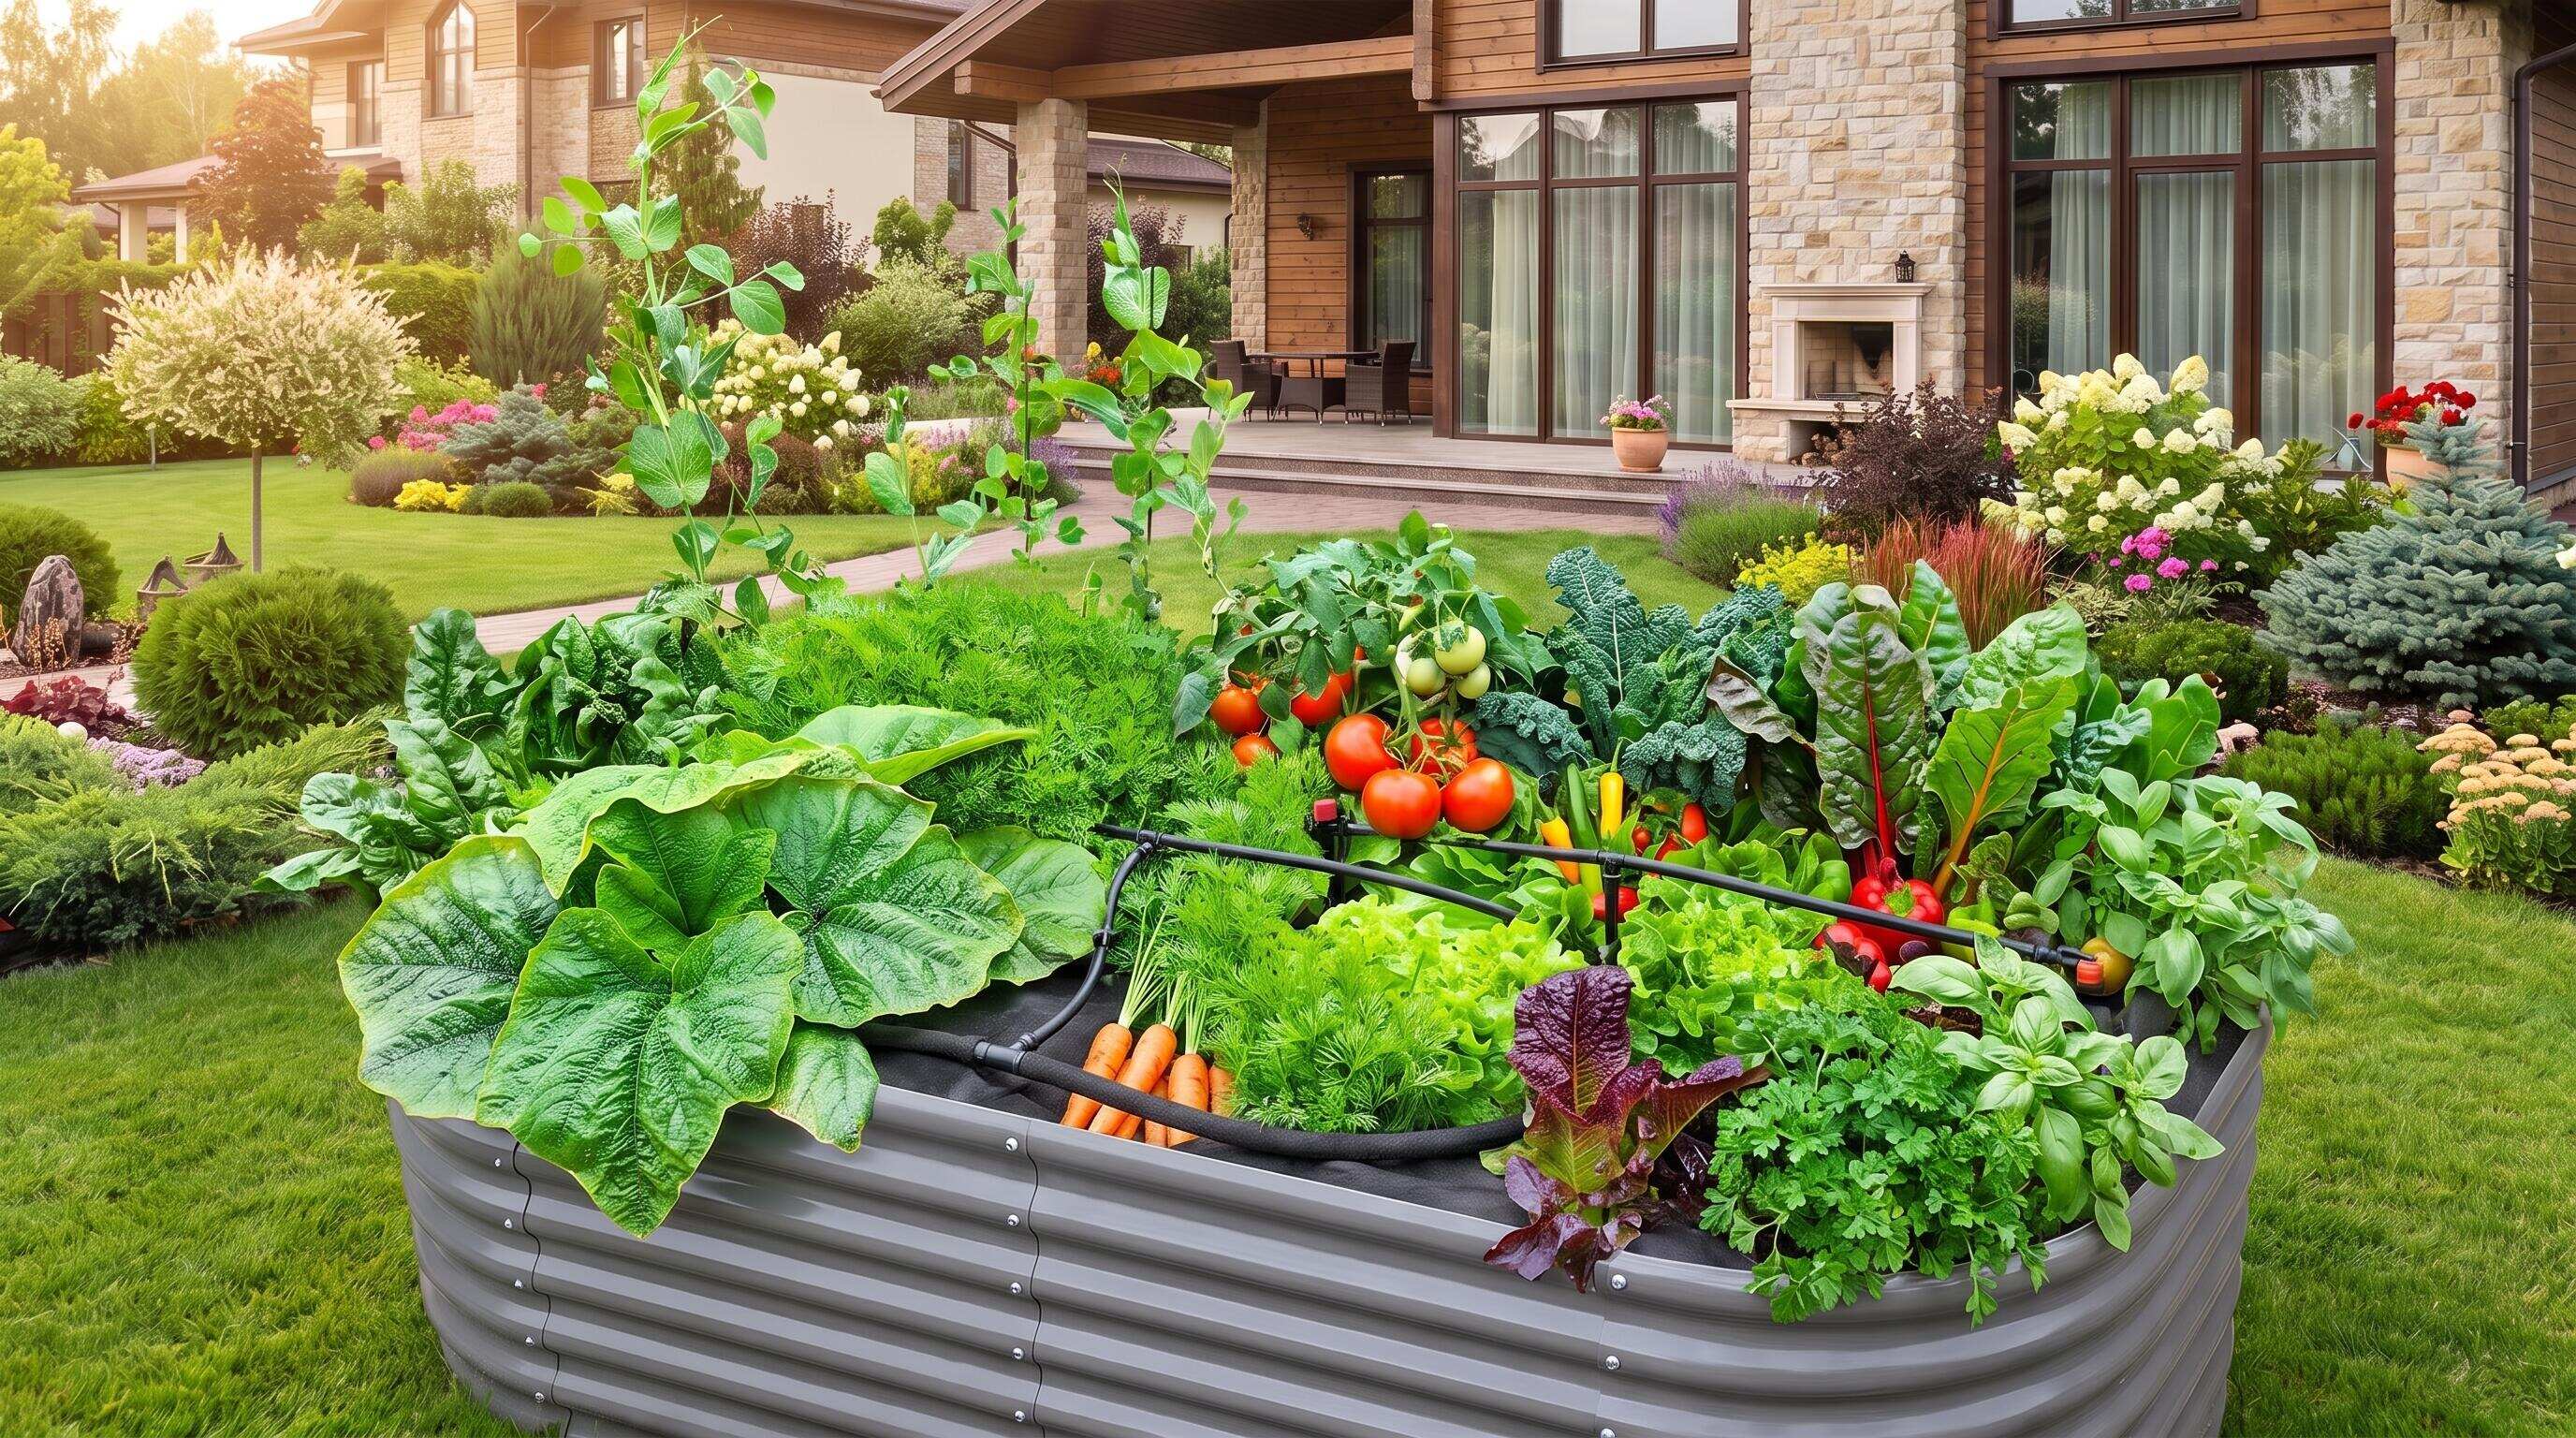
ALT: Busy homeowner setting up automated drip irrigation system in raised bed garden layout
Smart Watering for Your Raised Bed Garden Layout: What You'll Achieve
An automated watering system is a timed irrigation setup that delivers water directly to plant roots on a schedule, reducing the need for daily manual intervention. For busy households, this is one of the highest-leverage improvements you can make to a raised bed garden layout — it keeps plants consistently hydrated even when work, travel, or family life takes priority.
In our work helping North American home gardeners build productive outdoor spaces, a pattern we consistently see is this: people invest thought and energy into their raised bed planting layout, choose their crops carefully, and then lose harvests not to disease or pests, but simply to inconsistent watering. Life gets busy. Mornings fill up. Vacations happen. The solution isn't discipline — it's automation.
This guide is written for middle-class families, eco-conscious home growers, urban micro-gardeners, and retirees who want a thriving raised bed layout without becoming slaves to a watering schedule. By the end, you will have a fully planned, budget-smart automated irrigation system that works in harmony with your garden beds — saving water, saving time, and delivering better plant results than hand-watering typically achieves.
Before You Start: Prerequisites and Preparation for Raised Bed Irrigation
Setting up automated watering for a raised bed garden layout is a weekend project — realistic to plan in one afternoon and install in another. That said, going in prepared makes the difference between a system that works reliably for seasons and one that leaks, clogs, or wastes water within weeks.
Understanding your raised bed layout before purchasing any irrigation components is essential. The shape and number of your beds, the distance from your water source, and the types of crops you grow all directly influence which system will serve you best and at what cost.
What you need to know beforehand:
- The dimensions and number of your raised beds (length, width, and height matter for drip line spacing and emitter count)
- Where your outdoor water spigot or hose bib is located, and whether it has a standard threaded connection
- Your local water pressure — most residential systems run within a range that suits standard drip irrigation, but unusually high or low pressure may require a regulator
- The types of plants in your raised bed planting layout: vegetables and herbs typically prefer consistent, slow, deep watering at the root zone, which favors drip systems over overhead sprinklers
- Whether you want a battery-powered timer (fully standalone, no wiring) or a smart Wi-Fi controller (integrates with weather data and phone apps)
Tools and materials to gather before starting:
- Measuring tape to map your raised bed layout accurately
- A notepad or garden planning app to sketch the irrigation run
- Pipe cutters or sharp scissors rated for drip tubing
- Basic punch tool for creating emitter holes in mainline tubing
- Teflon (plumber's) tape for sealing threaded connections
- A garden hose to reach from the spigot to the first bed
Time and effort estimate: Most households find the planning phase — sketching the layout, measuring, and ordering components — takes a focused hour or two. Physical installation in a two- or three-bed raised bed garden layout typically fills a Saturday morning. A larger setup with four or more beds may extend to a full day, especially if you are running tubing between beds spaced far apart.
Checklist before starting:
- Raised bed dimensions mapped and recorded
- Water source location confirmed with a working, leak-free spigot
- Plant types in your raised bed planting layout identified
- Irrigation system type selected (basic timer vs. smart controller)
- All components ordered or purchased
- Basic tools on hand
Step-by-Step: Setting Up Automated Watering for Your Raised Bed Garden Layout
Step 1: Map Your Raised Bed Layout and Calculate Water Demand
Before buying a single component, draw your raised bed layout to scale on paper or a planning tool. Note each bed's dimensions, its distance from the water source, and what crops are planted in each zone. This map becomes the blueprint for your entire irrigation design.
Different crops have meaningfully different water needs. Tomatoes and squash are thirsty and benefit from higher-output emitters, while herbs like rosemary, thyme, and oregano prefer drier conditions. Grouping plants by water need within your raised bed planting layout — a principle known as hydrozoning — allows you to run separate irrigation lines at different frequencies or durations, saving water and preventing overwatering of drought-tolerant plants.
According to the U.S. Department of Agriculture's guidance on efficient irrigation for home food gardens, matching emitter output to actual plant demand is the single most effective way to reduce water waste in small-scale garden settings.
Tip: If you're working with Anleolife raised garden beds — which are engineered for a lifespan of up to 20 years — it's worth investing in an irrigation system of comparable quality. A bed that lasts two decades deserves a watering setup that won't need replacing every season.
Step 2: Choose the Right Irrigation System for a Raised Bed Garden
Drip irrigation is the most effective method for raised bed gardening. A drip irrigation system delivers water slowly and directly to the root zone through emitters or soaker tubing, minimizing evaporation and keeping foliage dry, which reduces fungal disease. Overhead sprinklers, by contrast, wet leaves, encourage disease, and lose significant water to evaporation — especially in warm-weather growing seasons.
For most raised bed layouts, you have two practical system choices:
- Drip line with individual emitters: A mainline tube runs along or through the bed, and small emitters punch into it at intervals above each plant. Highly customizable and precise. Best for beds with mixed plantings.
- Soaker hose or porous tubing: A permeable tube that "weeps" water along its entire length. Simpler to install and well-suited to densely planted beds like salad greens, radishes, or herb rows. Less precise than individual emitters but excellent for uniform crops.
Pair either system with a timer — at minimum, a basic battery-operated hose-end timer, or ideally a smart Wi-Fi timer that adjusts watering schedules based on weather forecasts and soil moisture. Smart timers represent a moderate upfront investment but typically pay back their cost in reduced water bills and reduced plant loss within a single growing season.
Tip: Choose a timer with at least two or three independently programmable zones if you have multiple raised beds with different plant types. This gives you precise control without running separate water sources.
Step 3: Design the Irrigation Layout to Match Your Raised Bed Planting Layout
With your bed map and system type chosen, lay out the irrigation route on paper before cutting any tubing. The mainline (the primary supply tube) runs from the spigot to the first bed, then continues to subsequent beds if you have more than one. Branch lines or sub-tubing run through each individual bed, and emitters are positioned above the root zone of each plant.
Per the Old Farmer's Almanac's guidance on raised bed garden layout plans, planning emitter placement to align with your planting grid — rather than spacing them evenly regardless of plant location — significantly improves water efficiency and reduces runoff within the bed. This is especially important in beds where you are practicing square-foot planting or companion planting.
For a rectangular raised bed layout, a common approach is to run two parallel drip lines lengthwise through the bed, spacing them roughly one-third of the bed's width from each edge. This covers the root zones of plants on both sides without concentrating water in the center. For square beds, a looped layout or a grid of sub-tubing works well.
As a practical reference, resources like 4x8 Raised Bed Vegetable Garden Layout Ideas offer visual examples of how planting grids align with irrigation spacing — useful for visualizing how your drip lines should follow your crop rows.
Tip: Sketch the final layout on your garden bed map before buying tubing. This gives you an accurate measurement of how many linear feet of mainline and drip tubing you need, preventing both overbuying and frustrating mid-project shortfalls.
Step 4: Install the Water Timer and Pressure Regulator
A water timer is the brain of your automated watering system. Install it directly onto the outdoor spigot before any other components. Most battery-operated timers thread on in under a minute with hand-tightening; wrap the spigot threads with Teflon tape first to prevent slow leaks at the connection point.
A pressure regulator is a small, inexpensive inline component that reduces your home's water pressure to a level compatible with drip irrigation components. Most drip systems are rated for a specific operating pressure range; running them at the full residential pressure of an unregulated spigot can cause emitters to pop out of tubing and connections to fail. Install the pressure regulator downstream of the timer and upstream of the filter.
A Y-filter or sediment filter — installed immediately after the pressure regulator — catches debris from your water supply that would otherwise clog emitters. This small investment prevents the most common cause of drip system failure and is well worth its modest cost.
Tip: When programming your timer, start conservatively — shorter, more frequent cycles — then observe the moisture level in the top few inches of your raised bed soil 24 hours after watering. Adjust duration up or down based on what you find. It takes only a few cycles to dial in the right schedule for your specific raised bed layout and local climate.
Step 5: Lay the Mainline Tubing and Connect to Each Raised Bed
Run the mainline tubing from the filter assembly along the path you planned in Step 3. Use stakes or tubing clips to hold it in place along the ground or along the side of the bed frame. Where the line needs to change direction around corners or obstacles, use standard elbow or tee fittings — these press or thread together without tools.
At each raised bed, insert a tee fitting into the mainline and run a branch line into the bed. If you have multiple beds in a row, the mainline simply continues past each tee fitting to supply the next bed in sequence. Cap the end of the mainline firmly — an uncapped mainline end will drain pressure from the entire system and leave distant beds underwatered.
Tip: Lay tubing in the morning when temperatures are moderate. Drip tubing becomes stiff in cold conditions and can kink when bent around corners. If you are installing in cool weather, let the tubing sit in a warm space for an hour before working with it.
Step 6: Install Drip Emitters or Soaker Lines Within Each Bed
Inside each raised bed, use a punch tool to create holes in the branch tubing at each planned emitter location. Press emitters firmly into each hole — they should click or seat snugly without any play. If an emitter feels loose, the hole may be slightly oversized; use a barbed emitter or seal the hole and punch a fresh one nearby.
Space emitters based on your raised bed planting layout. A general rule from raised bed gardening practice: position one emitter within the root zone of each large plant (tomatoes, peppers, squash), and space emitters every eight to twelve inches for densely seeded rows of smaller crops like lettuce or carrots. Adjust spacing based on your soil's water-holding capacity — sandier soils require closer emitter spacing to prevent dry patches between drip points.
For a layout reference, the Old Farmer's Almanac's section on Raised Bed Garden Layout Plans illustrates common crop spacing patterns that translate directly into practical emitter placement guides.
Tip: After installation but before covering tubing with mulch, run the system manually for a full cycle and walk the entire bed watching for leaks, missing emitters, or dry patches. Fix all issues before mulching — troubleshooting buried tubing is far more frustrating than catching problems at the surface.
Step 7: Mulch, Program, and Monitor Through the First Season
Mulching over the drip tubing in your raised bed is the final installation step and one of the highest-value actions you can take for water efficiency. A two- to three-inch layer of straw, shredded wood, or compost mulch over the soil surface dramatically reduces surface evaporation between watering cycles, meaning less water used for the same plant benefit.
Program your timer based on plant type, season, and your local climate. During the active growing season, most vegetable gardens in raised beds benefit from daily or every-other-day watering in short cycles rather than one long weekly soak. Multiple short cycles — a technique called cycle-and-soak — allow water to absorb fully between pulses, preventing runoff on the sloped sides of dense soil beds.
Monitor your system weekly for the first month. Check emitters for clogging, watch for dry patches in the raised bed soil, and observe plant health as your most reliable indicator of whether watering frequency and duration are calibrated correctly. Healthy, vigorous foliage and consistent soil moisture at root depth are your targets.
Tip: Keep a simple log during the first season — watering duration, frequency, and any adjustments made. This record becomes invaluable when you restart the system the following spring, letting you start from a known-good baseline rather than recalibrating from scratch.
Common Mistakes and Troubleshooting for Raised Bed Drip Systems
| Symptom | Likely Cause | How to Fix |
|---|---|---|
| Dry patches in the raised bed despite system running | Emitters are clogged or spaced too far apart for the soil type | Flush the system, clean or replace clogged emitters, and reduce emitter spacing in dry zones |
| Pooling water or runoff at bed surface | Watering duration is too long per cycle, overwhelming soil absorption rate | Switch to a cycle-and-soak schedule: shorter run times, two or three times per day instead of one long cycle |
| Emitters popping out of tubing | Water pressure is too high for the drip system rating | Install or replace the pressure regulator to bring pressure within the system's specified operating range |
| Timer not activating | Dead batteries, or timer connection has a slow leak that interrupts the pressure sensor | Replace batteries seasonally; check and retighten all threaded connections with Teflon tape |
| Uneven watering across multiple raised beds | Pressure loss along a long mainline run | Shorten mainline runs, increase mainline tubing diameter, or install a multi-zone manifold at the spigot |
| Plants show signs of overwatering (yellowing, root rot) | Timer frequency set too high for current season or weather | Reduce watering frequency; consider upgrading to a smart timer that automatically adjusts based on rainfall and temperature |
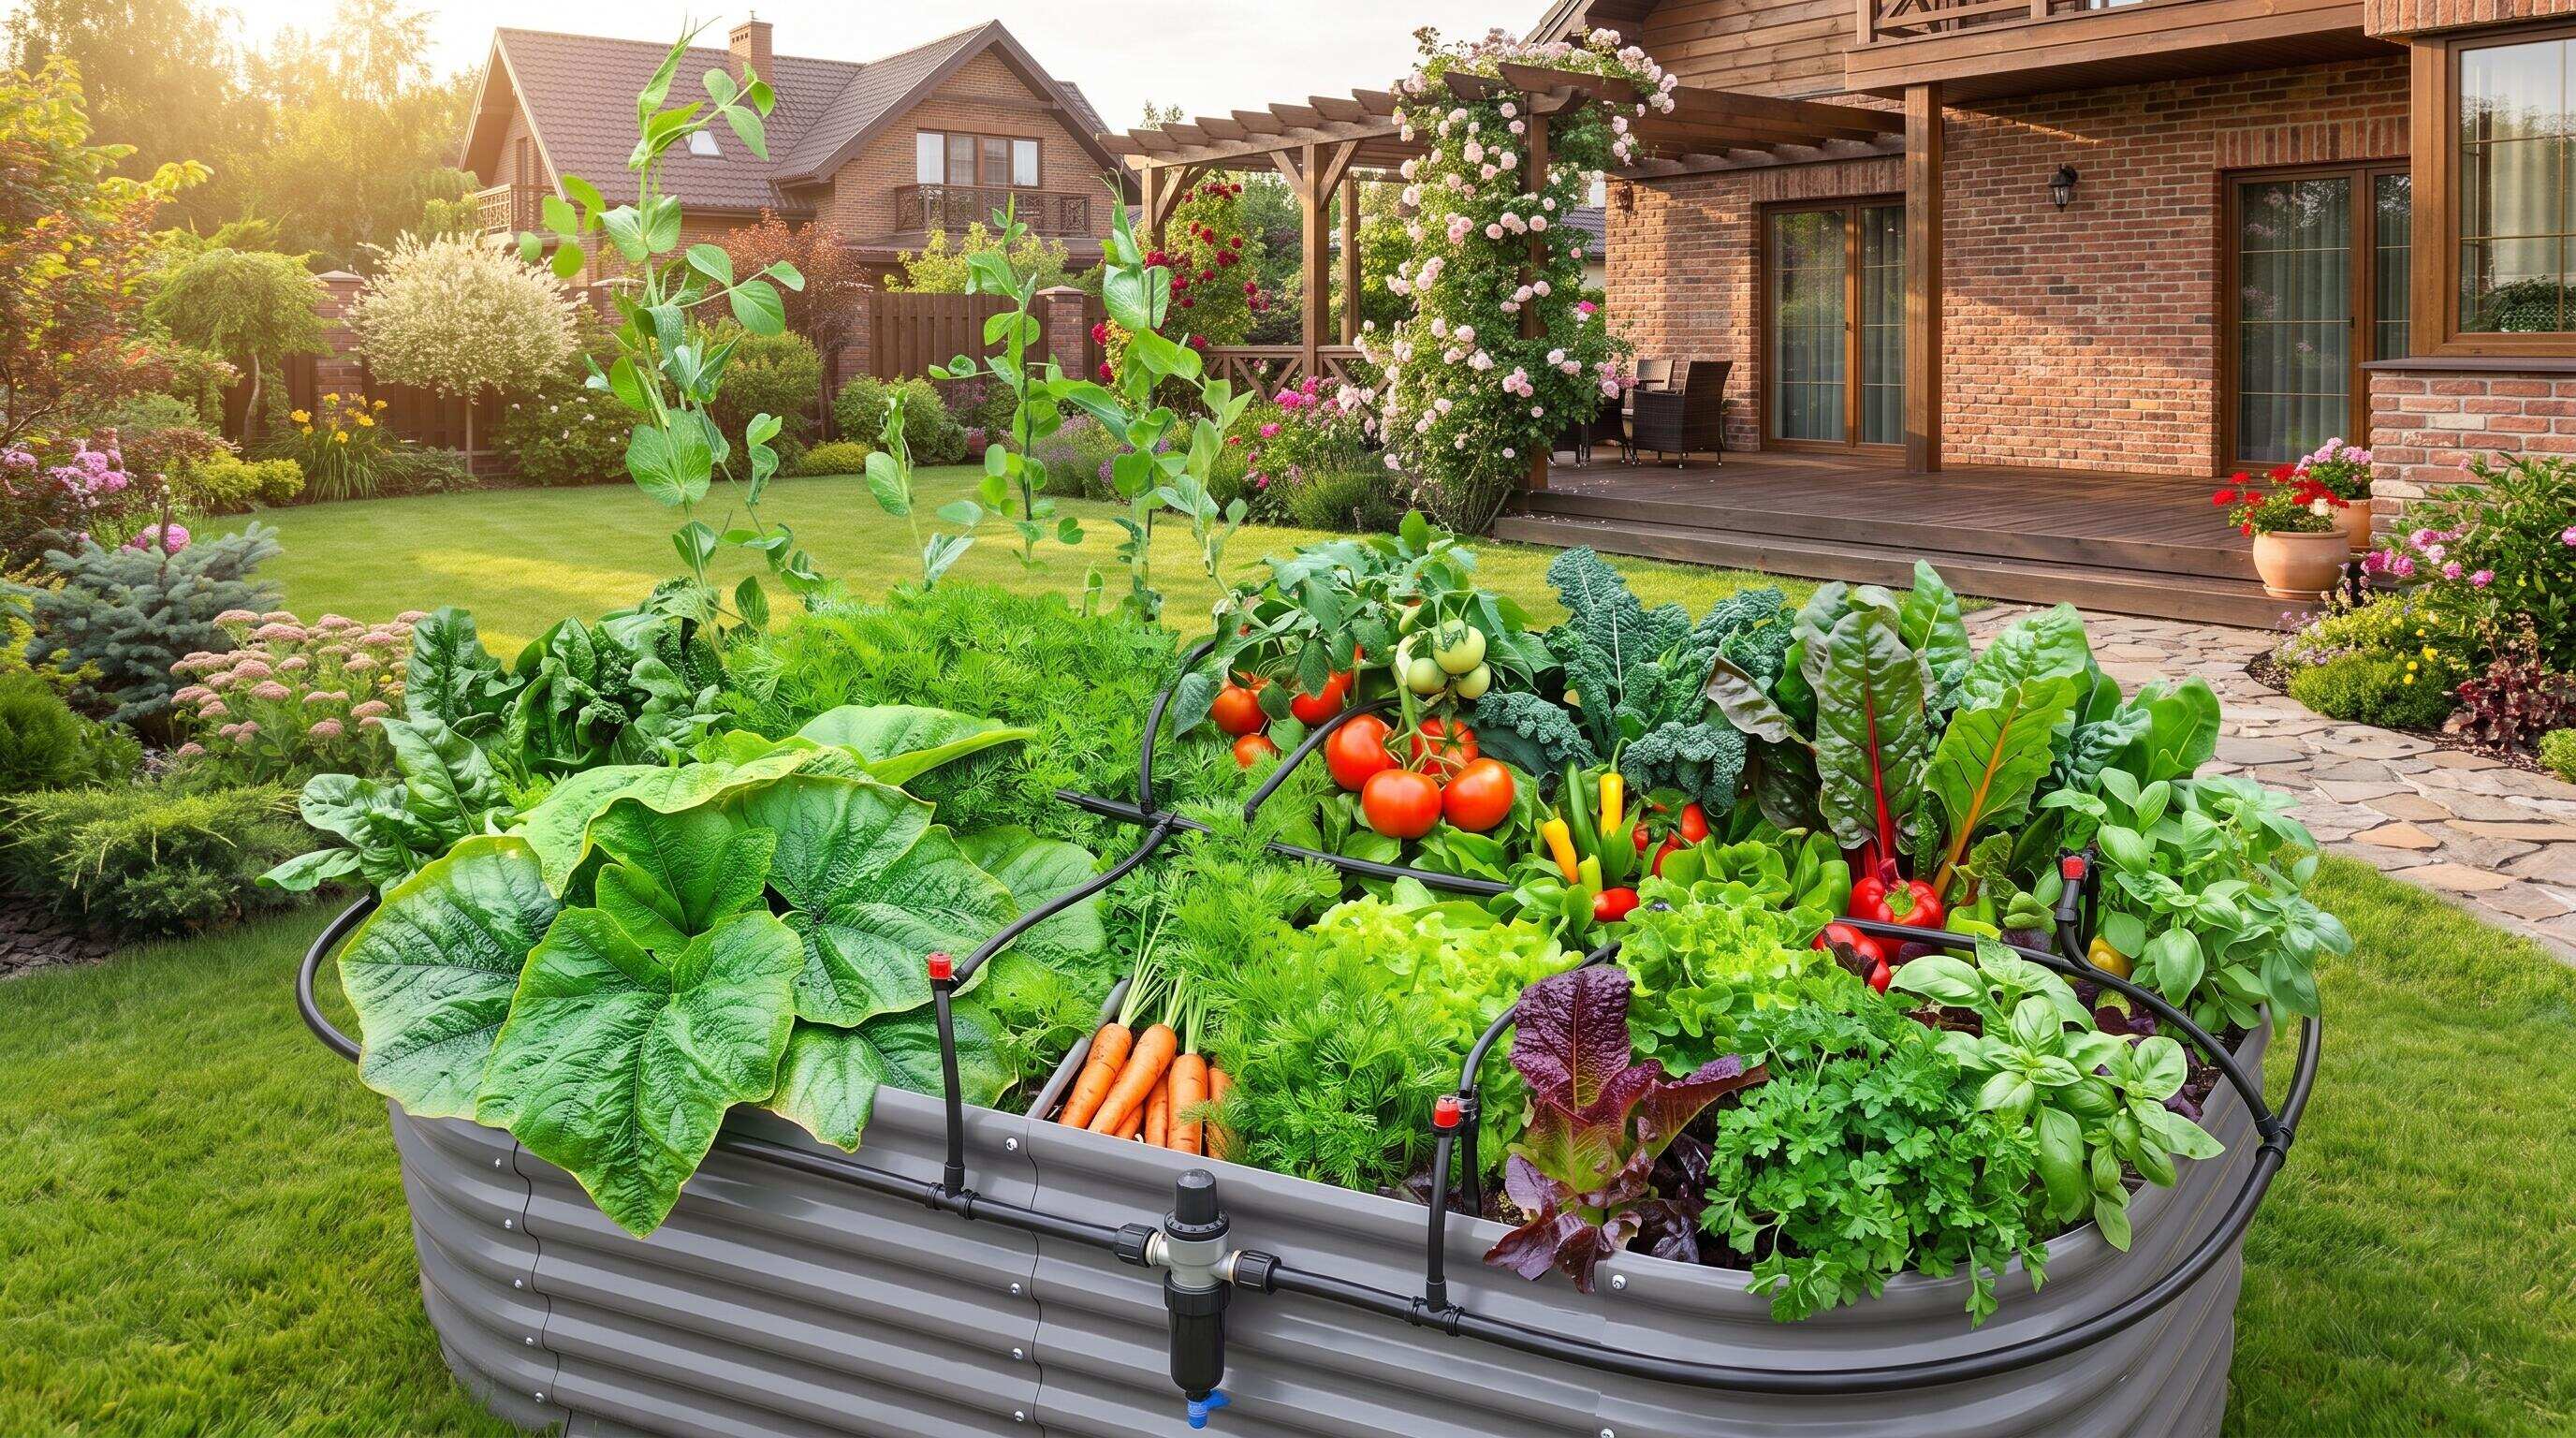
ALT: Close-up of drip emitters and soaker tubing installed in a raised bed planting layout with mulch covering irrigation lines and healthy vegetables growing
Pro Tips for Better Results in Your Raised Bed Garden
Zone your raised bed layout by plant water needs from the beginning. The most common mistake we see in our work with gardeners building out their first automated systems is treating all beds — and all plants — as a single zone. Herbs and root vegetables need far less water than fruiting crops like cucumbers, tomatoes, and squash. Designing your raised bed planting layout with irrigation zones in mind from the planting stage means you can dial in each zone independently, saving water and preventing the overwatering that kills more plants than drought does.
Flush your system at the start and end of each season. Drip emitters are precise, which also means they are sensitive to sediment. Opening the end caps and running the system at full flow for two to three minutes at the beginning of the season clears any debris that accumulated over winter. Doing the same before winterizing removes residual organic matter that can degrade tubing and clog emitters during storage.
Use weather-based smart timers if your household budget allows. Basic hose-end timers run on a fixed schedule regardless of whether it rained heavily the night before. Smart Wi-Fi timers — which integrate with local weather data — skip scheduled watering cycles after significant rainfall and adjust frequency during heat waves. Over a full growing season, this intelligence meaningfully reduces water consumption and prevents the overwatering that is common with fixed-schedule systems.
Pair your irrigation system with a well-designed raised bed soil system. Automated watering performs best in a soil mix engineered for raised beds — typically a blend of topsoil, compost, and an aerating material like perlite or coarse sand. This type of mix drains freely enough to prevent waterlogging between cycles while retaining enough moisture to sustain plants between irrigations. Standard garden soil compacts in raised beds and can create drainage problems that no irrigation system, however well-designed, can fully compensate for.
A common misconception to address: Many gardeners assume that more water equals healthier plants and set their timers to run longer than necessary "just to be safe." In raised bed gardening, the opposite is often true — consistently overwatered raised beds develop anaerobic conditions at the root zone that cause root rot, nutrient lockout, and poor yields even with excellent soil and full sun. The goal of automated irrigation is consistent moisture at the right level, not maximum water application.
For additional raised bed layout planning inspiration — including pre-planned garden designs that can guide both your planting and irrigation zone design — resources like Pre-Planned Gardens from Gardener's Supply offer useful frameworks for organizing crops in ways that naturally support efficient watering.
Common Questions
Q1: How do I know how often to run my drip system for a raised bed garden layout?
Watering frequency for a raised bed garden layout depends on your climate, season, soil mix, and plant types. A practical starting point is daily short cycles during the peak of summer for fruiting vegetables, and every two to three days for herbs and root crops. Check soil moisture at root depth — about two to four inches below the surface — the morning after a watering cycle. If the soil is still wet, reduce frequency; if it is dry, increase it. Adjust every one to two weeks as the season progresses.
Q2: Is a drip system better than overhead watering for raised bed gardening?
Drip irrigation is generally superior to overhead watering for raised bed gardening for three reasons: it delivers water directly to the root zone where plants absorb it, it keeps foliage dry which reduces fungal disease pressure, and it loses far less water to evaporation than sprinklers. According to the U.S. Environmental Protection Agency's WaterSense program, drip irrigation systems can use significantly less water than conventional overhead systems for the same planting area — a meaningful advantage for both water bills and environmental impact.
Q3: How long does it take to set up automated watering for multiple raised beds?
Setting up automated watering for a small raised bed layout — two to four beds — is realistically a one-day project for most capable DIYers, with planning taking a few hours and physical installation filling a morning. Larger setups with more beds, longer mainline runs, or more complex zoning may extend to a full weekend. Costs vary widely based on system complexity, timer type, and number of emitters, but a functional basic system for two to three beds can be assembled at a budget-friendly price point, with smart controllers representing a higher but worthwhile investment for households that want maximum automation and water efficiency.
The Bottom Line
Automated watering is one of the most practical and cost-effective upgrades a raised bed gardener can make. It removes the single biggest cause of plant loss in busy households — inconsistent watering — and replaces it with a reliable, programmable system that works whether you are at the office, on vacation, or simply having a hectic week.
Three points worth carrying forward from this guide:
First, the design of your raised bed layout and your irrigation plan should work together from the start. Grouping plants by water need and running dedicated lines to each zone gives you precise control and genuine water savings across the entire growing season.
Second, matching system quality to the longevity of your raised beds makes financial sense. A well-built galvanized steel raised garden bed — like those engineered for a 20-year lifespan — deserves an irrigation setup that won't need replacement every few years. Mid-range drip components with quality fittings and a solid timer represent the best value point for most households.
Third, monitor and adjust through the first season rather than setting and forgetting entirely. Automated watering reduces daily attention — it does not eliminate all observation. A weekly check of emitter function, soil moisture, and plant health is all it takes to keep the system calibrated and your garden thriving.
The return on this investment — measured in healthier harvests, lower water bills, and the genuine mental freedom of knowing your garden is cared for — is one of the highest in home gardening.
Ready to build the raised bed foundation that makes automated watering worth every drop? Explore the full range of durable, thoughtfully designed garden beds at the Anleolife website, available through Amazon, Walmart, Home Depot, Lowe's, Wayfair, and directly at Anleolife.com. With a nationwide warehouse network spanning California, Texas, Florida, New York, Illinois, and Washington, your order ships and arrives within 3–8 business days — so the growing season doesn't have to wait.
Sources
- U.S. Environmental Protection Agency. "WaterSense: Watering Tips and Resources."
https://www.epa.gov/ - U.S. Department of Agriculture. "Home Garden Irrigation and Water Efficiency Guidance."
https://www.usda.gov/ - The Old Farmer's Almanac. "Raised Bed Garden Layout Plans."
https://www.almanac.com/raised-bed-vegetable-garden-layouts-beginners - Savvy Gardening. "4x8 Raised Bed Vegetable Garden Layout Ideas."
https://savvygardening.com/4x8-raised-bed-vegetable-garden-layout/
Note: Standards and guidance documents may be updated; please check the latest official publications or consult professional advisors for current recommendations.








