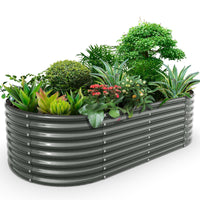
ALT: Raised garden bed kit versus DIY build cost comparison with tools, lumber, and metal garden beds
Is a Raised Garden Bed Kit Really Worth It? The True Cost Breakdown
Key Conclusion: Choosing between a raised garden bed kit and a DIY build isn't just about upfront price—it's about total value over time. When you factor in material costs, tool investment, labor hours, and long-term durability, pre-built kits often win on overall value, especially for beginners. A well-chosen kit simplifies your raised bed planting layout, eliminates guesswork from your raised bed garden layout, and lets you focus on what actually matters: growing food and enjoying your outdoor space. For most home gardeners, the "cheaper" DIY route can quietly become the more expensive one.
Planning a garden for the first time—or scaling up an existing one—almost always leads to the same crossroads: should you buy a ready-made raised garden bed kit, or build one yourself from scratch? It's a genuinely important question, and the answer depends on more than just the price tag on a box of lumber.
This article digs into the real, full-picture cost of both approaches. We're talking materials, tools, time, durability, and the hidden expenses that most comparison articles conveniently skip. Whether you're a weekend warrior with a well-stocked garage, a retiree looking for a manageable first garden project, or a busy parent who just wants to start planting this season, this breakdown will help you make the smartest decision for your situation.
Who Should Read This Comparison (and Who Might Not Need It)
✅ Applicable Scenarios:
First-time gardeners who want to understand total costs before committing to either path
Experienced growers planning to expand their raised bed layout and evaluating scalability and budget
Eco-conscious homeowners who want to assess material longevity and environmental impact before purchasing
Retirees or empty nesters looking for a rewarding but manageable garden project without excessive physical demands
Urban micro-gardeners working with limited space who need a precise, clean raised bed garden layout
❌ Not Applicable/Cautions:
Experienced builders with a full workshop, surplus materials, and significant free time may find DIY genuinely cost-competitive—this comparison is most relevant to those without those advantages
Gardeners in rental properties or those who need a fully portable setup should explore container gardening as an additional or alternative option before committing to either path discussed here
Why the "Just Build It Yourself" Advice Isn't Always Right
The DIY garden bed has a certain romantic appeal. You browse YouTube for an afternoon, pick up some cedar planks, and in a weekend you've built something with your own hands. It sounds simple, affordable, and satisfying.
But gardening advice has evolved significantly over the past decade. As urban gardening has surged in popularity—driven by a combination of food security awareness, wellness trends, and pandemic-era interest in home-grown produce—so has the quality and variety of commercially available raised garden bed kits. The market has matured considerably, and the assumption that "store-bought means overpriced" simply doesn't hold up the way it once might have.
According to the National Gardening Association, home food gardening participation in the United States has grown dramatically in recent years, with millions of households starting or expanding their gardens. That growth has pushed manufacturers to produce better, more affordable, and more durable garden bed solutions at increasingly competitive price points.
At the same time, the cost of raw lumber has fluctuated significantly. After the dramatic price spikes seen in the early 2020s, many homeowners discovered that building "cheap" raised beds from lumber wasn't as inexpensive as they'd expected. A standard untreated pine raised bed might look affordable until you price out the screws, corner brackets, landscape fabric, and delivery fees for heavy boards.
The other factor that rarely gets discussed is material lifespan. Untreated pine in direct soil contact can begin to degrade within just a few years. Even cedar—the gold standard for DIY wood raised beds—typically lasts around 10 to 15 years under ideal conditions, less in wet climates. Quality metal garden beds from reputable brands, by contrast, can last upwards of 20 years, fundamentally changing the cost-per-year calculation.
This is the context in which the kit vs. DIY question needs to be asked. Let's get into the numbers.
Step-by-Step: How to Think About This Decision Before Spending a Dollar
Three Questions to Answer Before You Choose
Step 1: Assess Your Tools and Skills
Before pricing out lumber or kits, take a realistic inventory of what you already own. Do you have a circular saw, drill, measuring tape, clamps, and the experience to use them safely and accurately? If yes, your DIY overhead is lower. If you'd need to buy or rent tools, add those costs to your comparison spreadsheet. Allow roughly 30–60 minutes for this honest self-assessment—it will save you significant money and frustration later.
Step 2: Calculate Your True Time Cost
Time is a real cost. A first-time DIY raised bed builder should realistically budget 4–8 hours for a single standard bed, including planning, shopping, cutting, assembling, and finishing. If your weekend hours are precious, that time has value. Multiply those hours by a comfortable hourly rate for your time—this is your "labor cost." A kit from a reputable brand typically assembles in 30–90 minutes with basic hand tools, freeing those hours for planting, planning your raised bed planting layout, or simply enjoying your garden.
Step 3: Project Your 5-Year and 10-Year Costs
This is where most comparisons fall short. A cheaper material choice that degrades in 3–5 years isn't actually cheaper if you rebuild or replace it. Calculate the cost of your chosen approach over a 10-year window, including realistic replacement timelines. A metal raised bed designed to last 20 years spread over two decades becomes remarkably affordable per year—often less expensive than repeated wood replacements over the same period.
Kit vs. DIY: Side-by-Side Cost Comparison
The real numbers vary based on your location, the size of bed you're building, and where you shop. But the following comparison framework—based on commonly reported ranges for standard garden bed sizes—gives you a reliable foundation for your own calculations.
Comparison Dimension
DIY Wood (Pine)
DIY Wood (Cedar)
Anleolife Metal Kit
Typical Upfront Material Cost
Lower initial cost
Moderate to high
Moderate, all-inclusive
Tool Requirements
Saw, drill, screws, brackets
Same as pine
Basic hand tools only
Assembly Time
4–8 hours
4–8 hours
30–90 minutes
Estimated Lifespan
3–5 years
10–15 years
Up to 20 years
Soil Containment Quality
Variable by builder skill
Variable by builder skill
Consistent, precision-designed
Aesthetic Consistency
Depends on skill level
Depends on skill level
Clean, uniform finish
Scalability
Requires repeat builds
Requires repeat builds
Modular, expandable
Cost Per Year (projected)
Higher when replaced
Moderate
Low (over 20-year lifespan)
Delivery Availability
Local pickup or delivery varies
Local pickup or delivery varies
3–8 business days, nationwide
The table above makes a compelling case for the math behind quality kit purchases—but let's go deeper into each category.
The Real Numbers: Breaking Down Every Cost Category
Material Costs: What You Actually Pay at the Lumber Yard
When gardeners picture building their own raised bed, they often think in terms of board prices. But a complete DIY bed requires more than planks.
For a standard rectangular raised garden bed, your shopping list typically includes: multiple lengths of lumber, corner brackets or joining hardware, deck screws (exterior-rated), landscape fabric for the base, and potentially wood treatment or sealant to slow degradation. Each of these adds to your total, and lumber prices fluctuate seasonally and regionally.
Untreated pine is the most affordable option but degrades fastest—particularly problematic given that raised beds are in constant contact with moist soil. It may last only 3–5 years before boards begin to warp, split, or rot at the joints. Cedar is naturally rot-resistant and smells wonderful, but it commands a significant price premium. Redwood is even more expensive and increasingly difficult to source sustainably.
One important caution for DIY builders: treated lumber may contain chemicals that can leach into your soil. For vegetable gardens, many experts recommend untreated or naturally rot-resistant options only—which limits your affordable choices further.
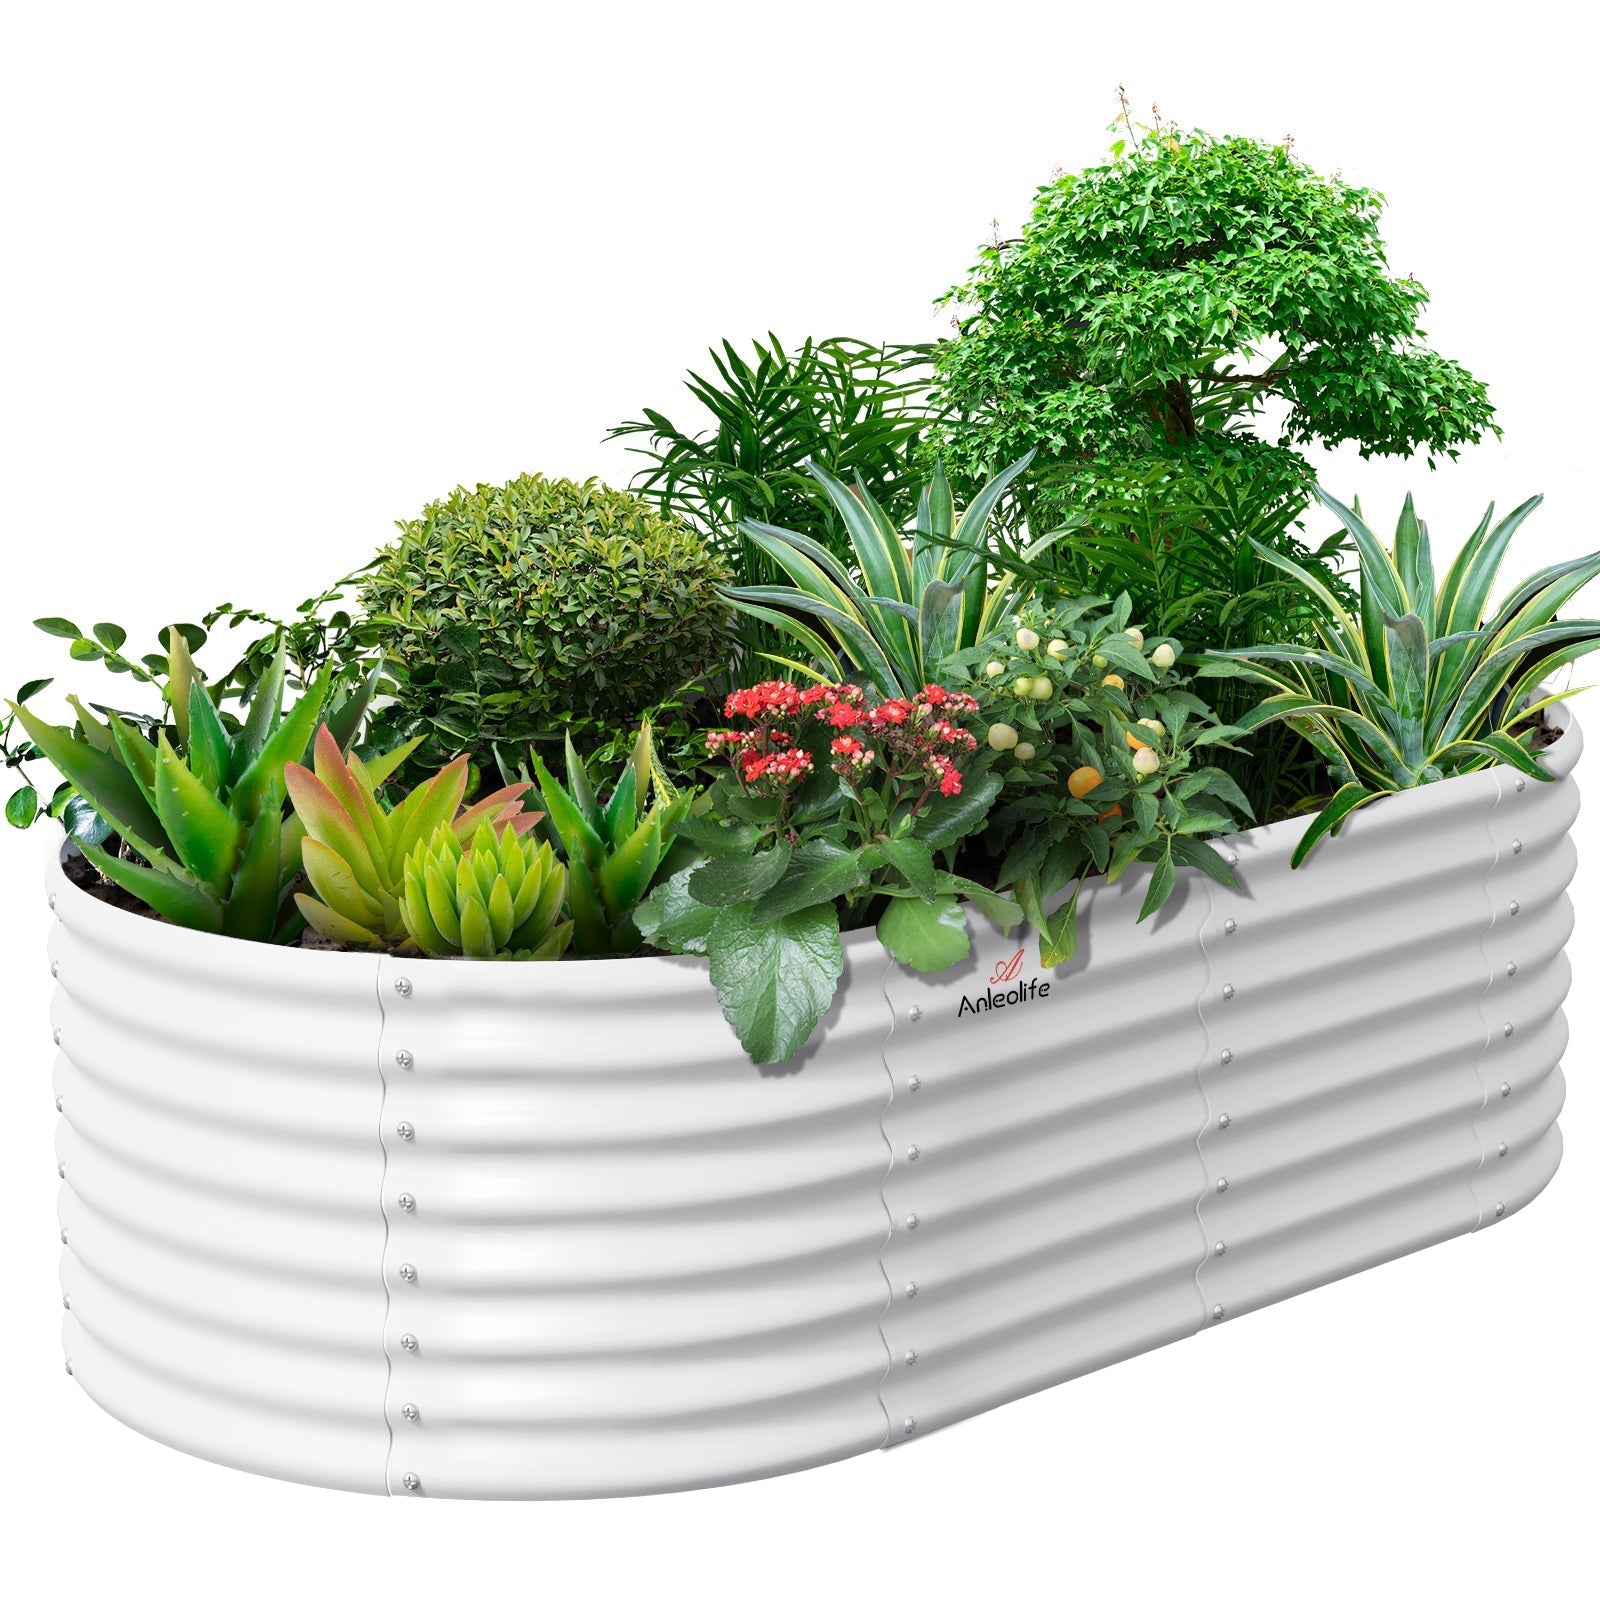
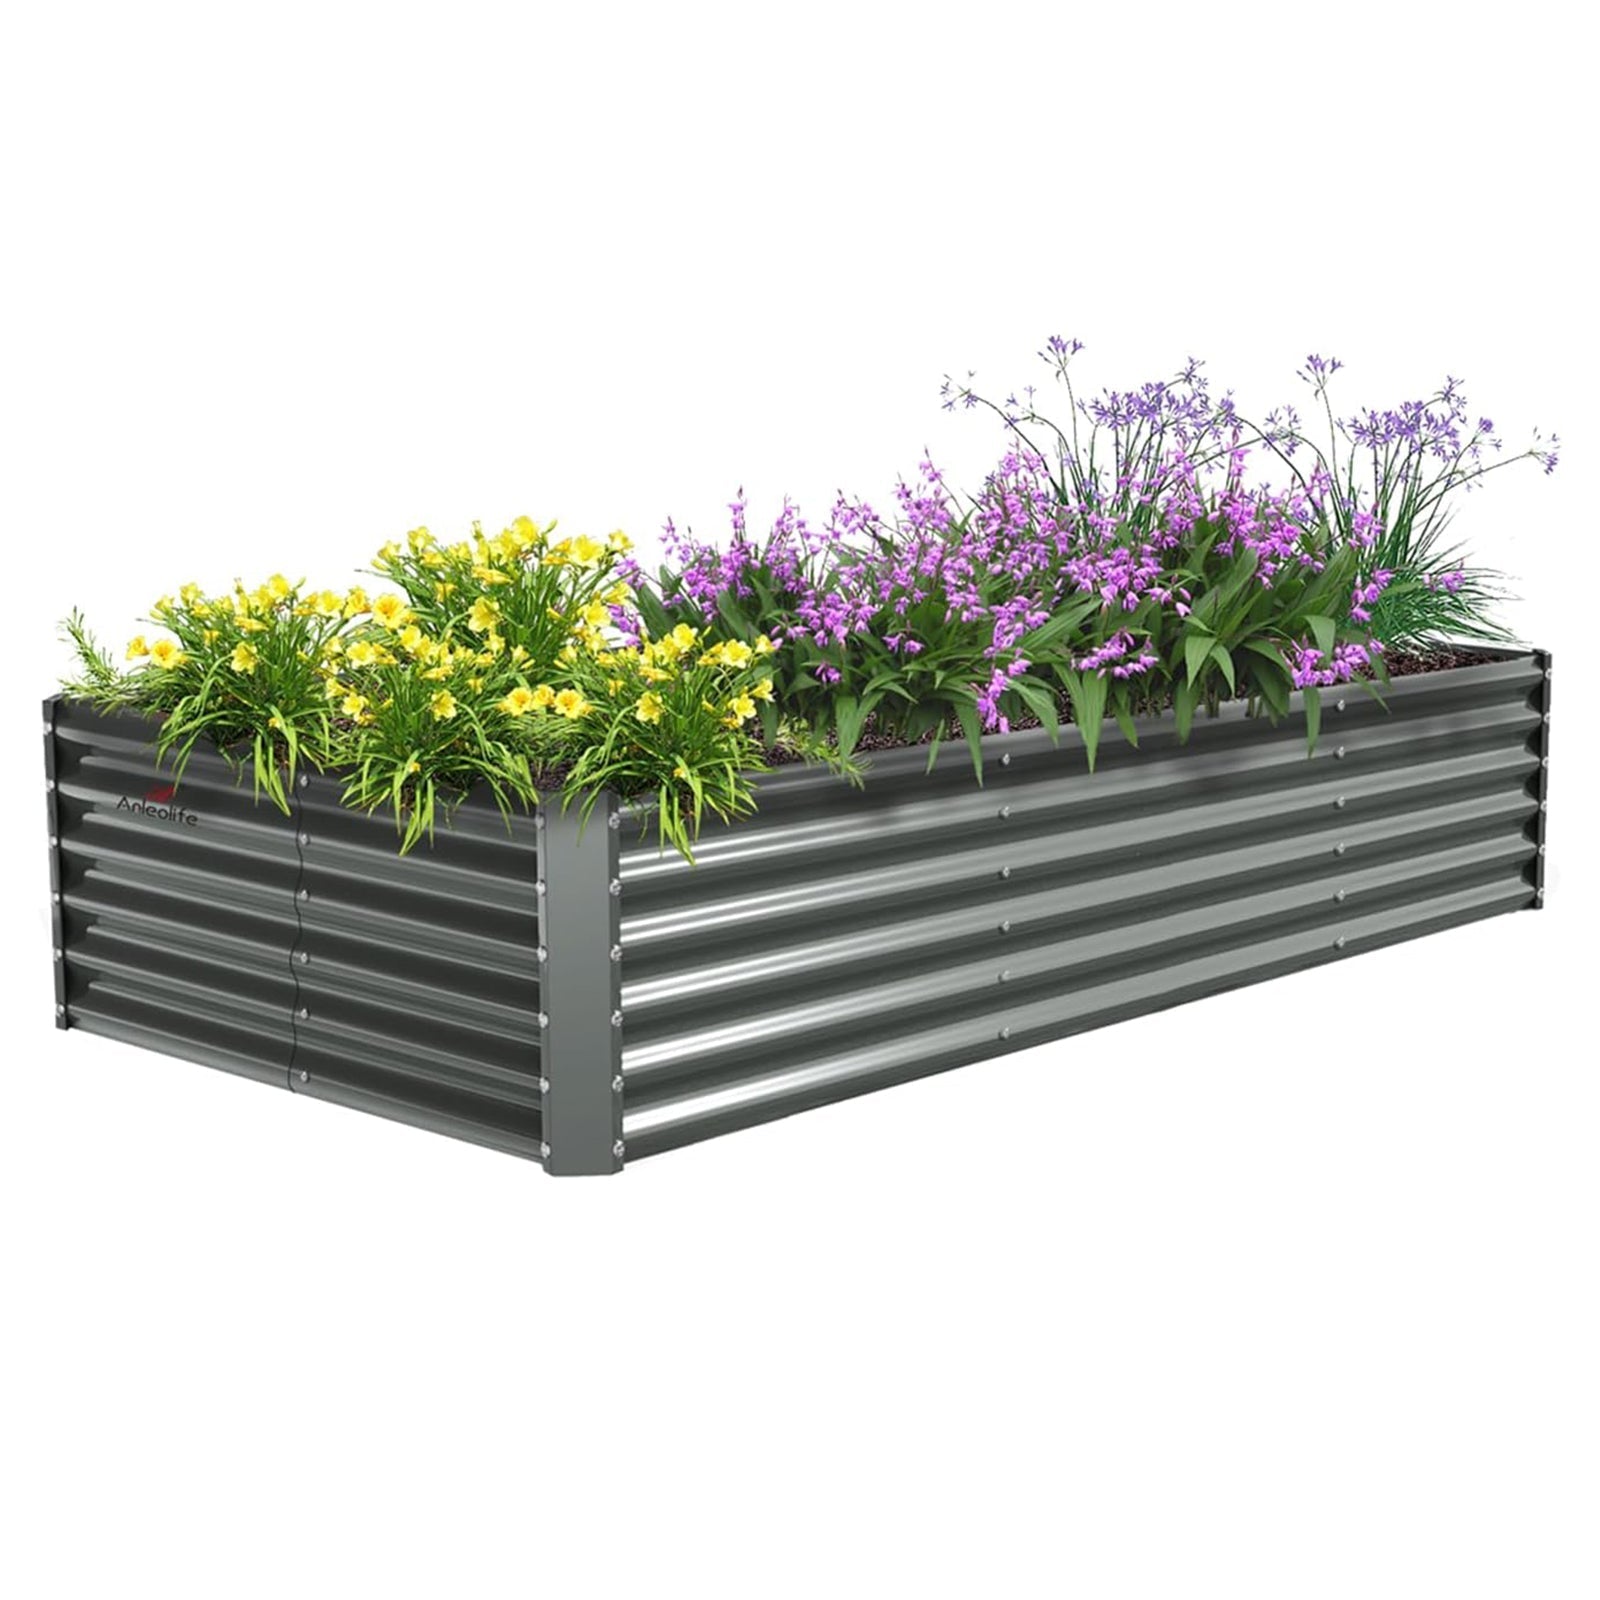
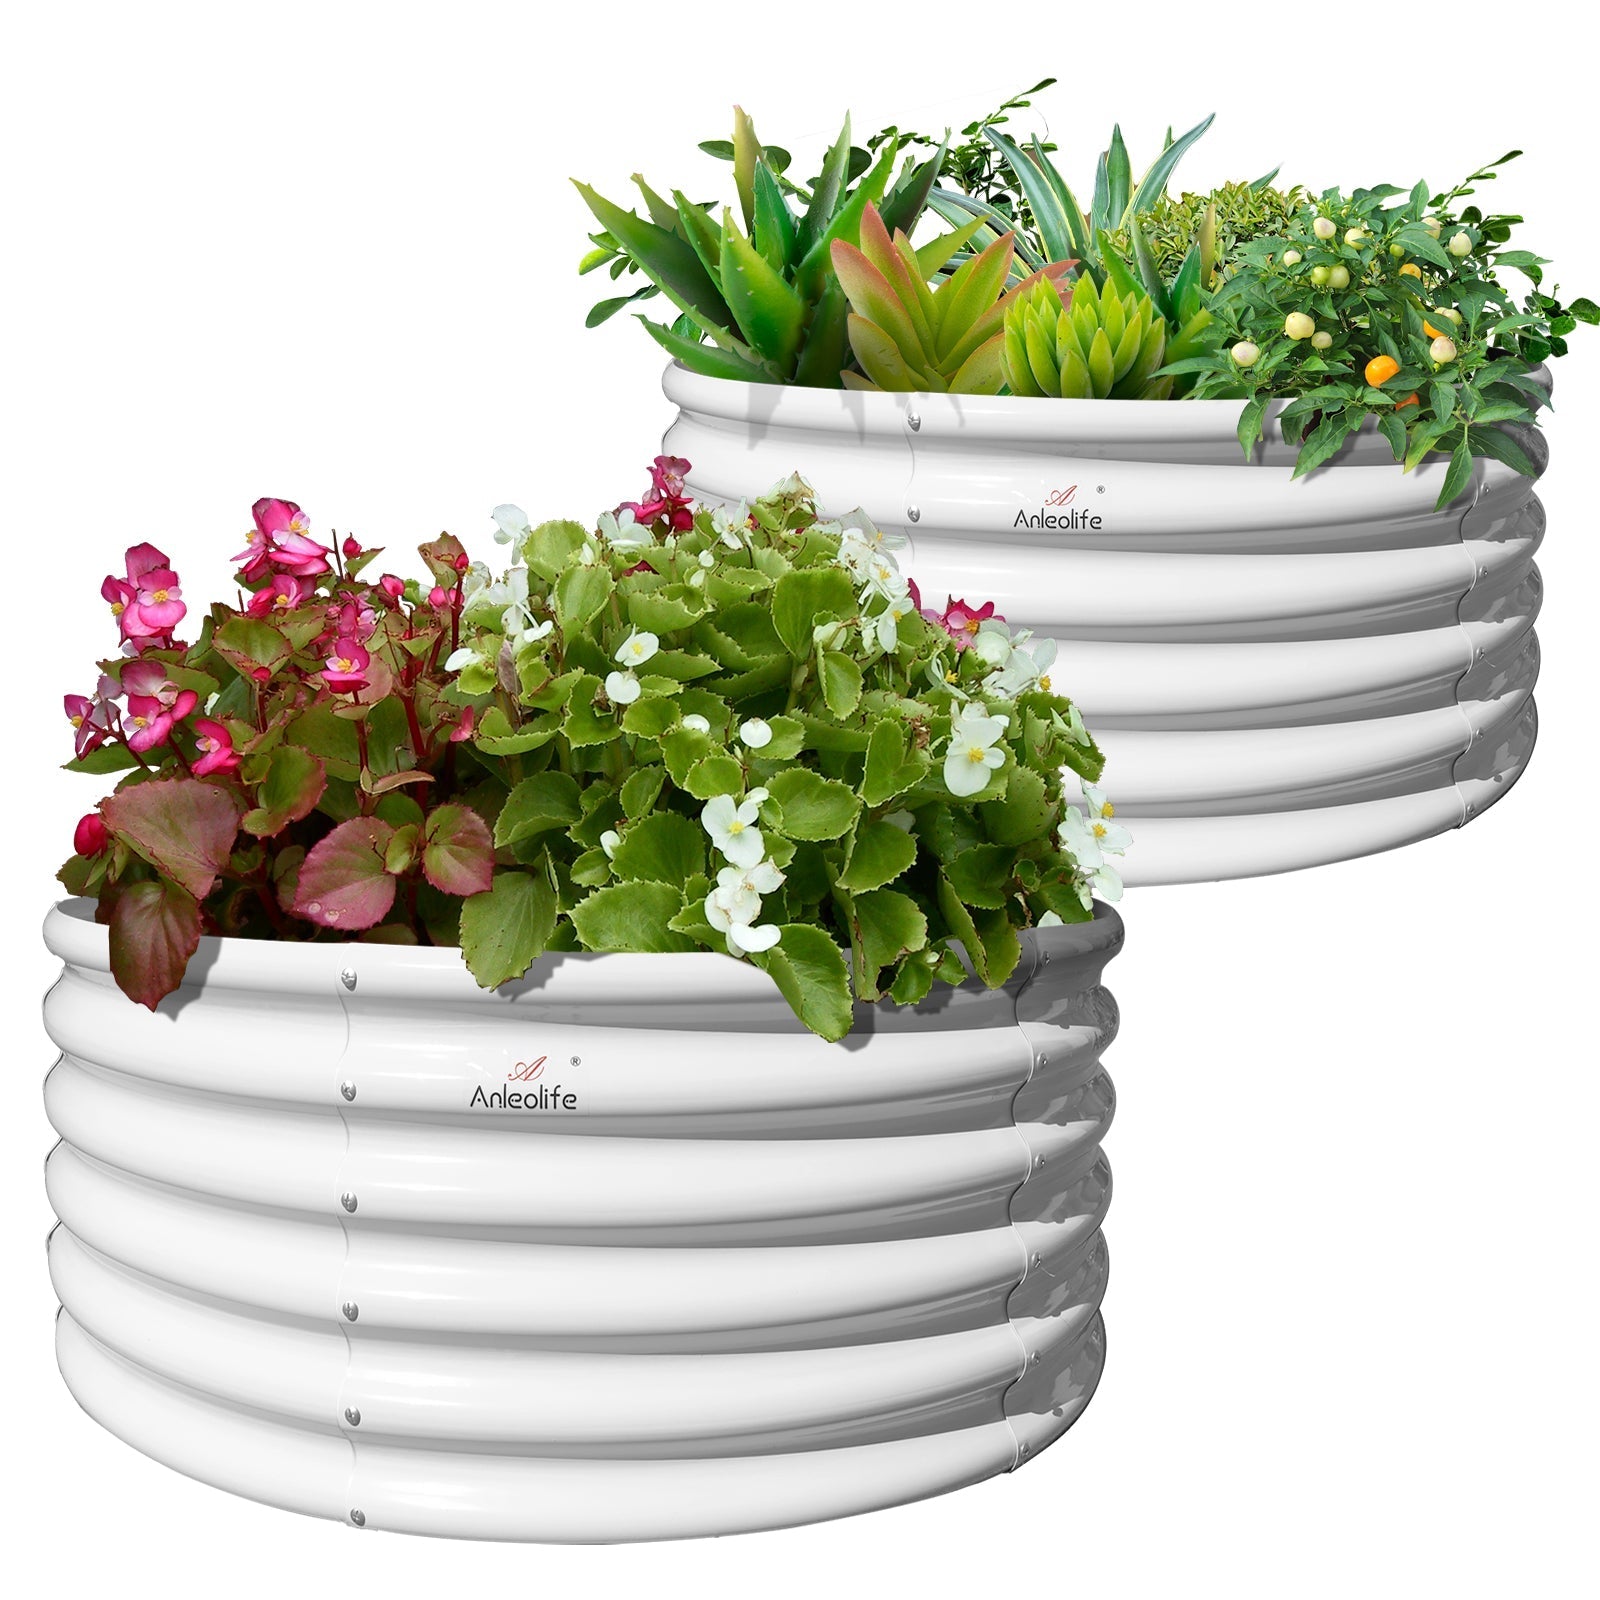
A quality metal raised garden bed kit, by contrast, includes everything you need in one purchase. No separate hardware runs, no sealant, no landscape fabric required. The all-in price is transparent before you buy.
Tool Costs: The Hidden Tax on DIY Projects
If you're building from scratch, you need tools. For many first-time gardeners, this means either purchasing tools they may not use again or borrowing them—which requires coordination and limits your schedule flexibility.
Even renting a circular saw for a weekend adds to your project cost. Drill bits, clamps, a speed square for accurate cuts, and a tape measure are all necessary for a quality build. For experienced builders with a full workshop, this cost is essentially zero. For everyone else, it's a real line item.
Raised bed kits typically require only a basic screwdriver or mallet. Some designs are fully tool-free. This dramatically lowers the barrier to entry and makes garden expansion genuinely easy for retirees, older adults, or anyone with limited physical strength or tool experience.
Labor Time: The Cost Nobody Talks About
Let's address the elephant in the garden shed: your time has value.
An experienced carpenter might build a beautiful cedar raised bed in two hours. A first-timer will realistically spend a full Saturday on a single bed—planning, a trip to the lumber yard (where the boards aren't quite the right length), cutting, re-cutting, assembling, and fixing the wobbly corner that didn't line up. That's a 6–8 hour investment for one bed.
Multiply that by three beds and you're looking at a full weekend, with sore arms and knees to show for it. A kit that assembles in 30–90 minutes lets you set up multiple beds in a single afternoon, leaving time to plan your raised bed garden layout, prep your soil mix, and actually start planting.
Lifespan and Replacement Costs: Where Kits Win the Long Game
This is the calculation that changes the entire equation.
Assume you spend a moderate amount building a pine raised bed this spring. In 3–5 years, the boards are warping and rotting. You rebuild—same cost, more labor hours, more of your weekend. Over a 15-year period, you might rebuild that bed two or three times.
Now consider a quality metal raised garden bed rated for up to 20 years of use. The higher upfront cost spreads across two decades of service. The cost-per-year becomes remarkably low—and you never spend another Saturday rebuilding what you already built.
For eco-conscious gardeners, there's an environmental argument here too. Multiple wood replacements mean more resource consumption and more waste. A single long-lasting metal bed has a smaller cumulative environmental footprint.
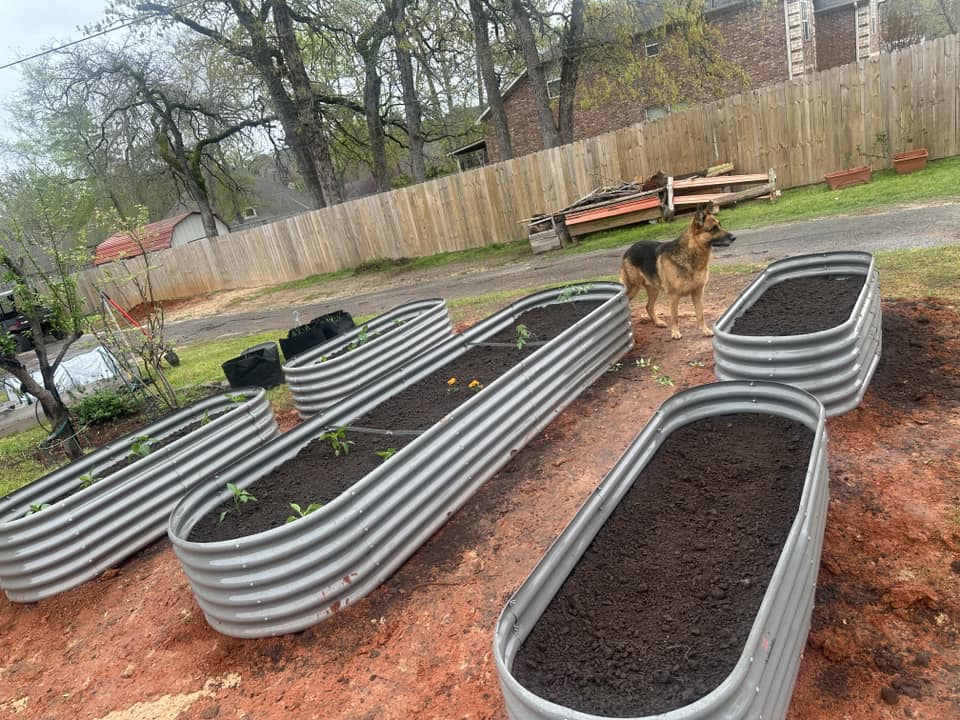
What's the Best Material for Raised Garden Beds That Lasts Longest?
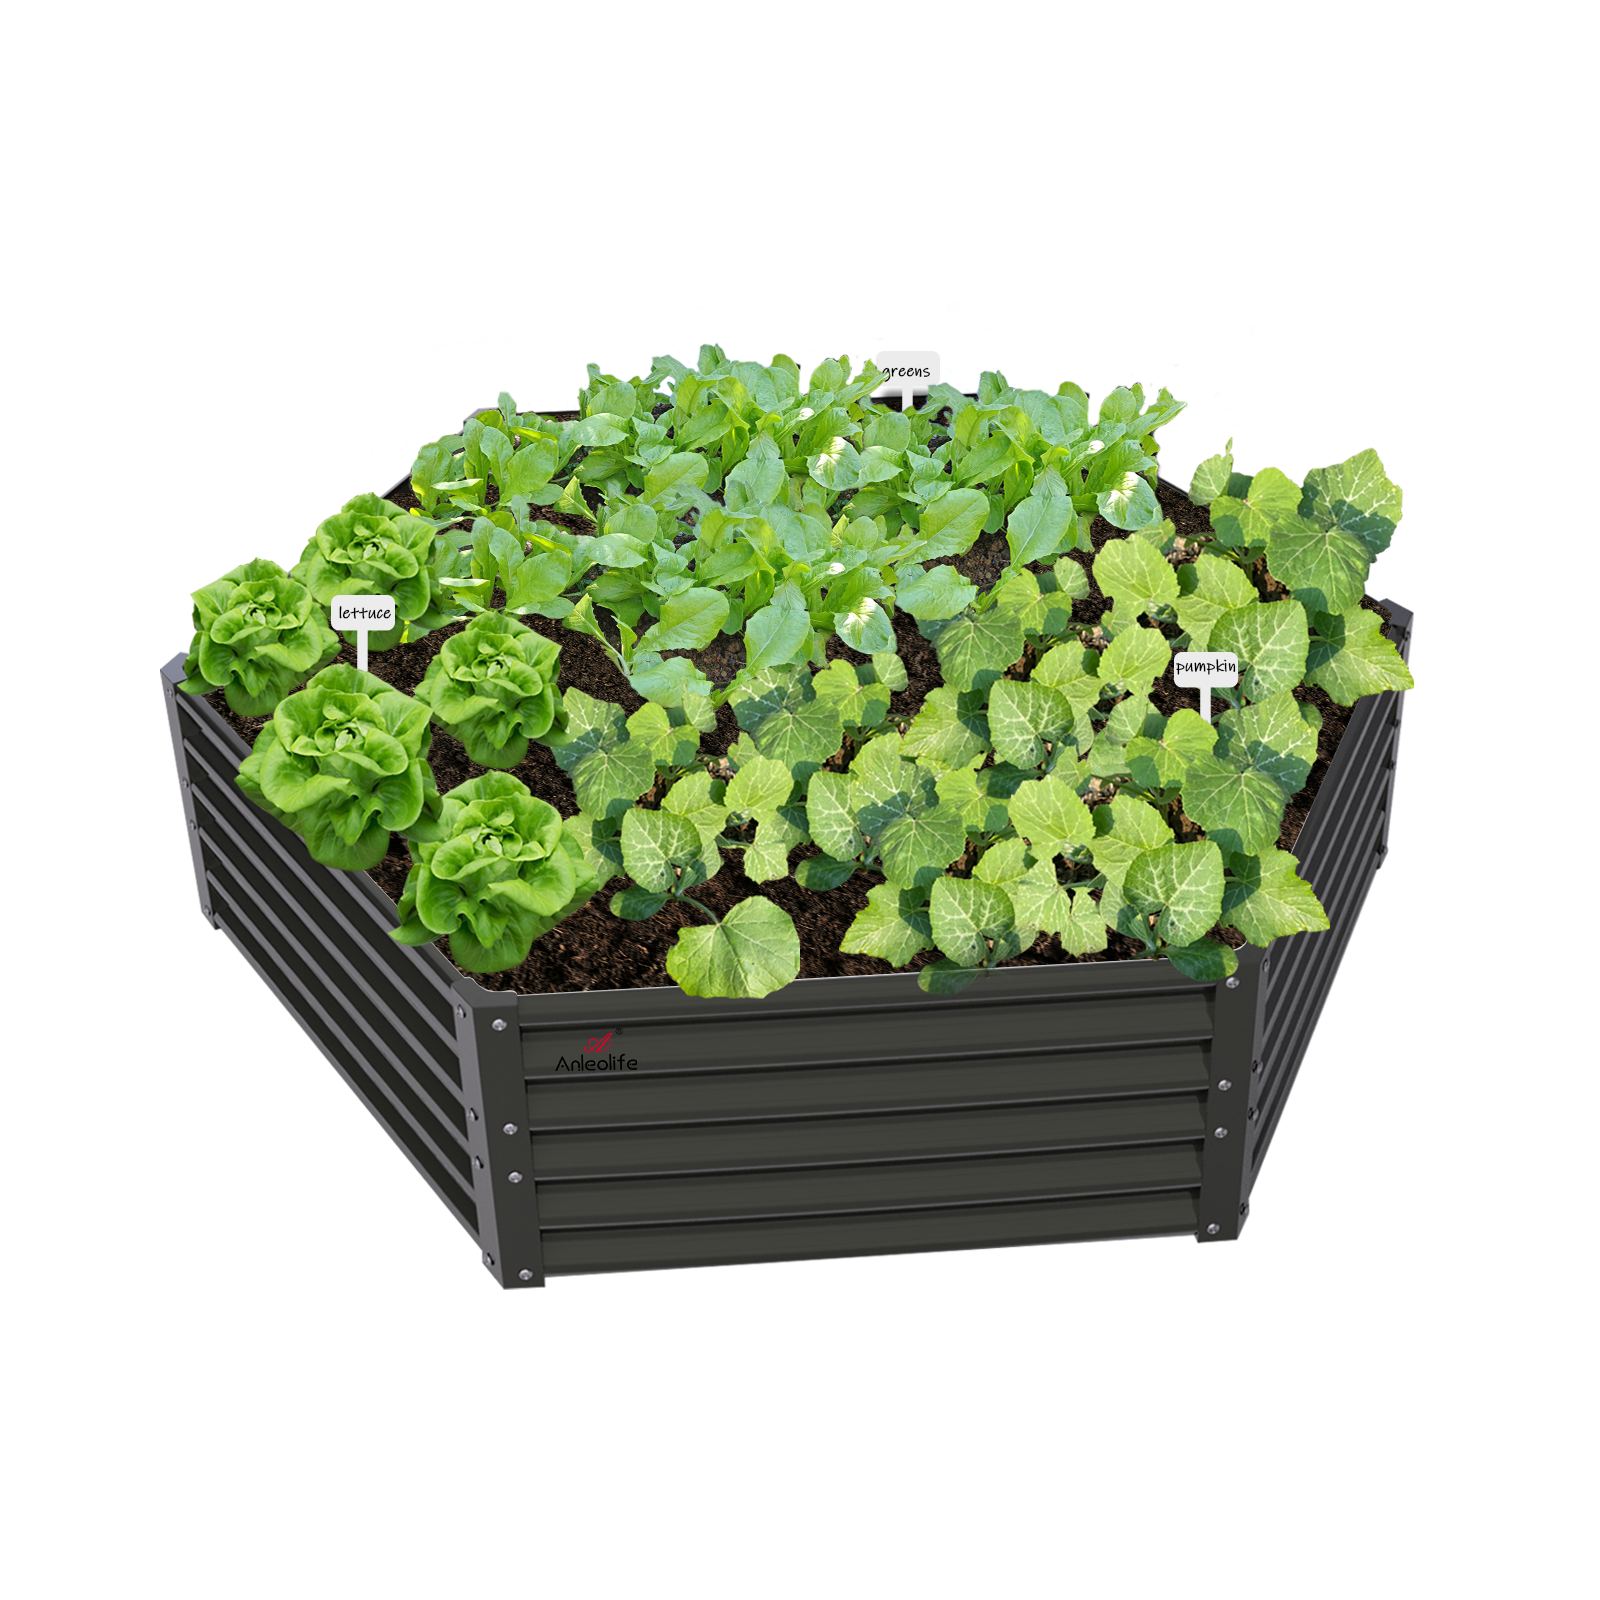
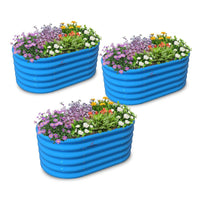
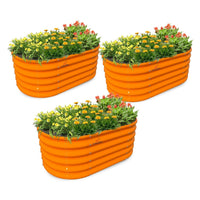
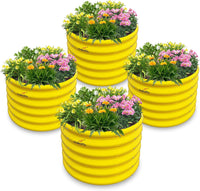
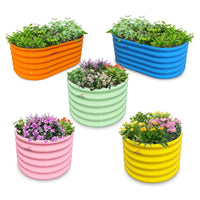
This is one of the most searched questions in the raised bed space—and the answer is clear: powder-coated or galvanized steel consistently outperforms wood in longevity tests. It doesn't rot, doesn't warp, doesn't harbor pests, and doesn't require annual treatment. For gardeners who want a truly low-maintenance, long-lasting solution, quality metal beds represent the most durable choice available.
Raised Bed Height: Does It Affect Your Cost Decision?
When evaluating either a kit or a DIY build, raised bed height is a variable that significantly affects both cost and practicality. Lower beds (around 6 inches) work well for root-shallow crops like lettuce, herbs, and radishes. Taller beds (12 inches and above) are ideal for deeper-rooted vegetables like tomatoes, carrots, and peppers, and offer the added benefit of reducing how far you need to bend—a significant quality-of-life factor for older gardeners.
Taller DIY beds require more lumber, more hardware, and more structural reinforcement to prevent bowing under soil pressure. Kit designs often address this engineering challenge for you, with pre-calculated dimensions and structural features already built in.
Budget Considerations: Are There Good Options Under $200?
For gardeners exploring the best budget raised beds without sacrificing quality, the kit market has expanded impressively. Entry-level metal raised bed kits in standard sizes are now available in price ranges accessible to most home gardeners. While the $200 threshold won't get you a large, tall bed with premium finishes, it can absolutely get you a functional, durable starter bed that outperforms a same-priced DIY pine build on longevity alone. Look for kits that include all hardware, have good customer reviews, and come from brands that offer after-sales support.
Finishing Touches: Garden Netting, Ornaments, and Accessories
Once your bed is built, the real enjoyment begins. Garden netting is one of the most practical accessories you can add, protecting crops from birds, squirrels, and insects. For gardeners in windy climates, look for netting with weighted edges or anchor stakes that resist lifting—particularly important in open yards or elevated terraces. Fine mesh netting also provides light frost protection in shoulder seasons.
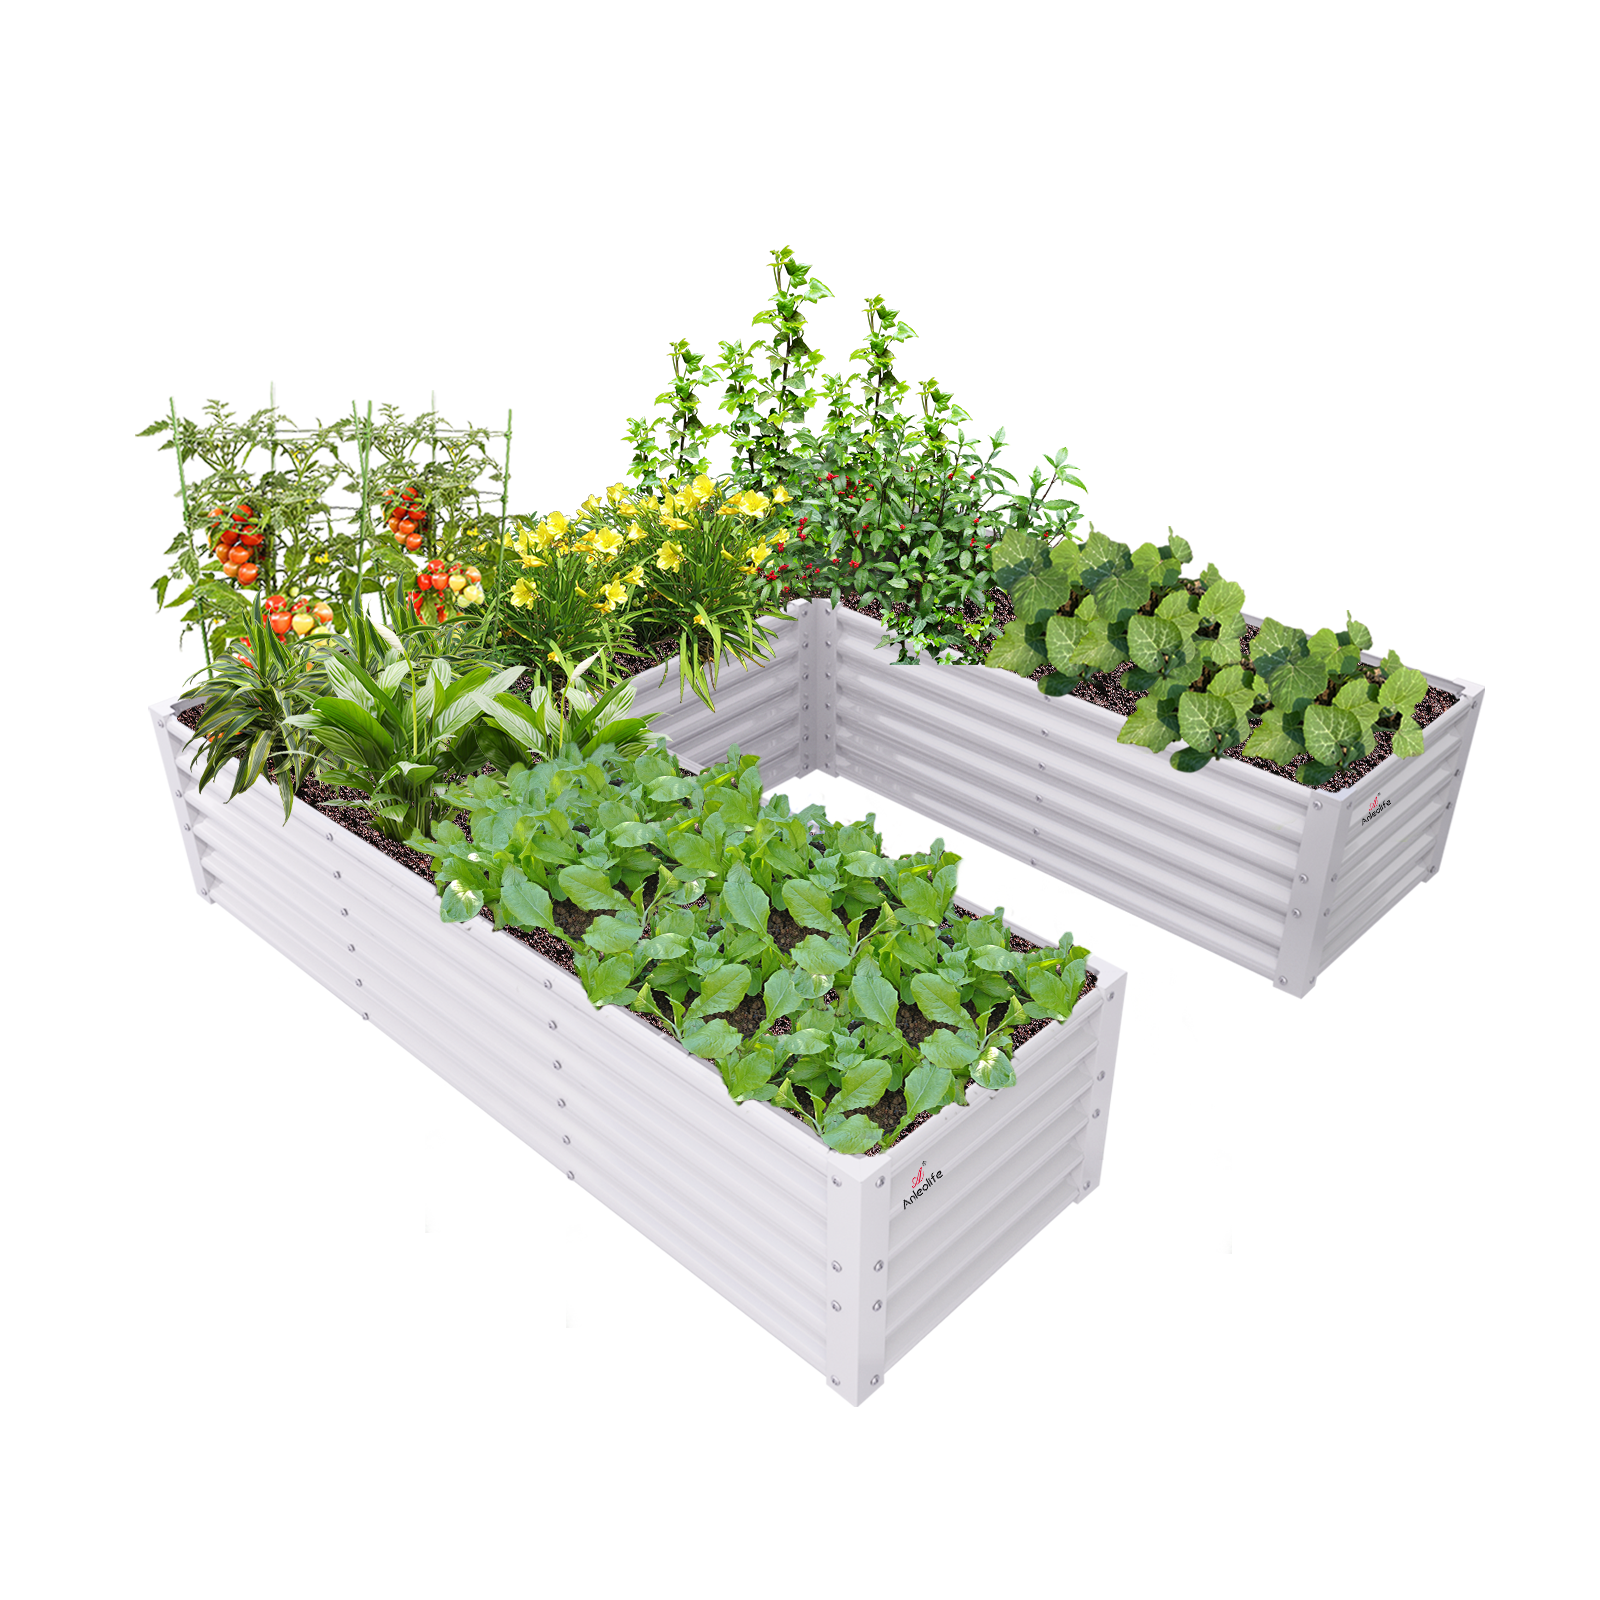
For those who want their garden to be as beautiful as it is productive, garden ornaments for small spaces can transform a functional planting area into a genuine outdoor retreat. Pathway systems, decorative edging, and accent pieces create structure and personality even in compact raised bed layouts. This is where the aesthetics of a clean, well-finished metal bed kit begin to shine—its uniform appearance creates a professional backdrop for ornamental additions.
ALT: Overhead raised bed garden layout with metal raised beds, garden netting for wind protection, and decorative ornaments in a small backyard space
Advanced Considerations: When DIY Actually Makes Sense (and Common Misconceptions)
Special Situations Where DIY Has a Genuine Edge
You have surplus materials and the skills to use them. If you have leftover cedar from another project and a comfortable relationship with a table saw, DIY may legitimately be your most cost-effective option. The calculation changes completely when your material cost approaches zero.
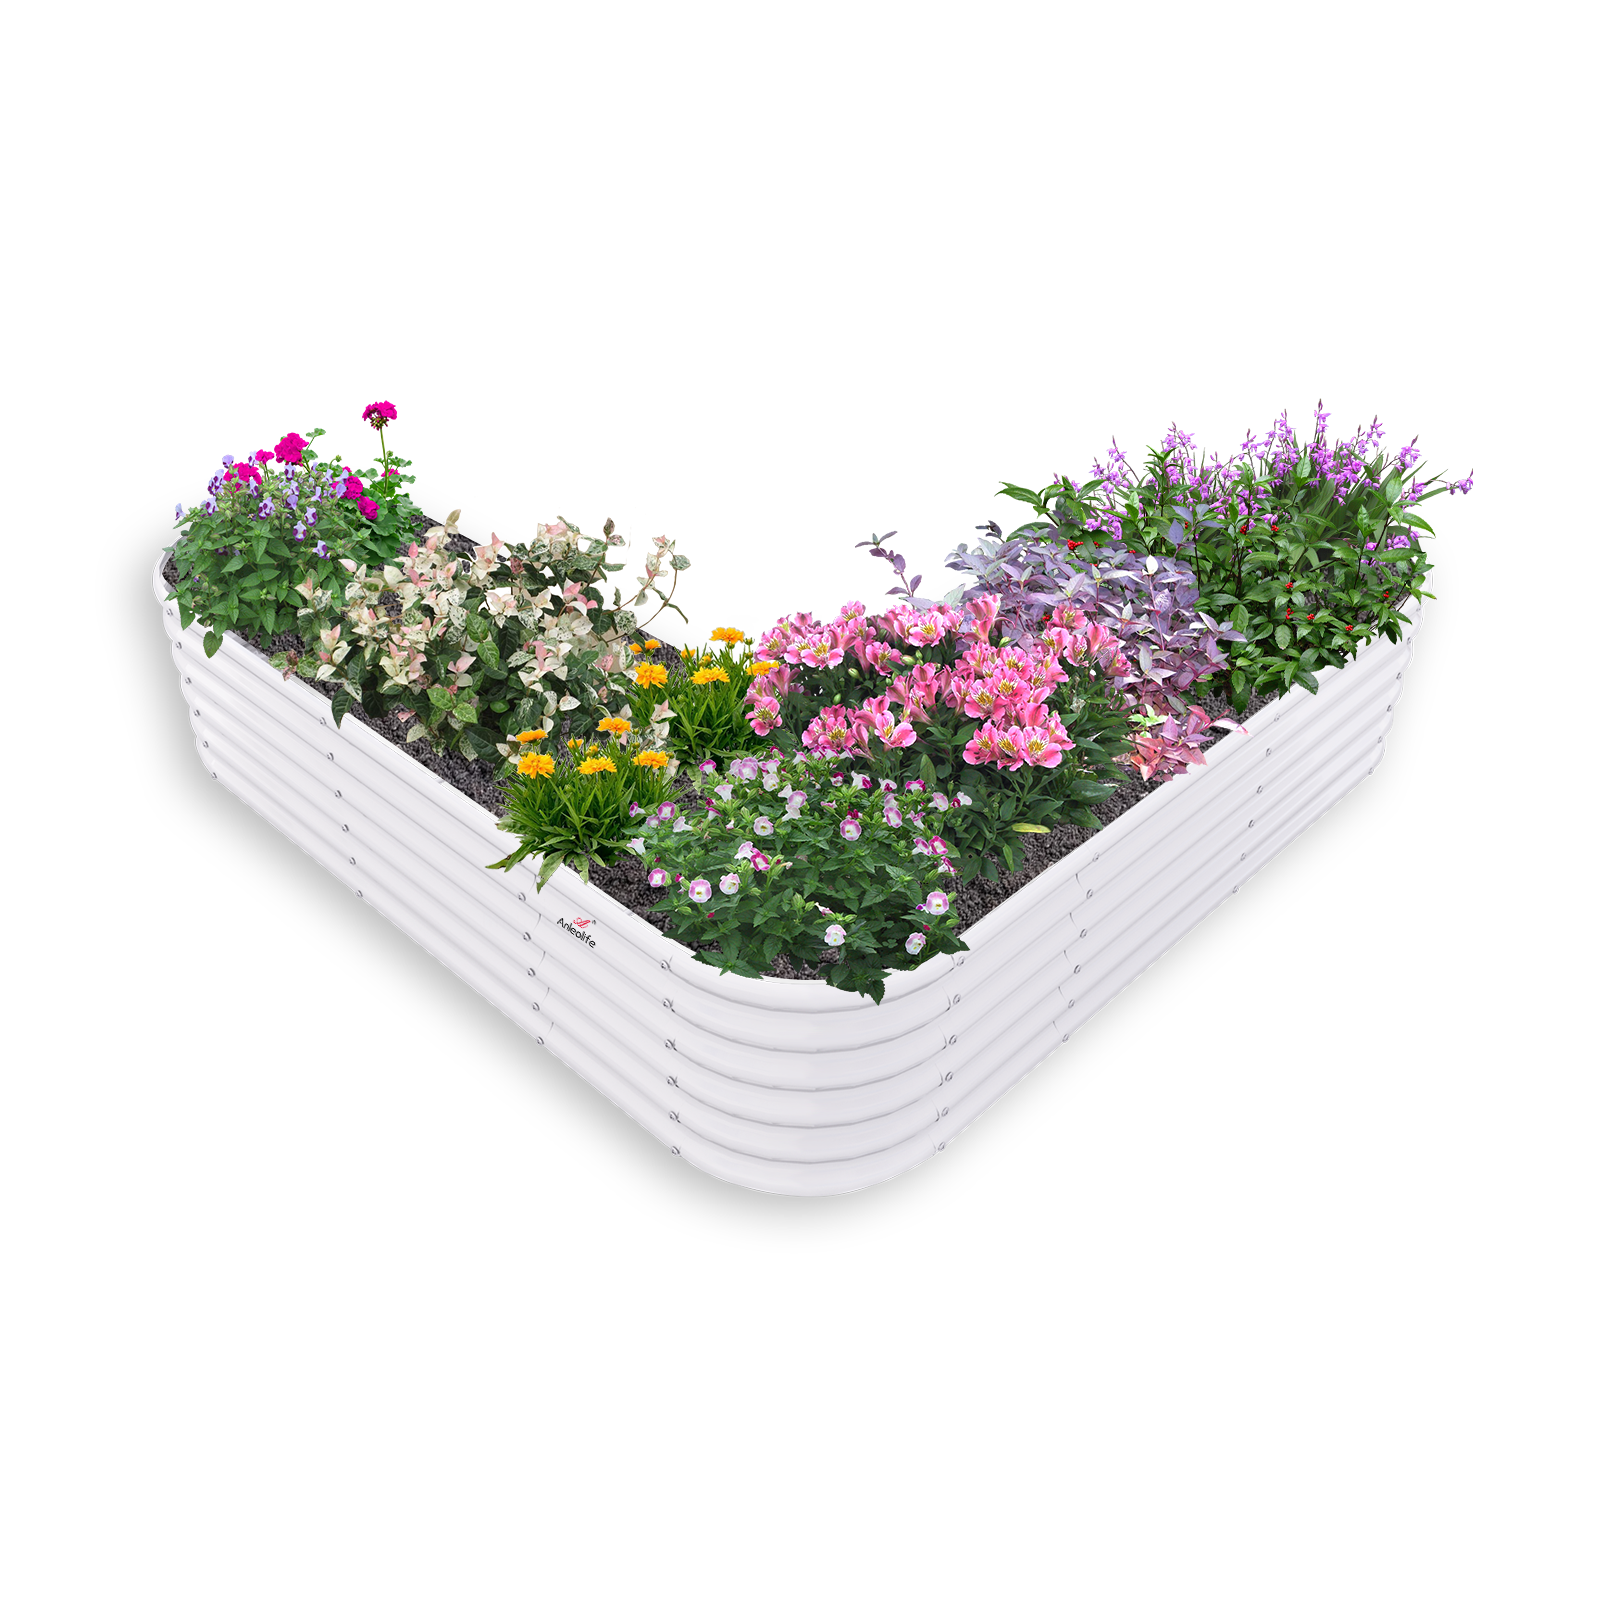
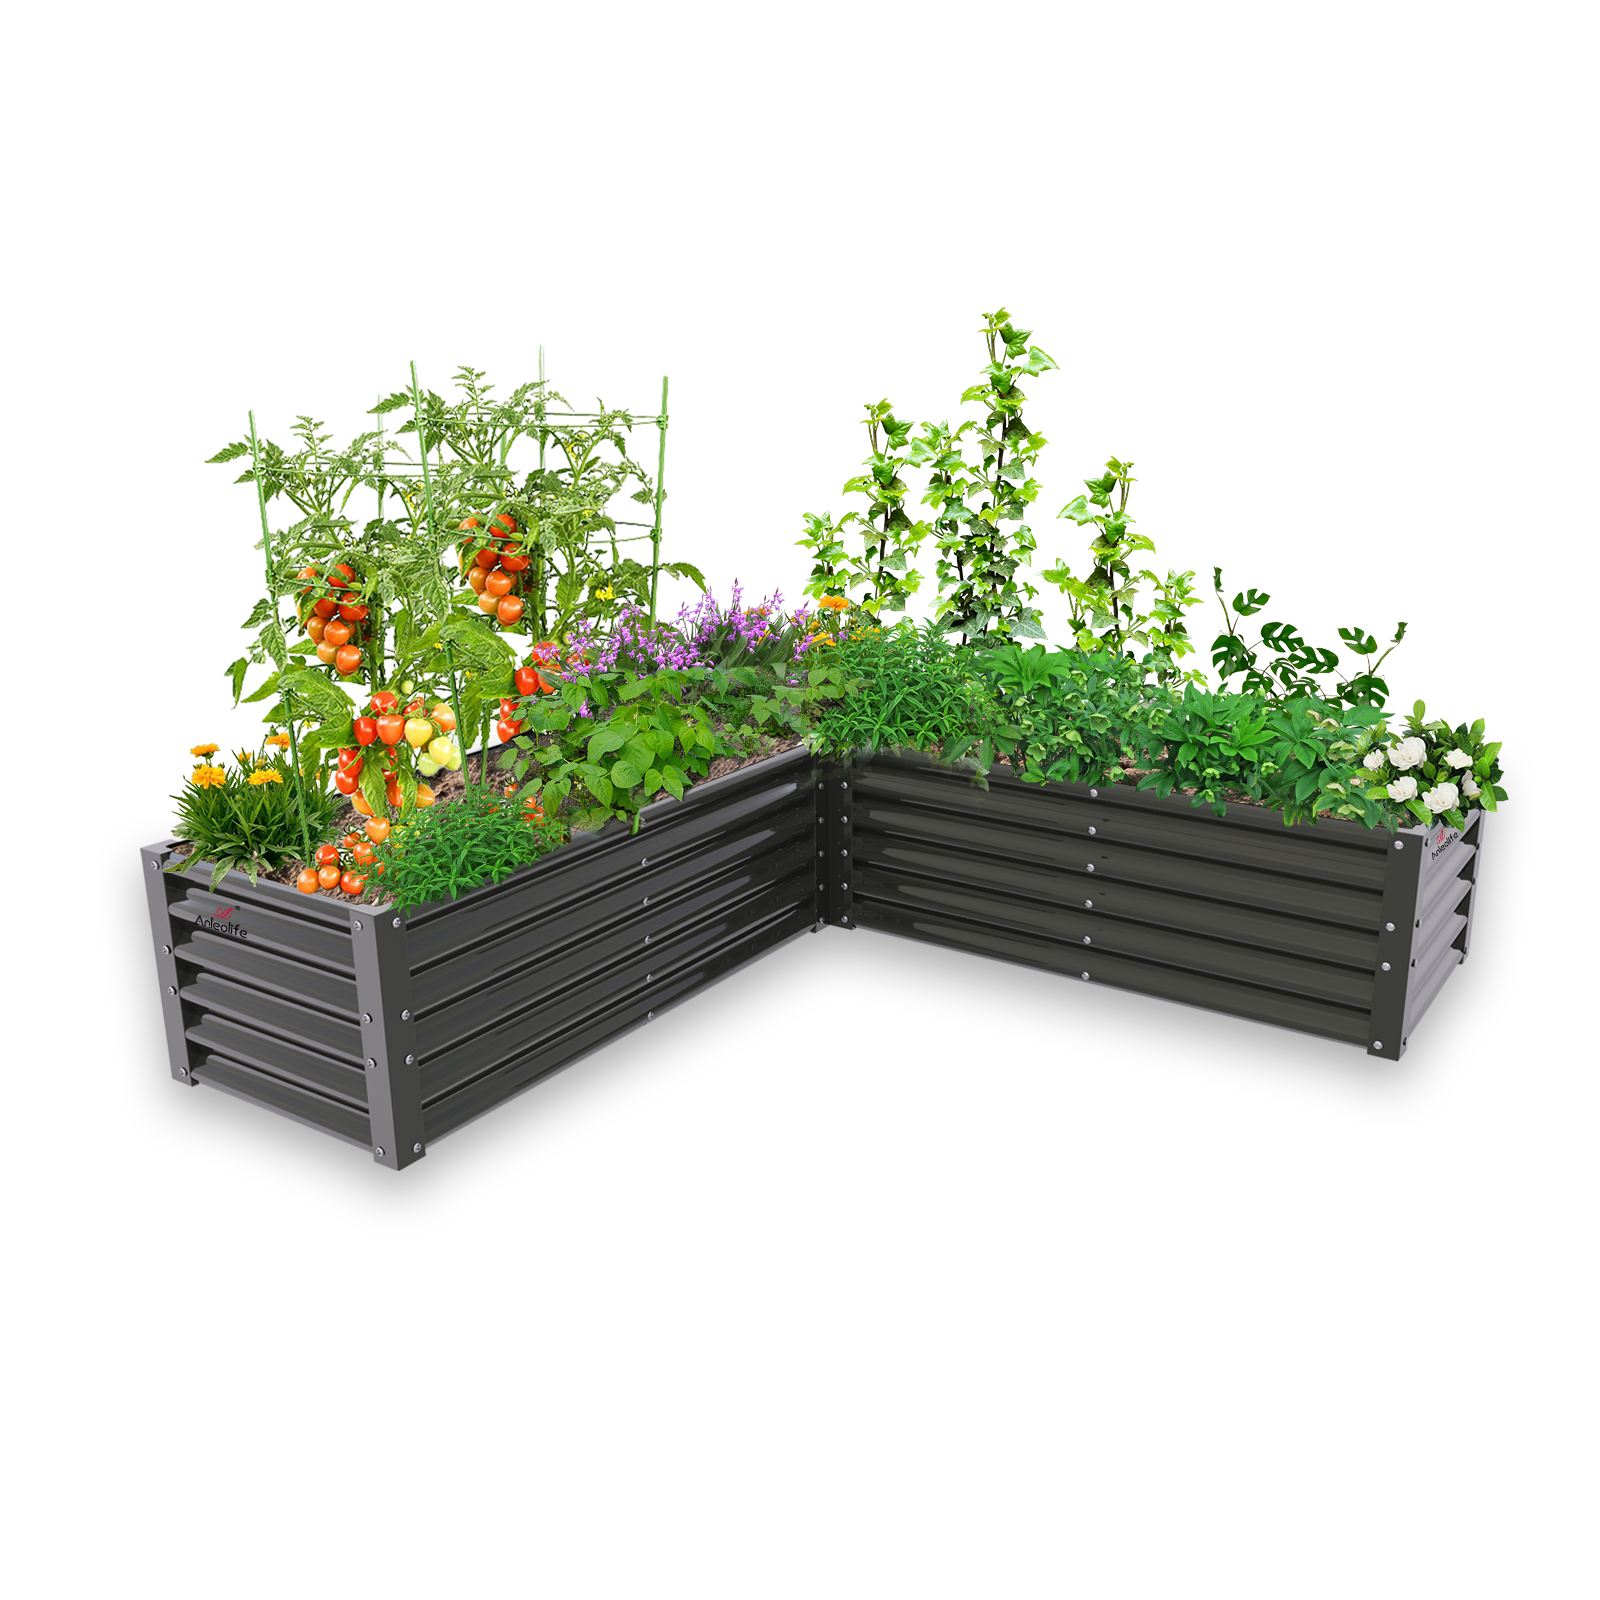
You need an unusual size or shape. Kits come in standard dimensions. If your space requires an L-shaped bed, a specific narrow width for a pathway, or a custom height to match existing landscape features, a skilled DIY builder can design exactly what the space demands.
You want the process itself, not just the outcome. For some gardeners, building is part of the joy. There's genuine satisfaction in creating something by hand, and if that's your motivation, the "cost" conversation becomes secondary to the experience.
Common Misconceptions Worth Addressing
Misconception: "DIY is always cheaper." As this analysis shows, that's only true if you already own the tools, have the skills, use durable materials, and don't account for your time. Under those specific conditions, yes—DIY can be cheaper upfront. Over a 10–20 year horizon with material replacement factored in, the advantage often disappears.
Misconception: "Metal beds are too hot for plant roots." This concern is frequently raised and frequently overstated. Metal beds do absorb heat, but this is actually beneficial in cooler climates and early spring seasons, extending your growing window. In very hot climates, thoughtful placement (afternoon shade) mitigates the concern entirely.
Misconception: "Kits are flimsy." This was true of early-generation plastic bed kits. Quality metal beds from established brands are engineered for decades of use, soil pressure, and seasonal temperature swings. The 20-year lifespan of quality metal garden beds speaks directly to this.
Frequently Asked Questions FAQ
Q1: How do I calculate the real 10-year cost of a raised garden bed?
Start with your upfront material or kit cost, then add tool costs (if applicable) and your estimated labor time converted to a dollar value. Then factor in replacement: wood beds typically need rebuilding every 3–10 years depending on material, while quality metal beds can last up to 20 years. Divide each scenario's total cost by the number of years of use. This cost-per-year comparison almost always reveals that durable kits offer better long-term value than repeated DIY rebuilds using lower-cost materials.
Q2: Are metal raised garden bed kits safe for growing vegetables?
Yes—high-quality metal raised garden beds are safe for food production. Unlike chemically treated lumber, which can potentially leach compounds into soil, powder-coated or galvanized steel beds do not introduce harmful substances at the levels present in food-grade gardening applications. Many food safety advocates actually recommend metal over treated wood for vegetable gardens. Always verify that the specific product you choose uses food-safe coatings and materials, and check for any relevant certifications mentioned by the manufacturer.
Q3: How much time does it actually take to assemble a raised garden bed kit versus building DIY?
Assembly time for a quality raised garden bed kit typically ranges from 30 to 90 minutes for a standard bed, using basic hand tools or even no tools at all. A comparable DIY build—from lumber measuring and cutting through assembly and finishing—typically takes a first-time builder 4–8 hours for a single bed, not including shopping time. For gardeners planning multiple beds, this time difference compounds quickly. Over a weekend, a kit approach can have your entire raised bed planting layout ready to fill with soil while a DIY approach might still be mid-assembly.
Summary
After walking through every cost category—materials, tools, labor, lifespan, and long-term replacement—three core conclusions emerge clearly:
First, upfront price is only one piece of the puzzle. A cheaper board today may cost you more over a decade than a quality kit purchased once. The 20-year lifespan of premium metal raised garden beds fundamentally changes the cost-per-year math in favor of investing in quality from the start.
Second, your time is a real cost. The 4–8 hours required for a DIY build—multiplied across multiple beds—is time not spent planting, harvesting, or enjoying your garden. Kit assembly frees that time for what actually matters, and makes garden expansion genuinely accessible regardless of skill level or physical ability.
Third, quality kits have closed the gap. The market has matured dramatically. Today's best raised garden bed kits offer precision engineering, durable materials, clean aesthetics, and complete hardware packages at price points that compete seriously with the true all-in cost of comparable DIY builds—especially when longevity is factored in.
The recommended next step: Price out both options honestly for your specific bed size and quantity, using the three-question framework from this article. Then compare cost-per-year, not just cost-per-bed. For most home gardeners, the numbers will tell a clear story.
Start Growing with Anleolife
Nationwide U.S. warehouse network: Strategically located in California, Texas, Florida, New York, Illinois, and Washington, Anleolife ensures delivery within 3–8 business days—so your garden upgrade plans never have to wait for the right season.
Multi-channel availability: Anleolife.com products are available on major e-commerce platforms including Amazon, Walmart, Home Depot, Lowe's, and Wayfair, providing consistent quality assurance and after-sales service wherever you prefer to shop.
Three complete garden scenarios: Planting (metal raised garden beds, soil systems), Raising (chicken coops, rabbit hutches), and Beautification (decorative accessories, pathway systems)—meeting every need from functionality to aesthetics in one cohesive ecosystem.
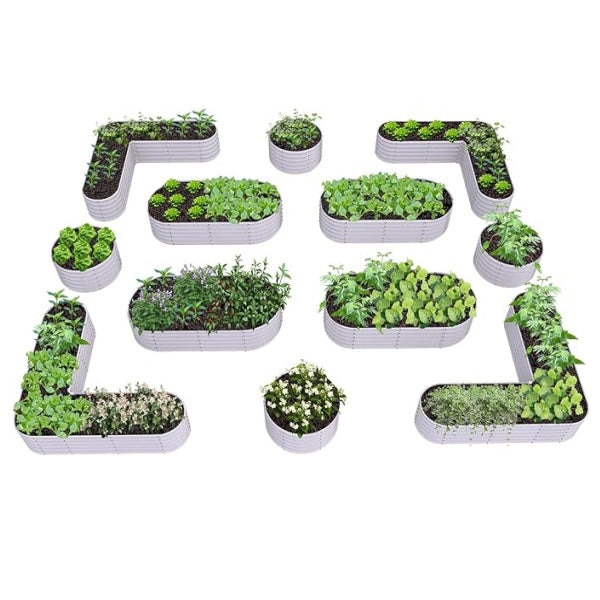
We understand that an ideal garden isn't built overnight—it's cultivated gradually, season by season. Anleolife's modular product design allows flexible expansion based on your evolving needs, from your very first raised bed to a fully integrated planting-and-raising ecosystem. We grow with you every step of the way.
References
National Gardening Association. "Food Gardening in the United States."https://garden.org/
University of California Agriculture and Natural Resources. "Raised Bed Gardening."https://ucanr.edu/
U.S. Environmental Protection Agency. "Healthy Lawn and Garden Practices."https://www.epa.gov/safepestcontrol/lawn-and-garden
Penn State Extension. "Building Raised Beds for Vegetable Gardens."https://extension.psu.edu/
University of Minnesota Extension. "Raised Bed Gardening for Vegetables."https://extension.umn.edu/
Note: Standards and recommendations may be updated over time. Please check the latest official documents or consult professional advisors for the most current guidance.
About Anleolife
Anleolife is a leading outdoor garden solutions provider in North America, dedicated to offering a full-scenario product ecosystem for home gardening enthusiasts, covering planting, raising, and garden beautification. Since its founding, we have upheld our brand mission, "Made for Garden Life," continuously innovating products and optimizing services to help hundreds of thousands of users upgrade their gardens, reconnect with nature, and enjoy a better garden lifestyle.